As homeowners seek more efficient and modern heating solutions, in ceiling electric radiant heat systems are gaining popularity. This innovative technology provides an effective way to warm your home, offering numerous benefits over traditional heating methods. In this article, we’ll delve into the details of in ceilings electric radiant heat, exploring its advantages, installation process, and how it compares to other heating systems.
What is In Ceiling Electric Radiant Heat?
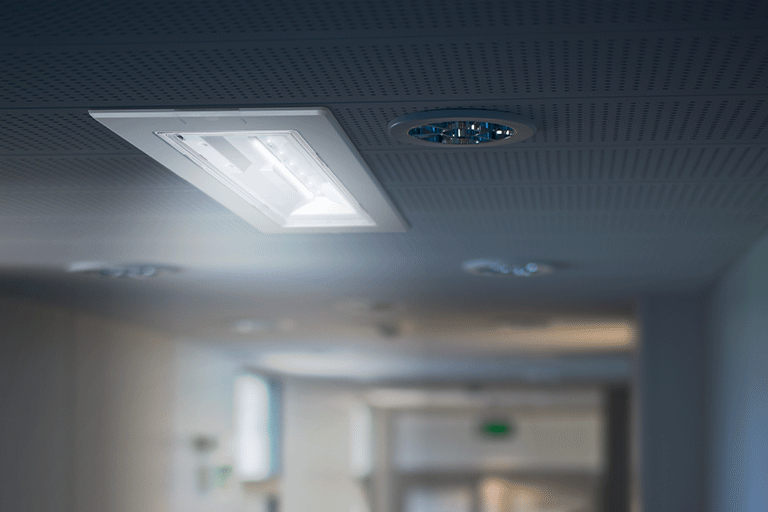
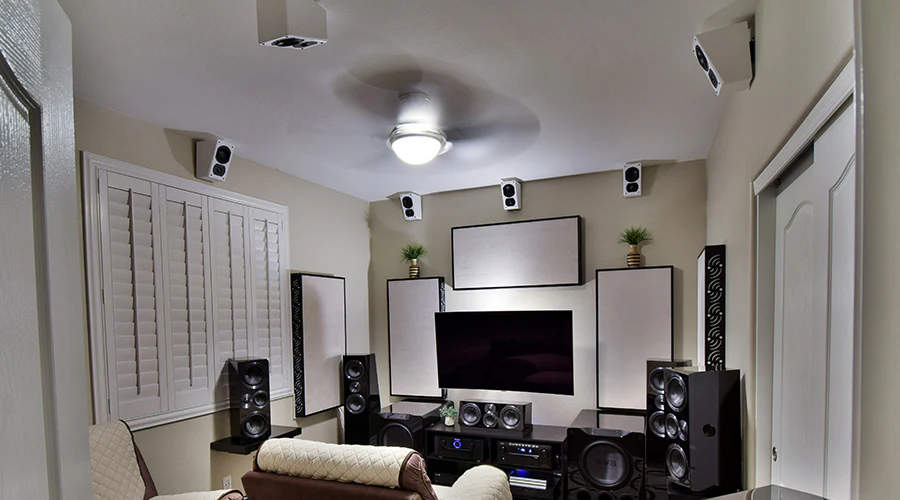
In ceiling electric radiant heat systems use electric heating elements installed within or just above the ceiling to emit radiant heat. This heat is evenly distributed throughout the room, providing consistent warmth. Unlike traditional forced-air systems, radiant heat warms objects and people directly rather than just heating the air, resulting in a more comfortable and energy-efficient environment.
Read too: Kitchen Lighting For A Vaulted Ceiling: Illuminating Your Space with Style and Functionality
Advantages of In Ceiling Electric Radiant Heat
Energy Efficiency
One of the most significant benefits of in ceiling electric radiant heat is its energy efficiency. Radiant heat systems use less energy compared to traditional heating methods because they do not rely on air circulation. This means there is no heat loss through ducts or vents, leading to lower energy consumption and reduced utility bills.
Even Heat Distribution
Traditional heating systems often create hot and cold spots within a room. In contrast, in ceiling electric radiant heat systems provide even heat distribution, ensuring a consistent temperature throughout the space. This eliminates the discomfort of uneven heating and cold drafts.
Improved Indoor Air Quality
Since in ceiling electric radiant heat systems do not use forced air, they do not circulate dust, allergens, and other airborne particles. This results in improved indoor air quality, making it an ideal choice for individuals with allergies or respiratory issues.
Silent Operation
Radiant heating systems operate silently, unlike forced-air systems that can be noisy due to the movement of air through ducts and vents. This makes in ceiling electric radiant heat an excellent option for bedrooms, living rooms, and other areas where quiet operation is desired.
Space-Saving Design
In ceiling electric radiant heat systems are hidden within the ceiling, freeing up valuable floor and wall space. This allows for more flexible furniture arrangements and a cleaner, uncluttered look in your home.
Installation Process
Planning and Design
The first step in installing an in ceiling electric radiant heat system is planning and design. It’s essential to assess the heating needs of each room and determine the best layout for the heating elements. Professional installers can help with this process, ensuring that the system is designed to provide optimal comfort and efficiency.
Choosing the Right Materials
There are various types of electric heating elements available for in ceiling radiant heat systems, including cables, mats, and panels. Each type has its own advantages, and the choice will depend on factors such as ceiling construction, room size, and heating requirements.
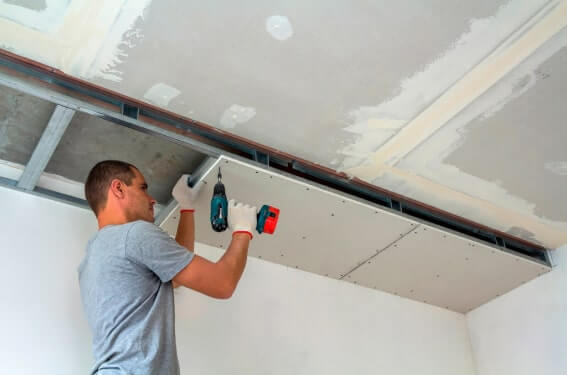
Preparing the Ceiling
Before installation, the ceiling must be prepared to accommodate the heating elements. This may involve removing existing ceiling materials, reinforcing the ceiling structure, and installing insulation to ensure efficient heat transfer.
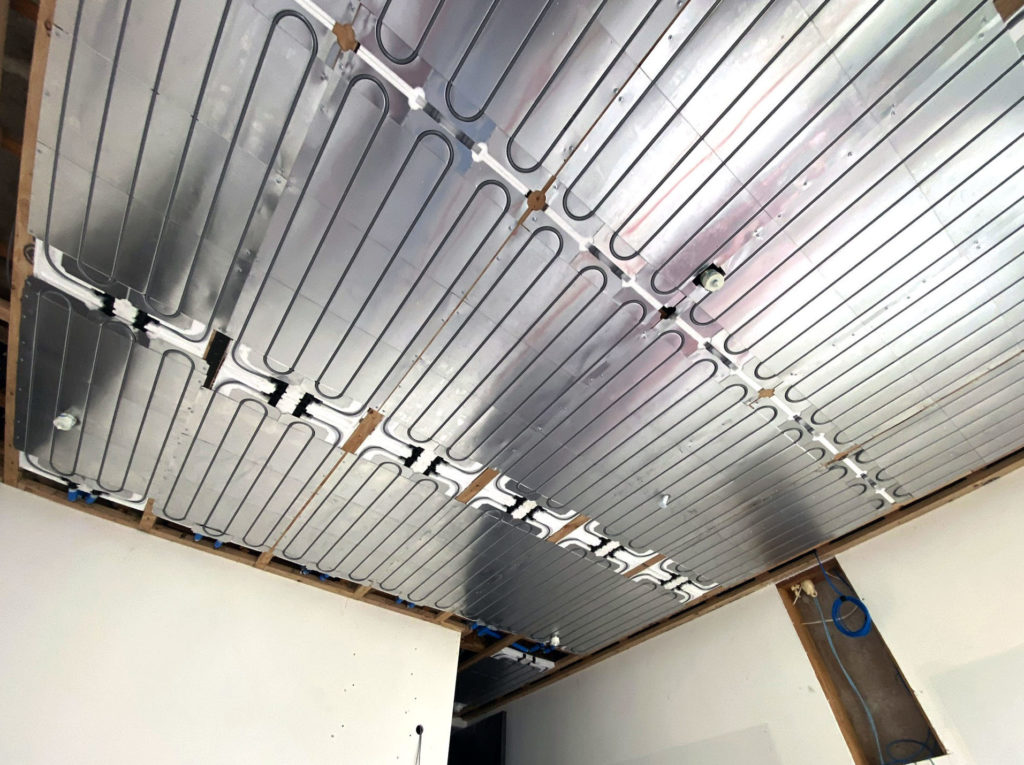
Installing the Heating Elements
The heating elements are then installed within or just above the ceiling. This process requires precise placement to ensure even heat distribution. The elements are connected to a thermostat, which allows for easy control of the temperature.
Finishing the Ceiling
After the heating elements are installed, the ceiling is finished with drywall, plaster, or other materials. It’s important to use materials that are compatible with radiant heat systems to ensure optimal performance and safety.
Comparing In Ceiling Electric Radiant Heat to Other Heating Systems
Radiant Floor Heating
Radiant floor heating is another popular option for radiant heat. While both systems offer similar benefits, there are some key differences. In ceiling electric radiant heat systems are easier to install in existing homes, as they do not require tearing up floors. Additionally, ceiling systems can provide more consistent heating in rooms with high ceilings or large windows.
Forced-Air Heating
Forced-air heating systems use ducts and vents to distribute warm air throughout the home. While they are common in many homes, they have several drawbacks compared to in ceiling electric radiant heat. Forced-air systems can create drafts, hot and cold spots, and noise. They also circulate dust and allergens, which can impact indoor air quality. Radiant heat systems, on the other hand, provide silent, even heating without affecting air quality.
Baseboard Heating
Baseboard heaters are another alternative to in ceiling electric radiant heat. While they are relatively easy to install and provide efficient heating, they take up wall space and can limit furniture placement. In ceiling systems offer a more discreet solution, freeing up floor and wall space for other uses.
Maintenance and Longevity
Low Maintenance Requirements
One of the advantages of in ceiling electric radiant heat systems is their low maintenance requirements. Unlike forced-air systems that require regular filter changes and duct cleaning, radiant heat systems have no moving parts and do not need frequent maintenance. Periodic checks by a professional can ensure that the system is operating efficiently and safely.
Longevity
In ceiling electric radiant heat systems are known for their durability and long lifespan. With proper installation and care, these systems can last for decades, providing reliable and efficient heating for your home. This longevity makes them a cost-effective investment in the long run.
Cost Considerations
Initial Installation Costs
The initial cost of installing an in ceiling electric radiant heat system can be higher than some other heating options. However, this cost is offset by the system’s energy efficiency and low maintenance requirements. Additionally, the installation costs can vary depending on the type of heating elements used, the size of the area to be heated, and the complexity of the installation.
Energy Savings
The energy savings provided by in ceiling electric radiant heat systems can result in lower utility bills over time. By reducing energy consumption and eliminating heat loss through ducts, these systems can provide significant cost savings, making them a financially sound choice.
Potential Incentives
In some areas, there may be incentives or rebates available for installing energy-efficient heating systems like in ceilings electric radiant heat. These incentives can help offset the initial installation costs and make the system more affordable.
Conclusion
In ceilings electric radiant heat offers a modern, efficient, and comfortable heating solution for homes. With its energy efficiency, even heat distribution, improved indoor air quality, and silent operation, it is an excellent alternative to traditional heating methods. While the initial installation cost may be higher, the long-term benefits and energy savings make it a worthwhile investment. Whether you’re building a new home or upgrading your existing heating system, in ceiling electric radiant heat is a smart choice for a cozy and efficient living space.