Drop ceiling tiles are a popular choice for many commercial and residential spaces due to their aesthetic appeal and practicality. However, like any other surface, they require regular maintenance to keep them looking their best. Cleaning drop ceiling tiles can be a bit tricky, especially if they are in hard-to-reach places or have accumulated significant dust and stains. This guide will provide you with detailed information on how to clean drop ceiling tiles effectively, ensuring they remain in excellent condition.
Understanding Drop Ceiling Tiles
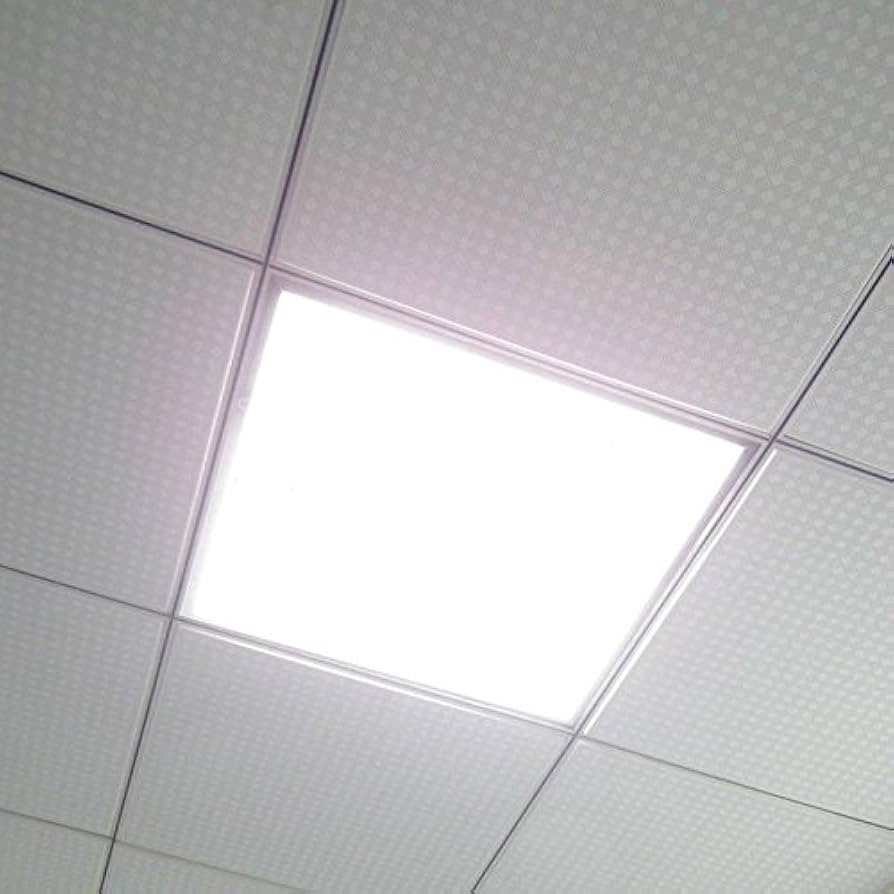
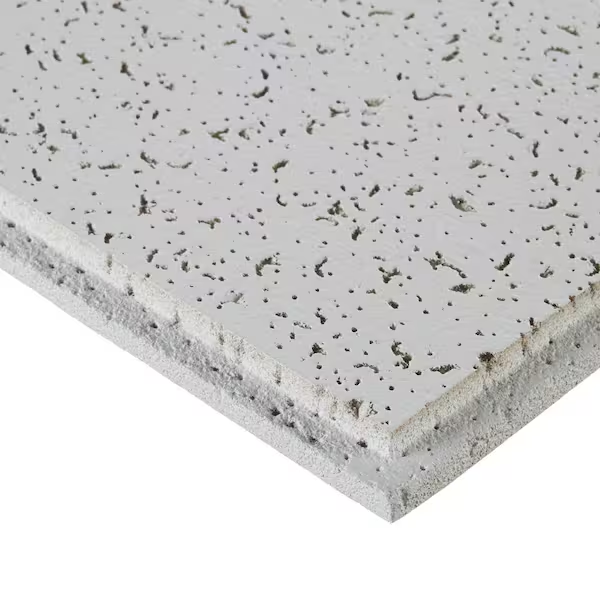
Drop ceiling tiles, also known as suspended ceiling tiles, are part of a ceiling system where tiles are suspended from a metal grid framework. They are often used in offices, schools, and homes for their ease of installation and ability to conceal wiring and ductwork. These tiles can be made from various materials, including mineral fiber, fiberglass, and PVC.
Over time, drop ceiling tiles can become dirty due to dust, smoke, and other airborne contaminants. Regular cleaning is essential to maintain their appearance and extend their lifespan.
Tools and Supplies for Cleaning Drop Ceiling Tiles
Before you start cleaning your drop ceiling tiles, gather the following tools and supplies:
- Vacuum Cleaner with a Brush Attachment: Ideal for removing loose dust and debris.
- Microfiber Cloths: For gentle wiping and cleaning without scratching.
- Cleaning Solution: Depending on the tile material, you may need a specific cleaner. A mild detergent solution works well for most tiles.
- Bucket: For mixing cleaning solutions.
- Step Ladder or Scaffolding: To reach higher areas safely.
- Sponge or Soft Brush: For scrubbing stubborn stains.
- Protective Gear: Such as gloves and a mask to protect yourself from dust and cleaning chemicals.
Read too: Flush Mount Rustic Ceiling Lights: Illuminate Your Space with Stunning
Cleaning Drop Ceiling Tiles: Step-by-Step Guide
1. Preparation
Turn Off HVAC Systems: Before cleaning, turn off any heating, ventilation, and air conditioning systems to prevent dust from circulating.
Remove Loose Dust: Use a vacuum cleaner with a brush attachment to gently remove loose dust and debris from the surface of the tiles. Be careful not to damage the tiles with excessive suction.
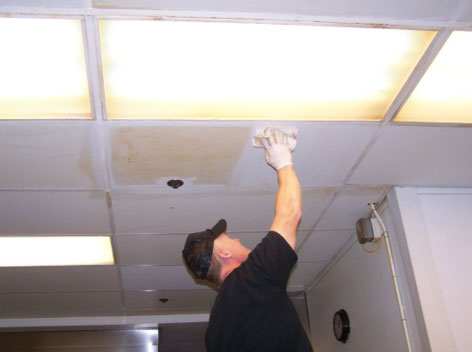
2. Spot Cleaning Stains
Identify the Stains: Determine the type of stains on the tiles. Common stains include water spots, grease, and general dirt.
Prepare Cleaning Solution: Mix a mild detergent with warm water in a bucket. For more delicate tiles, test the solution on a small, inconspicuous area first.
Apply the Solution: Dip a microfiber cloth or soft sponge into the cleaning solution. Wring out excess liquid to avoid over-wetting the tiles.
Clean the Stains: Gently wipe the stained areas using the cloth or sponge. For stubborn stains, use a soft brush or sponge to scrub lightly.
Rinse and Dry: After cleaning, use a clean, damp cloth to wipe away any remaining cleaning solution. Follow up by drying the area with a dry cloth or towel to prevent water spots.
3. Deep Cleaning
Remove Tiles: If the tiles are removable, carefully take them out of the grid. Place them on a flat surface covered with a drop cloth to protect them.
Clean in a Bathtub or Large Sink: For a more thorough clean, use a bathtub or large sink filled with warm, soapy water. Submerge the tiles and gently scrub with a soft brush or sponge.
Rinse Thoroughly: After scrubbing, rinse the tiles thoroughly with clean water to remove all soap residues.
Dry Completely: Allow the tiles to dry completely before reinstalling them. Ensure they are fully dry to prevent mold and mildew growth.
Reinstall the Tiles: Once dry, carefully place the tiles back into the grid.
Tips for Maintaining Drop Ceiling Tiles
Regular maintenance helps prevent excessive buildup and keeps your ceiling tiles looking fresh:
- Regular Dusting: Use a vacuum cleaner with a brush attachment to remove dust regularly.
- Monitor for Stains: Address stains promptly to prevent them from setting and becoming more difficult to remove.
- Control Humidity: Keep humidity levels in check to prevent mold and mildew growth.
- Inspect for Damage: Regularly check for signs of damage or wear and replace tiles as necessary.
Common Mistakes to Avoid
When cleaning drop ceiling tiles, avoid these common mistakes:
- Over-Wetting Tiles: Excess moisture can damage tiles and lead to mold growth. Always use a damp cloth rather than soaking the tiles.
- Using Harsh Chemicals: Strong chemicals can damage the finish of the tiles. Stick to mild detergents and test any new cleaner on a small area first.
- Scrubbing Too Hard: Abrasive scrubbing can scratch and damage tiles. Use a soft brush or cloth and gentle pressure.
- Neglecting Safety: Always use a step ladder or scaffolding when cleaning high areas and take necessary precautions to avoid accidents.
Conclusion
Cleaning drop ceiling tiles may seem like a daunting task, but with the right tools and techniques, you can maintain their appearance and functionality with ease. Regular cleaning and maintenance not only keep your tiles looking fresh but also extend their lifespan. By following the steps outlined in this guide, you can ensure that your drop ceiling tiles remain an attractive and integral part of your space.
With proper care and attention, your ceiling tiles will continue to enhance the aesthetic appeal of your environment while contributing to a clean and healthy indoor atmosphere.