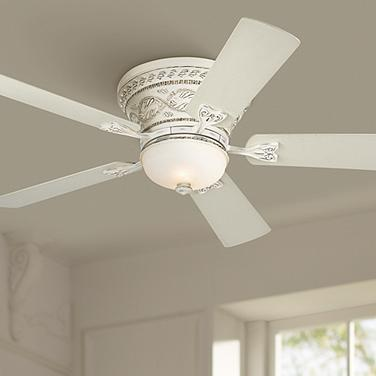
Ceiling fans are essential for maintaining comfort in your home, particularly during the warmer months. However, not all ceiling fans are created equal. One of the key features many homeowners look for is a quiet operation. If you’re seeking a fan that delivers a cooling breeze without the accompanying noise, you’ll want to find the most silent ceiling fan available. In this article, we’ll explore what makes a ceiling fan silent, highlight some top models, and provide tips for choosing the quietest fan for your space.
What Makes a Ceiling Fan Silent?
Before diving into specific models, it’s important to understand what factors contribute to a ceiling fan’s quiet operation. Here are some key elements that can impact a fan’s noise level:
1. Motor Type
The type of motor in a ceiling fan plays a significant role in its noise level. There are two main types of motors used in ceiling fans:
- AC Motors: Traditional ceiling fans use AC motors, which can be noisier due to the mechanical components and the way they operate. These motors have more moving parts, which can lead to additional noise.
- DC Motors: DC motors are a newer technology and are generally much quieter than AC motors. They have fewer moving parts and run more smoothly, which reduces noise levels. Fans with DC motors are typically the quietest options available.
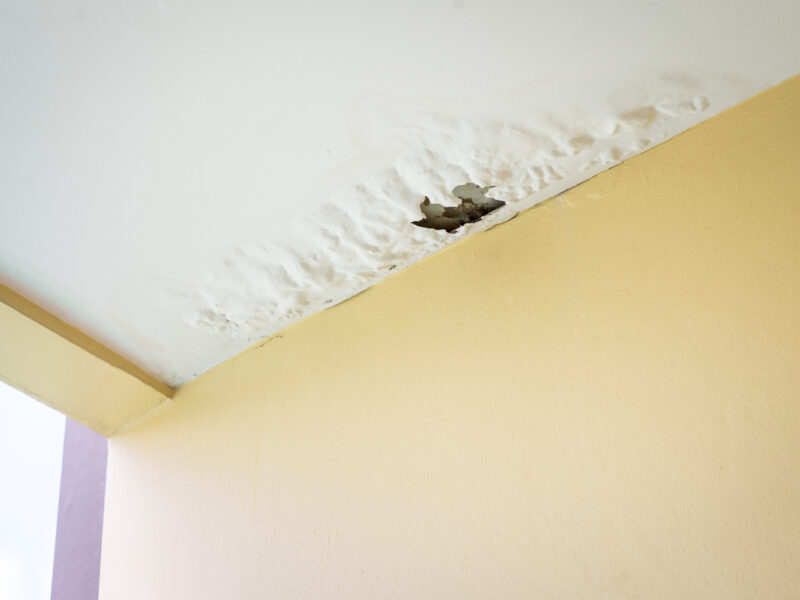
Read too: Bathroom Flooded Through the Ceiling: A Comprehensive Guide
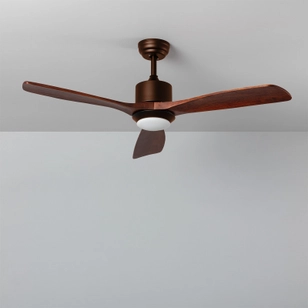
2. Blade Design
The design and material of the blades can also affect how much noise a ceiling fan makes. Blades that are well-balanced and aerodynamically designed help minimize noise. Additionally, materials such as plywood or plastic tend to be quieter than metal blades.
3. Installation
Proper installation is crucial for a quiet ceiling fan. An improperly installed fan can produce vibrations and rattling noises. Ensuring that the fan is securely mounted and that all components are tightened can help reduce operational noise.
4. Fan Size and Speed
Larger fans generally operate more quietly than smaller ones because they can move air more efficiently at lower speeds. Additionally, running the fan at lower speeds can also reduce noise.
Top Models of the Most Silent Ceiling Fans
When searching for the most silent ceiling fan, it’s helpful to look at specific models known for their quiet performance. Here are some top-rated options:
1. Haiku L Series by Big Ass Fans
The Haiku L Series is renowned for its silent operation. This fan features a DC motor and blades designed for maximum efficiency and minimal noise. It comes with a sleek design and offers a range of smart features, including a remote control and adjustable settings. The Haiku L Series is an excellent choice if you’re looking for a high-quality, quiet ceiling fan.
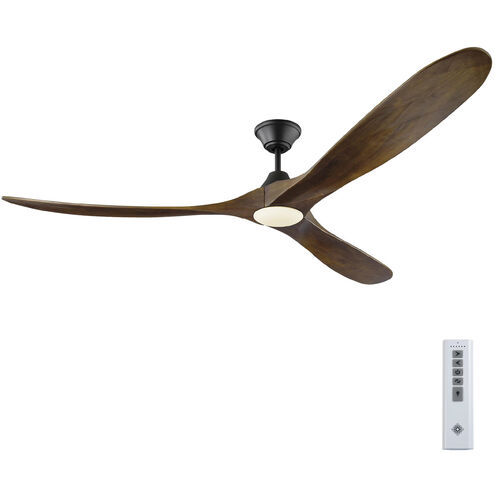
2. Minka-Aire Raptor Ceiling Fan
The Minka-Aire Raptor Ceiling Fan is another great option known for its quiet performance. It features a powerful yet silent motor and is designed with aerodynamic blades that help reduce noise. This fan is available in various finishes, making it a versatile choice for different interior styles.
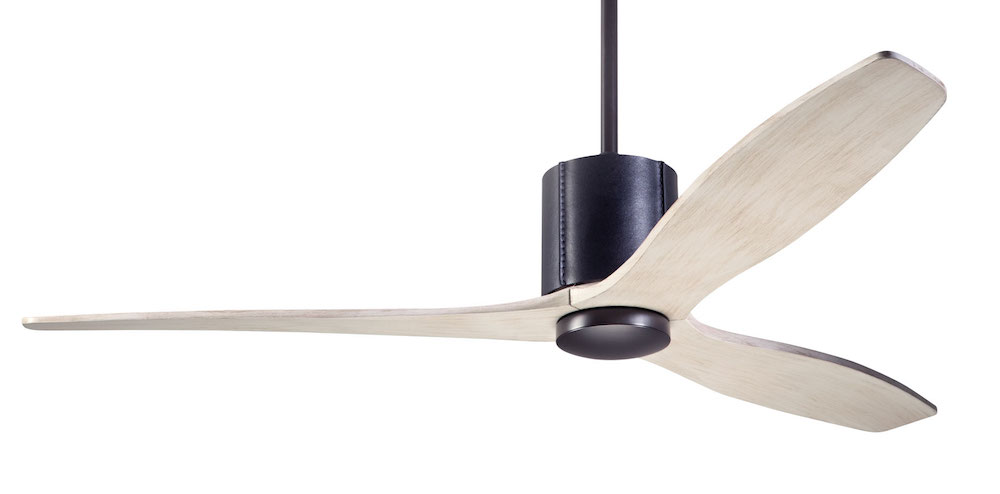
3. Casablanca Isotope Ceiling Fan
The Casablanca Isotope Ceiling Fan combines modern design with silent operation. It uses a DC motor and has a sleek, minimalistic design that complements various room styles. The fan’s quiet performance and energy efficiency make it a popular choice among homeowners.
4. Emerson Urbanjet Ceiling Fan
The Emerson Urbanjet Ceiling Fan is designed for quiet operation and energy efficiency. It features a DC motor and aerodynamic blades that minimize noise. This fan also comes with a modern design, making it suitable for contemporary interiors.
How to Choose the Most Silent Ceiling Fan
Selecting the most silent ceiling fan for your home involves considering several factors. Here are some tips to help you make the best choice:
1. Look for a DC Motor
As mentioned earlier, DC motors are quieter than AC motors. When shopping for a ceiling fan, prioritize models with DC motors to ensure minimal noise.
2. Check for Noise Ratings
Some manufacturers provide noise ratings for their fans. Look for information on decibel levels (dB) to compare the noise levels of different models. Lower decibel levels indicate quieter operation.
3. Read Customer Reviews
Customer reviews can provide valuable insights into the performance and noise levels of different ceiling fans. Look for reviews specifically mentioning quiet operation to find models that meet your needs.
4. Consider the Fan Size
Larger fans generally operate more quietly than smaller ones. Ensure that the fan you choose is appropriately sized for the room where it will be installed.
5. Professional Installation
Ensure that your ceiling fan is installed by a professional to avoid issues with noise caused by improper installation. A properly installed fan will operate more smoothly and quietly.
Benefits of Choosing a Silent Ceiling Fan
1. Enhanced Comfort
A quiet ceiling fan contributes to a more comfortable living environment by providing cooling without disruptive noise. This is especially important for spaces where relaxation or concentration is needed, such as bedrooms or home offices.
2. Improved Sleep Quality
Noise can disrupt sleep, so having a ceiling fan that operates quietly can help create a more restful sleeping environment. The gentle breeze from a silent fan can enhance sleep quality without disturbing your rest.
3. Reduced Distractions
In home offices or study areas, a silent ceiling fan helps maintain focus and concentration by eliminating background noise. This can improve productivity and create a more conducive work environment.
4. Increased Property Value
A high-quality, silent ceiling fan can enhance the overall appeal of your home, potentially increasing its value. Buyers often appreciate the comfort and efficiency provided by a well-designed ceiling fan.
Conclusion
Finding the most silent ceiling fan involves looking for features such as a DC motor, aerodynamic blade design, and proper installation. Models like the Haiku L Series, Minka-Aire Raptor, Casablanca Isotope, and Emerson Urbanjet offer exceptional quiet performance, making them excellent choices for any home.
By considering factors such as motor type, blade design, and customer reviews, you can select a ceiling fan that enhances your comfort without the distraction of noise. Investing in a silent ceiling fan not only improves your living environment but also adds value to your home.