When it comes to transforming a room into a visually stunning space, the ceiling is often the last thing that homeowners think about. However, a vaulted ceiling adorned with faux beams can dramatically enhance the architectural beauty of any room. Faux beams vaulted ceiling designs have grown in popularity over the years for their ability to add texture, character, and sophistication without the high cost of real wood beams.
If you’re considering a renovation or just want to elevate your home’s design, faux beams on a vaulted ceiling are an excellent choice. This article will explore how to incorporate faux beams into your vaulted ceilings, the benefits of using faux beams, and tips for choosing the right style for your home.
Read too: Shiplap Ceiling in Kitchen: A Timeless Trend for a Stylish and Cozy Space
What Are Faux Beams?
Before diving into how they can be used on vaulted ceilings, it’s essential to understand what faux beams are. Faux beams are designed to replicate the look and texture of real wood beams but are made from lighter, less expensive materials like polyurethane, polystyrene, or fiberglass. These materials are molded to imitate the appearance of wood grains, knots, and finishes, creating an authentic aesthetic at a fraction of the cost and weight of real wooden beams.
Faux beams can be painted or stained to match a variety of home decors, from rustic to modern. They are particularly useful in vaulted ceilings, where real wooden beams would be heavy and challenging to install. Faux beams are both practical and stylish, offering a unique way to enhance any room with a soaring, dramatic ceiling.
Why Choose Faux Beams for Your Vaulted Ceiling?
Faux beams vaulted ceiling installations are increasingly popular for several reasons. Here are some of the top benefits of choosing faux beams for your vaulted ceiling:
1. Cost-Effective
One of the biggest advantages of faux beams is their cost. Authentic wooden beams are expensive due to the materials and labor involved in installation. Faux beams, on the other hand, are significantly more affordable while still providing the same aesthetic appeal. This makes them an ideal choice for homeowners looking to upgrade their vaulted ceiling without breaking the bank.
2. Lightweight and Easy to Install
Faux beams are made from lightweight materials that are much easier to handle and install compared to real wooden beams. This is especially important for vaulted ceilings, where installing heavy wooden beams can be difficult and require extra support. Faux beams are often designed to fit over existing ceiling structures, making installation much faster and simpler.
3. Durability
Unlike real wood, faux beams are resistant to rot, pests, and warping. Wood beams can crack or warp over time due to exposure to moisture, but faux beams retain their shape and appearance for years. They also do not require as much maintenance, such as regular staining or sealing, making them a more practical option in the long run.
4. Design Flexibility
Faux beams come in various styles, colors, and finishes, which gives homeowners the freedom to choose a design that best complements their interior style. Whether you prefer a rustic farmhouse look or a sleek, modern finish, there’s a faux beam style for every aesthetic. Additionally, faux beams can be customized to fit any ceiling size, making them a versatile option for both large and small rooms.
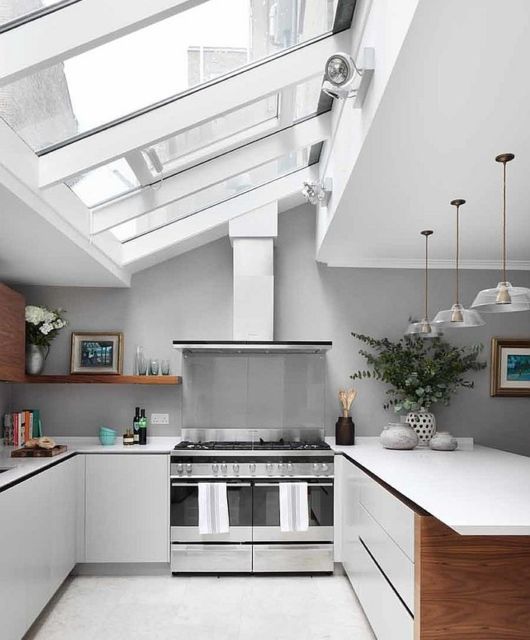
How to Incorporate Faux Beams into a Vaulted Ceiling
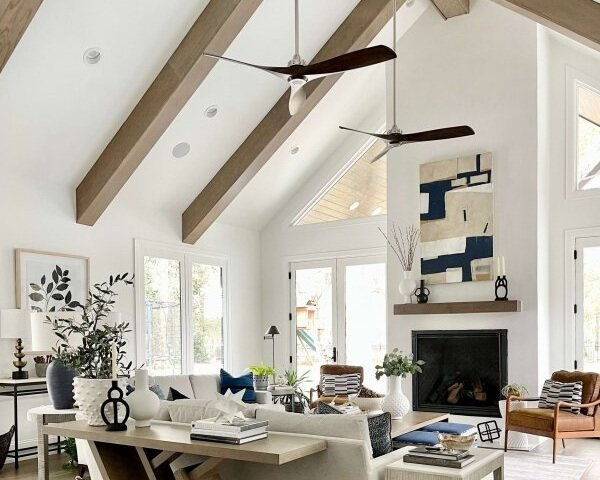
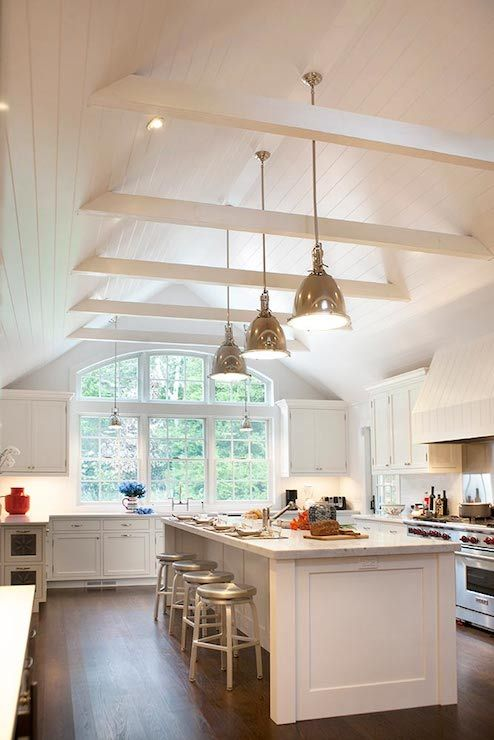
A faux beams vaulted ceiling can transform an ordinary room into a dramatic space with visual interest. The installation of faux beams in a vaulted ceiling can emphasize the height of the room, drawing the eyes upward and creating a sense of grandeur. Here are a few ways to incorporate faux beams into your vaulted ceiling:
1. Parallel Beams
One of the most common methods of installing faux beams in a vaulted ceiling is by placing them in parallel rows. This arrangement helps to highlight the height and structure of the vaulted ceiling, drawing attention to its architectural features. Parallel beams can be evenly spaced for a clean and organized look, or they can be staggered for a more relaxed, natural appearance.
2. Crossed Beams
For a more dramatic and intricate design, consider installing crossed faux beams. Crossed beams create a stunning crisscross pattern that adds a sense of depth and visual complexity to your vaulted ceiling. This option works especially well in large, open spaces where the ceiling has a high pitch.
3. Exposed Beams
Another popular option is to have faux beams exposed on the ceiling. This design approach works especially well in rooms with high ceilings, as the beams will draw attention to the vertical space and create an open, airy feel. Exposed faux beams can be placed parallel or in a grid pattern for added sophistication.
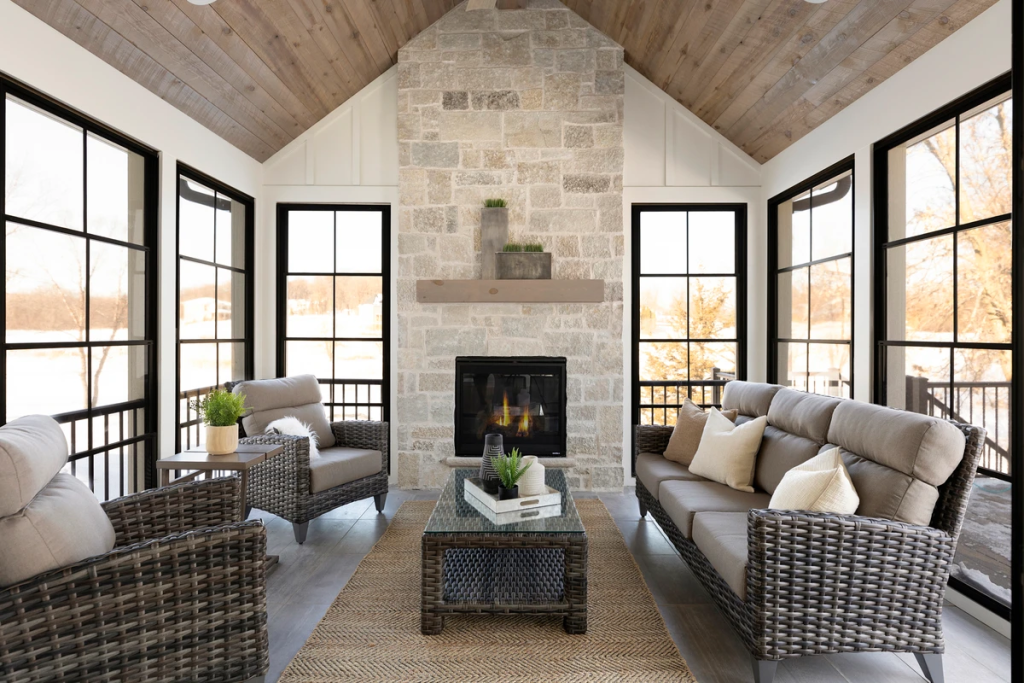
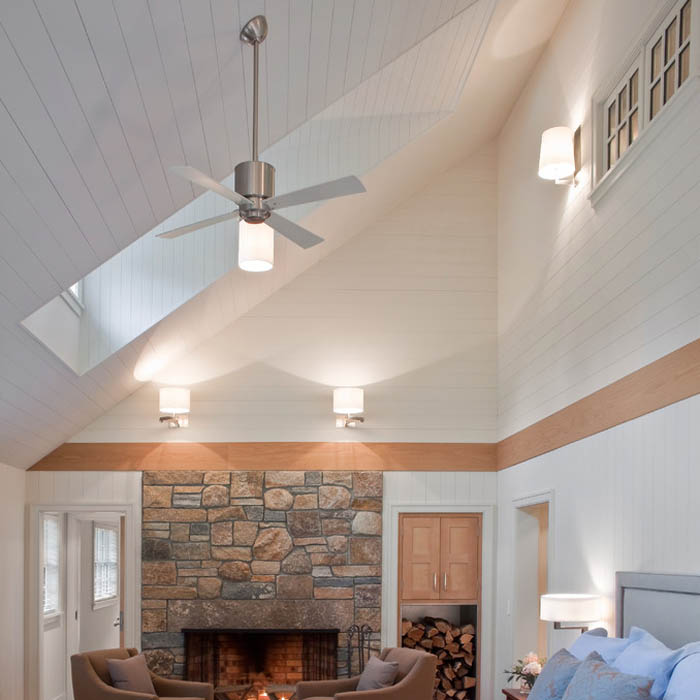
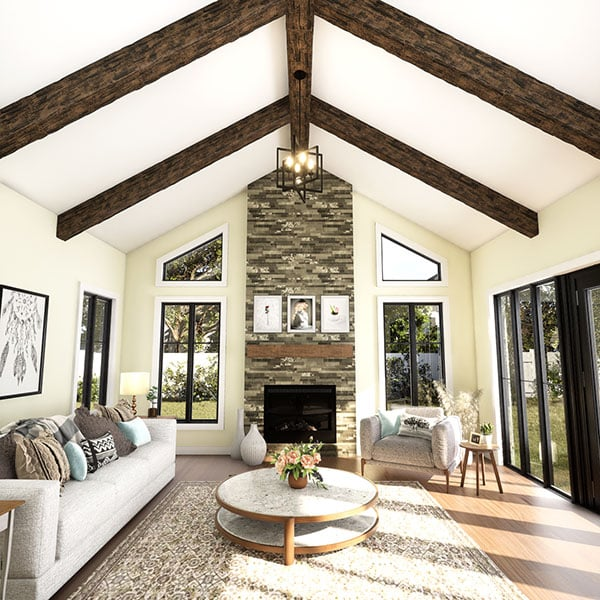
4. Accent Beams
If you don’t want to overwhelm the space with too many beams, you can opt for a few accent faux beams placed strategically across the vaulted ceiling. These beams can be used to highlight specific areas of the room, such as over a fireplace or above a dining area. This subtle approach can still give your ceiling the architectural detail it needs without being too overpowering.
Choosing the Right Style and Finish for Faux Beams
When deciding on faux beams vaulted ceiling designs, it’s essential to choose a style and finish that complements the rest of the room’s décor. Faux beams come in various styles, each offering its own unique aesthetic. Here are some considerations for choosing the right faux beams:
1. Rustic Style
If your home has a country, farmhouse, or rustic design, faux beams made to look like reclaimed wood or distressed timber are an excellent choice. These beams can provide a cozy, vintage feel, giving your vaulted ceiling a charming, lived-in look. Pair these beams with stone walls, warm colors, and natural textures to enhance the rustic vibe.
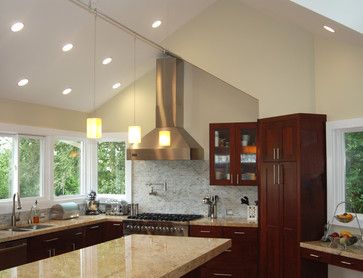
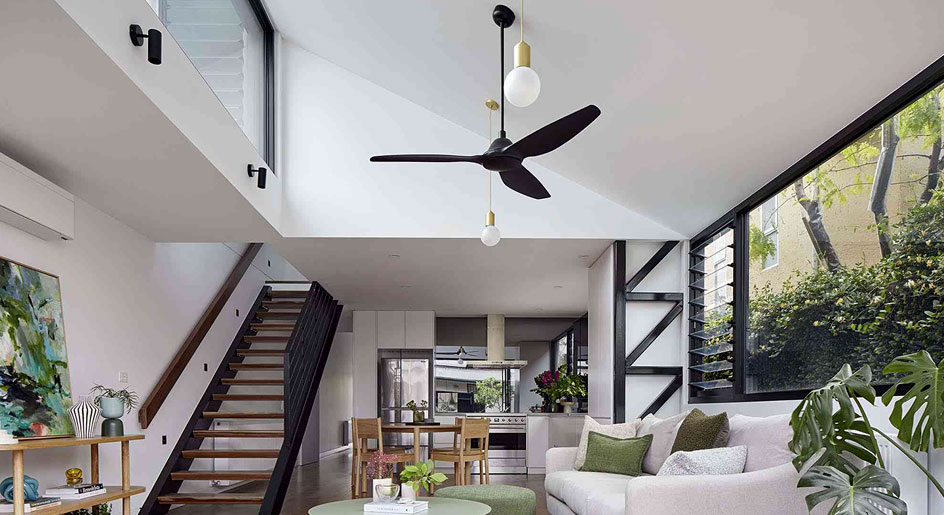
2. Modern Style
For more contemporary homes, consider faux beams with a sleek, smooth finish. Modern faux beams are often available in solid colors, such as dark gray or black, and can be designed with minimalist lines that complement a modern aesthetic. These beams will add interest to your vaulted ceiling while maintaining a clean and sophisticated look.
3. Traditional Style
In a traditional home, faux beams in wood finishes such as oak or cherry wood can lend a classic and timeless look. These beams are often designed to imitate the appearance of heavy, solid wood beams that were popular in older architectural styles. The rich, natural look of these faux beams pairs beautifully with classic furniture and decorative elements.
4. Industrial Style
For an industrial-style home, faux beams in weathered metal finishes or rough-hewn wood finishes can add character and authenticity to your vaulted ceiling. These beams evoke the industrial charm of old warehouses and factories, creating an edgy and urban look in your home.
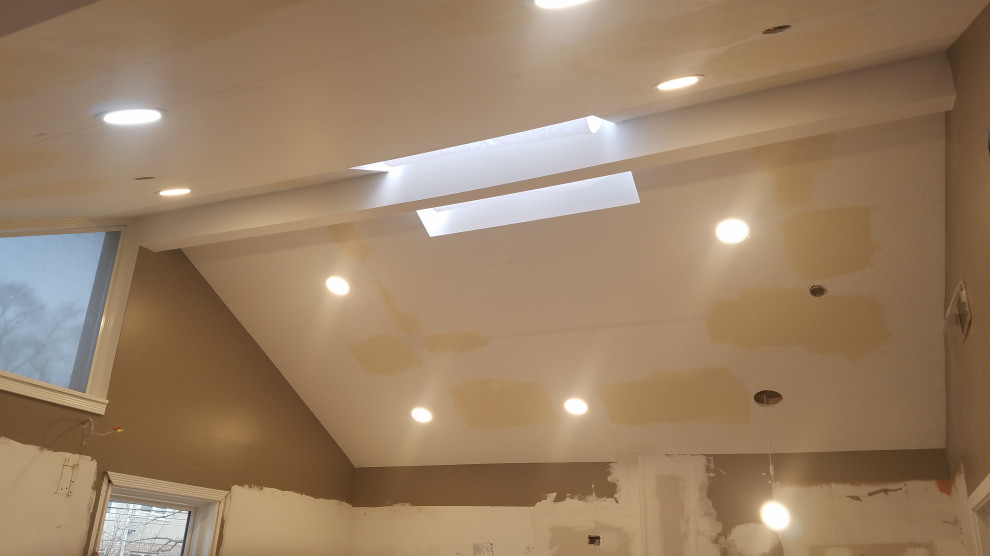
Installation Tips for Faux Beams on a Vaulted Ceiling
Installing faux beams on a vaulted ceiling can be a simple and rewarding DIY project, but it’s important to follow certain steps to ensure a professional result. Here are some tips to help you with the installation:
1. Measure and Plan
Before purchasing your faux beams, measure the dimensions of your vaulted ceiling to determine how many beams you need and how they should be spaced. Planning your layout ahead of time will ensure the beams are placed correctly and evenly across the ceiling.
2. Choose the Right Fasteners
Depending on the type of faux beams you choose, you’ll need the right fasteners to install them. Many faux beams come with pre-drilled holes or installation brackets, making the process easier. Be sure to select fasteners that are suitable for your ceiling material (drywall, plaster, etc.) to ensure the beams are securely attached.
3. Use Proper Safety Gear
When working with tools and ladders, always wear proper safety gear, such as goggles, gloves, and a dust mask. Working at heights on a vaulted ceiling requires extra care, so ensure you have a sturdy ladder and the necessary equipment to complete the installation safely.
Final Thoughts on Faux Beams Vaulted Ceiling Designs
Faux beams on a vaulted ceiling can completely transform the look of any room, adding visual interest, architectural detail, and a sense of elegance. Whether you’re aiming for a rustic farmhouse look or a sleek, modern design, faux beams offer a cost-effective and versatile way to enhance your vaulted ceiling without the challenges of installing heavy, expensive real wood beams.
By choosing the right material, style, and finish for your faux beams, you can create a stunning focal point that will elevate your home’s décor for years to come.