Lighting is one of the most important aspects of interior design, yet it is often overlooked when people plan or renovate their spaces. A well-lit room not only enhances the aesthetics but also improves functionality, safety, and mood. If you’re working with a drop ceiling, you may find yourself in need of a lighting solution that complements both the space’s design and its function. In this case, a Drop Ceiling Light Fixture could be the perfect addition.
A Drop Ceiling Light Fixture is a light fixture designed to be mounted in the ceiling grid system of a drop ceiling, offering a seamless and aesthetically pleasing lighting solution. This article will explore the various types of drop ceiling light fixtures, the benefits of installing them, and how to choose the right one for your space.
What is a Drop Ceiling?
Before diving into the specifics of Drop Ceiling Light Fixtures, it’s important to understand what a drop ceiling is and why it’s commonly used in various types of spaces.
A drop ceiling, also known as a suspended ceiling, consists of a grid system suspended from the original ceiling, with tiles or panels placed within the grid. This type of ceiling is often used in commercial spaces, basements, and garages, where access to pipes, wires, and HVAC systems is necessary but needs to be concealed for aesthetic reasons. A drop ceiling can create a clean, uniform look while also making it easier to install lighting, ventilation, and other utilities without disrupting the integrity of the original ceiling.
Read too: Discovering the Charm of Nautical Outdoor Ceiling Fans for Your Coastal Retreat: Sail into Style
The Role of Drop Ceiling Light Fixtures
Drop Ceiling Light Fixtures are designed specifically to be installed within the grid of a drop ceiling. These fixtures can range from simple, functional designs to more stylish and decorative options, depending on the style of your space and the lighting effect you’re trying to achieve. Whether you’re lighting an office, a conference room, a basement, or even a garage, a drop ceiling light fixture can provide optimal lighting solutions.
Here are some key benefits of using Drop Ceiling Light Fixtures:
1. Space Efficiency
A drop ceiling allows you to utilize the space below the ceiling grid, which can be particularly useful in rooms with low ceilings. A Drop Ceiling Light Fixture is designed to fit within this limited space while providing the necessary illumination. Unlike traditional ceiling-mounted lights, which require additional clearance or can make the ceiling appear lower, drop ceiling fixtures fit seamlessly into the grid, making the space feel more open.
2. Improved Aesthetics
Drop Ceiling Light Fixtures are available in a wide range of designs, from basic fluorescent lights to sleek and modern LED panels. This variety makes it easy to find a lighting solution that complements the decor of your space. The fixtures are integrated into the ceiling grid, which helps create a clean, uniform look without bulky or obtrusive light fixtures hanging down.
3. Energy Efficiency
Many Drop Ceiling Light Fixtures are designed with energy efficiency in mind. For instance, LED light fixtures are popular options for drop ceilings because they consume less power than traditional lighting while providing a brighter, more consistent light. Installing energy-efficient lighting can help reduce your electricity bills and lower your environmental footprint.
4. Ease of Installation
Installing a Drop Ceiling Light Fixture is relatively straightforward, especially for those who already have a drop ceiling in place. The grid system is designed to accommodate various types of fixtures, including lights, which makes it simple to add or replace lights as needed. This flexibility is particularly beneficial for spaces that require frequent updates or upgrades.
Types of Drop Ceiling Light Fixtures
There are several types of Drop Ceiling Light Fixtures to choose from, each with its own unique advantages. Let’s take a look at some of the most popular options available on the market:
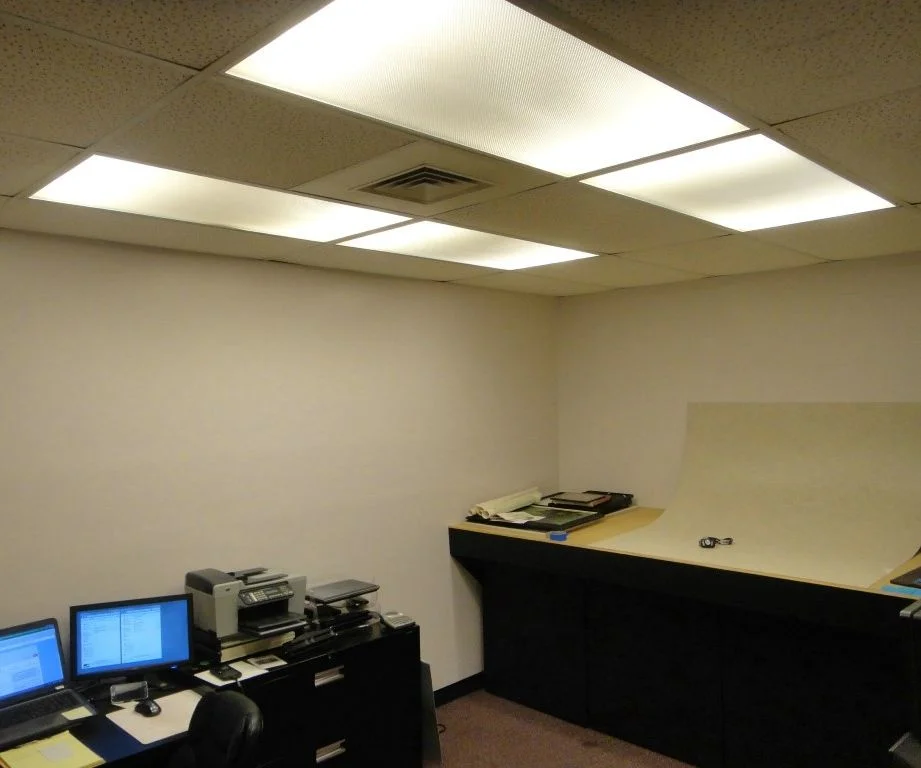
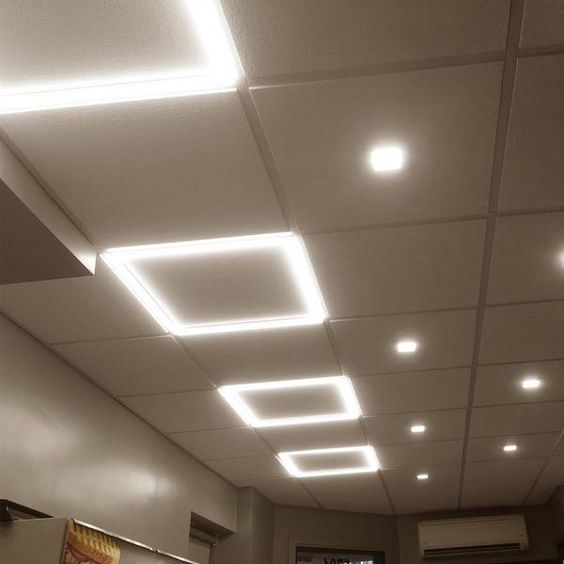
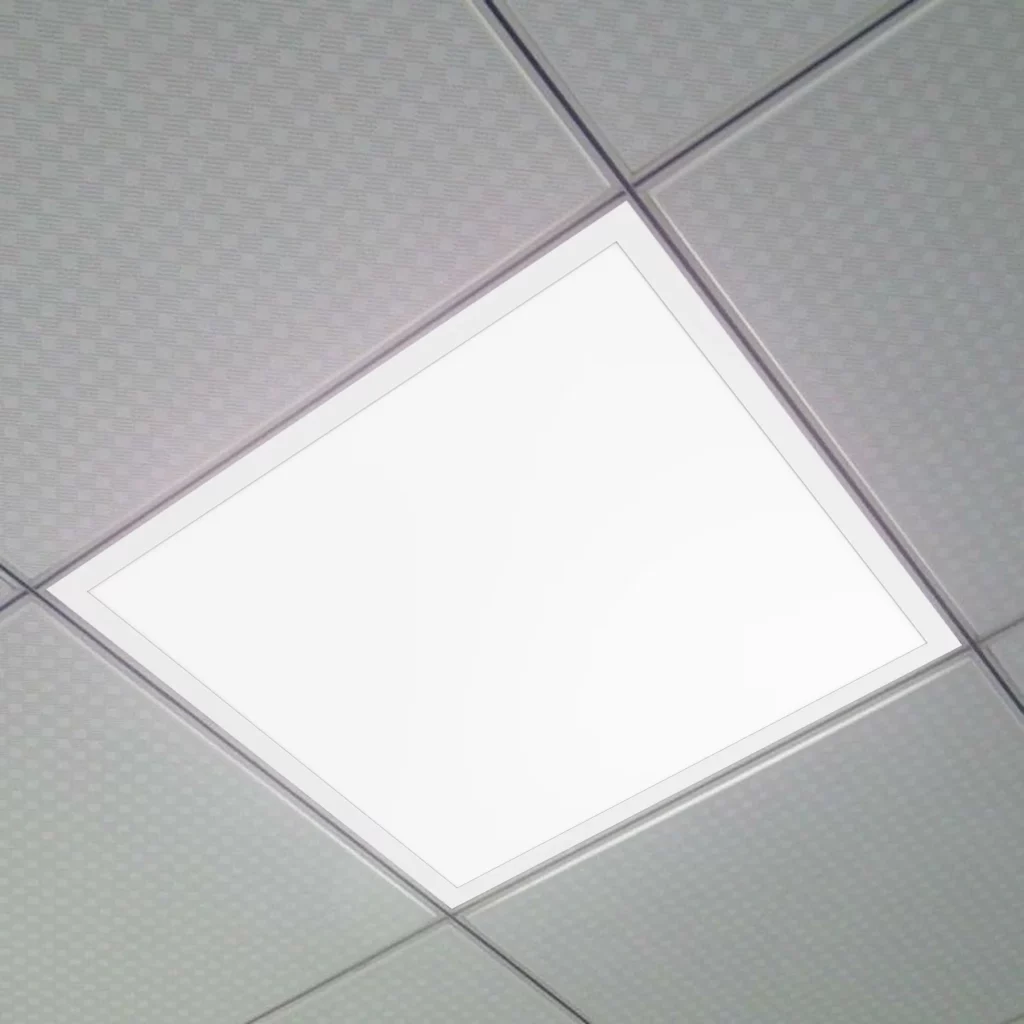
1. Recessed Lighting Panels
Recessed lighting panels are a popular choice for drop ceiling installations, especially in commercial spaces like offices or conference rooms. These fixtures are embedded directly into the ceiling grid, offering a sleek and modern look. Recessed lighting panels are available in various sizes and can be fitted with LED bulbs for energy efficiency. These lights provide a clean, uniform distribution of light and are perfect for illuminating larger spaces without creating harsh shadows.
2. Fluorescent Light Fixtures
Fluorescent light fixtures are a traditional option for Drop Ceiling Light Fixtures, and they have been widely used in office buildings, warehouses, and other commercial settings. And fluorescent lights are known for their bright and even illumination, making them a practical choice for spaces where visibility is essential. Though they are not as energy-efficient as LED options, they are still widely used because of their cost-effectiveness.
3. LED Troffers
LED troffers are an energy-efficient alternative to fluorescent light fixtures and are commonly used in drop ceiling applications. These fixtures are designed to fit into standard ceiling grids and provide bright, even light. LED troffers last longer than fluorescent lights, making them a more sustainable option. They are also available in various color temperatures, allowing you to choose the right lighting for your space. Whether you prefer a cool white light for a more energetic vibe or a warm white light for a more relaxed atmosphere, LED troffers provide flexibility.
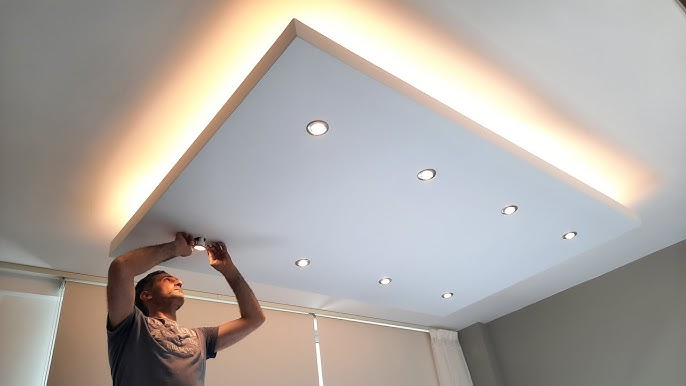
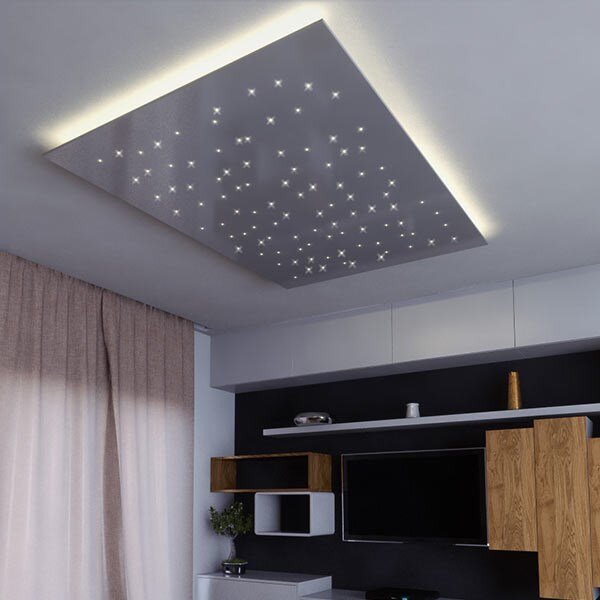
4. Cove Lighting
Cove lighting is a lighting style that uses Drop Ceiling Light Fixtures to direct light upwards, creating a soft, ambient glow around the edges of a room. This type of lighting is often used for decorative purposes and can add a touch of elegance to your space. Cove lighting can be achieved with specialized fixtures or by installing LED strips along the perimeter of the drop ceiling.
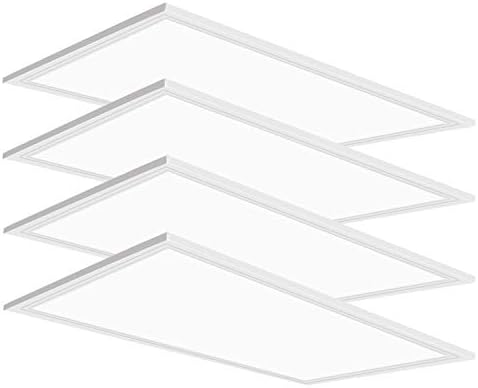
5. Panel Lights
Panel lights are flat light fixtures that offer a contemporary, low-profile look. These are great for spaces where you want a minimalist, modern design. Panel lights can be installed in place of traditional drop ceiling tiles and are available in both LED and fluorescent options. They provide even, glare-free light and are perfect for both residential and commercial spaces.
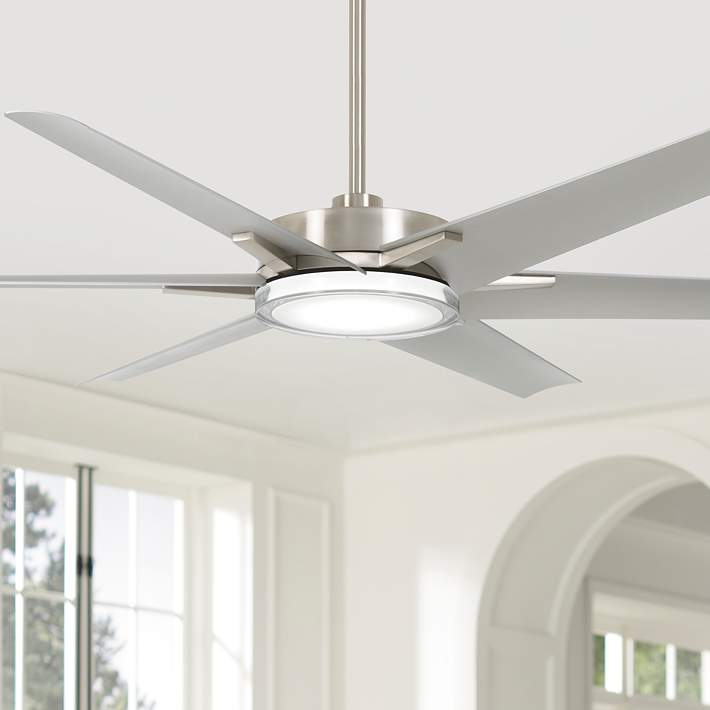
6. Suspended Light Fixtures
For a more dramatic and stylish effect, suspended Drop Ceiling Light Fixtures can be used. These fixtures hang down slightly below the ceiling grid, providing a modern design element to the room. Suspended fixtures are available in a wide range of styles, from simple pendants to more intricate, chandelier-like designs.
How to Choose the Right Drop Ceiling Light Fixture
Choosing the right Drop Ceiling Light Fixture for your space can be a bit challenging due to the many options available. Here are a few tips to help you make the right decision:
1. Consider the Size of Your Space
The size of the room should influence your choice of light fixtures. For larger spaces, such as offices or warehouses, you may want to opt for fixtures that provide bright, widespread light, such as LED troffers or recessed lighting panels. For smaller spaces, panel lights or fluorescent fixtures may be sufficient.
2. Think About the Desired Lighting Effect
What kind of ambiance do you want to create in the room? If you’re looking for bright, task-oriented lighting, recessed or troffer lights may be the best option. For a softer, more ambient light, cove lighting or suspended fixtures can provide a more relaxing atmosphere.
3. Energy Efficiency
Energy efficiency is an important factor to consider, especially if you’re looking to save on electricity bills. LED light fixtures are the most energy-efficient option, offering long-lasting illumination while consuming less power. If energy efficiency is a priority, opt for LED Drop Ceiling Light Fixtures.
4. Aesthetic Preferences
The aesthetic of your space should also guide your decision. For modern, sleek spaces, recessed lighting or panel lights may be ideal. For a more decorative touch, suspended fixtures or cove lighting may be better suited to your needs.
Conclusion
A Drop Ceiling Light Fixture is an essential component for illuminating and enhancing any room with a drop ceiling. Whether you’re looking to improve the aesthetics, functionality, or energy efficiency of your space, the right light fixture can make all the difference. From recessed lighting panels to LED troffers and suspended fixtures, there are numerous options available to suit various needs and preferences.
When selecting a light fixture, be sure to consider factors such as the size of the room, the type of lighting effect you desire, and your aesthetic preferences. With the right Drop Ceiling Light Fixture, you can create a well-lit, stylish, and efficient space that enhances both form and function.