When it comes to lighting design, few fixtures can match the timeless elegance of a Milk Glass Ceiling Light. This style not only serves a functional purpose but also enhances the aesthetic appeal of any room. In this comprehensive guide, we will explore the history, design options, benefits, and installation tips related to milk glass ceiling lights. Whether you are renovating your home or simply looking to refresh your lighting scheme, this article has you covered.
Understanding Milk Glass
What is Milk Glass?
Milk glass, often characterized by its opaque white appearance, has a rich history that dates back to the 16th century. Initially used in decorative items, its versatility and beauty eventually made it a popular choice for lighting fixtures. The soft, diffused light produced by milk glass creates a warm and inviting atmosphere, making it ideal for various spaces in your home.
The Historical Significance
Milk glass has been utilized in home décor since the Victorian era. Its unique properties allowed for intricate designs that could be mass-produced, making it accessible to the average consumer. In the mid-20th century, milk glass ceiling lights became particularly fashionable, often found in homes and public buildings. Today, this retro style is experiencing a resurgence, appealing to both vintage enthusiasts and modern homeowners alike.
Read too: Discovering the Charm of Nautical Outdoor Ceiling Fans for Your Coastal Retreat: Sail into Style
The Allure of Milk Glass Ceiling Lights
Aesthetic Appeal
One of the primary reasons homeowners choose Milk Glass Ceiling Light fixtures is their aesthetic versatility. They can complement a wide range of interior styles, from traditional to contemporary. The soft glow emitted by milk glass helps to create a serene environment, making it suitable for living rooms, bedrooms, and kitchens.
Variety of Designs
Milk glass ceiling lights come in numerous designs, allowing homeowners to select a fixture that best fits their decor. Here are some popular styles:
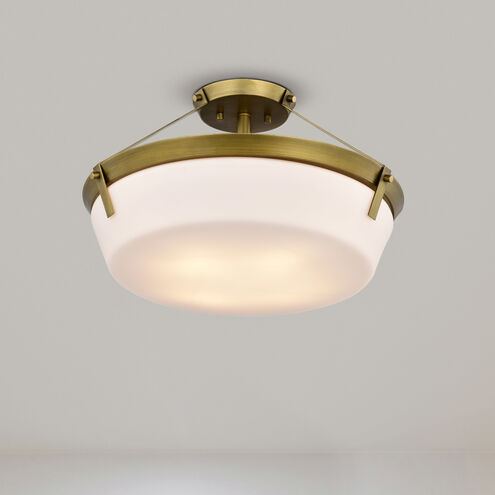
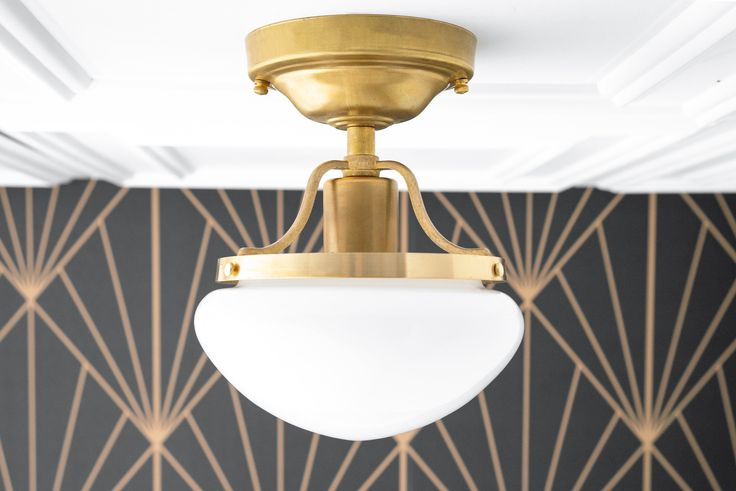
- Flush Mounts: These fixtures are mounted directly against the ceiling, making them ideal for rooms with low ceilings. They provide ample light without sacrificing space.
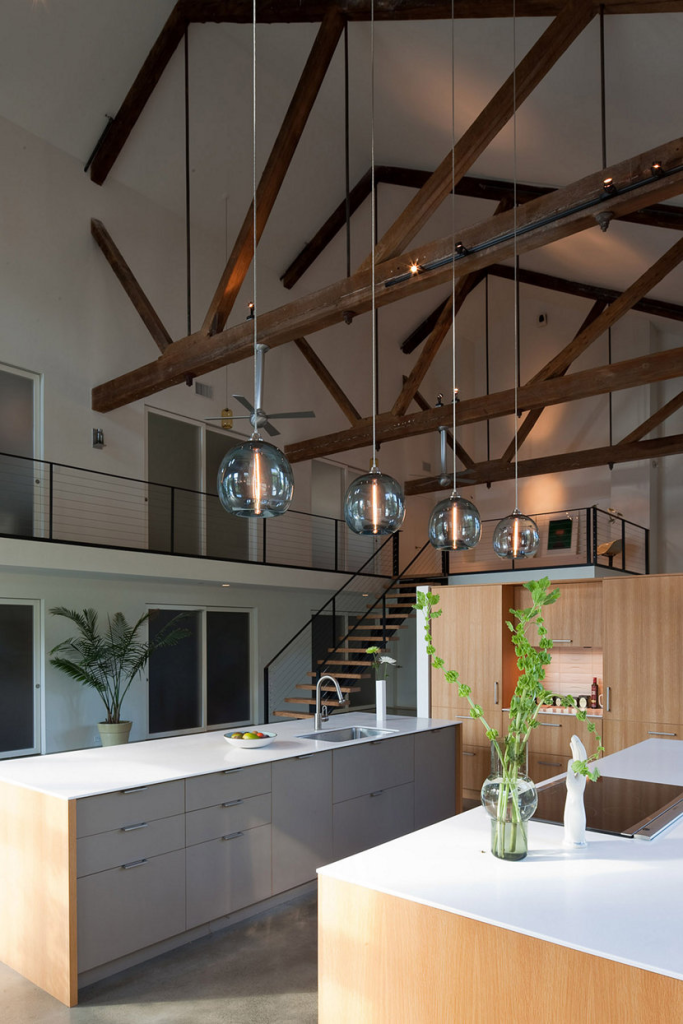
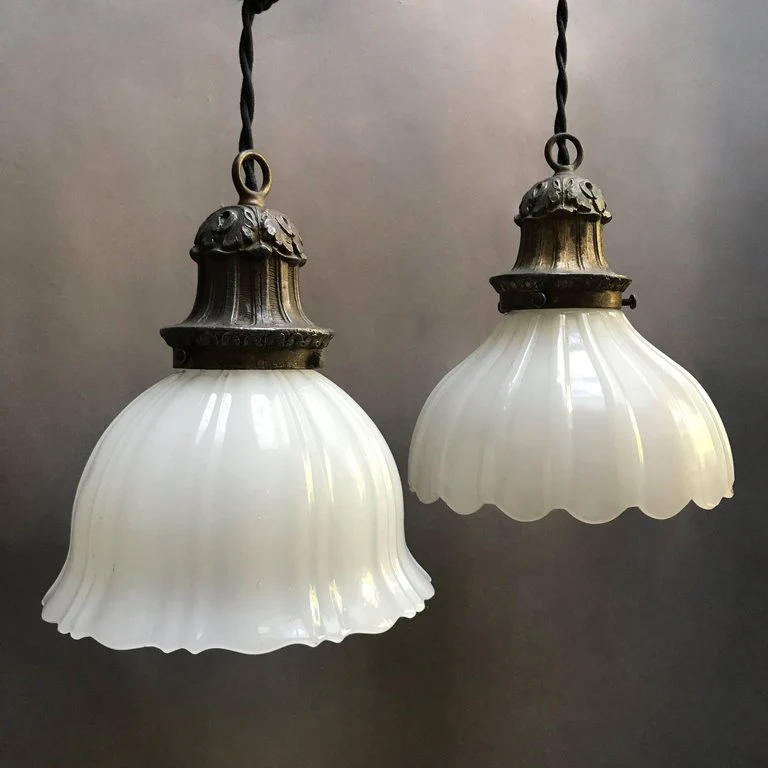
- Pendant Lights: Hanging pendant fixtures can serve as a statement piece in any room. With various shapes and sizes, they can be used individually or grouped for a more dramatic effect.
- Chandeliers: For a touch of elegance, milk glass chandeliers add a sophisticated flair. They work well in dining rooms and entryways, drawing the eye upward.
- Sconces: Wall-mounted milk glass sconces can enhance the lighting in hallways or beside mirrors, providing both style and functionality.
Soft Lighting Effect
The opaque nature of milk glass diffuses light, creating a soft, even glow that reduces harsh shadows and glare. This quality makes it an excellent choice for spaces where you want to create a warm, inviting ambiance. For example, using milk glass ceiling lights in a dining area can foster a cozy atmosphere during family meals.
Benefits of Milk Glass Ceiling Lights
Durability
Milk glass is a sturdy material that can withstand daily use. Unlike plastic fixtures that may yellow or become brittle over time, quality milk glass maintains its appearance with minimal maintenance. This durability makes milk glass ceiling lights a long-lasting choice for your home.
Easy to Clean
Maintaining the beauty of milk glass fixtures is relatively simple. Most can be wiped clean with a damp cloth to remove dust and grime, ensuring they remain looking fresh and new. Regular cleaning helps to maximize light output and enhance the overall aesthetic of your space.
Versatile Compatibility
Milk glass ceiling lights can be paired with various bulb types, including LED, incandescent, and CFL. This versatility allows homeowners to select the brightness and color temperature that best suits their needs, whether they want warm, inviting light or cooler, brighter illumination.
Installation Tips for Milk Glass Ceiling Lights
Tools Required
Before starting the installation process, gather the necessary tools. You will typically need:
- Screwdriver
- Wire cutters
- Electrical tape
- Voltage tester
- Ladder
Safety First
Always turn off the power at the circuit breaker before beginning any electrical work. This precaution helps prevent accidents and ensures a safe installation process.
Step-by-Step Installation
- Remove the Old Fixture: If you are replacing an existing light, carefully remove it by unscrewing the mounting bracket and disconnecting the wires.
- Prepare the New Fixture: Follow the manufacturer’s instructions for assembling your new milk glass ceiling light. This may include attaching the glass shade to the base.
- Connect the Wires: Connect the fixture’s wires to the ceiling wiring. Typically, the black wire connects to the black (hot) wire, and the white wire connects to the white (neutral) wire. Secure the connections with wire nuts and wrap with electrical tape for added safety.
- Mount the Fixture: Secure the fixture to the ceiling using the provided mounting bracket. Ensure it is flush against the ceiling for a professional appearance.
- Install the Bulb: Insert the appropriate bulb, ensuring it is securely fitted.
- Test the Light: Once everything is connected and secured, turn the power back on and test your new milk glass ceiling light.
Creative Ways to Use Milk Glass Ceiling Lights
In the Kitchen
Milk glass ceiling lights can enhance the look of your kitchen while providing excellent task lighting. Consider pendant lights above an island or a flush mount fixture for general illumination. The soft glow can create a warm atmosphere, making cooking and entertaining more enjoyable.
In the Living Room
In the living room, a stylish milk glass chandelier or a series of pendant lights can serve as focal points, adding charm and character. Pair these fixtures with warm-toned bulbs to create a cozy ambiance perfect for relaxation.
In the Bedroom
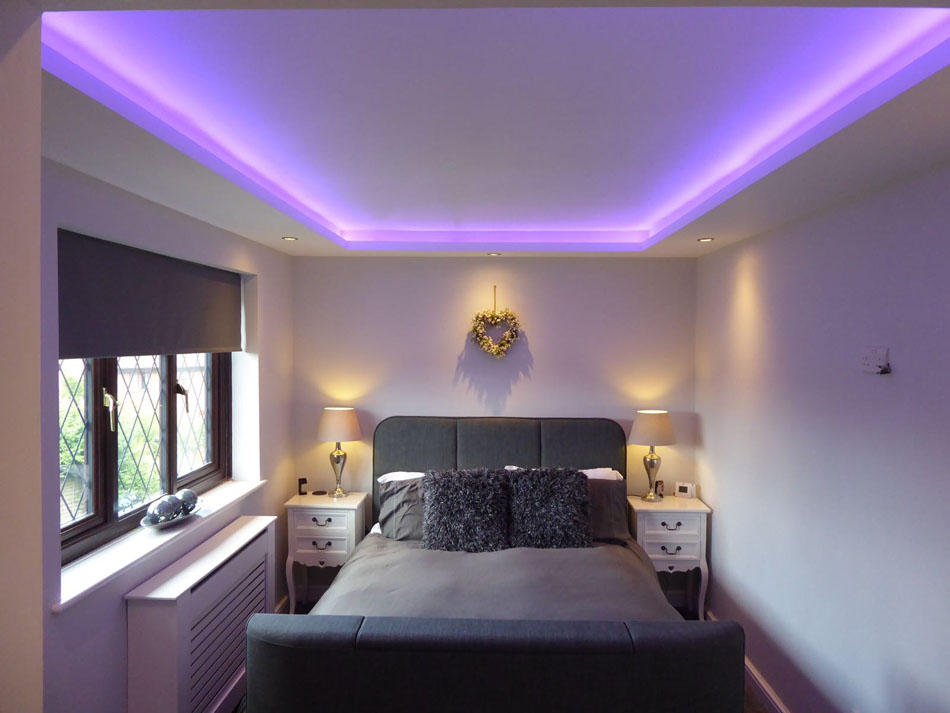
For bedrooms, milk glass ceiling lights can be used in various forms, including flush mounts or pendant fixtures. The soft, diffused light is ideal for creating a serene environment conducive to rest and relaxation.
In the Bathroom
Using milk glass sconces or a ceiling light in the bathroom can soften the overall look while providing adequate illumination for grooming and other activities. The moisture-resistant properties of milk glass make it a practical choice for this space.
Conclusion
Milk Glass Ceiling Light fixtures offer a blend of functionality, style, and historical charm. Their versatility makes them suitable for various rooms and design schemes, while their soft lighting enhances the ambiance of any space. Whether you choose a dramatic chandelier or simple flush mounts, incorporating milk glass lighting into your home will elevate its aesthetic and create inviting atmospheres.