Discovering ceiling damage from an AC unit can be concerning. In this comprehensive guide, we’ll delve into the reasons behind ceiling damage, effective solutions, and proactive strategies to prevent future issues.
Understanding the Causes
Understanding why your AC unit may be causing damage to the ceiling is crucial. This section will explore common reasons behind ceiling damage, including water leakage, condensation issues, and structural strain.
Common Causes of Ceiling Damage:
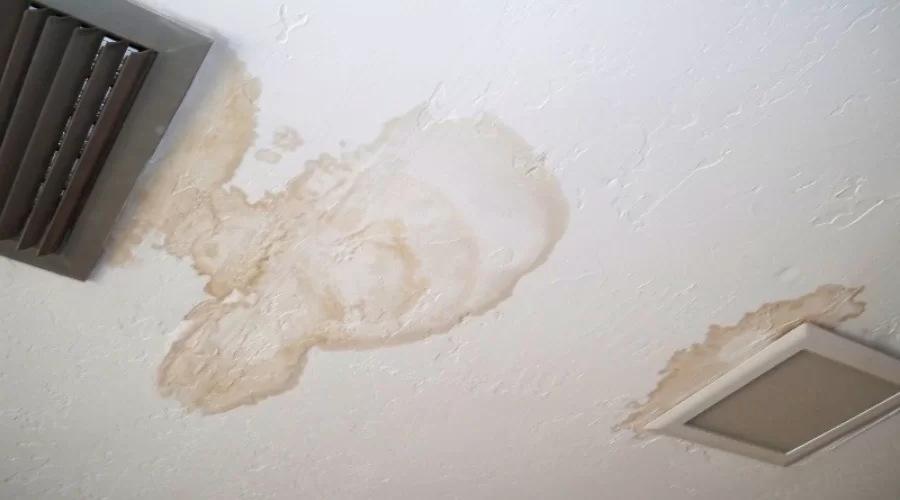
- Water Leakage: Identifying and addressing leaks from the AC unit.
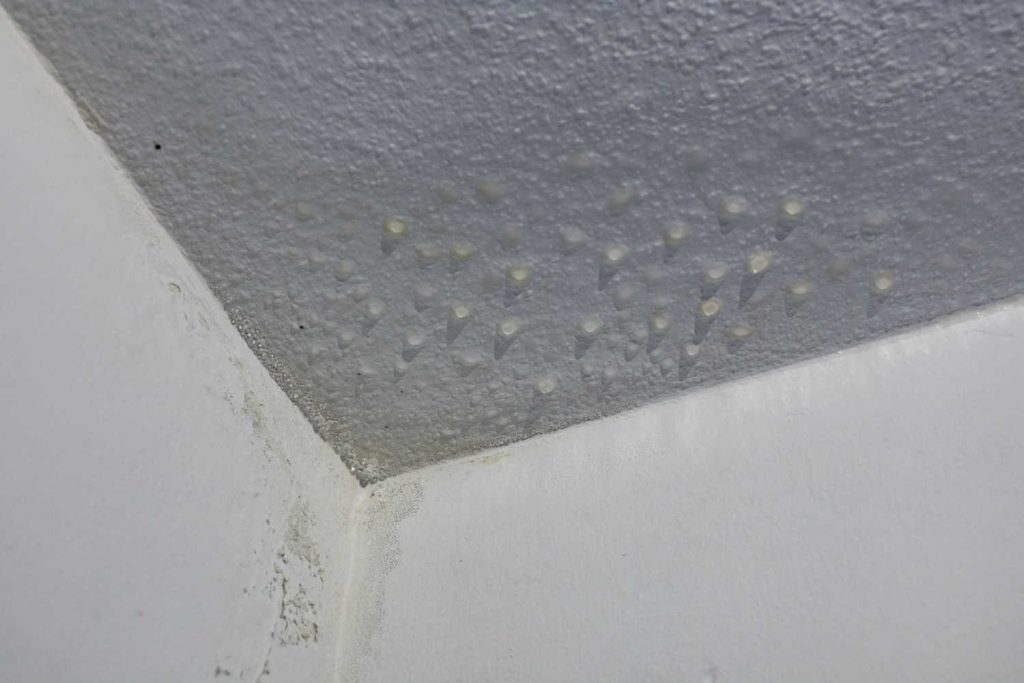
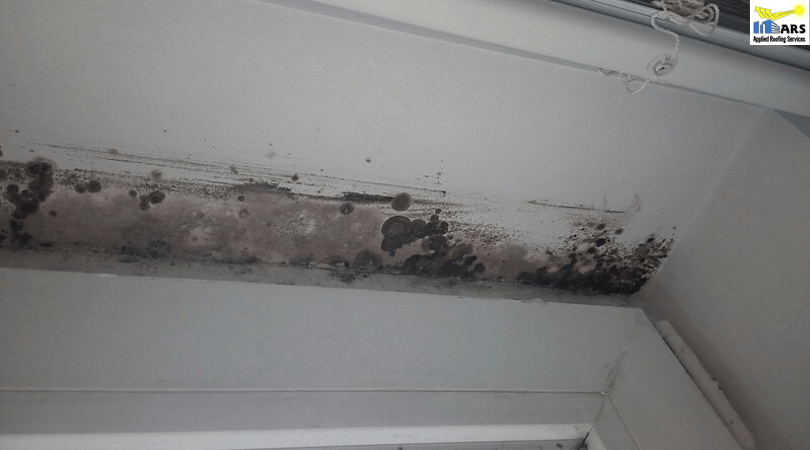
- Condensation Problems: Managing excessive moisture and condensation.
- Structural Impact: Recognizing how the AC unit may strain the ceiling.
Assessing the Extent: Signs and Symptoms of Ceiling Damage
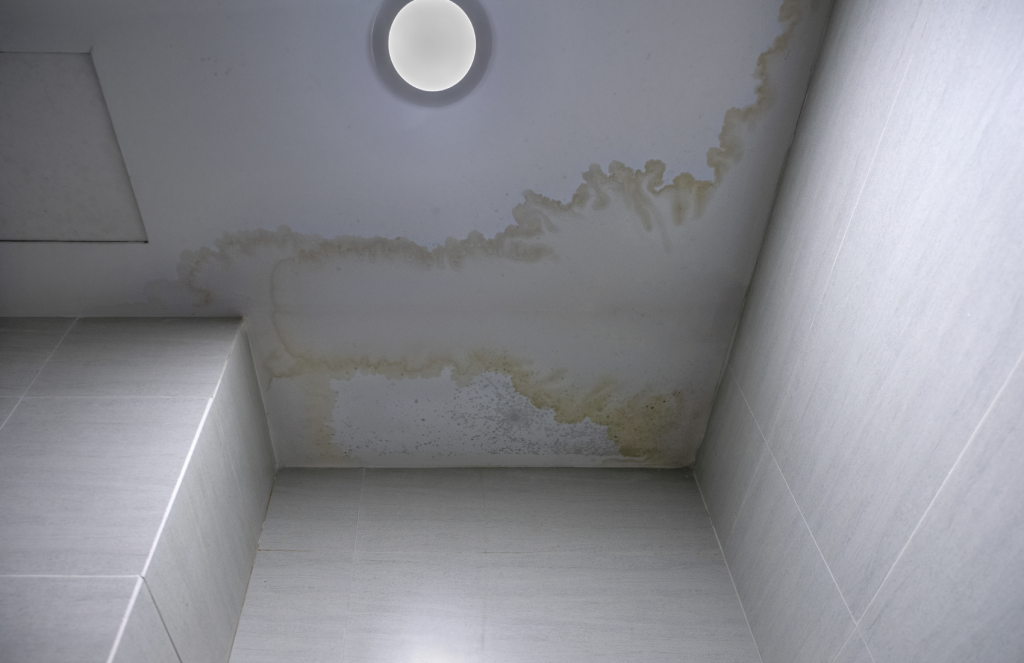
Recognizing the signs of ceiling damage caused by an AC unit is essential for timely intervention. This part of the guide will provide insights into visible and hidden indicators, ensuring a thorough assessment.
Indicators of Ceiling Damage:
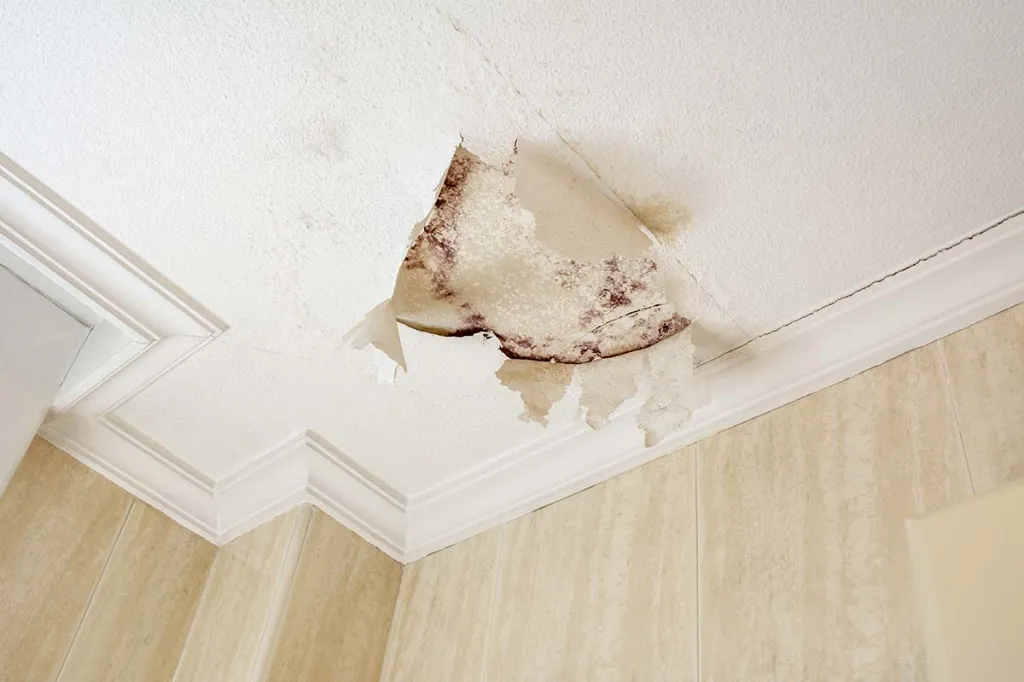
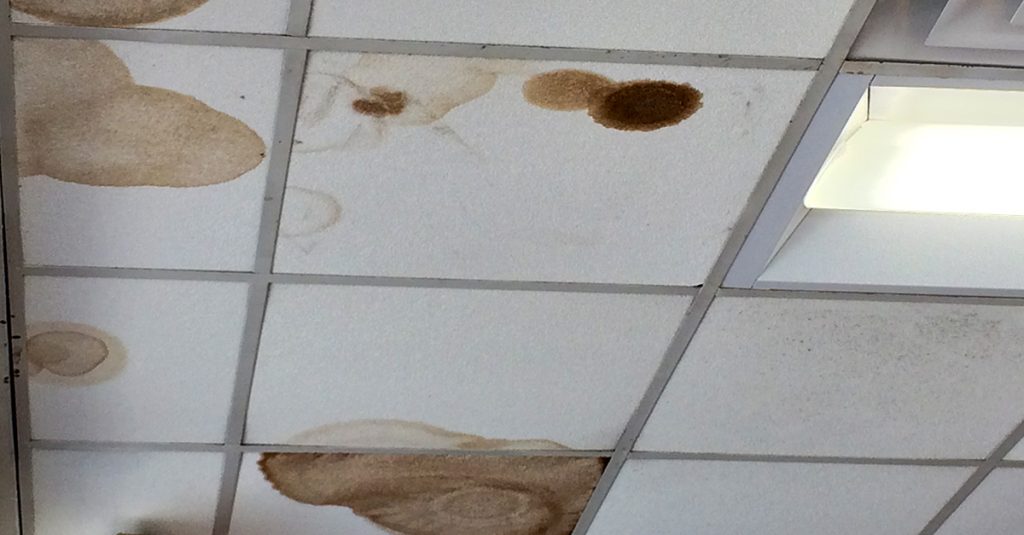
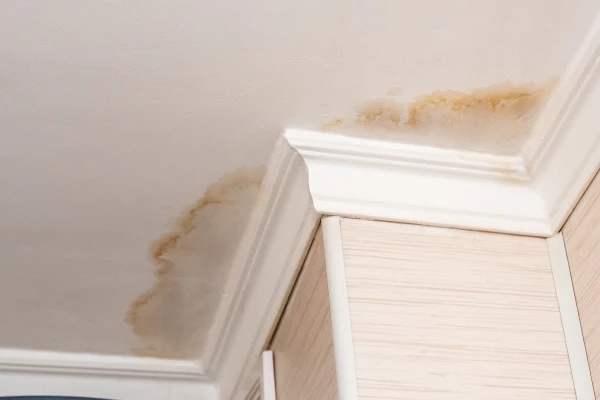
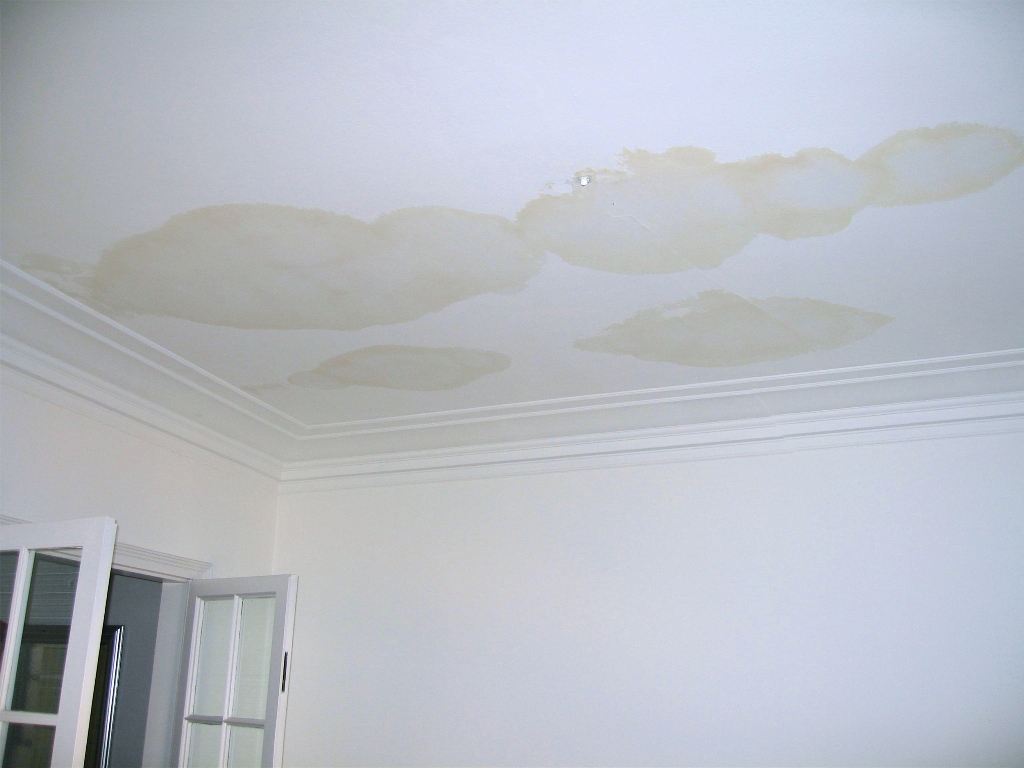
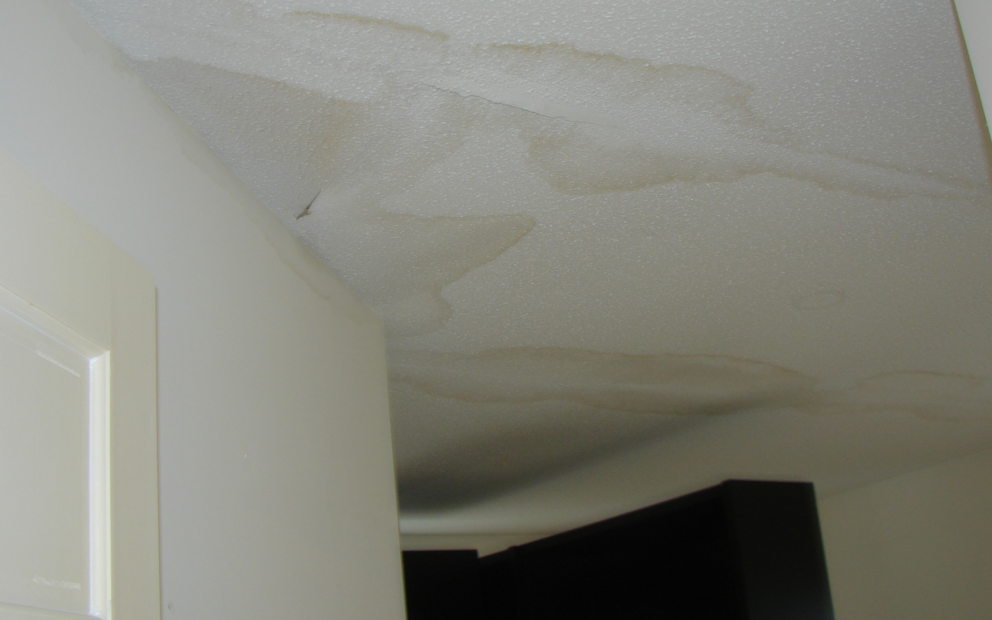
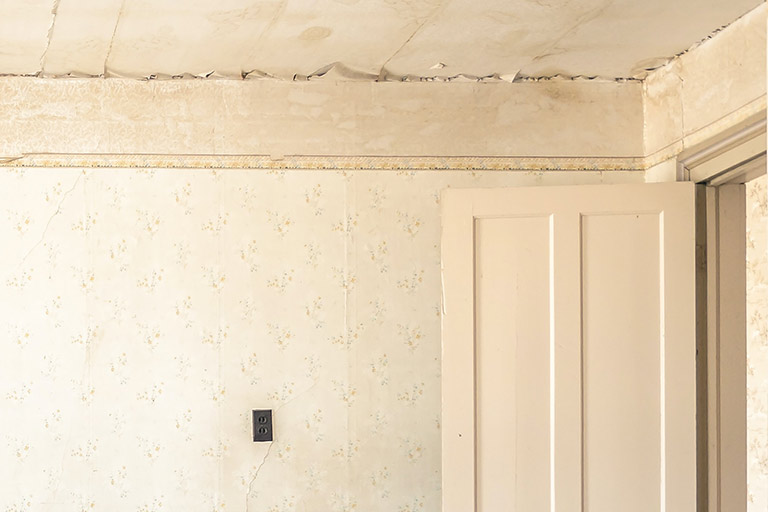
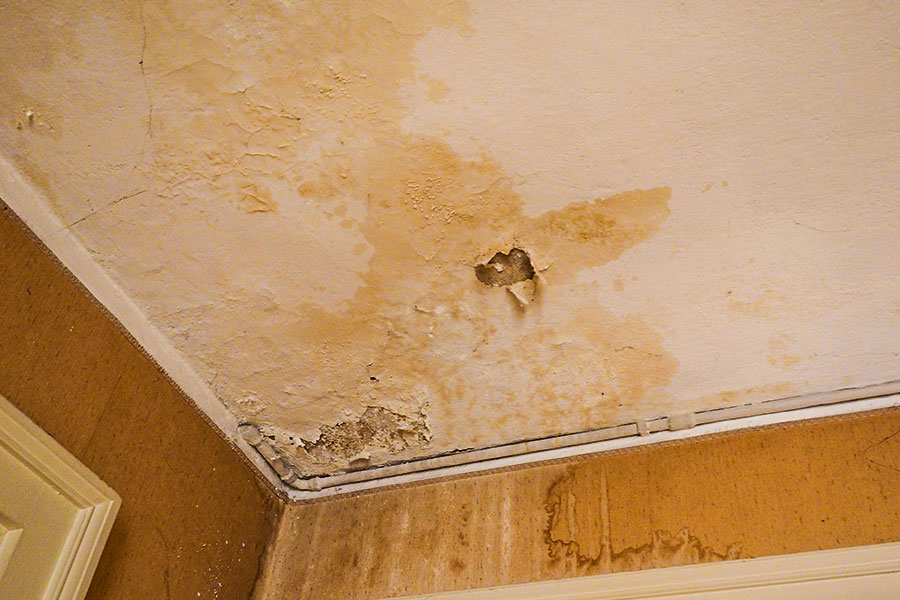
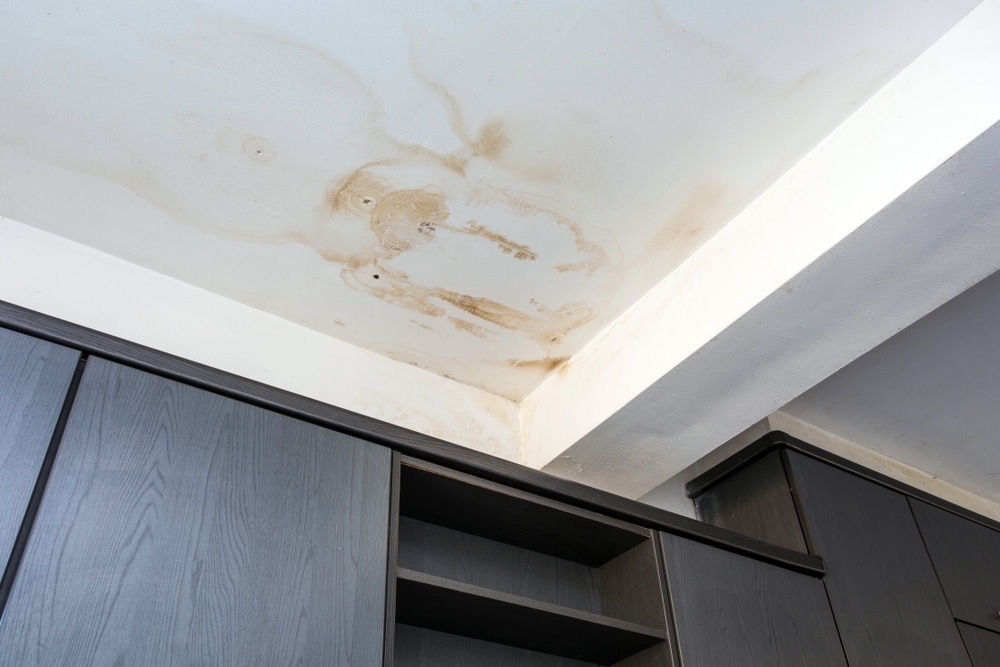
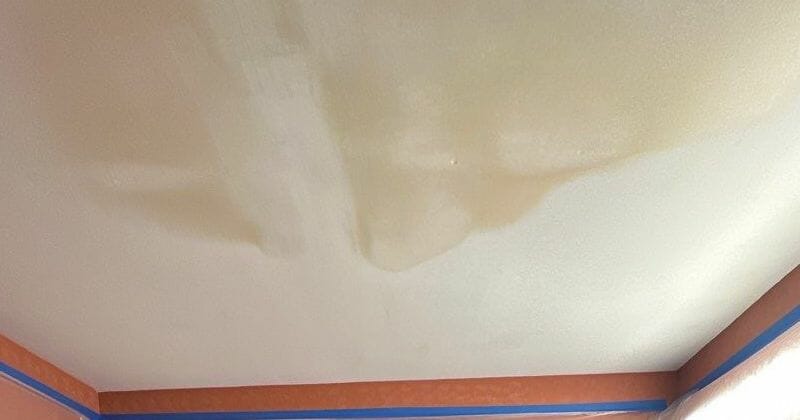
- Visible Stains or Discoloration: Identifying water stains on the ceiling.
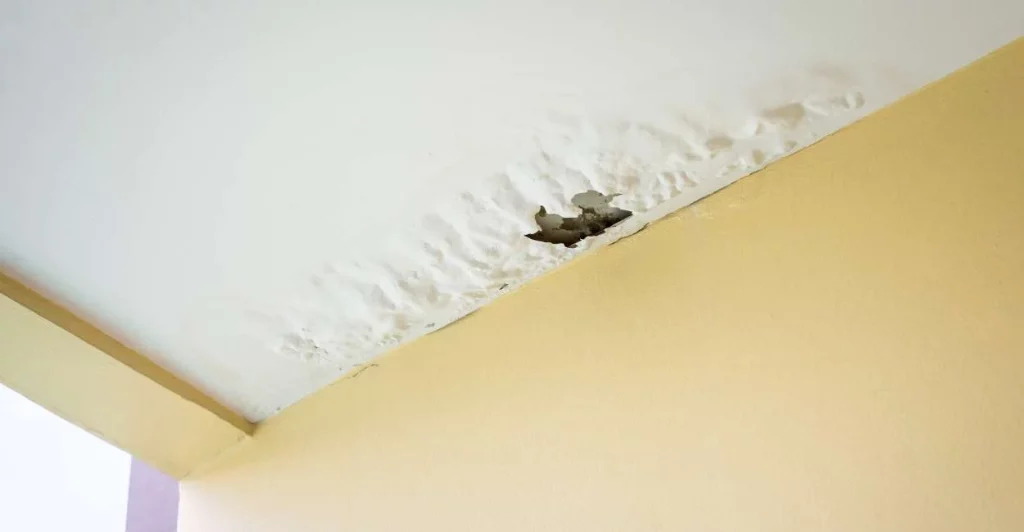
- Bubbling or Peeling Paint: Understanding how moisture affects the paint.
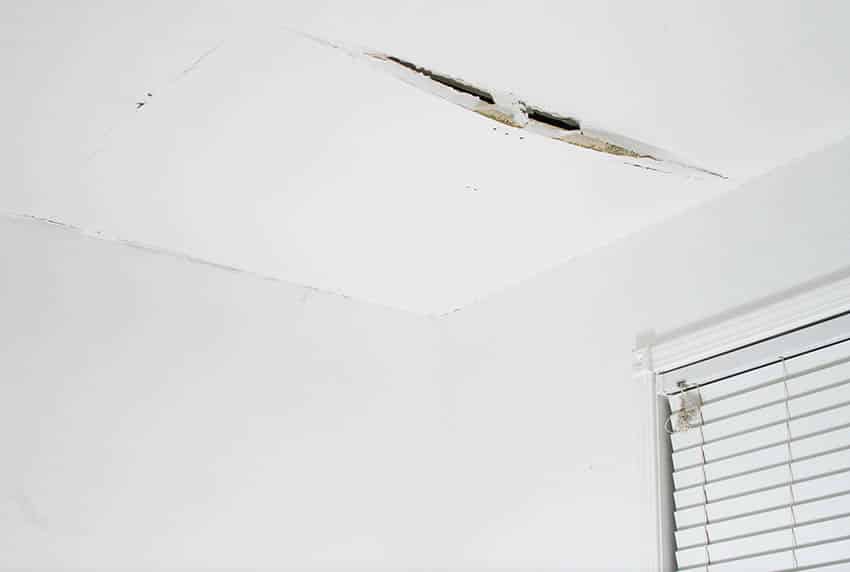
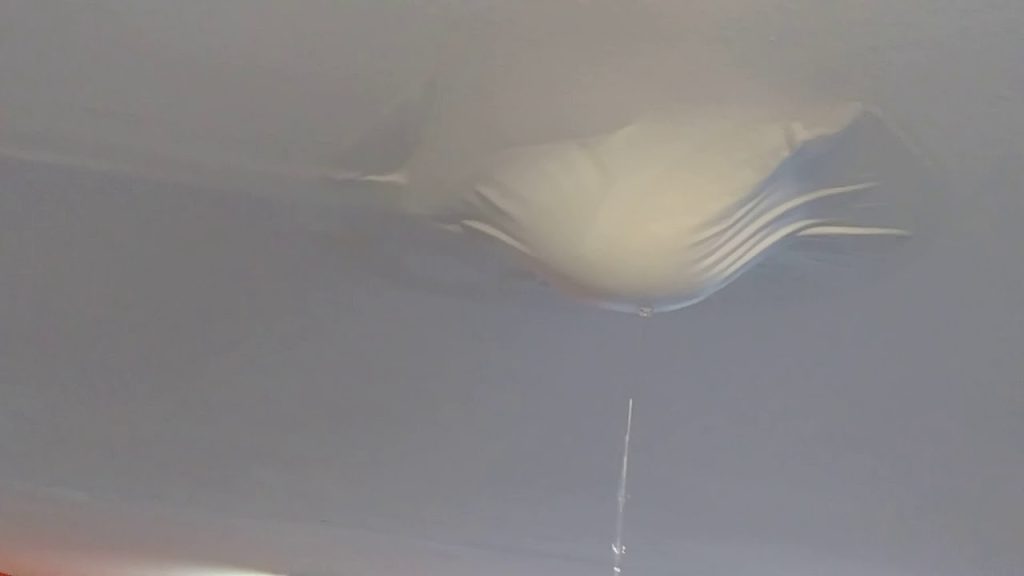
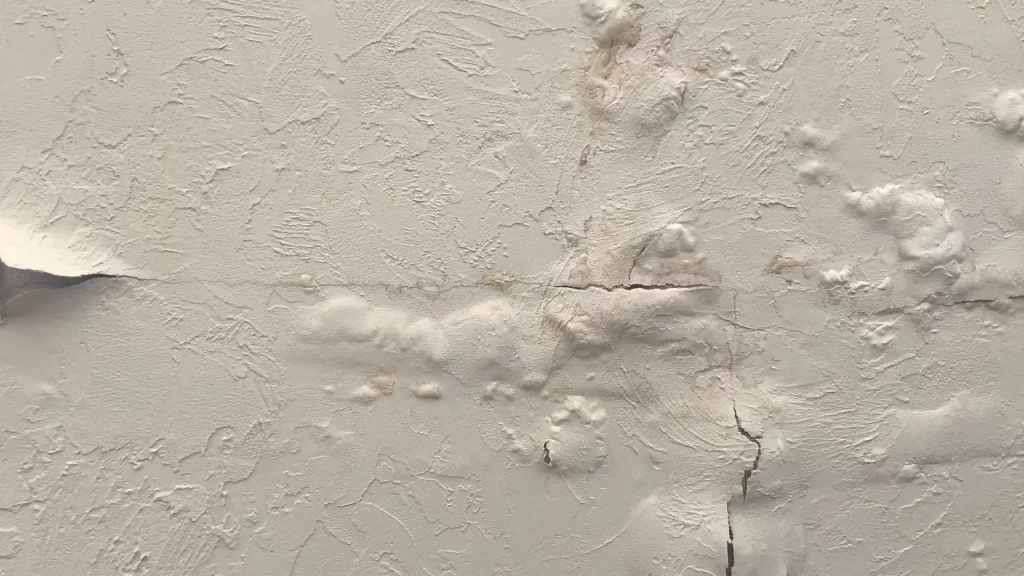
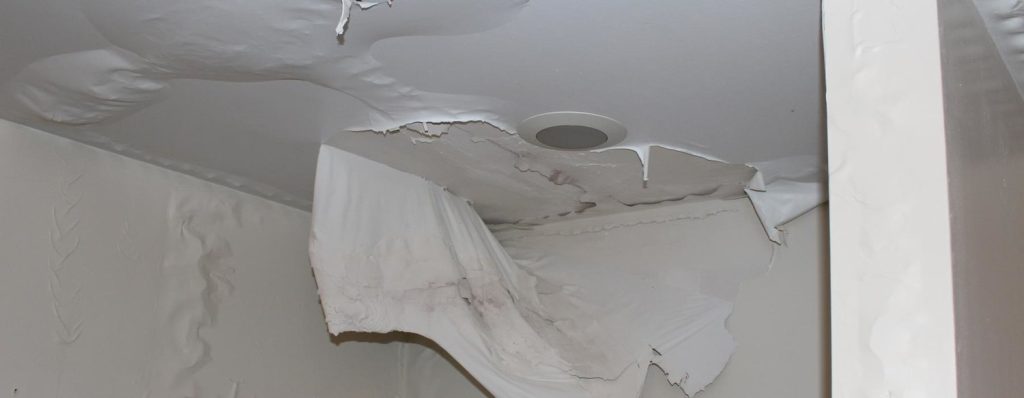
- Sagging or Cracked Ceiling: Recognizing structural damage caused by the AC unit.
Solutions and Repairs
Once the extent of the damage is assessed, it’s crucial to explore effective solutions. This section will provide actionable steps for repairing ceiling damage caused by the AC unit, whether it’s minor stains or more extensive structural issues.
Repair and Restoration Strategies:
- Addressing Water Leaks: Fixing leaks and preventing future water intrusion.
- Repainting and Patching: Restoring the appearance of the damaged ceiling.
- Structural Repairs: Seeking professional assistance for extensive damage.
Preventing Future Ceiling Damage: Proactive Measures for AC Unit Maintenance
To prevent recurring ceiling damage, proactive maintenance is key. This part of the guide will offer practical tips and preventive measures to ensure the long-term health of your ceiling.
Preventive Measures for AC Unit Maintenance:
- Regular Inspections: Conducting routine checks for leaks and issues.
- Proper Installation: Ensuring correct AC unit installation to minimize strain.
- Humidity Control: Implementing strategies to manage indoor humidity.
Read too: Hunter Douglas Linear Metal Ceiling
Conclusion: Safeguarding Your Ceiling from AC-Related Damage
In conclusion, understanding the causes, signs, and solutions for ceiling damage is essential for homeowners. By following the actionable steps outlined in this guide, you can address existing issues, prevent future damage, and ensure the longevity of your ceiling.
Remember, proactive maintenance and timely repairs are the keys to protecting your home from the impact of AC-related ceiling damage. Whether you’re dealing with minor stains or structural issues, the comprehensive approach provided in this guide will empower you to take control and safeguard your ceiling.