When you notice a leak from a ceiling light, it’s more than just an inconvenience; it’s a sign of a potentially serious issue that could lead to structural damage, electrical hazards, or even health risks from mold. In this guide, we’ll discuss common causes, troubleshooting steps, and solutions for dealing with water leaks from ceiling lights. We’ll also share tips on how to prevent leaks from happening in the future, making your home safer and more comfortable.
Understanding the Dangers of a Leak From Ceiling Light
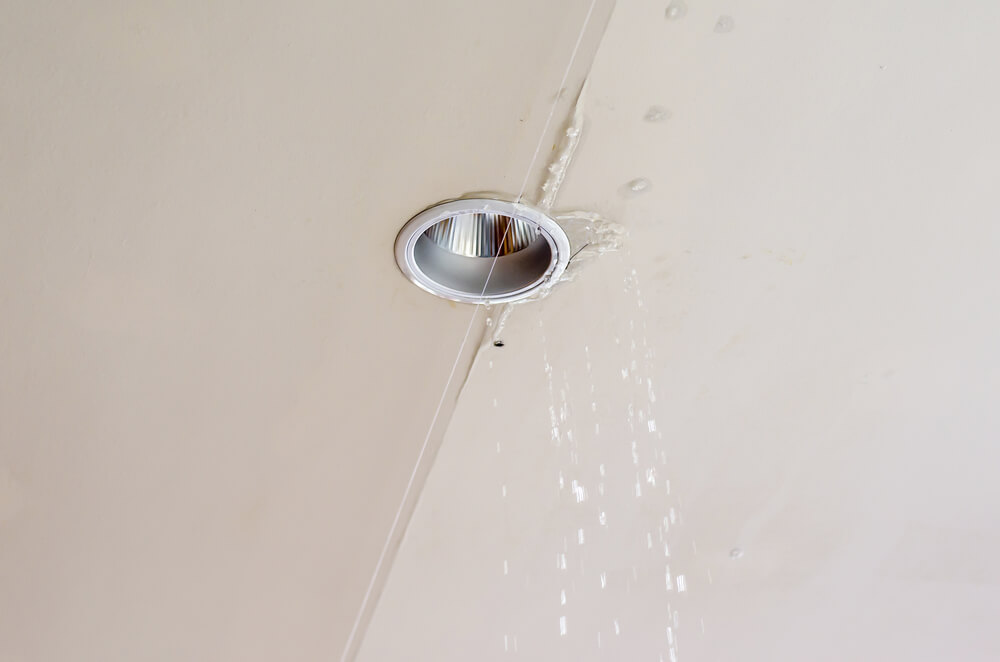
A water leak from a ceiling light fixture can pose multiple dangers:
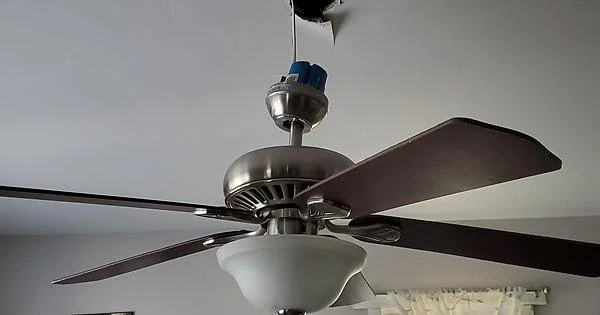
- Electrical Hazards: Water and electricity are a dangerous combination. A leak reaching your light fixture may result in short circuits, electrical shocks, or even fires.
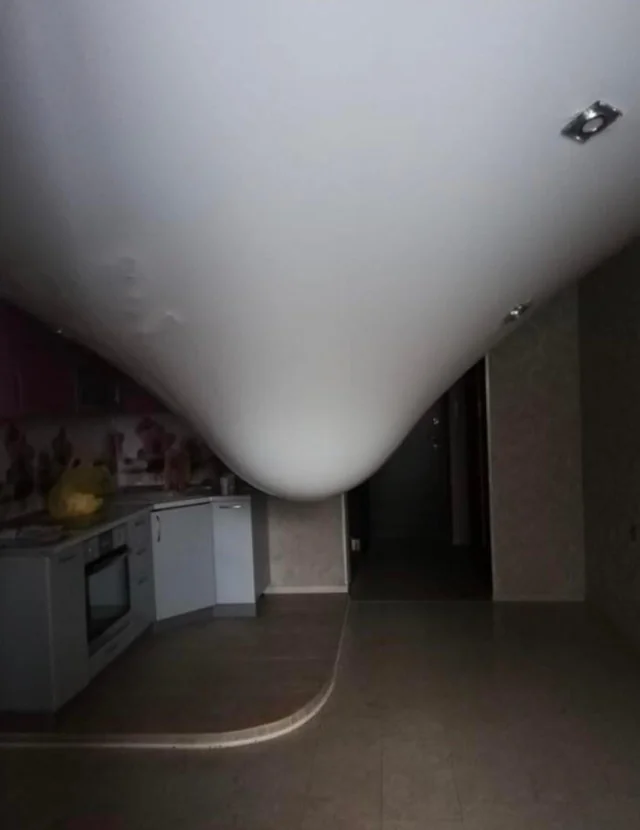
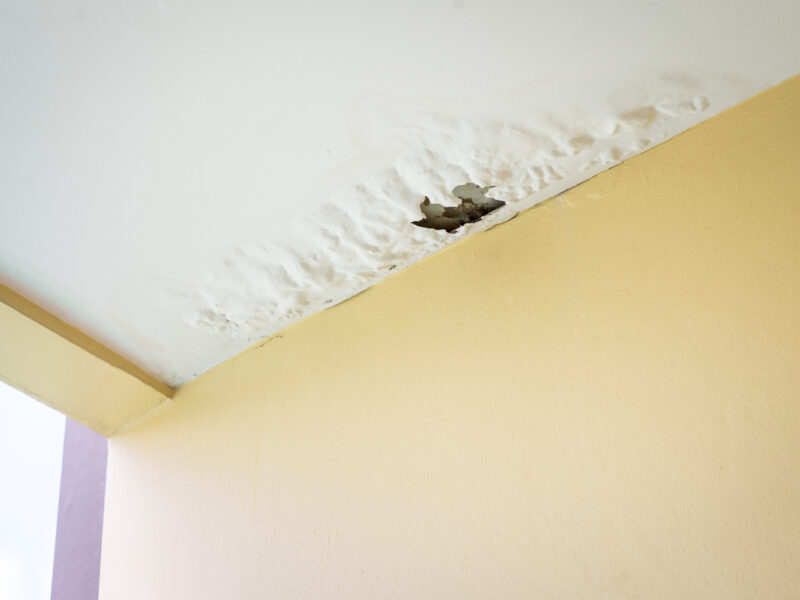
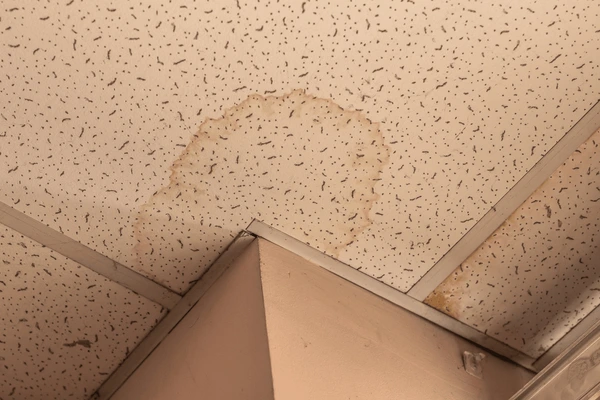
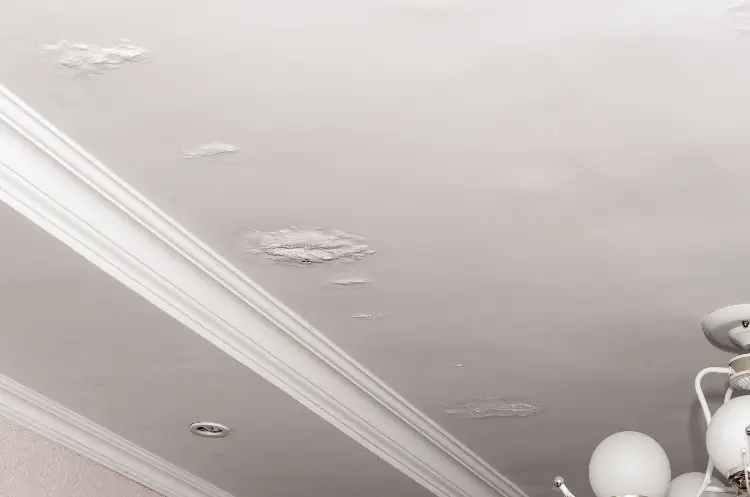
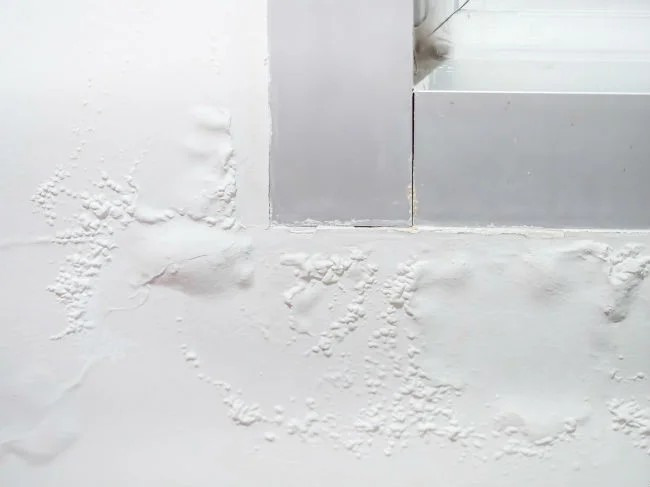
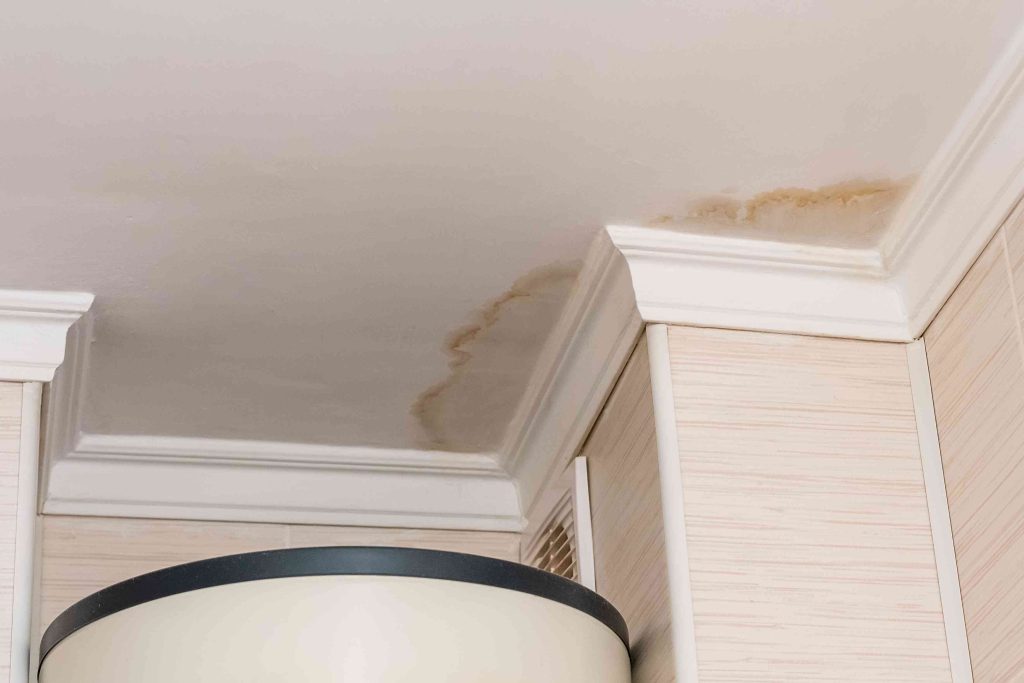
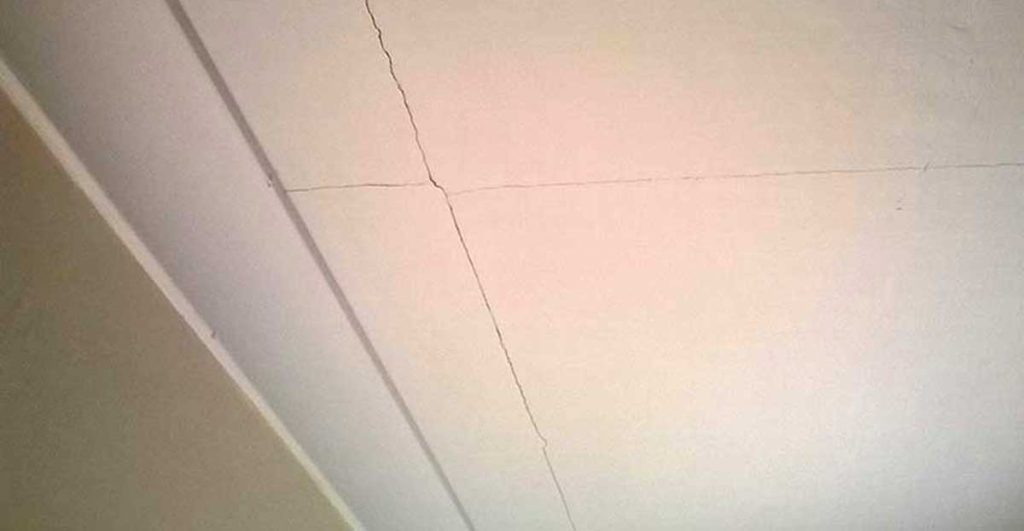
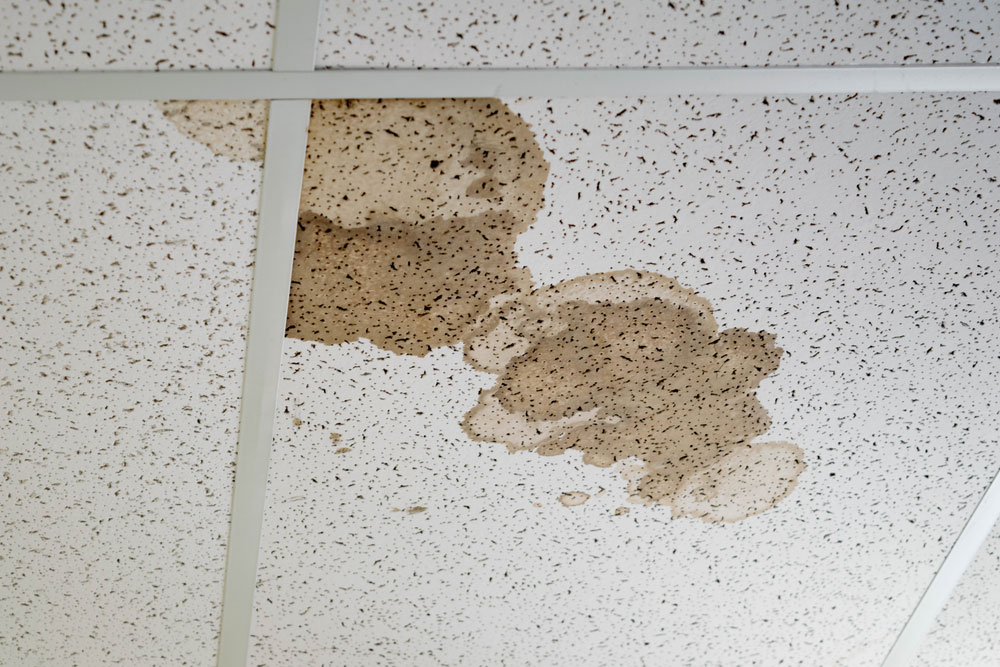
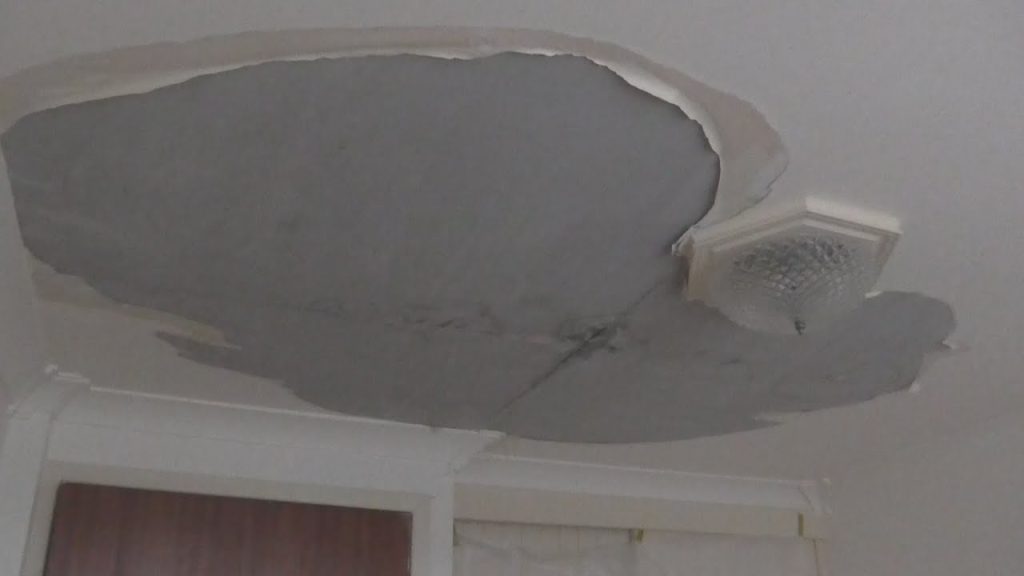
- Structural Damage: Continuous leaking can weaken ceiling materials, leading to stains, sagging, or eventual collapse if left untreated.
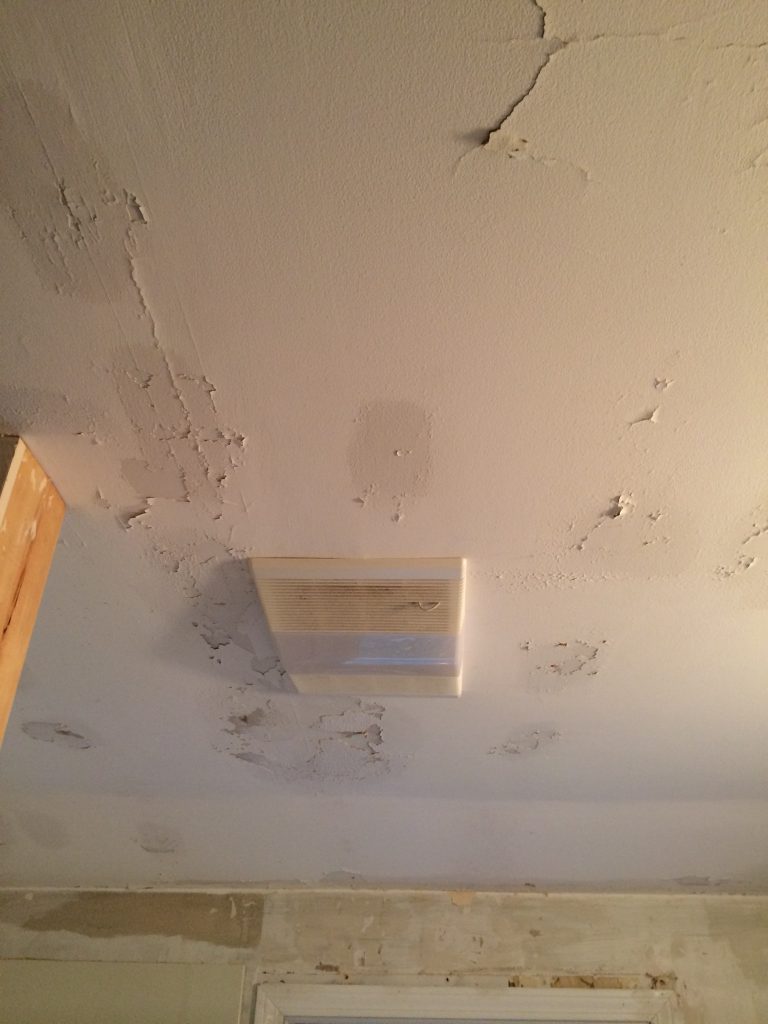
- Health Risks: Water leaks encourage mold growth, which can lead to respiratory issues, allergies, and other health problems, especially for those with preexisting conditions.
When you first notice a leak, it’s important to act quickly to minimize these risks. Below, we explore the common causes and immediate actions to take.
Read too: Shiplap Ceiling in Kitchen: A Timeless Trend for a Stylish and Cozy Space
Common Causes of Leak From Ceiling Light
Understanding the root cause of a ceiling light leak can help determine the best course of action. Here are some of the most common causes:
1. Plumbing Leaks
One of the most common reasons for a ceiling leak is a plumbing issue in the floor above. This could be due to a leaky pipe, loose connections, or a broken seal around a fixture. Bathroom fixtures like toilets, showers, and sinks are common culprits when leaks are near ceiling lights located beneath them.
2. Roof Damage
If the leak occurs during or after rain, the issue could stem from roof damage. Missing shingles, cracked flashing, or damaged gutters can allow water to seep into the ceiling cavity, eventually making its way to your light fixture.
3. Condensation Build-Up
In homes with high humidity, condensation can accumulate on pipes or ducts within the ceiling. Over time, this condensation can drip, especially when temperature differences between floors are significant. This often happens in areas near HVAC systems or unventilated bathrooms.
4. Clogged Gutters or Downspouts
Blocked gutters and downspouts can cause water to pool on the roof and seep into the attic or upper floors. This can lead to water making its way to lower floors, eventually causing leaks around light fixtures on the ceiling.
Steps to Take When You Notice a Leak From Ceiling Light
If you notice water leaking from a ceiling light fixture, follow these steps to protect yourself and your home:
1. Turn Off the Electricity
Safety first: Go to the circuit breaker and turn off the power to the affected room immediately. Do not attempt to touch or inspect the light fixture while the electricity is on, as this could result in electric shock.
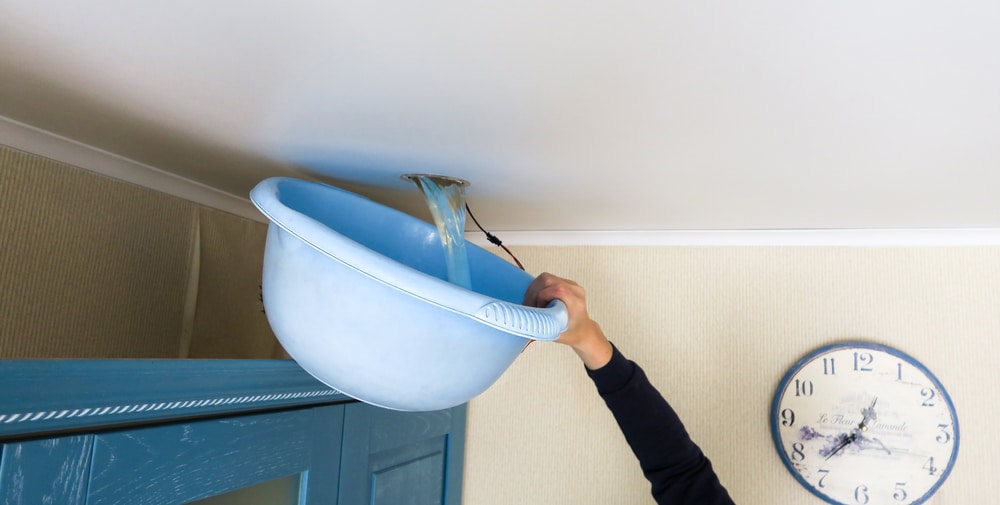
2. Contain the Water
Place a bucket or container under the leak to catch dripping water and minimize floor damage. If the ceiling has started to sag, you may need to poke a small hole in the ceiling drywall to release the water buildup and prevent further damage.
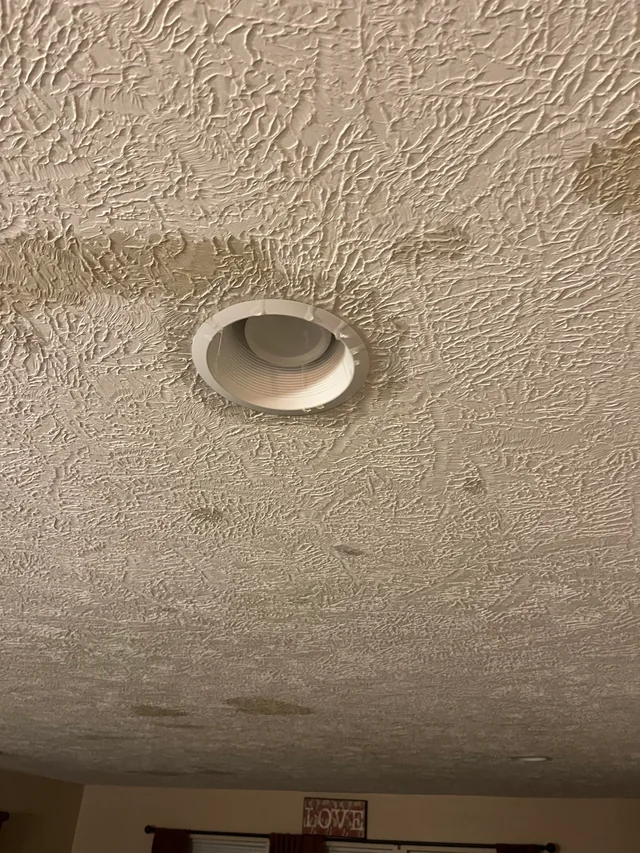
3. Inspect the Ceiling
Carefully examine the area around the light fixture to locate the source of the leak. If you suspect the leak is coming from plumbing in an upper floor or the roof, this initial inspection can help you identify where the water is originating.
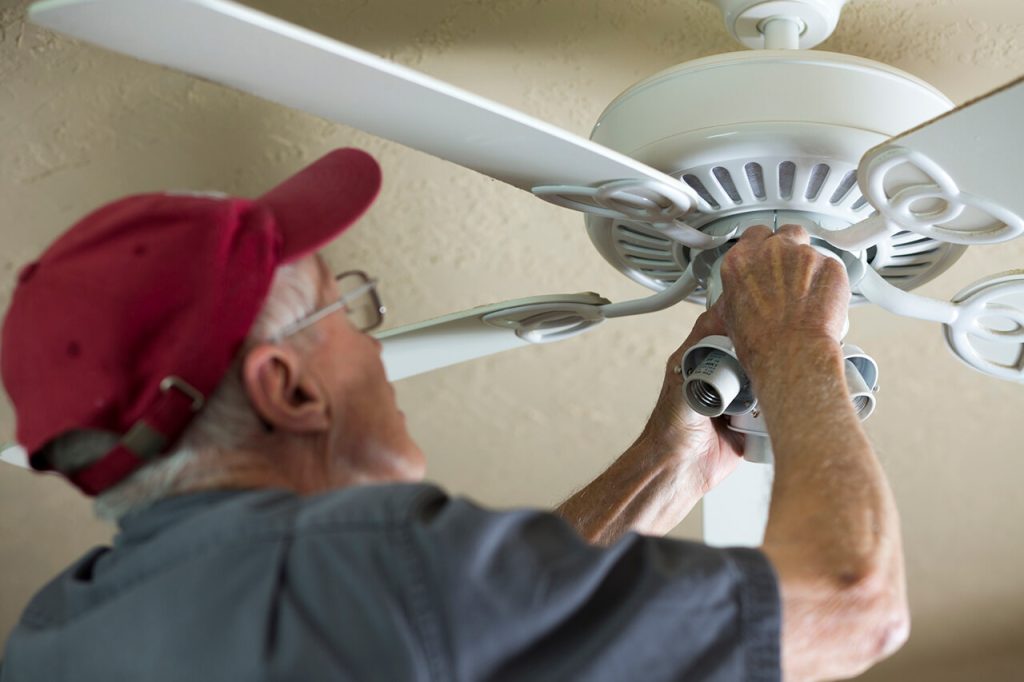
4. Contact a Professional
Once you’ve taken steps to contain the leak, it’s best to contact a licensed plumber, roofer, or electrician to help address the issue. Handling ceiling leaks requires professional expertise to ensure the problem is resolved safely and effectively.
Fixing a Leak From Ceiling Light
Depending on the source of the leak, the repair process may vary. Here are some solutions based on common causes:
Fixing Plumbing Issues
If the leak is due to plumbing, a plumber may need to inspect the pipes, joints, and seals above the ceiling. Common repairs include:
- Tightening connections: Loose pipe connections can often cause small leaks.
- Replacing damaged pipes or seals: Pipes with cracks or faulty seals can lead to steady drips that may eventually cause ceiling leaks.
- Sealing fixtures: Caulking or sealing around bathroom fixtures can help prevent future leaks.
Repairing Roof Damage
If roof damage is the source, contact a roofer for an inspection. Some repairs may include:
- Replacing damaged shingles: Broken or missing shingles can allow rainwater to enter the attic or ceiling.
- Repairing flashing: Damaged flashing around chimneys or vents is a common culprit for leaks.
- Cleaning and repairing gutters: Clearing debris from gutters and downspouts helps prevent water pooling on the roof.
Addressing Condensation Issues
For condensation-based leaks, solutions might include:
- Improving ventilation: Installing vents or fans in the bathroom or attic helps to reduce humidity.
- Insulating pipes: Adding insulation around pipes can reduce condensation, especially in areas where temperature variations are extreme.
- Using dehumidifiers: In spaces where moisture buildup is common, dehumidifiers can reduce the risk of condensation.
Preventing a Future Leak From Ceiling Light
Once you’ve addressed the immediate issue, take these preventive measures to avoid future leaks from ceiling light fixtures.
1. Regular Roof Inspections
Schedule routine roof inspections, especially after severe weather. Checking for missing shingles, damaged flashing, and clogged gutters can help prevent water from entering your home.
2. Maintain Plumbing Fixtures
Check and maintain plumbing fixtures, especially in bathrooms located above ceiling lights. Tighten loose connections and replace worn seals to reduce the risk of leaks.
3. Improve Home Ventilation
Ensure that areas prone to humidity, such as bathrooms and kitchens, are well-ventilated. Install exhaust fans if necessary to prevent condensation buildup on ceilings and light fixtures.
4. Insulate Pipes and Ductwork
In areas with cold winters or hot summers, insulating pipes and ducts can help minimize condensation issues. This simple step can be especially helpful in preventing water buildup in ceiling cavities.
5. Clean Gutters Regularly
Ensure that your gutters and downspouts are clean and functional. Clogged gutters can cause water to back up onto the roof, leading to leaks and ceiling damage.
When to Seek Professional Help for a Ceiling Leak
While minor leaks may be manageable with a bit of DIY work, certain situations call for a professional:
- Persistent Leaks: If the leak recurs after attempting repairs, consult a professional to diagnose and fix the root cause.
- Electrical Hazards: Any leak involving a ceiling light fixture should be inspected by an electrician for safety.
- Visible Mold Growth: If you see signs of mold, contact a mold remediation specialist, as mold can pose serious health risks if left untreated.
Conclusion
A leak from a ceiling light fixture is a serious issue that requires immediate attention. By identifying the cause, taking quick action, and implementing preventative measures, you can safeguard your home from further damage and ensure a safe, comfortable living environment. Don’t hesitate to seek professional help when dealing with leaks around electrical fixtures, as they can pose significant risks. Regular maintenance, inspections, and good ventilation can also go a long way in preventing leaks and preserving your home’s integrity.