Lighting plays a crucial role in creating the right ambiance in your home. Whether you’re looking for a functional light fixture for your hallway or a charming light to complete your rustic living room, a Rustic Flush Mount Ceiling Light might be exactly what you need. This type of ceiling light combines the rustic charm of natural materials with the sleekness of flush-mounted design, making it perfect for homes with a cozy, country, or farmhouse aesthetic.
In this article, we’ll explore everything you need to know about Rustic Flush Mount Ceiling Lights—from their features and benefits to tips for choosing the right one and how to install it. If you’re looking to upgrade your home with a stylish and practical lighting solution, you’re in the right place!
Read too: Bathroom Flooded Through the Ceiling: A Comprehensive Guide
What is a Rustic Flush Mount Ceiling Light?
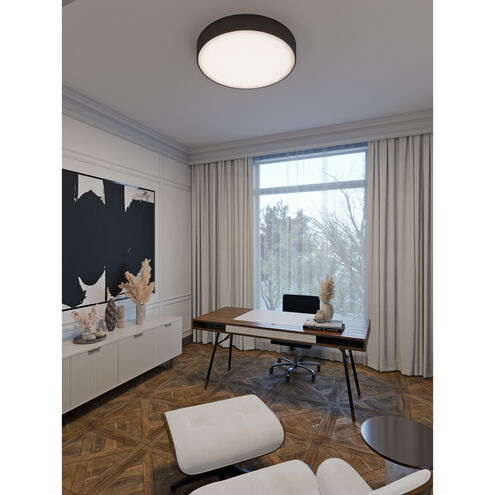
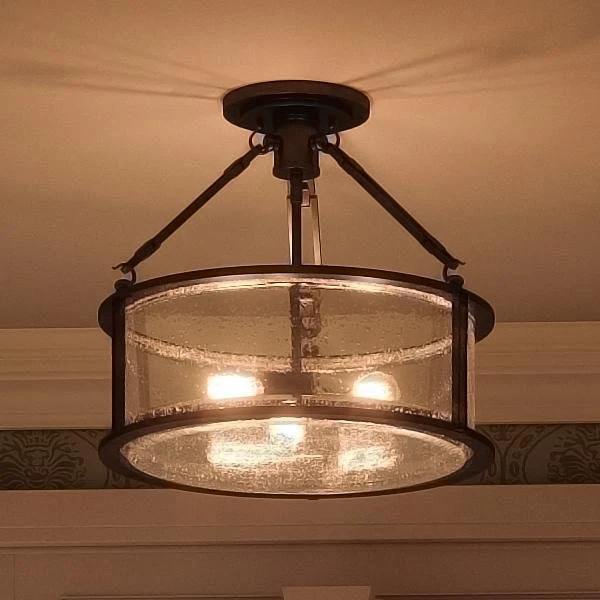
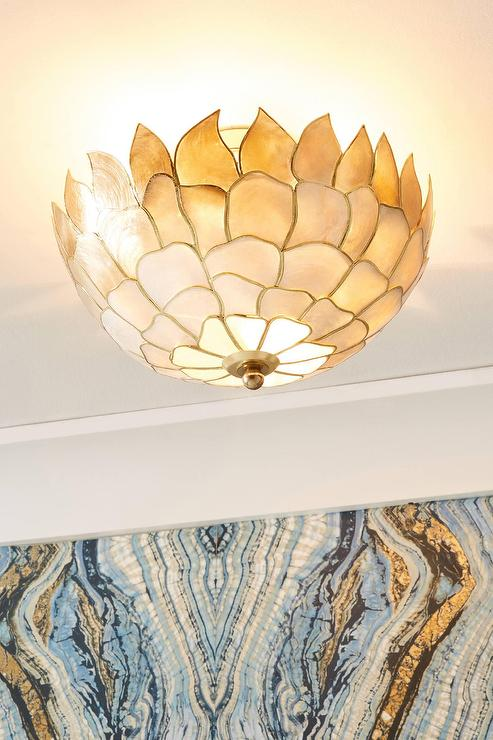
A Rustic Flush Mount Ceiling Light is a type of ceiling light that is mounted directly against the ceiling, creating a clean and unobtrusive look. Unlike pendant lights or chandeliers, which hang from the ceiling, flush mount lights are designed to stay close to the surface, making them ideal for rooms with lower ceilings or for creating a minimalist aesthetic.
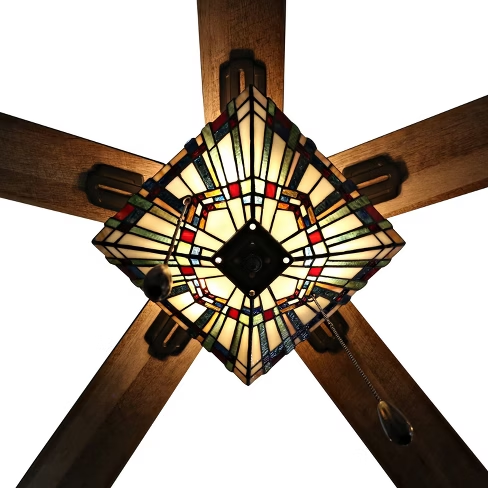
The “rustic” aspect of this light refers to the design elements typically incorporated into the fixture. Rustic lighting often features natural materials such as wood, metal, or wrought iron, and embraces a rough, earthy aesthetic. When paired with a flush mount design, it offers both a stylish look and practicality, as it doesn’t take up much space and can fit in a variety of room types, from kitchens to bedrooms and even bathrooms.
Key Features
Before making a decision, it’s important to understand the features that make Rustic Flush Mount Ceiling Lights so appealing. Here are some key features to consider:
1. Low-Profile Design
The most obvious feature of a Rustic Flush Mount Ceiling Light is its low-profile design. The fixture is mounted directly to the ceiling, ensuring that it doesn’t take up much space or create any visual clutter. This makes it a great choice for rooms with low ceilings or for areas where you want the light to blend seamlessly into the space.
2. Natural Materials
Rustic style lighting often uses natural materials that enhance its earthy charm. Many Rustic Flush Mount Ceiling Lights are crafted from wood, metal, or glass. For example, a common material used in these lights is aged wood, which gives the fixture a distressed, weathered look. Iron or bronze accents are often included to add a touch of vintage or industrial flair.
3. Versatile Design
A Rustic Flush Mount Ceiling Light can complement many different design aesthetics. While it’s a perfect fit for rustic, farmhouse, or country-style homes, it can also work in more modern or eclectic interiors. The combination of natural materials with a simple, clean design allows it to blend well with various types of decor.
4. Energy-Efficient Options
Many Rustic Flush Mount Ceiling Lights come with energy-efficient LED bulbs, which not only save energy but also reduce your electricity bill. LED bulbs also last longer than traditional incandescent bulbs, making them a more sustainable option for your home.
5. Integrated Lighting
Some models of Rustic Flush Mount Ceiling Lights come with built-in dimming features or the ability to adjust the color temperature. This allows you to control the ambiance of the room and customize the lighting to suit different moods, whether you need bright illumination for tasks or a warm glow for relaxation.
Why Choose a Rustic Flush Mount Ceiling Light?
If you’re still wondering whether a Rustic Flush Mount Ceiling Light is right for your home, consider these reasons why this type of fixture might be a great addition to your space:
1. Space-Saving Design
The Rustic Flush Mount Ceiling Light is an excellent choice for rooms with lower ceilings or smaller spaces. Because it sits flush against the ceiling, it doesn’t take up valuable headroom, making it ideal for areas where a pendant light or chandelier might feel out of place.
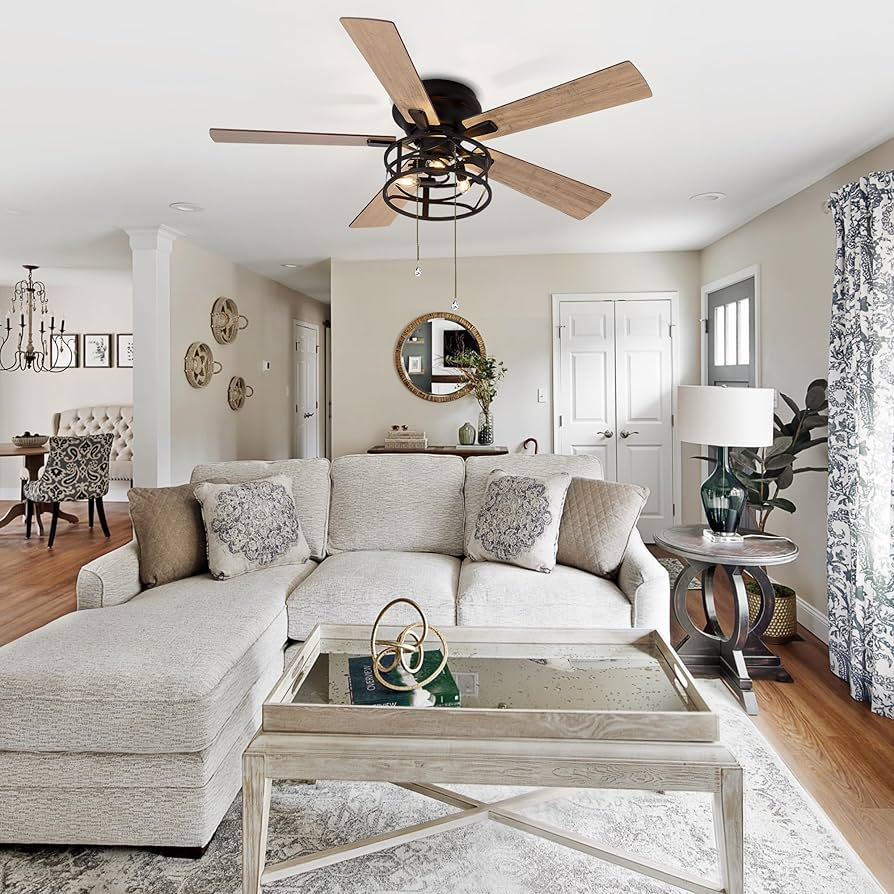
2. Warm, Inviting Ambiance
The combination of rustic materials and soft lighting creates a warm, inviting ambiance that’s perfect for living rooms, bedrooms, or even hallways. The natural materials often used in Rustic Flush Mount Ceiling Lights—such as wood, metal, and glass—add an earthy, cozy vibe to your home, perfect for creating a relaxing atmosphere.
3. Easy Installation
Compared to more intricate light fixtures like chandeliers, Rustic Flush Mount Ceiling Lights are often easier to install. With fewer parts and a straightforward mounting process, you can typically install this type of light yourself or with minimal assistance. If you’re looking for a quick update to your space, this type of light is an easy option.
4. Low Maintenance
Since Rustic Flush Mount Ceiling Lights are designed to be durable, they require little maintenance. The simple design and sturdy materials are built to last, and cleaning is typically as simple as wiping the surface to remove dust or debris. This makes it a hassle-free option for busy homeowners.
5. Affordable Elegance
Rustic lighting often comes with a more affordable price tag compared to other types of fixtures, such as custom chandeliers or designer lighting. If you’re working within a budget but still want an elegant and stylish addition to your home, a Rustic Flush Mount Ceiling Light offers a great balance of affordability and sophistication.
Where to Use a Rustic Flush Mount Ceiling Light
The beauty of the Rustic Flush Mount Ceiling Light is its versatility. Here are a few rooms and spaces where this light can work wonders:
1. Living Room
The living room is one of the most popular places to use a Rustic Flush Mount Ceiling Light. It provides soft, ambient lighting that creates a comfortable and welcoming atmosphere. Whether you’re hosting guests or enjoying a quiet evening, this type of light can help set the right mood.
2. Kitchen
Kitchens often require bright and efficient lighting, but they also benefit from warmth and style. A Rustic Flush Mount Ceiling Light in the kitchen can provide both, offering functional lighting without taking up space. Pair it with pendant lights over your island for a balanced and cohesive look.
3. Hallways and Entryways
For smaller spaces like hallways or entryways, a Rustic Flush Mount Ceiling Lights is the perfect solution. Its low-profile design fits into tight spaces while still providing ample illumination. The rustic design adds character to these often-overlooked areas of the home.
4. Bedroom
A Rustic Flush Mount Ceiling Light can add charm to your bedroom without overwhelming the space. Its soft light is ideal for winding down at the end of the day, creating a peaceful atmosphere. Choose a design with a dimming feature for added flexibility.
5. Bathroom
Bathrooms, particularly those with lower ceilings, can benefit from the space-saving design of a Rustic Flush Mount Ceiling Light. Not only does it provide bright lighting for tasks like grooming, but it also adds a touch of rustic elegance to the space.
How to Choose the Right Rustic Flush Mount Ceiling Light
When selecting a Rustic Flush Mount Ceiling Light, there are a few factors to consider:
- Room Size: The size of the fixture should complement the dimensions of your room. A large fixture may overwhelm a small room, while a small light may not provide enough illumination in a larger space.
- Material: Choose a Rustic Flush Mount Ceiling Lights made of durable materials such as metal or wood. Consider the existing materials in your space to ensure that the light complements your decor.
- Brightness: Make sure the light offers enough brightness for the room’s needs. Consider the wattage and whether the light allows for dimming or adjustable brightness.
- Style: While rustic lighting often comes with a signature design, there are many variations. Choose one that fits your overall aesthetic, whether you prefer a more industrial look or something softer and more traditional.
Conclusion
A Rustic Flush Mount Ceiling Lights can be the perfect addition to your home, offering a stylish yet functional lighting solution. Whether you’re decorating a rustic living room, updating a cozy bedroom, or brightening up a hallway, this type of light provides both ambiance and practicality. Its timeless design, made with natural materials like wood and metal, ensures it will remain a favorite in your home for years to come.
By choosing the right Rustic Flush Mount Ceiling Lights, you’ll be adding both character and comfort to your space, all while enjoying the convenience of an easy-to-install and energy-efficient lighting fixture.