Lighting can transform the ambiance of any room, and choosing the right fixture is essential for setting the perfect mood. One such fixture that combines elegance and practicality is the Antique Brass Flush Mount Ceiling Fixture. This classic yet timeless lighting option is ideal for both traditional and modern interiors. In this guide, we will explore the many benefits of the Antique Brass Flush Mount Ceiling Fixture, how to incorporate it into your home, and the factors to consider when choosing the right one.
What is an Antique Brass Flush Mount Ceiling Fixture?
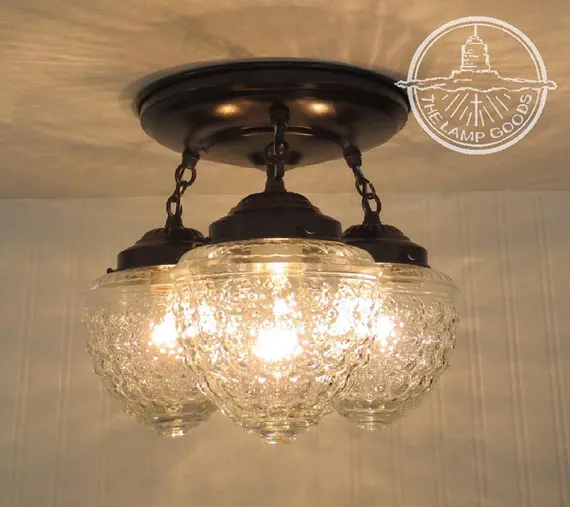
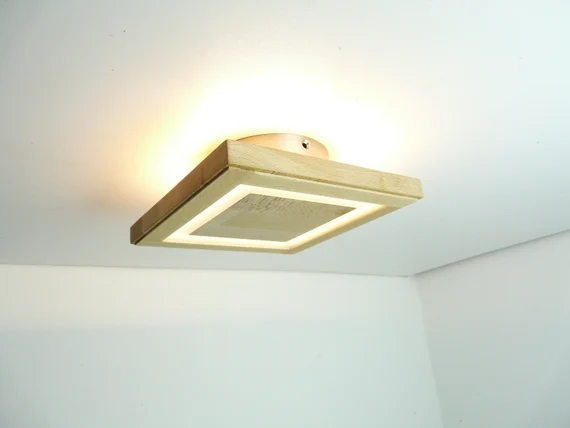
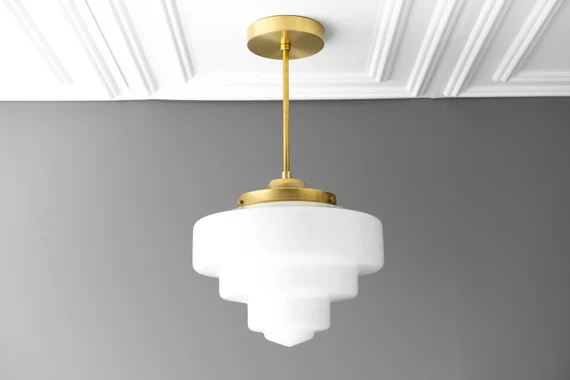
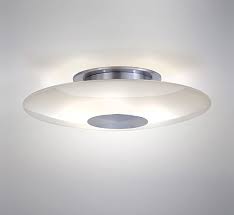
An Antique Brass Flush Mount Ceiling Fixture is a lighting fixture that is attached directly to the ceiling, offering a sleek, unobtrusive look. The fixture is made from brass with an antique finish, giving it a vintage, aged appearance that adds character and warmth to any room. Flush mount ceiling fixtures are designed to sit close to the ceiling, making them ideal for rooms with low ceilings, while still providing excellent illumination.
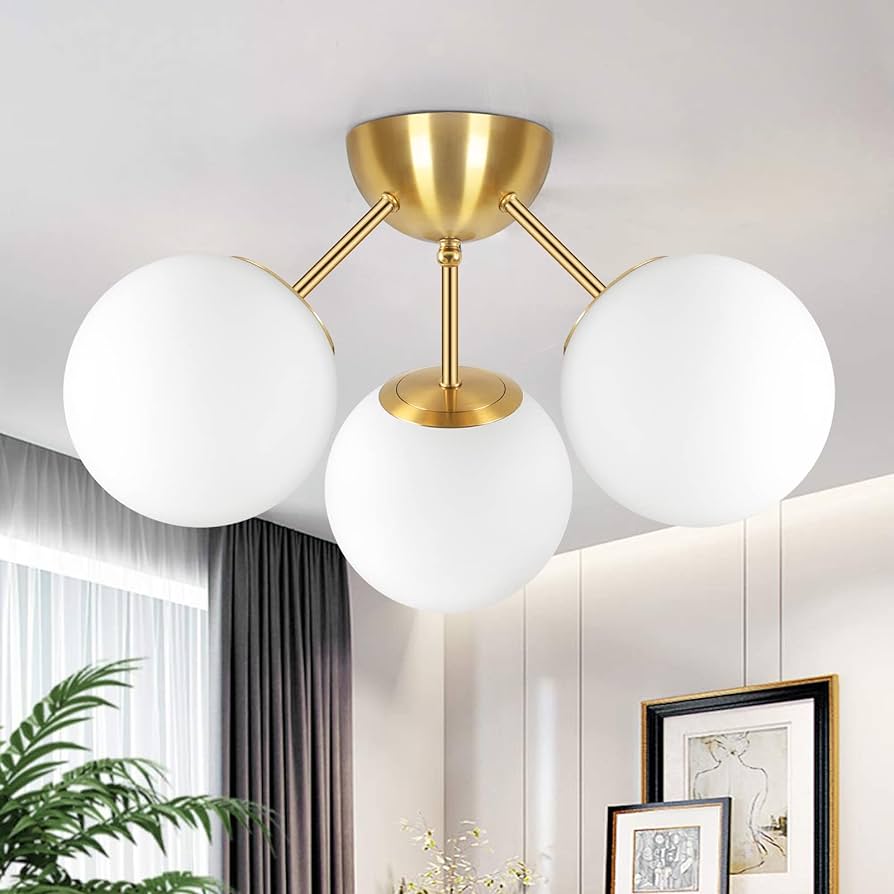
The antique brass finish, often achieved by aging the brass to create a warm, golden hue, provides an elegant contrast to modern and traditional décor. This type of fixture is perfect for homeowners who want to incorporate both style and functionality into their living spaces.
Why Choose an Antique Brass Flush Mount Ceiling Fixture?
1. Timeless Elegance
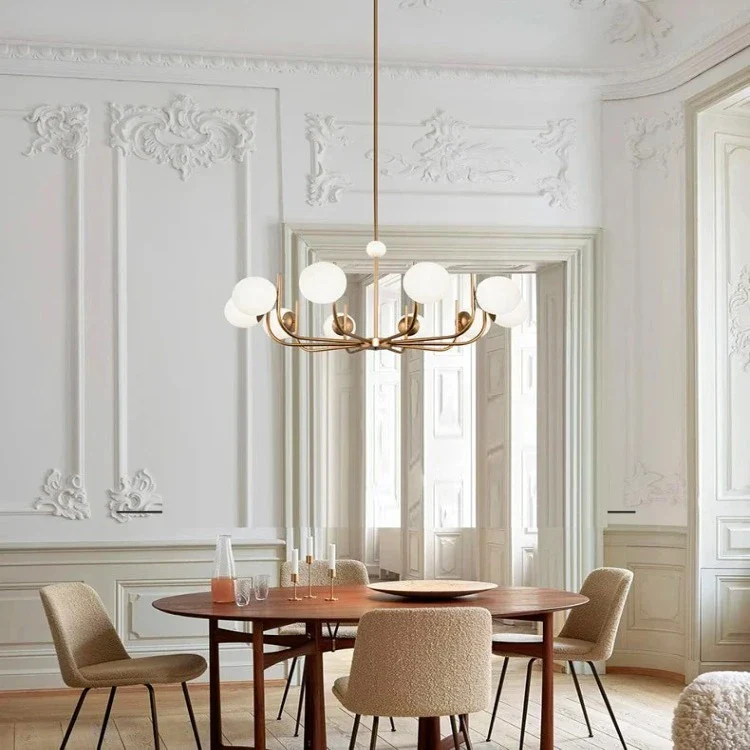
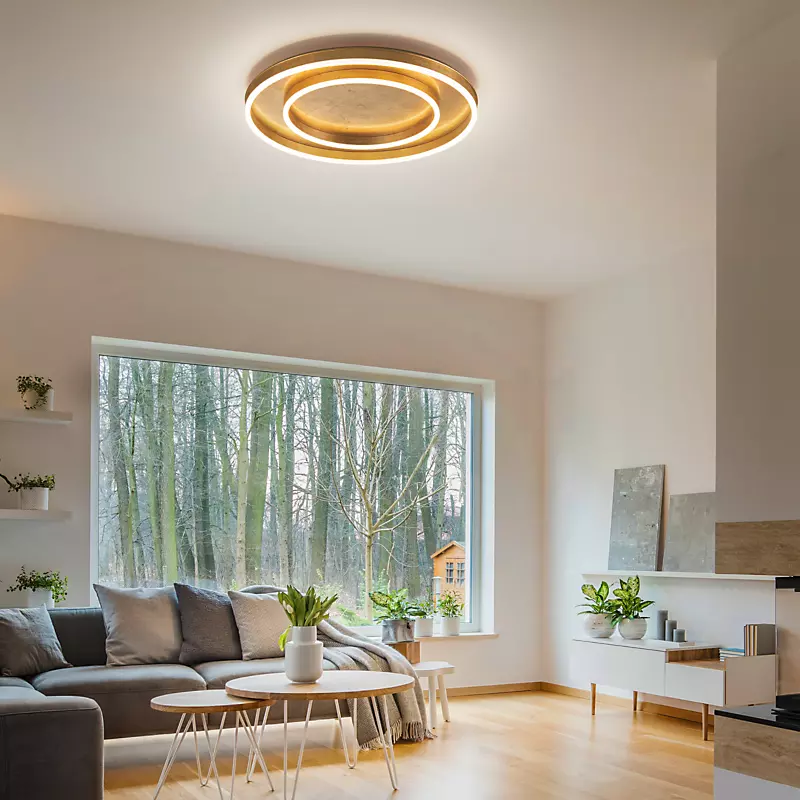
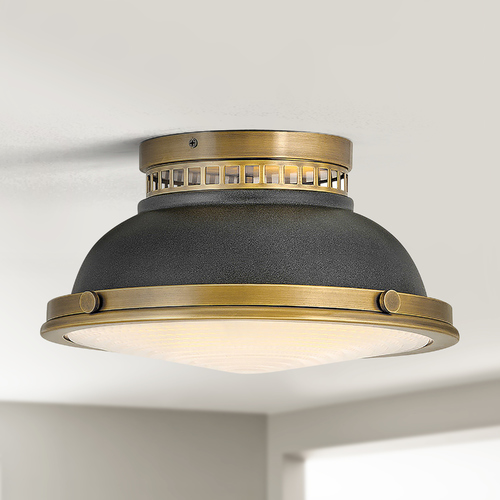
The Antique Brass Flush Mount Ceiling Fixture exudes a sense of classic sophistication. The brass finish has been a staple in interior design for centuries, and the flush mount design offers a clean, polished look that fits seamlessly into any space. The warm, rich tones of antique brass add a touch of luxury without being too flashy, making it a versatile choice for various room styles.
Read too: Bathroom Flooded Through the Ceiling: A Comprehensive Guide
2. Versatility in Design
Flush mount ceiling fixtures, particularly those in antique brass, are incredibly versatile. Whether you’re decorating a modern minimalist home or a vintage-inspired space, these fixtures can complement various design schemes. They work well in entryways, bedrooms, hallways, bathrooms, or living rooms, offering consistent, soft lighting that enhances the overall atmosphere of the room.
3. Space-Saving Design
One of the primary advantages of flush mount fixtures is that they sit close to the ceiling, making them perfect for rooms with lower ceilings. This design allows for better headroom and prevents light fixtures from protruding too far into the room. In spaces with limited vertical clearance, the Antique Brass Flush Mount Ceiling Fixture is an excellent option that doesn’t compromise on style or functionality.
4. Durability and Longevity
Brass is a durable, long-lasting material that stands the test of time. The Antique Brass Flush Mount Ceiling Fixture is built to withstand years of use without showing signs of wear or deterioration. The antique finish helps hide minor scratches or blemishes, ensuring the fixture continues to look attractive and perform well over time.
How to Incorporate an Antique Brass Flush Mount Ceiling Fixture into Your Home
1. Choosing the Right Room
While the Antique Brass Flush Mount Ceiling Fixture works well in almost any room, there are specific spaces where it can truly shine. Consider these common applications:
- Entryways: The flush mount fixture’s soft glow creates a welcoming atmosphere for guests entering your home. The antique brass finish adds a hint of sophistication to your foyer.
- Bedrooms: These fixtures provide gentle, ambient lighting, perfect for winding down at the end of the day. Their elegant appearance complements both traditional and modern bedroom styles.
- Hallways: Long hallways often benefit from flush mount lighting that provides even illumination without obstructing headspace. The antique brass finish also adds visual interest to otherwise dull corridors.
- Bathrooms: An antique brass flush mount ceiling fixture is a great way to introduce vintage charm into a bathroom. It offers sufficient lighting for tasks like grooming and reading, while enhancing the bathroom’s décor.
2. Pairing with Other Fixtures
The antique brass finish of the Antique Brass Flush Mount Ceiling Fixture can be seamlessly paired with other brass, gold, or neutral-toned fixtures throughout your home. You can coordinate the look with matching antique brass wall sconces or table lamps to create a cohesive design. For a more modern look, pair the fixture with matte black, white, or even wood elements for a balanced contrast.
3. Color Schemes and Decor
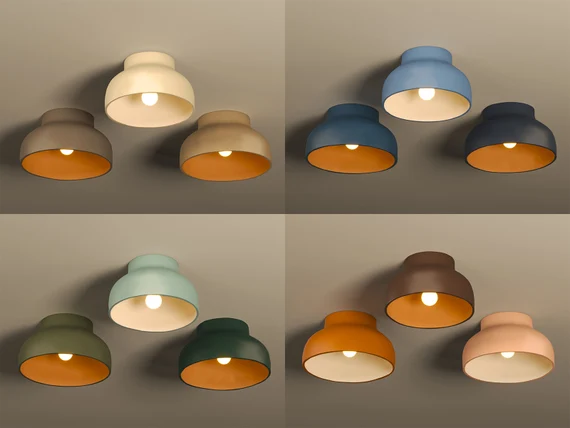
The rich hue of antique brass works particularly well with a wide range of color schemes. It complements both warm tones, like burgundy, deep green, and earthy neutrals, as well as cooler tones, such as grays and navy blues. The subtle luster of antique brass can help brighten up darker colors or add a touch of warmth to lighter shades.
How to Choose the Best Antique Brass Flush Mount Ceiling Fixture
When shopping for the perfect Antique Brass Flush Mount Ceiling Fixture, there are several factors to keep in mind. Here are a few essential considerations to ensure you select a fixture that best suits your needs:
1. Size and Scale
Flush mount ceiling fixtures come in a variety of sizes. The size of the fixture should be proportional to the size of the room. For smaller rooms or spaces with low ceilings, a smaller fixture may be more appropriate. Larger rooms may benefit from a larger, more elaborate fixture that provides ample light and acts as a focal point.
2. Lighting Needs
Consider the type of lighting you need. If you require bright, task-oriented light, look for a flush mount fixture that accommodates multiple bulbs or higher wattage. If you’re more interested in ambient lighting to set a relaxing mood, opt for a softer, dimmable fixture.
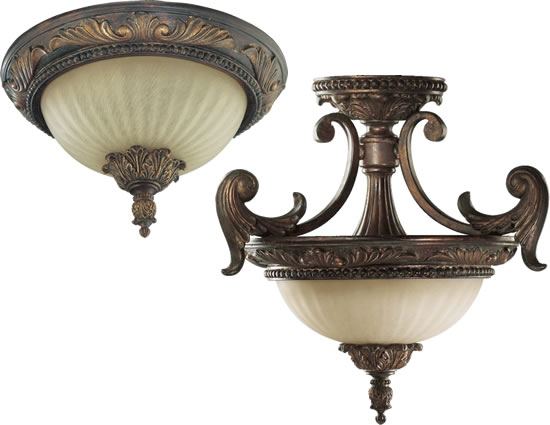
3. Style and Design
As mentioned earlier, the antique brass finish can work with both traditional and modern design schemes. However, there are variations in the design of flush mount fixtures. Some have a more intricate, ornate design, while others are sleek and minimalist. Be sure to choose a design that matches the overall aesthetic of the room where the fixture will be placed.
4. Installation and Maintenance
Most Antique Brass Flush Mount Ceiling Fixtures are easy to install, but it’s always a good idea to hire a professional electrician if you’re unfamiliar with electrical work. Additionally, while brass is a durable material, it may require occasional cleaning to maintain its shine and finish. A gentle dusting or using a brass cleaner can help keep the fixture looking polished.
The Benefits of Choosing Brass for Your Ceiling Fixtures
Brass is a popular choice for light fixtures due to its many beneficial properties. Here are just a few reasons why brass is ideal for an Antique Brass Flush Mount Ceiling Fixtures:
1. Corrosion Resistance
Brass is naturally resistant to corrosion and rust, making it a suitable material for long-term use in various environments, including humid areas like bathrooms.
2. Aesthetic Appeal
Brass offers a warm, elegant finish that works well with almost any interior. The Antique Brass Flush Mount Ceiling Fixtures can enhance the room’s décor by adding both style and function.
3. Low Maintenance
Brass requires minimal maintenance. A quick wipe with a soft cloth is usually all it takes to keep it looking fresh. The material is also relatively resistant to tarnishing, especially if it has been treated with an antique finish.
Conclusion
The Antique Brass Flush Mount Ceiling Fixtures is a timeless and versatile lighting option that brings elegance and functionality to any room. Whether you’re looking to illuminate a hallway, enhance your bedroom, or create a sophisticated entrance, this fixture can suit a wide range of design needs. Its classic antique brass finish adds a touch of luxury to your space, while its flush mount design ensures it fits seamlessly into rooms with lower ceilings. By choosing the right size, design, and lighting features, you can find the perfect fixture that complements your home’s decor and provides the perfect lighting solution.