Log cabins embody a unique charm and coziness that traditional homes often lack. To complement this rustic aesthetic, it’s essential to choose furnishings and fixtures that enhance the natural beauty of the space. One such addition is log cabin ceiling fans, which not only provide comfort but also contribute to the overall design of your cabin. This comprehensive guide will explore the benefits of log cabin ceiling fans, how to choose the right one for your space, installation tips, and maintenance advice.
The Appeal of Log Cabin Ceiling Fans
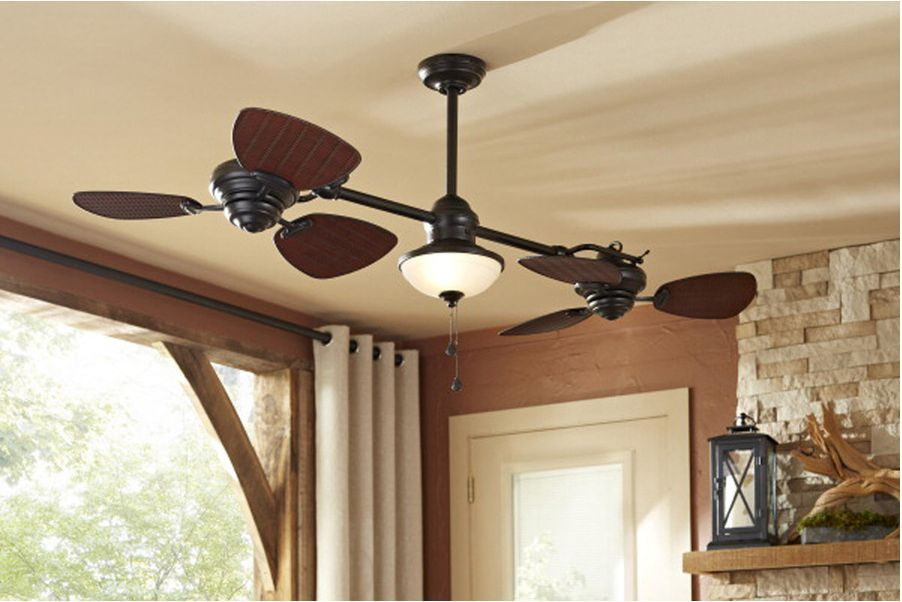
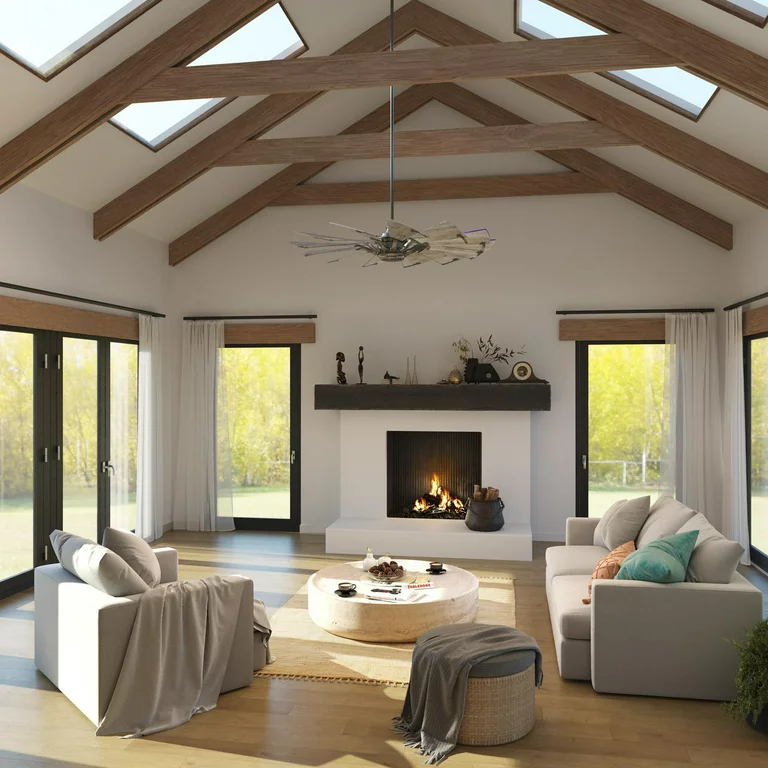
Log cabin ceiling fans are specifically designed to blend seamlessly with the rustic charm of a log cabin. They offer both functional and aesthetic benefits, making them an excellent choice for enhancing your cabin’s comfort and style. Here’s why log cabin ceiling fans are a great addition:
1. Rustic Aesthetic
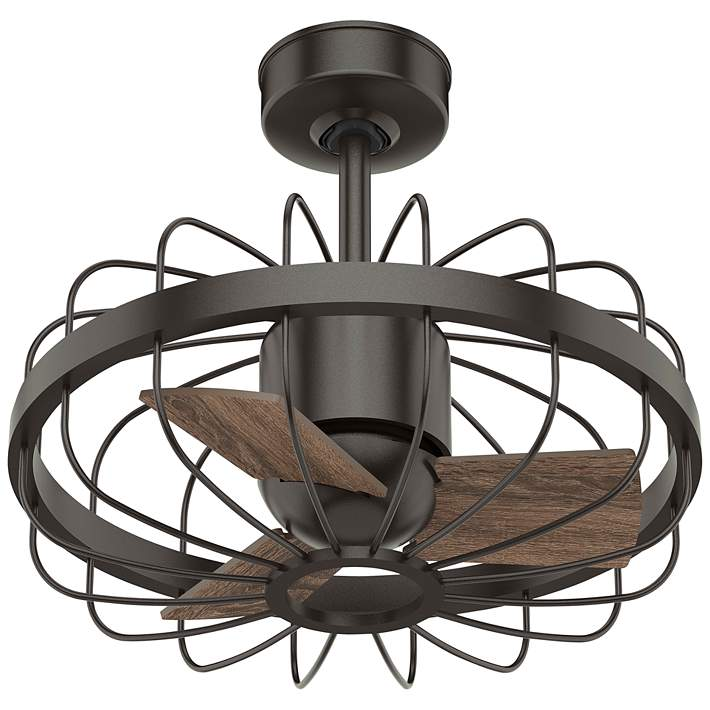
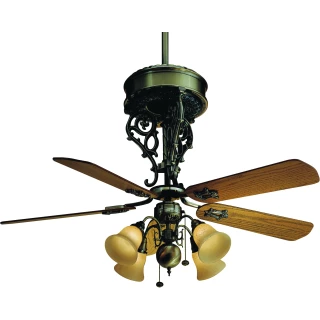
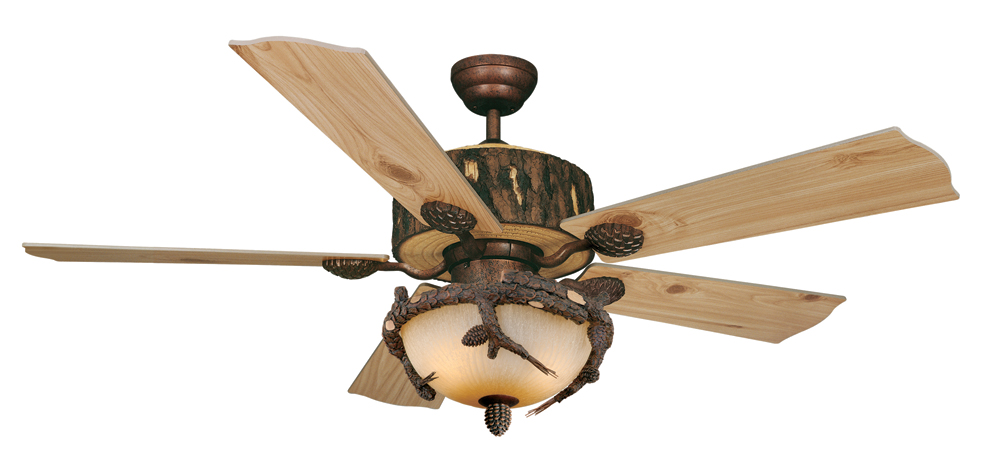
Log cabin ceiling fans are designed to complement the natural, rustic appeal of log cabins. They often feature materials and finishes that match or enhance the wood and stone elements typical of log cabins. From wooden blades to wrought iron frames, these fans blend perfectly with the cabin’s interior.
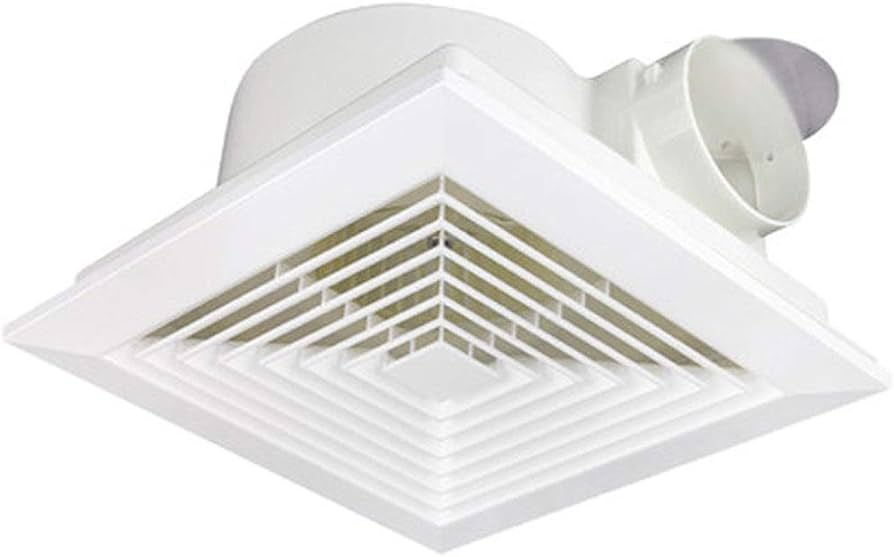
2. Enhanced Comfort
Proper ventilation is crucial in any home, and log cabins are no exception. Ceiling fans help circulate air, which can regulate temperature, reduce humidity, and enhance comfort. In summer, they create a breeze that makes the room feel cooler, while in winter, they help distribute warm air more evenly.
3. Energy Efficiency
By improving air circulation, ceiling fans can help reduce the reliance on heating and cooling systems, leading to energy savings. This is particularly beneficial in log cabins, where maintaining a comfortable temperature can be challenging.
4. Versatility
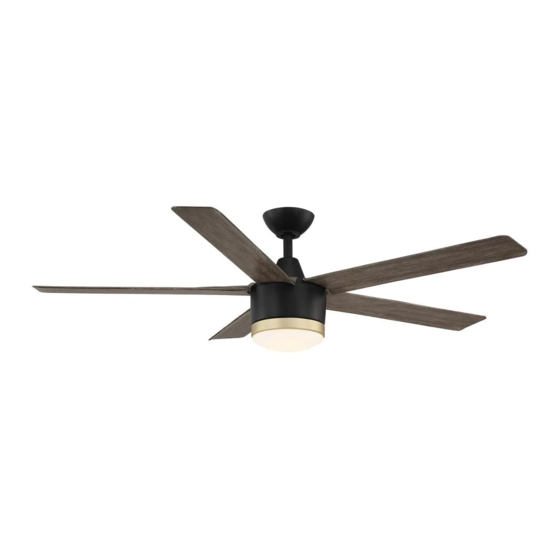
Log cabin ceiling fans come in a variety of styles and finishes, allowing you to find a design that complements your cabin’s decor. Whether you prefer a traditional wooden fan or a more modern rustic design, there’s a ceiling fan to fit your aesthetic.
Read too: Kitchen Lighting For A Vaulted Ceiling: Illuminating Your Space with Style and Functionality
Choosing the Right Log Cabin Ceiling Fan
Selecting the right log cabin ceiling fan involves considering several factors to ensure it meets both your functional needs and design preferences. Here’s a guide to help you make the best choice:
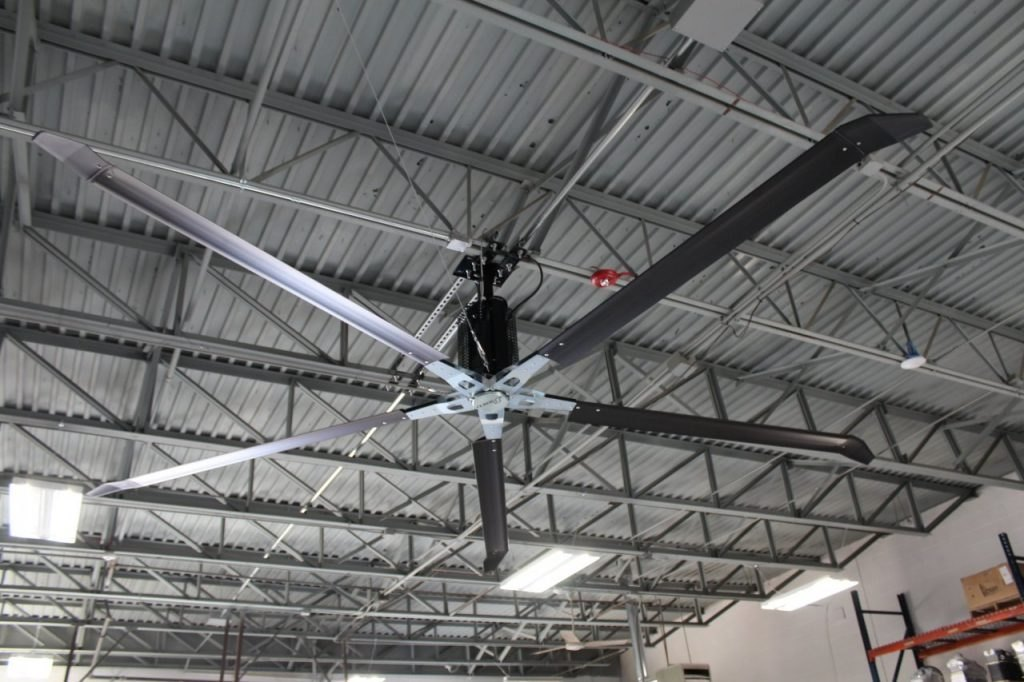
1. Size and Blade Span
The size of the ceiling fan should be proportionate to the size of the room. Larger rooms may require a fan with a broader blade span to ensure effective air circulation. For small to medium-sized rooms, a fan with a smaller blade span will suffice. Measure the room dimensions and refer to the manufacturer’s recommendations for blade span.
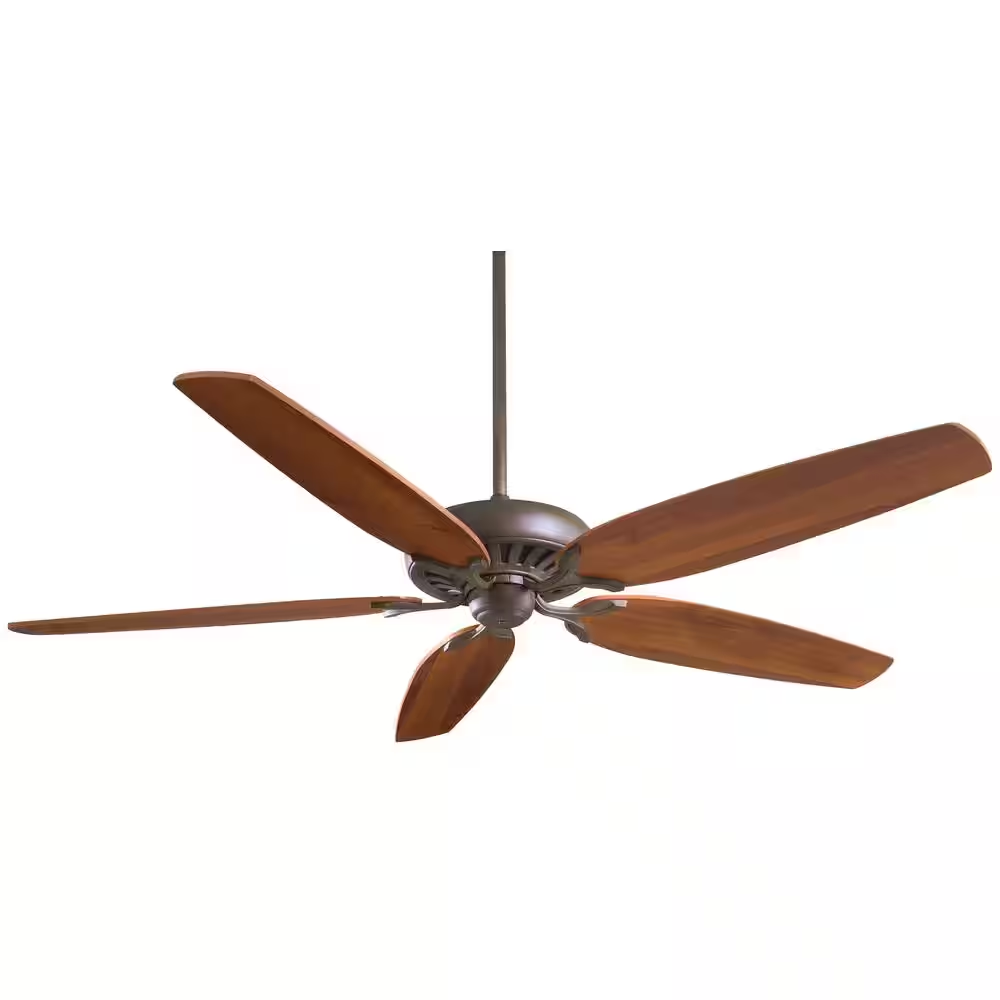
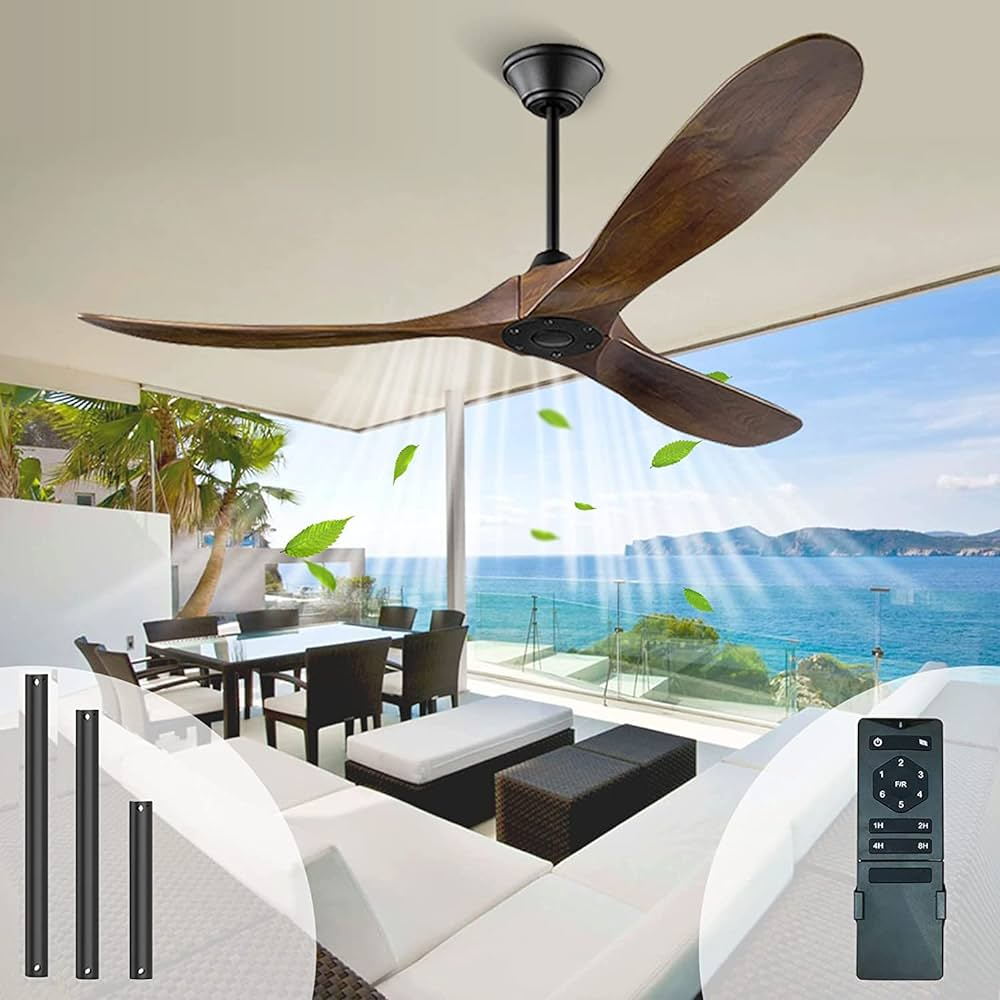
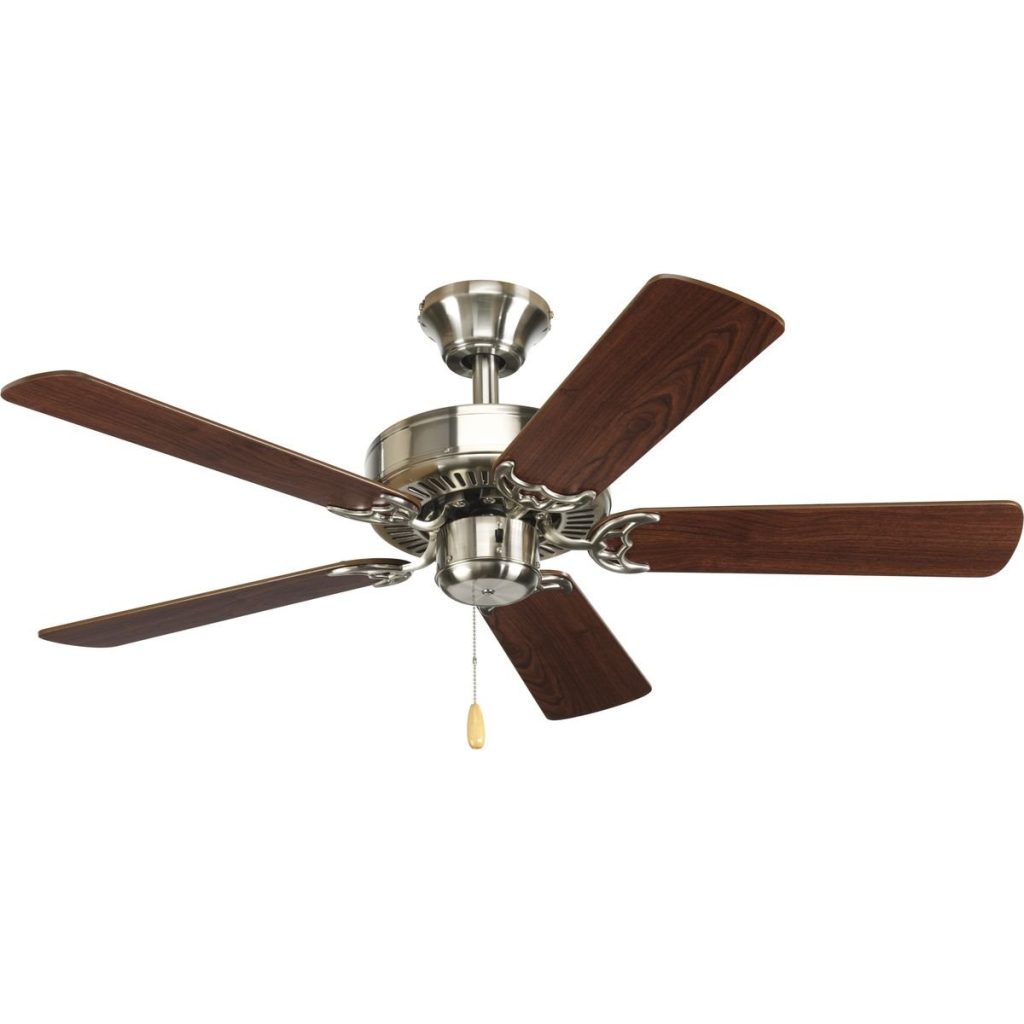
2. Material and Finish
Log cabin ceiling fans are available in various materials and finishes. Wood is a popular choice for a rustic look, while metals like bronze or iron can add a rugged touch. Choose materials and finishes that match or complement your cabin’s existing décor.
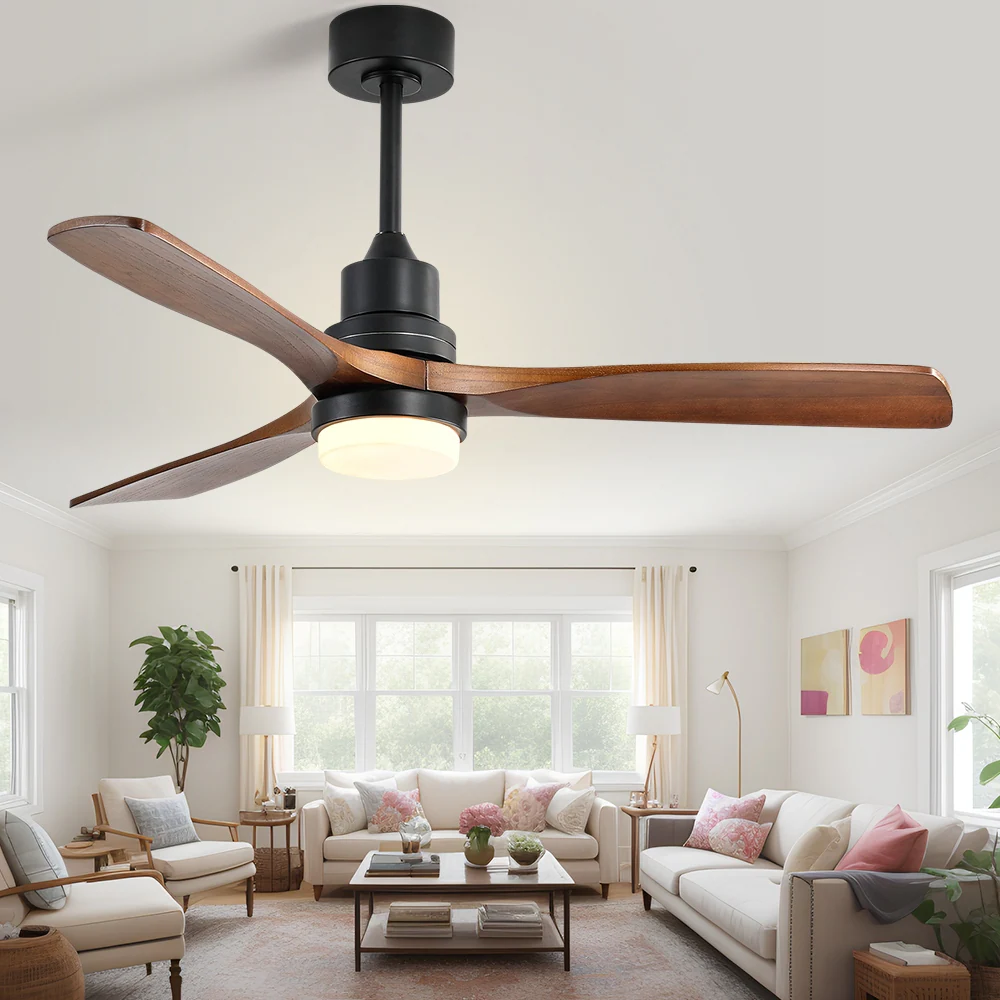
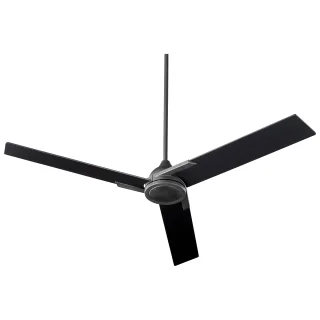
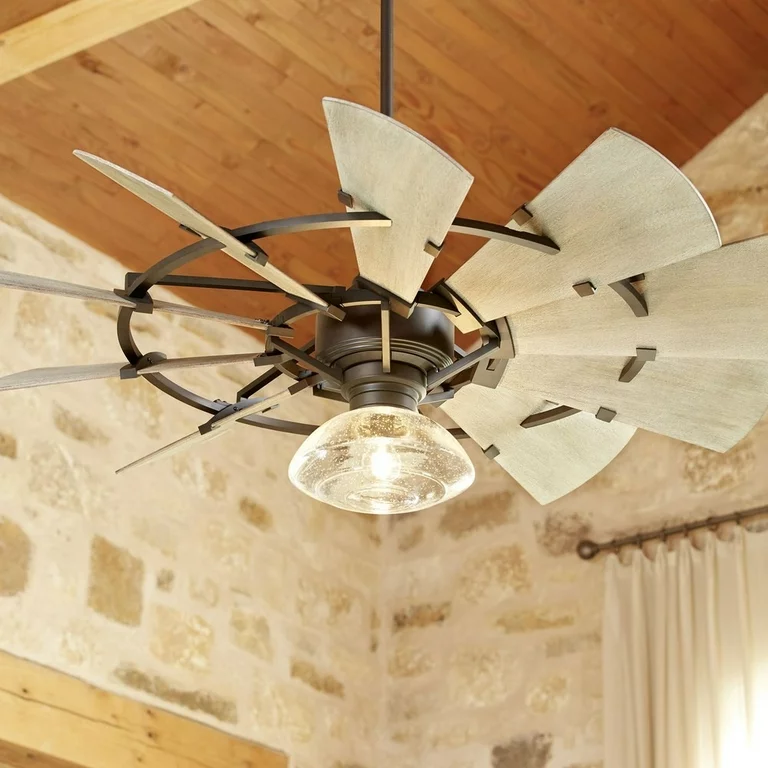
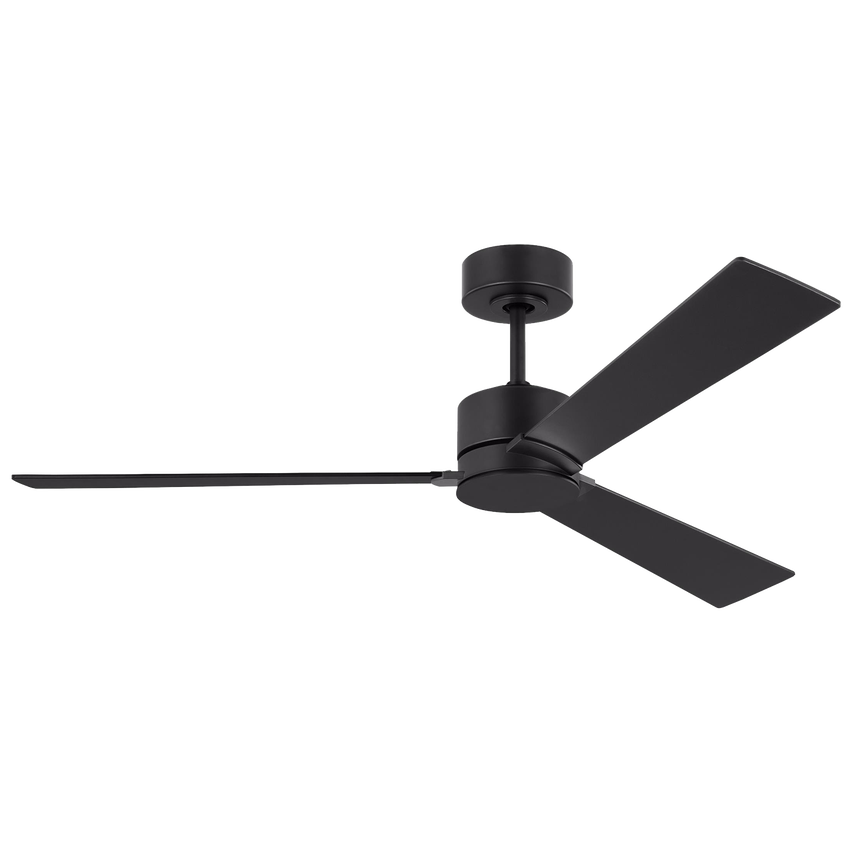
3. Style
The style of the ceiling fan should harmonize with the overall design of your cabin. Options range from traditional wooden fans with intricate carvings to more contemporary designs with rustic elements. Consider the cabin’s theme and choose a fan that enhances the space.
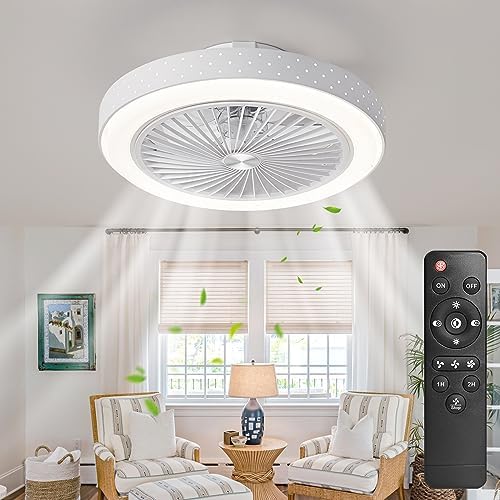
4. Lighting Options
Some log cabin ceiling fans come with integrated lighting fixtures, which can provide additional illumination in the room. Decide if you want a fan with built-in lights or if you prefer a separate lighting source.
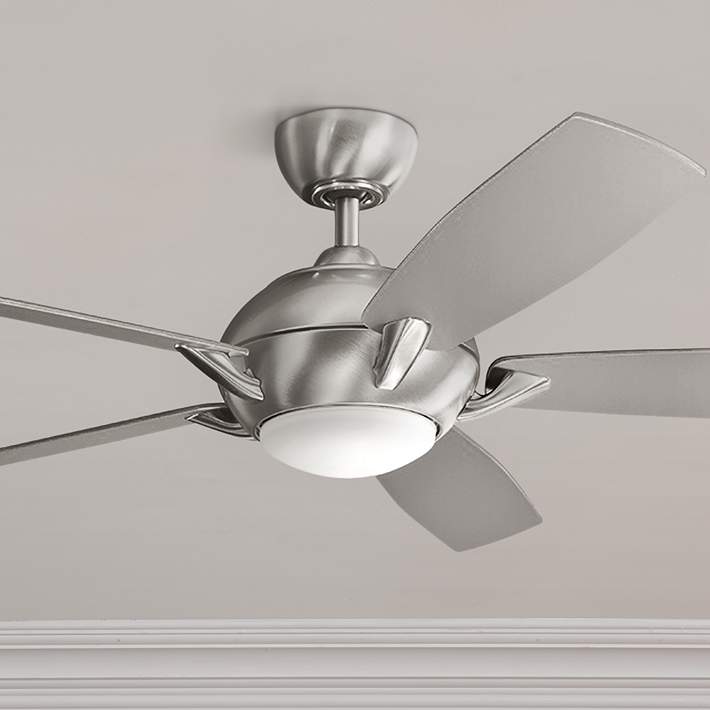
5. Motor Quality
The quality of the motor affects the fan’s performance and longevity. Look for fans with durable, high-quality motors that ensure smooth operation and quiet performance.
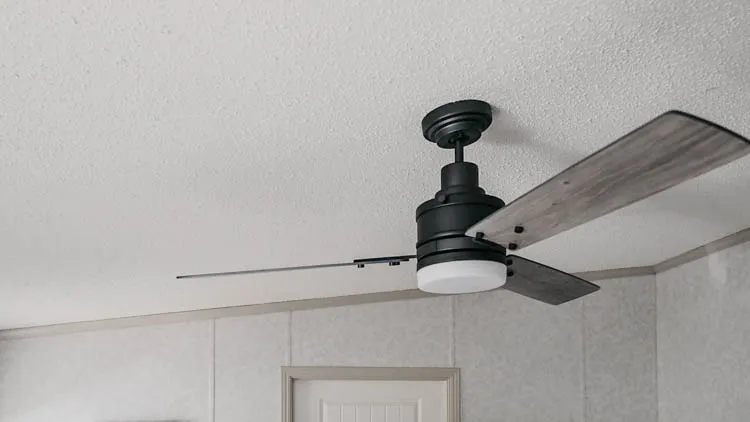
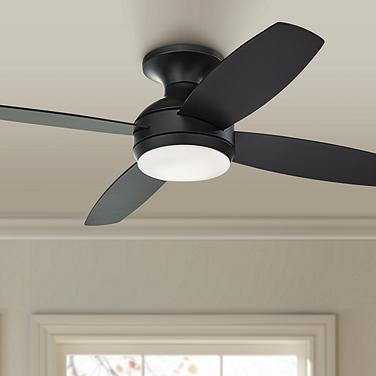
6. Installation and Mounting
Ceiling fans can be installed as standard mount or flush mount. In rooms with high ceilings, a standard mount is typically used, while flush mounts are ideal for rooms with lower ceilings. Choose a fan that suits your ceiling height and installation needs.
Installation of Log Cabin Ceiling Fans
Proper installation is crucial for the optimal performance of your log cabin ceiling fan. Here’s a step-by-step guide to ensure a successful installation:
1. Gather Tools and Materials
Before starting, gather all necessary tools and materials, including the ceiling fan, mounting hardware, a drill, screwdriver, and wire connectors. Make sure you also have the installation manual for reference.
2. Turn Off Power
Safety first: turn off the power to the area where you will be installing the fan. This can be done at the circuit breaker to prevent any electrical accidents.
3. Prepare the Ceiling
If there’s an existing light fixture or ceiling fan, remove it carefully. Ensure that the ceiling box is properly secured and rated to support the weight of the new fan.
4. Assemble the Fan
Follow the manufacturer’s instructions to assemble the fan. This typically involves attaching the blades to the motor and securing any additional components, such as light kits.
5. Mount the Fan
Secure the mounting bracket to the ceiling box, ensuring it is level and tightly fastened. Attach the fan’s motor to the bracket, following the manufacturer’s instructions for alignment and connection.
6. Connect Wiring
Connect the fan’s wiring to the ceiling wires using wire connectors. Match the colors of the wires (black to black, white to white, and green or copper to the ground wire). Ensure all connections are secure and properly insulated.
7. Attach Blades and Light Kit
Once the fan is mounted and wired, attach the blades and light kit if applicable. Ensure all components are securely fastened and aligned.
8. Test the Fan
Turn the power back on and test the fan to ensure it operates correctly. Check for proper airflow and listen for any unusual noises.
Maintenance of Log Cabin Ceiling Fans
Regular maintenance will help keep your log cabin ceiling fan in top condition. Here’s how to care for your fan:
1. Clean the Fan
Dust and debris can accumulate on the fan blades, reducing efficiency and causing noise. Clean the blades regularly with a soft cloth or a duster. For fans with lights, clean the light bulbs and fixtures as well.
2. Inspect for Damage
Periodically inspect the fan for any signs of damage or wear, such as loose blades or a wobbly motor. Address any issues promptly to avoid further damage.
3. Check the Motor
Ensure the motor is operating smoothly and quietly. If you notice any unusual noises or vibrations, check for loose components or imbalances in the blades.
4. Lubricate Moving Parts
If your fan model requires lubrication, apply a suitable lubricant to the moving parts according to the manufacturer’s recommendations. This helps reduce friction and prolongs the fan’s lifespan.
5. Tighten Hardware
Check and tighten any screws or mounting hardware that may have loosened over time. This helps maintain the stability and safety of the fan.
Troubleshooting Common Issues
If you encounter problems with your log cabin ceiling fan, here are some common issues and troubleshooting tips:
1. Fan Not Working
If the fan is not operating, check the power supply and ensure the circuit breaker is not tripped. Verify that the wiring connections are secure and that the fan is properly mounted.
2. Uneven Airflow
Uneven airflow can result from unbalanced blades or obstructions. Check that the blades are properly aligned and clean. Ensure there are no objects blocking the airflow.
3. Noisy Operation
Noises can indicate loose components or imbalances. Tighten any loose screws or hardware and check for any debris on the blades. If the noise persists, inspect the motor for potential issues.
4. Light Kit Not Working
If the light kit is not functioning, check the light bulbs and connections. Ensure the bulbs are properly installed and replace any that are burned out.
Conclusion
Log cabin ceiling fans are a fantastic addition to enhance both the comfort and aesthetic of your rustic retreat. By selecting the right fan, following proper installation procedures, and performing regular maintenance, you can enjoy the benefits of improved air circulation and a stylish complement to your log cabin décor. Whether you prefer a classic wooden fan or a modern rustic design, the perfect log cabin ceiling fan is sure to enhance your cabin experience.