When it comes to designing spaces with high ceilings, choosing the right lighting is essential for both functionality and aesthetics. Proper lighting can enhance the architectural beauty of a room while creating a welcoming and comfortable atmosphere. In this article, we will explore the best lighting for high ceilings, including different types of fixtures, design tips, and how to create an inviting ambiance.
Why Lighting Matters in High Ceilings
1. Enhances Architectural Features
High ceilings can make a room feel grand and spacious, but without the right lighting, they can also appear empty and uninviting. Proper lighting highlights the architectural features, such as beams, moldings, and unique design elements.
2. Creates a Cozy Atmosphere
Lighting plays a critical role in setting the mood of a space. In rooms with high ceilings, warm, inviting lighting can make the area feel more intimate, balancing the expansive feel of the room.
3. Functional Illumination
In addition to aesthetics, lighting must serve its primary purpose: providing adequate illumination for activities. High ceilings often require more powerful fixtures or strategically placed lights to ensure the space is well-lit.
Read too: Shiplap Ceiling in Kitchen: A Timeless Trend for a Stylish and Cozy Space
Types of Lighting for High Ceilings
When it comes to selecting the best lighting for high ceilings, consider these different types of fixtures and techniques:
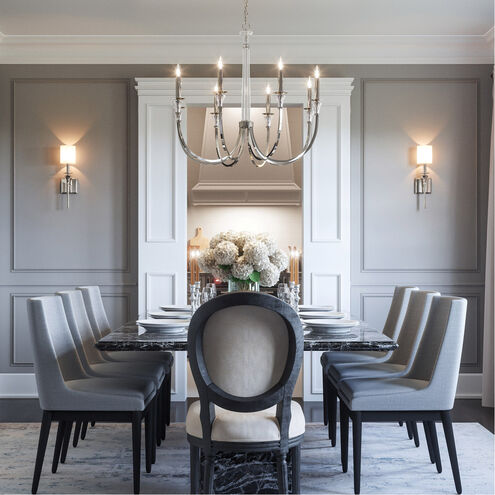
1. Chandeliers
Chandeliers are often the go-to choice for high-ceiling spaces. They not only provide ample light but also serve as a stunning focal point in a room. Here are a few tips for choosing chandeliers:
- Scale: Choose a chandelier that is proportionate to the size of the room. A large chandelier can make a statement, while smaller ones may get lost in the space.
- Height: Hang the chandelier at least 7 feet above the floor to ensure clearance, especially in areas with high traffic.
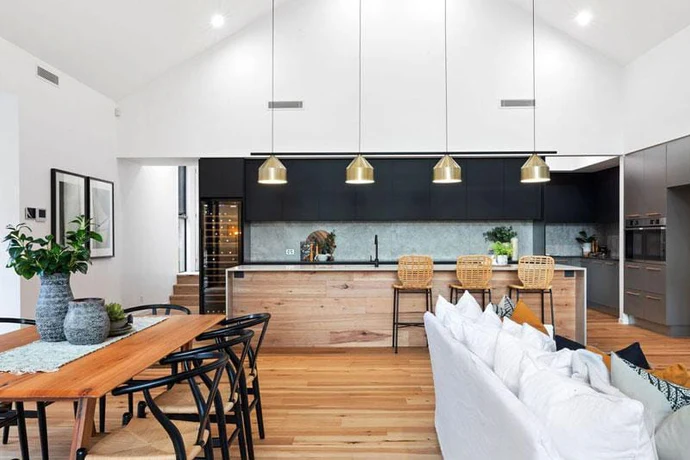
2. Pendant Lights
Pendant lights are versatile and can be used in various configurations. They work well in high-ceiling spaces, especially when installed in clusters or at varying heights. Consider the following:
- Grouping: Group multiple pendant lights together to create a layered lighting effect. This approach can provide more light and a visually appealing design.
- Height Variation: Varying the height of the pendants can add dimension and interest to the space.
3. Wall Sconces
Wall sconces are excellent for providing ambient lighting and can accentuate architectural features in a high-ceiling room. Here are some tips:
- Placement: Install sconces at eye level, usually 60-66 inches from the floor, to ensure they are functional and visually pleasing.
- Style: Choose sconces that complement the overall decor style of the room, whether modern, traditional, or eclectic.
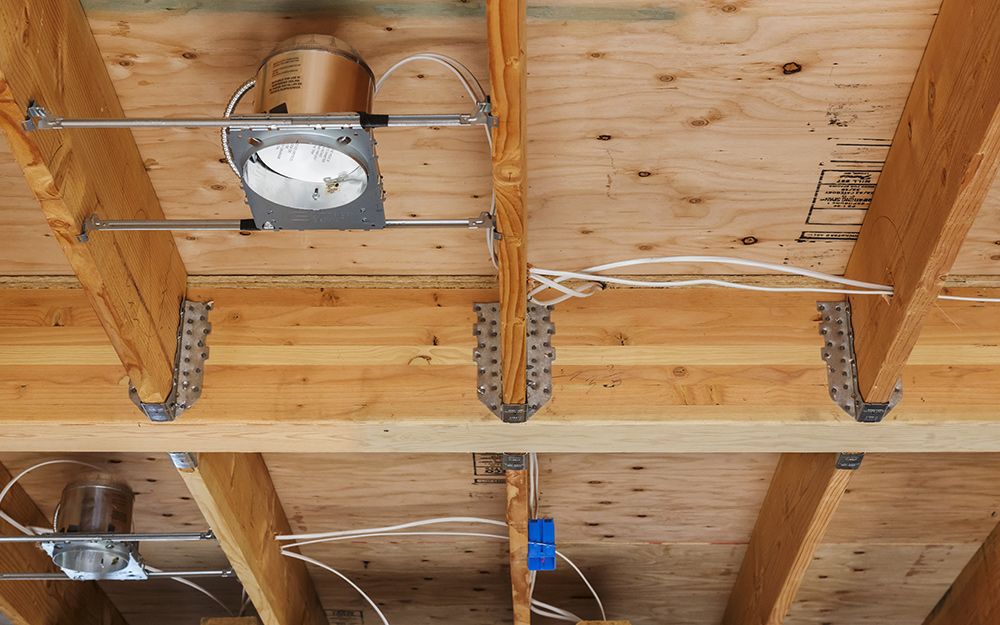
4. Recessed Lighting
Recessed lighting is a great option for high ceilings as it can provide even illumination without overwhelming the space. Consider the following:
- Spacing: When installing recessed lights, ensure they are evenly spaced to avoid shadows. A general rule is to space them about 4-6 feet apart, depending on the fixture’s brightness.
- Dimming Options: Installing dimmers allows you to adjust the brightness according to the time of day or occasion, creating a more versatile lighting solution.
5. Track Lighting
Track lighting is highly adaptable and can be adjusted to focus on specific areas or features within a room. Here are some advantages:
- Flexibility: With track lighting, you can easily reposition the fixtures to highlight artwork, furniture, or other design elements.
- Design: Modern track lighting systems come in various styles and finishes, allowing you to select options that fit your decor.
Design Tips for High Ceiling Lighting
To maximize the impact of your lighting in high-ceiling spaces, consider these design tips:
1. Layer Your Lighting
Use a combination of ambient, task, and accent lighting to create a well-lit and inviting atmosphere. This layering technique ensures that every part of the room is adequately illuminated and adds depth to the overall design.
2. Use Dimmer Switches
Incorporating dimmer switches allows for better control over the lighting intensity, making it easier to create the desired mood. This is especially useful in multi-functional spaces where lighting needs may vary throughout the day.
3. Consider Color Temperature
The color temperature of your light bulbs can significantly affect the ambiance of a room. For high ceilings, consider using warm white bulbs (2700K to 3000K) to create a cozy and inviting atmosphere.
4. Highlight Architectural Features
Use lighting to draw attention to architectural elements like beams, moldings, or fireplaces. This can be achieved with spotlights, recessed lights, or even strategically placed wall sconces.
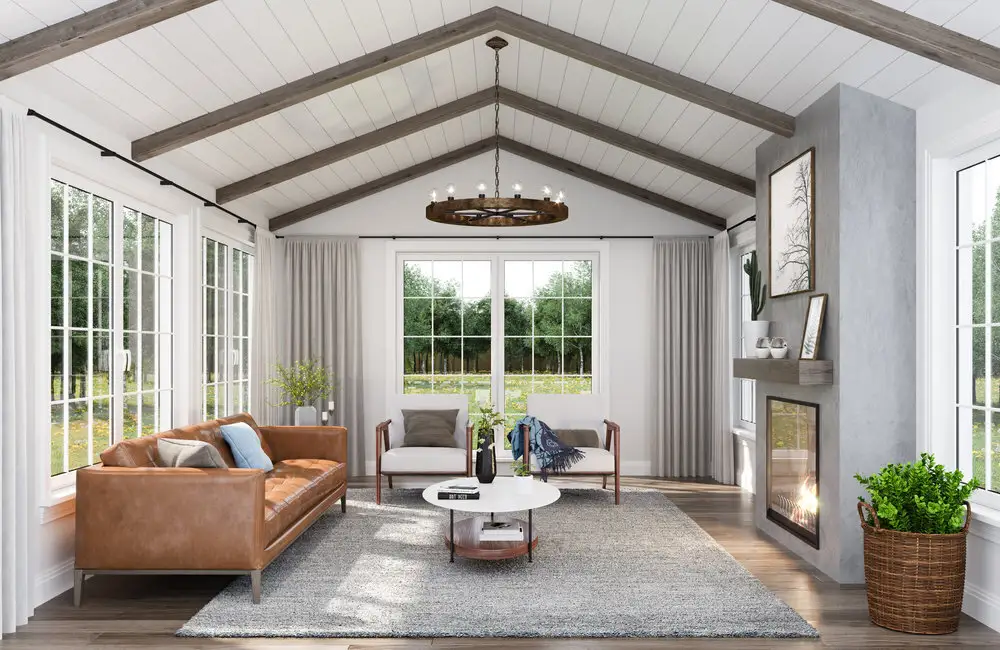
5. Think About Ceiling Height
When selecting lighting fixtures, consider the height of your ceilings. For extremely high ceilings, consider fixtures that extend down, such as long pendants or multiple chandeliers, to bring the light closer to eye level.
Popular Lighting Fixtures for High Ceilings
Here are some popular lighting fixtures that work exceptionally well in high-ceiling spaces:
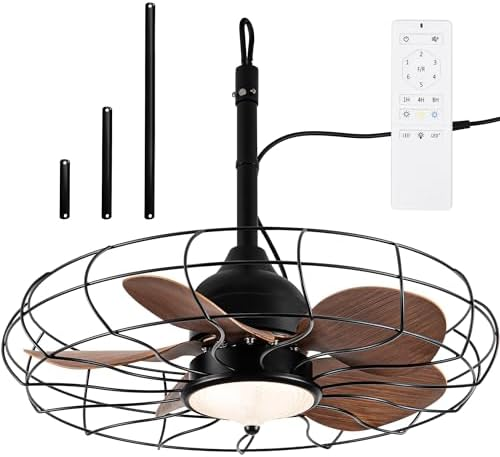
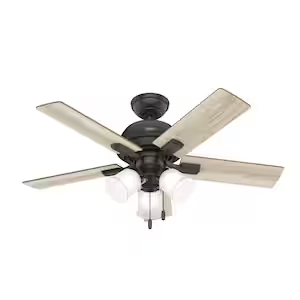
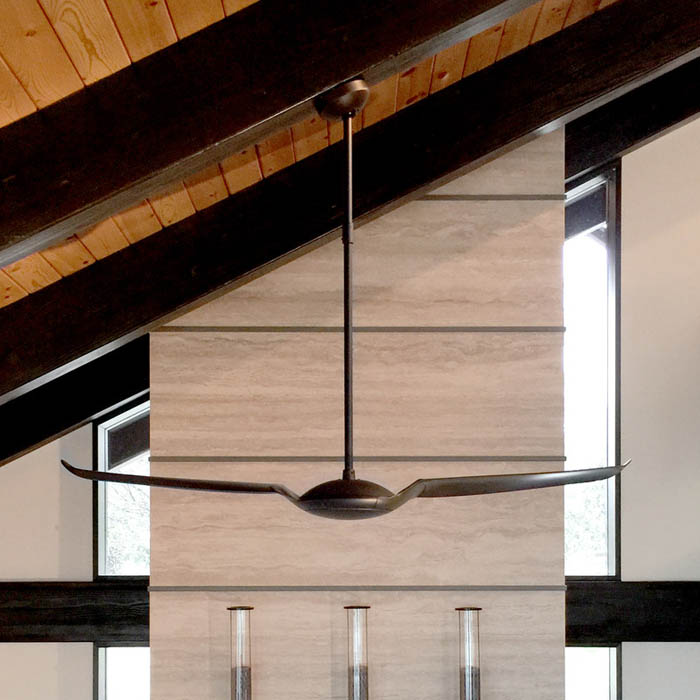
1. Kichler Tanglewood 52-Inch Ceiling Fan with Light
This ceiling fan not only provides excellent air circulation but also features integrated lighting. The unique design adds character to any room while ensuring optimal lighting.
2. Westinghouse Lighting 63510 Sorrento 3-Light Pendant
This stunning pendant light offers a modern twist with its sleek design. Ideal for over dining tables or kitchen islands, it adds sophistication while providing ample light.
3. Savoy House 1-Light Mini Pendant
Mini pendants like this one can be grouped together to create a dramatic effect. Their compact size makes them perfect for high ceilings when hung at varying lengths.
4. Quoizel NY8603VB Newbury 3-Light Pendant
This beautiful pendant light features a vintage design that works well in traditional and modern spaces. The three lights provide ample illumination for larger areas.
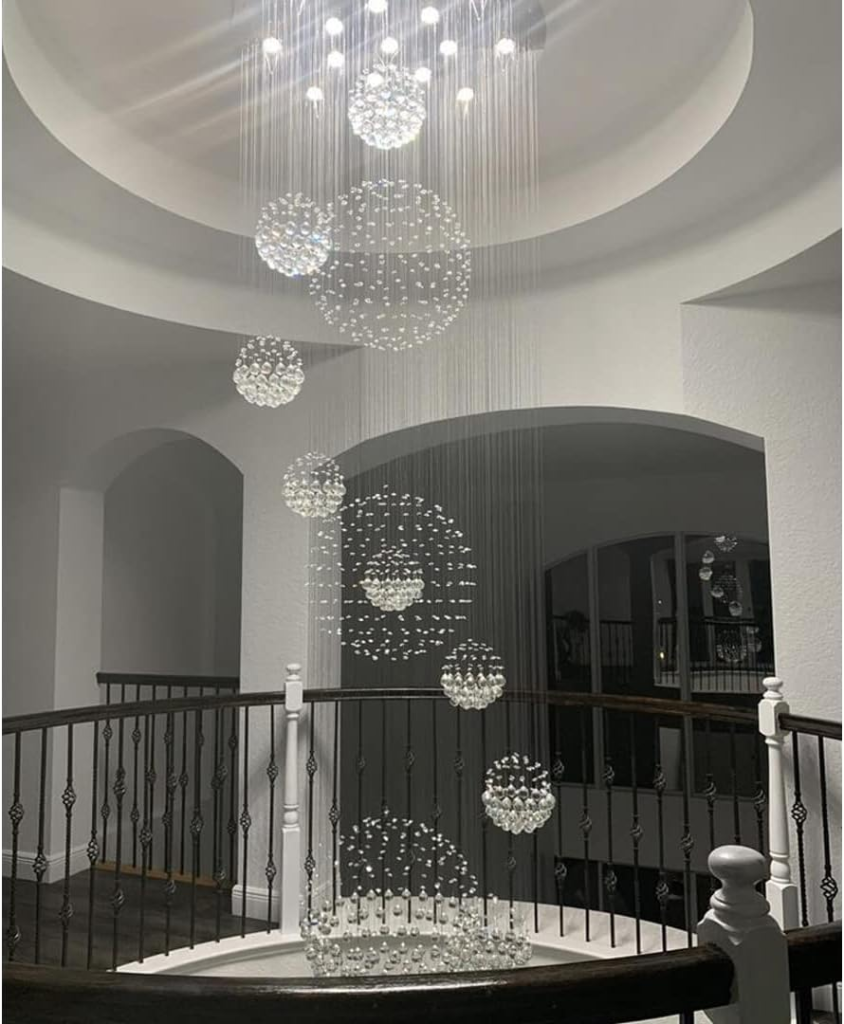
5. Cyan Design 06238 Spiral 3-Light Pendant
With a modern twist on the traditional chandelier, this spiral pendant light makes a bold statement in high-ceiling spaces while offering adjustable heights.
Conclusion
Finding the best lighting for high ceilings involves understanding the unique challenges and opportunities these spaces present. By selecting the right fixtures, employing effective design strategies, and considering the functionality of the lighting, you can create a beautiful and inviting atmosphere that showcases the grandeur of your high ceilings. Whether you opt for a statement chandelier, sleek pendants, or recessed lighting, the right choices can transform your space into a well-lit haven.