When it comes to home renovations, upgrading a plaster ceiling to drywall is a popular choice. Plaster ceilings, though once common, can often develop cracks, sag, or other issues over time, making them less desirable. Replacing these ceilings with drywall not only enhances the aesthetic appeal of your home but also provides better insulation and durability. If you’re considering how to install drywall over plaster ceiling, this comprehensive guide will walk you through the process, benefits, and important considerations for a successful renovation.
Why Choose Drywall Over Plaster Ceiling?
Before diving into the installation process, it’s essential to understand why many homeowners choose to install drywall over plaster ceilings in the first place. Here are some reasons why this option has become so popular:
- Easier to Maintain: Drywall is much easier to maintain compared to plaster. Plaster ceilings can crack or sag over time, requiring repairs that are often expensive and labor-intensive. On the other hand, drywall is more flexible, resistant to cracks, and easier to patch up when damaged.
- Cost-Effective: Installing drywall over plaster ceilings is generally a more affordable option than completely removing plaster and replacing it with new plaster. The drywall installation process is quicker and less labor-intensive, which helps reduce costs.
- Improved Insulation: Drywall provides better soundproofing and thermal insulation compared to plaster. This can improve the energy efficiency of your home by reducing heat loss and controlling noise between rooms.
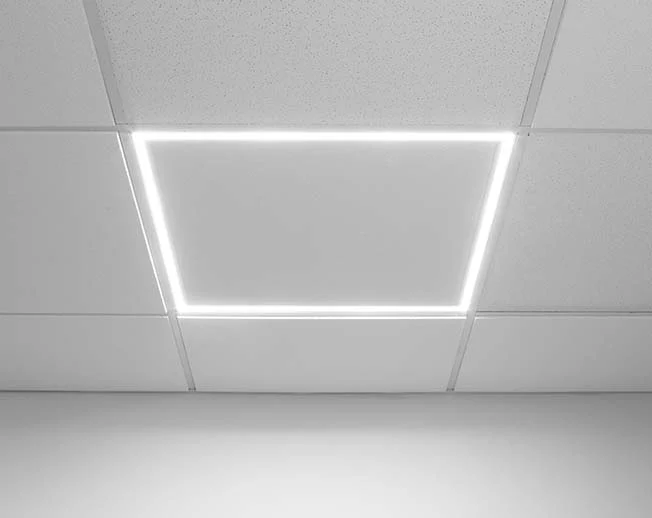
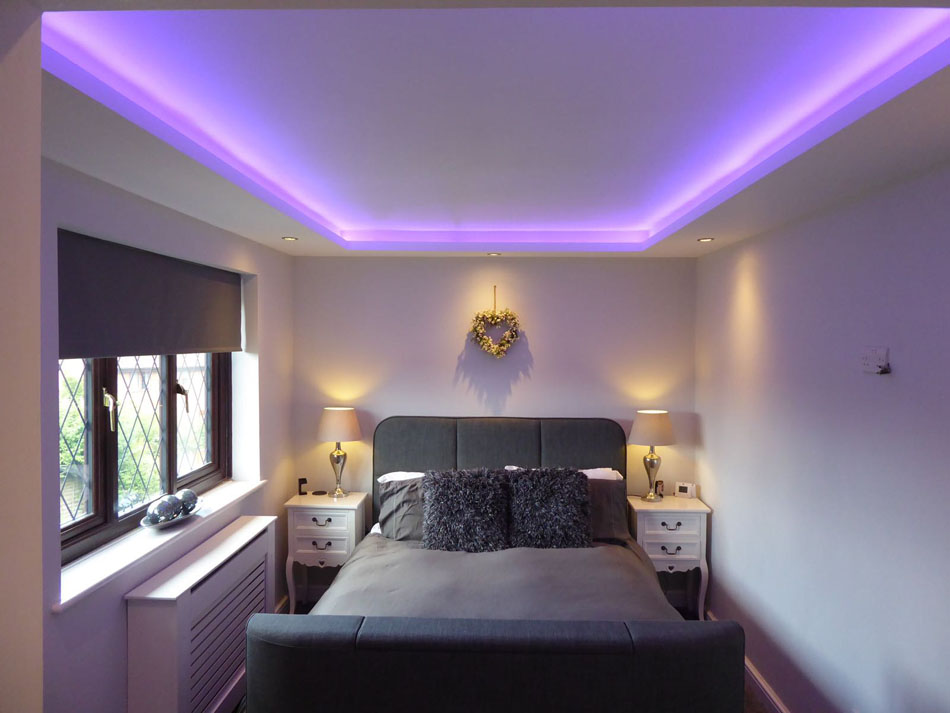
- Modern Look: Drywall ceilings give your home a clean, smooth finish, which is a stark contrast to the uneven texture that can sometimes occur with plaster ceilings. This modern look complements a variety of interior design styles and can add value to your home.
Read too: Kitchen Lighting For A Vaulted Ceiling: Illuminating Your Space with Style and Functionality
Steps to Install Drywall Over Plaster Ceiling
Installing drywall over plaster ceiling can be a straightforward process if done correctly. While it is possible to hire a professional for the job, it can also be done as a DIY project with the right tools and preparation. Below is a detailed, step-by-step guide on how to install drywall over plaster ceilings.
1. Assess the Condition of the Plaster Ceiling
Before you begin, it’s important to evaluate the existing plaster ceiling to ensure that it’s in a condition suitable for drywall installation. Plaster ceilings that are severely cracked, sagging, or damaged beyond repair may need to be replaced entirely rather than simply covered with drywall.
Here’s what to look for:
- Cracks: Small cracks may be patched, but large cracks can indicate deeper structural issues.
- Sagging: If the plaster is sagging or loose, it may not provide a stable base for drywall.
- Mold or Water Damage: If the plaster has mold or significant water damage, you may need to address the underlying issues before proceeding with drywall installation.
2. Prepare the Workspace
Before you start installing drywall over the plaster ceiling, it’s essential to prepare the workspace properly:
- Clear the Area: Remove any furniture, fixtures, or obstructions from the room.
- Protect the Floor: Lay down a drop cloth or plastic sheeting to protect your floor from dust and debris during installation.
- Safety Gear: Wear safety goggles, gloves, and a dust mask to protect yourself from dust and debris.
3. Secure Loose Plaster
One of the critical steps when installing drywall over plaster ceiling is ensuring the plaster is secure. If there are areas of loose plaster, they must be fastened before the drywall can be installed. You can use screws or nails to secure any loose plaster sections back to the ceiling joists.
- Locate Ceiling Joists: Use a stud finder to locate the ceiling joists, then drive screws or nails into these areas to reattach the plaster to the joists.
- Repair Cracks: If the plaster has cracks, use joint compound or plaster patching material to fill in the cracks before applying the drywall.
4. Install Furring Strips (If Necessary)
In some cases, you may need to install furring strips across the plaster ceiling before attaching the drywall. This is especially important if the plaster ceiling is not level or if there is significant damage. Furring strips will provide a stable and level surface for the drywall to be mounted.
- Measure and Cut: Measure the width of the ceiling and cut the furring strips to the appropriate length. These strips should be spaced about 16 to 24 inches apart, depending on the size and structure of your room.
- Attach the Furring Strips: Secure the furring strips to the plaster ceiling with screws or nails. Ensure that they are level to create a uniform surface for the drywall installation.
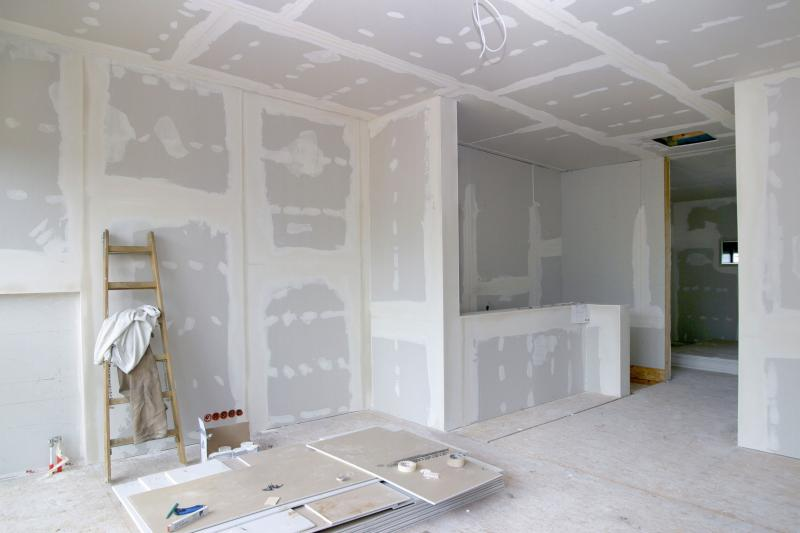
5. Install the Drywall Sheets
Once the plaster ceiling is prepared and the furring strips (if necessary) are in place, you can begin installing the drywall sheets.
- Measure and Cut Drywall: Measure the area of the ceiling and cut the drywall sheets to the appropriate size. Use a utility knife to score and snap the drywall sheets for a clean cut.
- Lift and Secure the Drywall: With the help of a partner, lift the drywall sheets and position them against the ceiling. Screw the drywall into place by driving screws into the furring strips or plaster (if no furring strips were used).
- Ensure Proper Spacing: Ensure that the drywall sheets are aligned properly and have a small gap between the edges and the walls to prevent cracking.
6. Tape and Mud the Seams
Once the drywall is securely installed, the next step is to tape and mud the seams to create a smooth, seamless surface.
- Apply Drywall Tape: Apply a layer of drywall tape along the seams between the drywall sheets. You can use paper tape or fiberglass mesh tape, depending on your preference.
- Apply Joint Compound: Use a drywall knife to apply a layer of joint compound over the taped seams. Smooth the compound to create a seamless transition between the sheets.
- Allow to Dry and Sand: Let the joint compound dry completely, then sand it down with a fine-grit sanding block to create a smooth surface.
7. Finish the Drywall Ceiling
After sanding the joint compound, inspect the ceiling for any imperfections. You may need to apply additional layers of joint compound, sanding between each layer, to achieve a perfectly smooth finish.
- Prime and Paint: Once the joint compound is dry and smooth, you can prime and paint the drywall ceiling to match the rest of the room. Use a high-quality ceiling primer and paint to ensure a clean and long-lasting finish.
8. Clean Up and Enjoy
After the drywall is installed, primed, and painted, clean up the work area. Remove any debris, tools, and protective coverings from the floor. Your ceiling renovation is now complete!
Important Considerations When Installing Drywall Over Plaster Ceiling
While installing drywall over plaster ceiling is a relatively straightforward process, there are a few important factors to keep in mind:
- Electrical Wiring: If there are electrical wires in the ceiling, make sure to check them before installing drywall. It’s important to ensure that the wires are not damaged or improperly positioned.
- Ventilation: Ensure that any ventilation systems or ceiling fans are properly supported and aligned with the drywall installation.
- Structural Integrity: If you’re dealing with a large or damaged plaster ceiling, consult with a professional to assess whether the structure is sound enough to support the drywall.
Benefits of Installing Drywall Over Plaster Ceiling
There are several advantages to installing drywall over plaster ceilings, including:
- Quicker Installation: Installing drywall is faster than replacing plaster entirely, allowing you to complete your renovation more quickly.
- Cost Savings: Because it doesn’t require removing the existing plaster, this method is more affordable than a full ceiling replacement.
- Enhanced Aesthetic: Drywall provides a sleek, modern finish that can instantly update the look of your room.
Conclusion
Installing drywall over plaster ceiling is an effective way to modernize and improve the functionality of your home’s ceiling. Whether you’re renovating a single room or your entire home, the process is manageable with the right tools, preparation, and techniques. By following the steps outlined in this guide, you can transform your old plaster ceiling into a smooth, durable, and attractive drywall surface that enhances the overall appeal of your home.