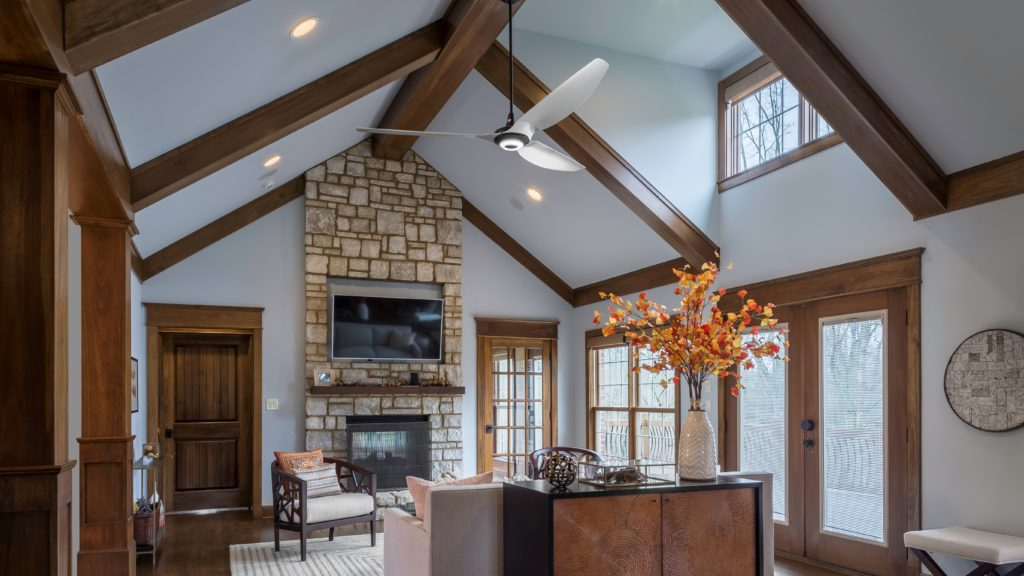
In recent years, outdoor living spaces have become an extension of our homes, where we spend more time relaxing and entertaining. One essential element in enhancing these spaces is the Contemporary Outdoor Ceiling Fan. These modern fixtures not only provide a cooling breeze but also add a touch of style and sophistication to your outdoor environment. In this comprehensive guide, we’ll explore the benefits, design options, and installation tips for contemporary outdoor ceiling fans to help you choose the perfect fan for your space.
What Are Contemporary Outdoor Ceiling Fans?
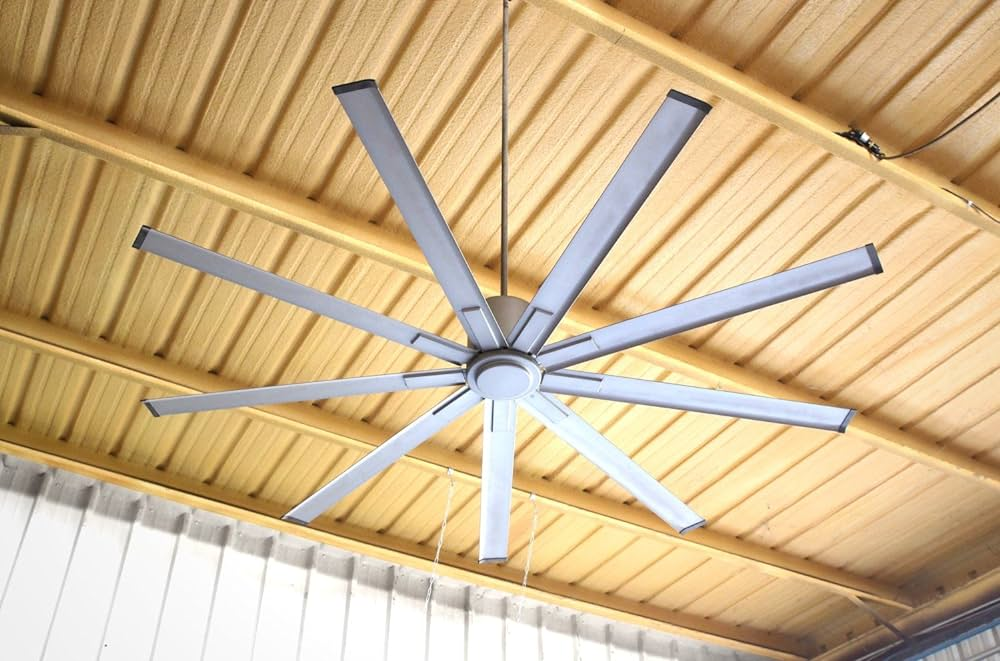
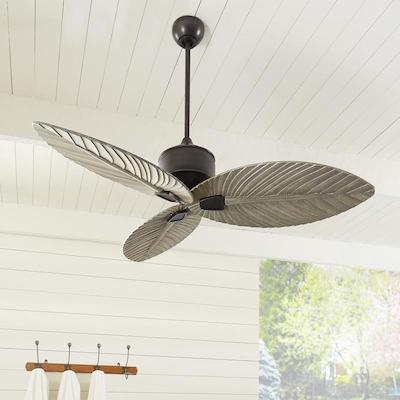
Contemporary Outdoor Ceiling Fans are modern ceiling fans designed specifically for outdoor use. They combine stylish design elements with functionality, making them ideal for patios, decks, pergolas, and other outdoor areas. Unlike traditional ceiling fans, contemporary outdoor models are built to withstand various weather conditions, ensuring durability and long-lasting performance.
Read too: Bathroom Flooded Through the Ceiling: A Comprehensive Guide
These fans come in a range of designs and finishes, from sleek metallics to natural wood tones, and often feature advanced technology for enhanced performance. They are an excellent choice for adding both comfort and aesthetic appeal to your outdoor living spaces.
Benefits of Contemporary Outdoor Ceiling Fans
1. Enhanced Comfort
One of the primary benefits of Contemporary Outdoor Ceiling Fans is their ability to improve comfort levels in outdoor spaces. By providing a cooling breeze, these fans help to reduce the temperature and create a more enjoyable environment, especially during hot summer months.
2. Energy Efficiency
Modern outdoor ceiling fans are designed with energy efficiency in mind. They use less energy compared to air conditioning units, helping to reduce your overall energy consumption and lower utility bills. Many fans also come with adjustable speed settings and reversible motors, allowing you to customize airflow according to your needs.
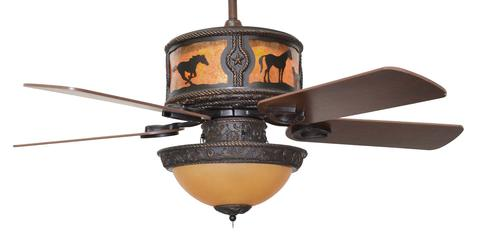
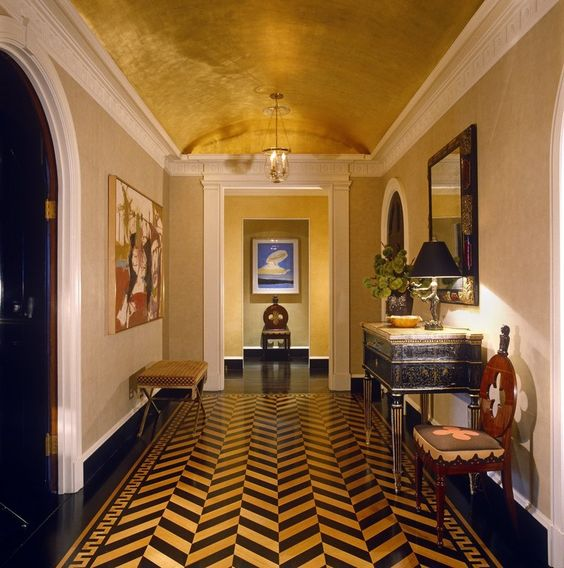
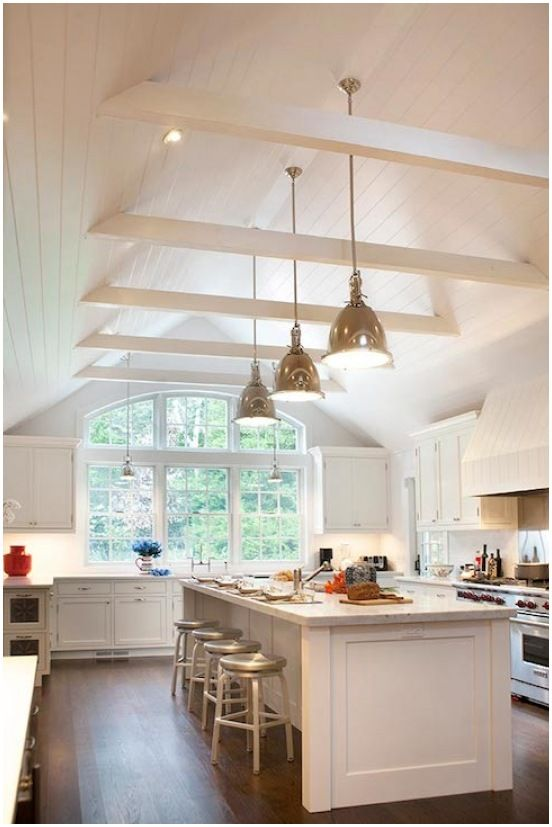
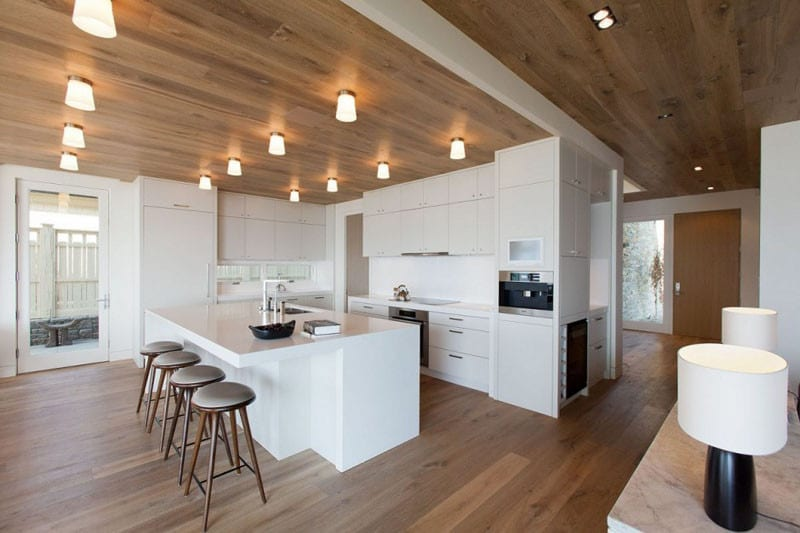
3. Stylish Design
Contemporary outdoor ceiling fans are available in a variety of sleek and modern designs, which can complement the aesthetic of your outdoor space. Whether you prefer a minimalist look or a more ornate style, there are numerous options to choose from. These fans can serve as a focal point or seamlessly blend with your existing decor.
4. Durability and Weather Resistance
Built to endure outdoor conditions, Contemporary Outdoor Ceiling Fans are made from weather-resistant materials that can withstand exposure to sun, rain, and humidity. This ensures that your fan remains functional and visually appealing even after extended use.
5. Improved Air Circulation
Effective air circulation is crucial for maintaining a comfortable outdoor space. Ceiling fans help to evenly distribute air, reducing hot spots and ensuring a consistent temperature throughout the area. This is particularly beneficial for larger outdoor spaces where air movement can be uneven.
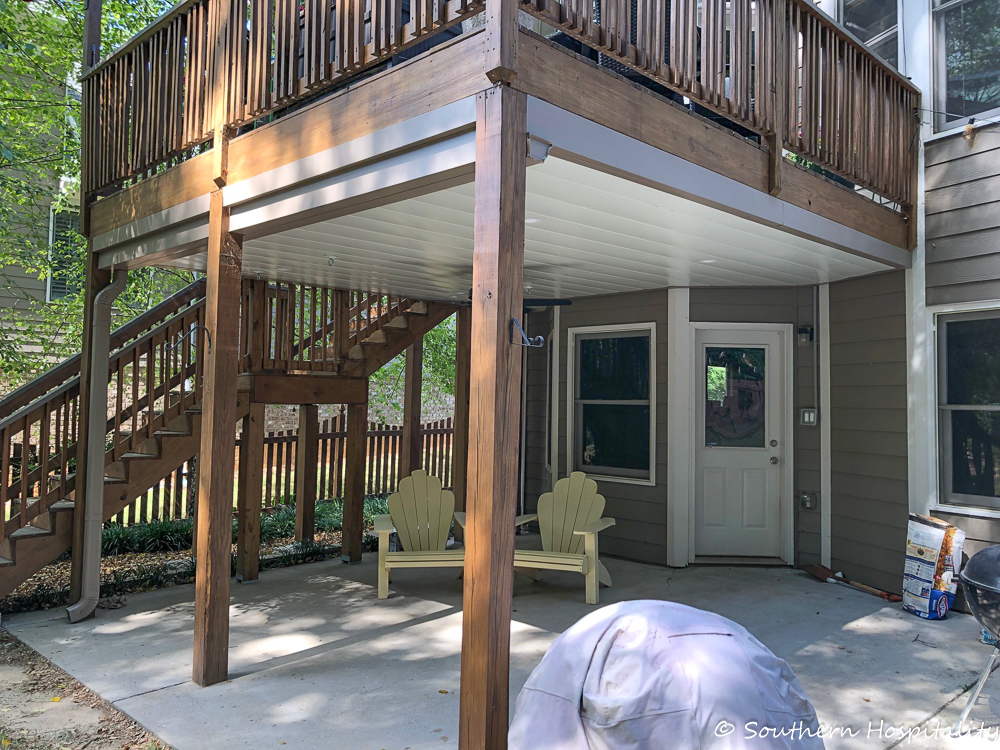
Choosing the Right Contemporary Outdoor Ceiling Fan
1. Consider Your Space
When selecting a Contemporary Outdoor Ceiling Fan, consider the size and layout of your outdoor space. Larger areas may require fans with bigger blade spans or multiple fans to ensure adequate airflow. For smaller spaces, a compact fan with a sleek design may be more appropriate.
2. Material and Finish
The materials and finishes of outdoor ceiling fans can significantly impact their durability and appearance. Common materials include:
- Weather-Resistant Metals: Aluminum and stainless steel are popular choices for their durability and resistance to rust and corrosion.
- Composite Materials: These are engineered to mimic the look of wood while offering better weather resistance.
- Wood Finishes: If you prefer a natural look, choose fans with treated wood blades that are designed for outdoor use.
3. Blade Design and Size
Blade design and size affect both the fan’s performance and aesthetic appeal. Larger blades can move more air, making them suitable for larger spaces, while smaller blades may be better for compact areas. Additionally, blade shape and angle can influence the fan’s efficiency and style.
4. Motor Type and Features
Look for fans with high-quality motors that offer quiet operation and reliable performance. Modern ceiling fans may include features such as:
- Reversible Motors: Allowing you to switch between cooling and heating modes.
- Remote Controls: Providing convenient operation from a distance.
- Integrated Lighting: Combining illumination with cooling functionality.
5. Installation and Maintenance
Proper installation and maintenance are essential for the longevity and efficiency of your ceiling fan. Consider the following:
- Professional Installation: Hiring a licensed electrician ensures safe and accurate installation, especially if electrical work is required.
- Regular Cleaning: Keep the fan blades and motor free from dust and debris to maintain optimal performance.
- Seasonal Maintenance: Check for any wear or damage before the start of each season to ensure reliable operation.
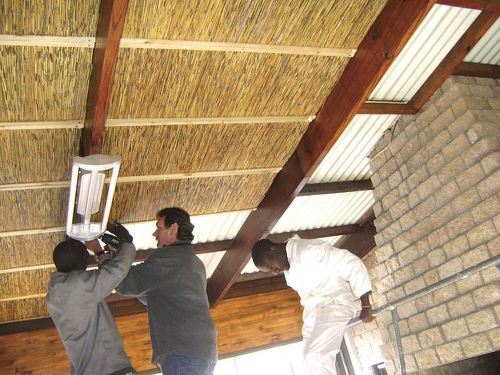
Installation Tips for Contemporary Outdoor Ceiling Fans
1. Choose the Right Location
Select a location that allows for adequate clearance around the fan. Ensure that the fan is installed at least 7 to 9 feet above the ground for optimal airflow and safety. Avoid placing the fan in areas where it might be obstructed or exposed to excessive moisture.
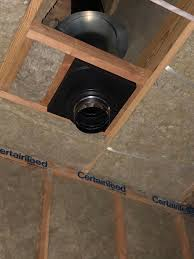
2. Verify Electrical Connections
Ensure that the electrical connections are compatible with the fan’s requirements. If your outdoor area does not have an existing ceiling fixture, you may need to install an electrical box and wiring before mounting the fan.
3. Mounting the Fan
Follow the manufacturer’s instructions for mounting the fan securely to the ceiling. Use the appropriate hardware and ensure that the fan is level and properly balanced to prevent wobbling and noise during operation.
4. Test the Fan
Once installed, test the fan to ensure that it operates smoothly and quietly. Check all settings, including speed and direction, to confirm that the fan meets your expectations.
Maintenance and Care for Contemporary Outdoor Ceiling Fans
1. Regular Cleaning
Dust and debris can accumulate on the fan blades and motor, affecting performance. Use a soft, damp cloth to clean the blades and a vacuum with a brush attachment to remove dust from the motor and surrounding areas.
2. Inspect for Wear
Periodically inspect the fan for signs of wear or damage. Check the blades, motor, and mounting hardware to ensure everything is in good condition. Address any issues promptly to prevent further damage.
3. Lubricate the Motor
If your fan has a motor that requires lubrication, follow the manufacturer’s recommendations for maintenance. Proper lubrication helps to reduce friction and ensure smooth operation.
4. Seasonal Checkups
Before the start of each season, check the fan to ensure that it is functioning properly. Perform any necessary maintenance or repairs to ensure that the fan is ready for use.
Conclusion
Contemporary Outdoor Ceiling Fans are a stylish and practical addition to any outdoor living space. By choosing the right fan for your needs and following proper installation and maintenance practices, you can enjoy enhanced comfort, energy efficiency, and visual appeal. Whether you’re looking to upgrade your patio, deck, or pergola, a contemporary outdoor ceiling fan can provide the perfect blend of function and style.