Mold from Ceiling Leak. Ceiling leaks are not just a nuisance that causes water damage; they can also pave the way for a more insidious problem — mold growth. In this comprehensive guide, we will delve into the intricacies of how ceiling leaks lead to mold formation, the dangers it poses, and effective preventive measures to keep your home mold-free.
Understanding the Link: Mold from Ceiling Leak
Ceiling leaks create an ideal environment for mold growth, fostering the development of spores that can compromise both the structural integrity of your home and the health of its occupants. Let’s explore how these leaks become a breeding ground for mold and the steps you can take to mitigate the risks.
The Process: How Mold Thrives from Ceiling Leaks
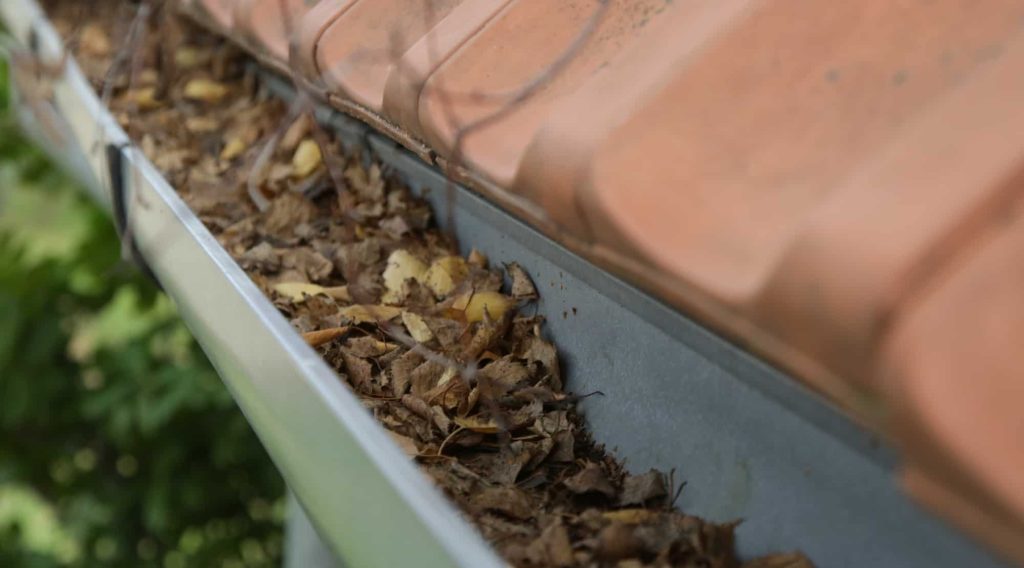
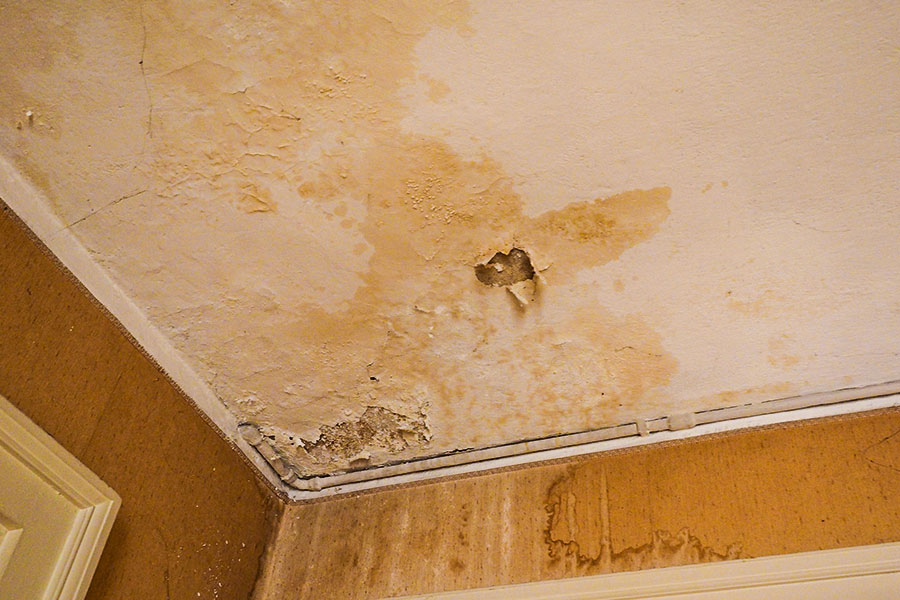
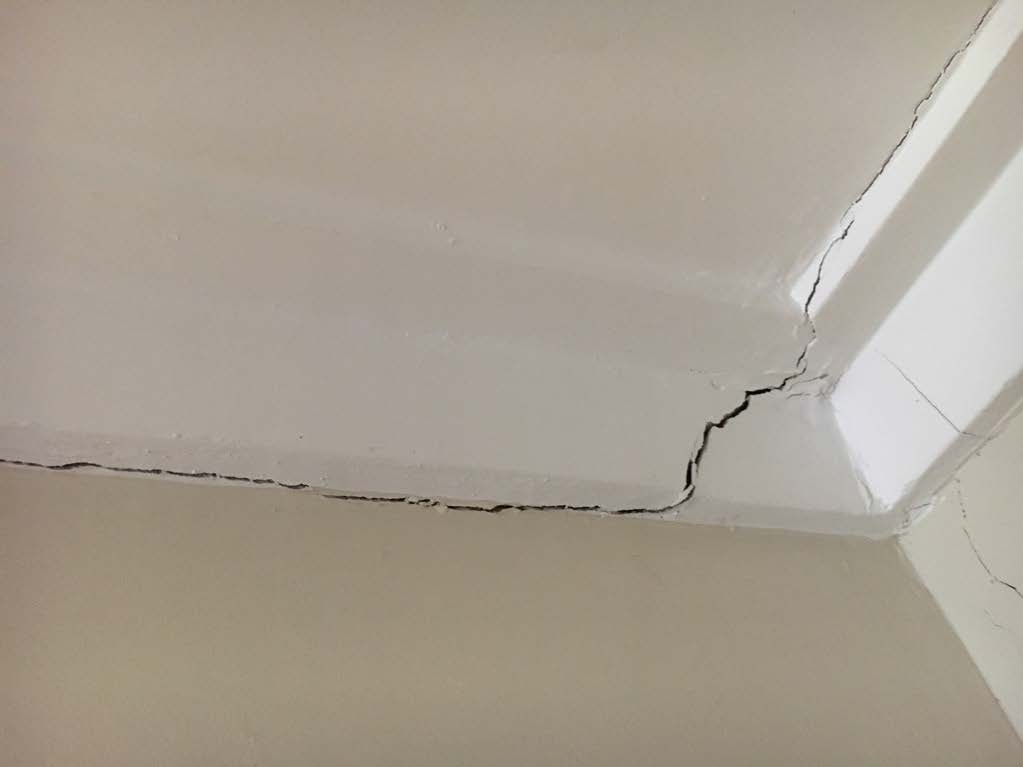
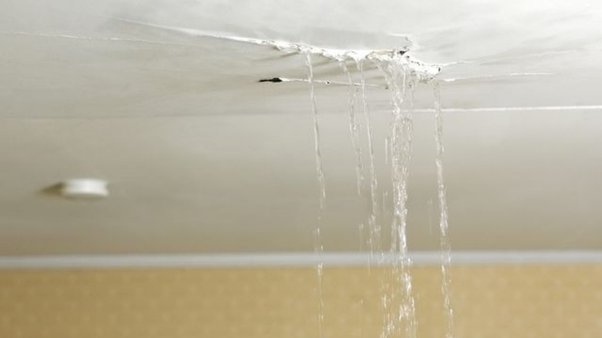
Ceiling leaks provide the moisture necessary for mold to flourish. As water infiltrates your home, it seeps into porous materials such as drywall and insulation, creating the perfect conditions for mold spores to activate and spread.
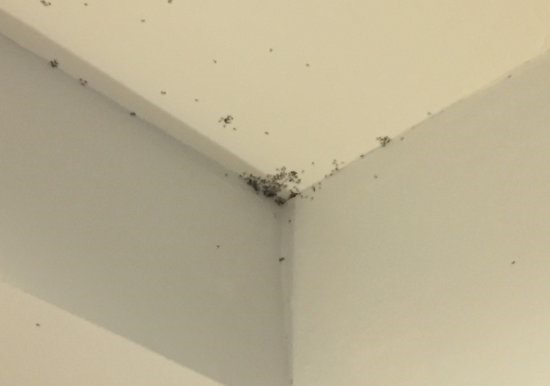
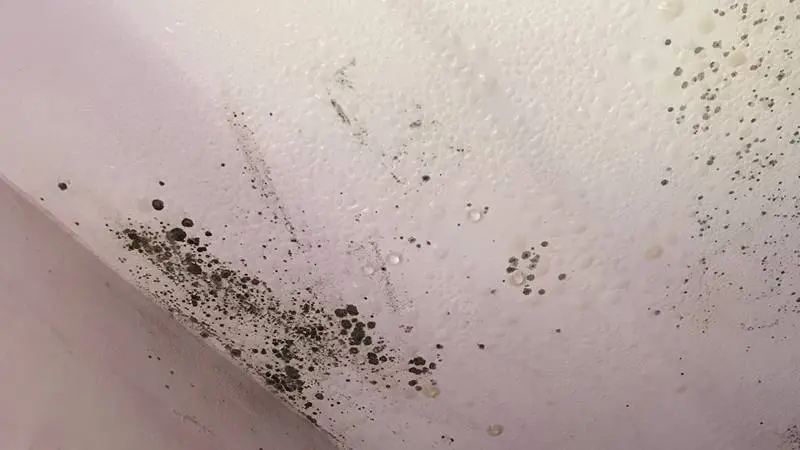
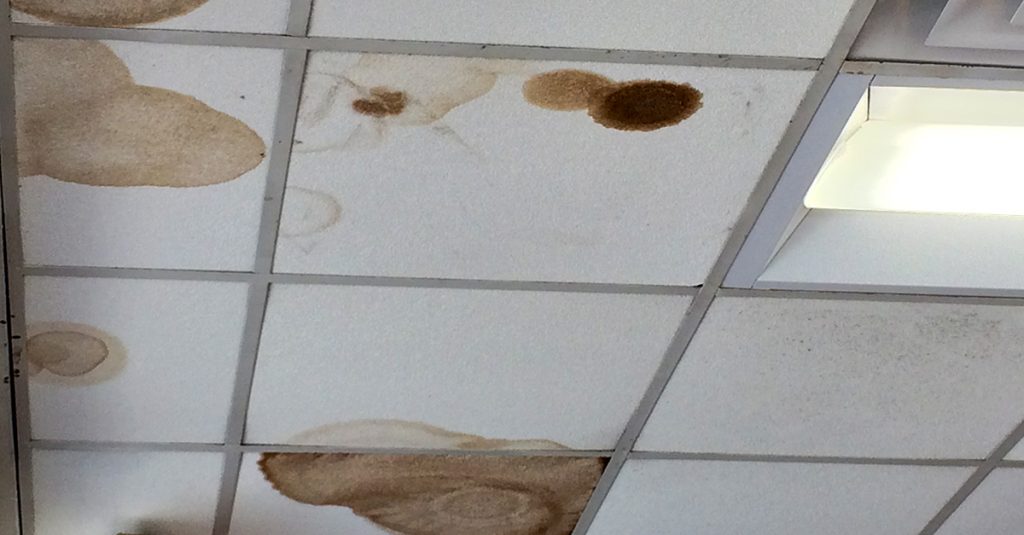
Signs of Mold Infestation
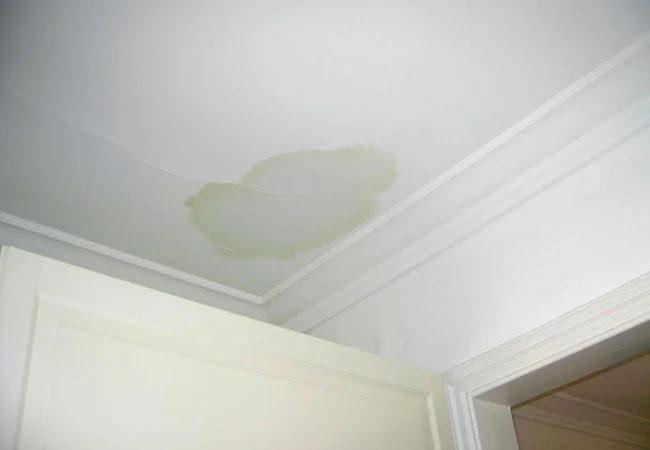
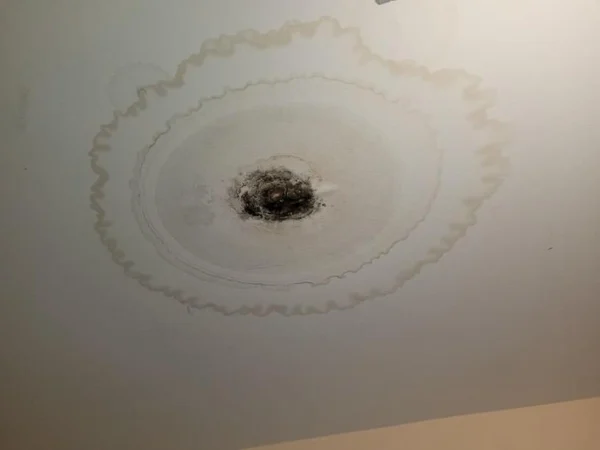
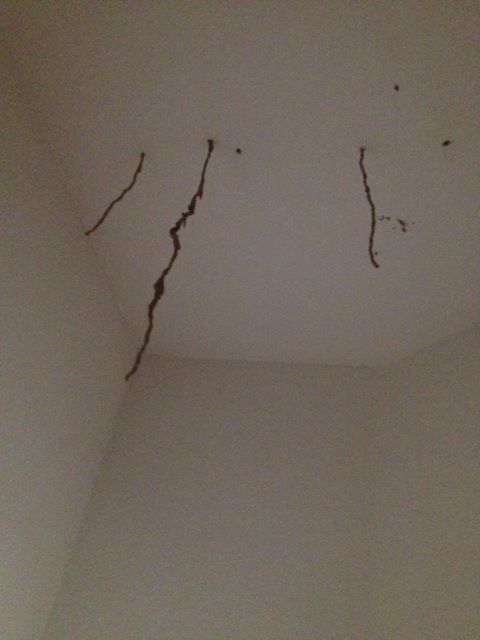
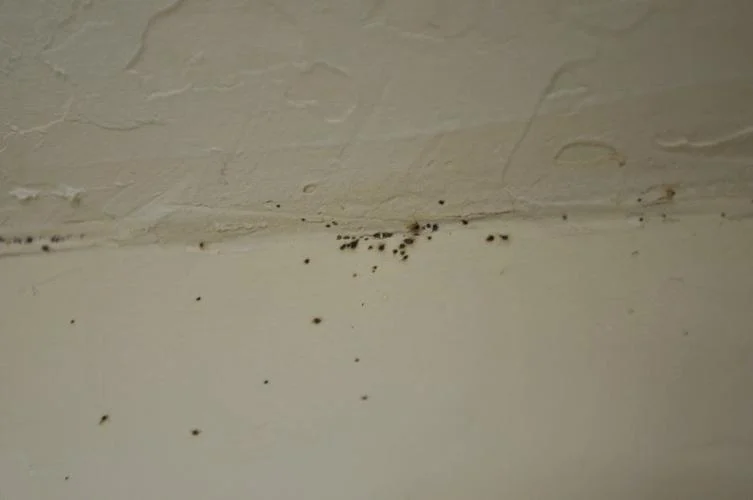
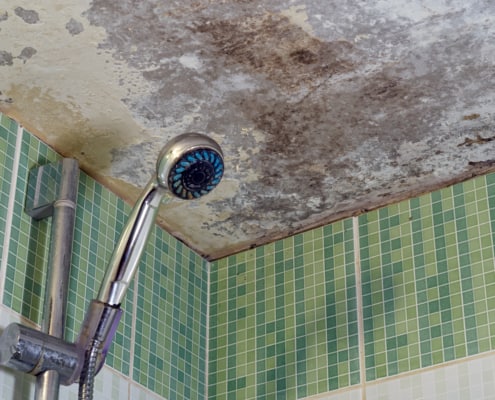
Identifying the presence of mold is crucial for timely intervention. Common signs include musty odors, discoloration on walls and ceilings, and respiratory issues among occupants. Understanding these indicators can prompt swift action, preventing further damage.
Preventing Mold from Ceiling Leaks: A Comprehensive Approach
Immediate Leak Remediation
The first line of defense against mold is addressing the source of the problem — the ceiling leak. Promptly fix any leaks, addressing both the visible damage and potential hidden issues within your home’s structure.
Proactive Leak Detection
Regular inspections of your home’s roof and ceilings can help detect leaks before they become severe. Early intervention not only prevents mold growth but also saves you from extensive repairs down the line.
Effective Ventilation Systems
Installing proper ventilation systems helps reduce excess moisture in your home, making it less hospitable for mold. Ensure that bathrooms, kitchens, and attics are adequately ventilated to prevent the accumulation of damp air.
Mold Remediation: Taking Action
In cases where mold has already taken hold, professional remediation may be necessary. DIY methods might not be sufficient, and improper removal can exacerbate the issue. Professional remediation services can ensure safe and thorough removal, addressing both visible and hidden mold.
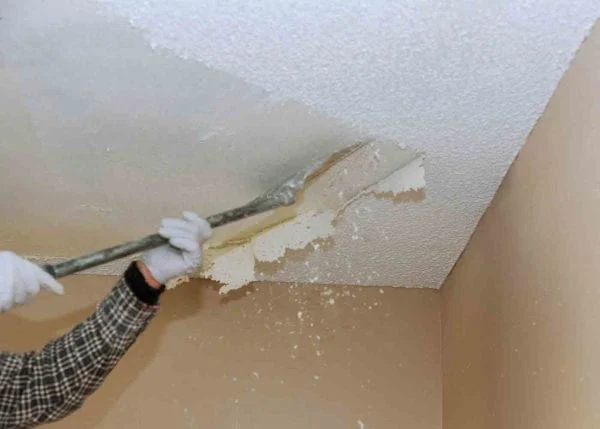
Read too: Transforming Your Home’s Elegance with a Smooth Ceiling After Popcorn Removal: Elevate Your Space
Conclusion
Ceiling leaks are not only a structural concern but also a precursor to mold infestation, which poses risks to both your home and health. By understanding the link between ceiling leaks and mold, homeowners can take proactive measures to prevent these issues from arising. Regular inspections, immediate leak remediation, and investing in proper ventilation systems are key components of a comprehensive strategy to keep your home mold-free. Don’t let a seemingly minor ceiling leak turn into a major problem — stay informed and take action to protect your home and the well-being of its occupants.