When it comes to home lighting, the right fixtures can make all the difference in creating a welcoming and stylish environment. Among the many options available, the brushed nickel ceiling light stands out for its sleek design, versatility, and timeless appeal. This comprehensive guide will delve into everything you need to know about brushed nickel ceiling lights, including their benefits, types, installation tips, and design ideas. Whether you’re renovating your home or simply looking to update your lighting, this guide will help you make an informed decision.

Why Choose a Brushed Nickel Ceiling Light?
Brushed nickel ceiling lights offer several advantages that make them a popular choice for homeowners and designers alike. Here are some key benefits:
Modern and Timeless Aesthetic
Brushed nickel has a subtle, matte finish that gives it a sophisticated, modern look while maintaining a timeless appeal. It blends seamlessly with various decor styles, from contemporary to traditional, making it a versatile choice for any room in your home.
Durability
Brushed nickel is known for its durability and resistance to corrosion, tarnish, and fingerprints. This makes it an ideal material for ceiling lights, as it can withstand the test of time and maintain its appearance with minimal maintenance.
Versatility
Brushed nickel ceiling lights come in a wide range of styles, sizes, and designs, allowing you to find the perfect fixture for any room. Whether you’re looking for a statement piece for your living room or a subtle fixture for your hallway, there’s a brushed nickel ceiling light to suit your needs.
Easy to Clean
The brushed finish of nickel makes it easy to clean and maintain. Unlike polished metals, brushed nickel doesn’t show fingerprints or smudges as easily, ensuring your ceiling light looks pristine with minimal effort.
Complements Other Fixtures
Brushed nickel is a popular finish for other home fixtures, such as faucets, cabinet hardware, and door handles. Choosing a brushed nickel ceiling light can create a cohesive look throughout your home by matching or complementing these other fixtures.
Types of Brushed Nickel Ceiling Lights
There are several types of brushed nickel ceiling lights to choose from, each offering unique features and benefits. Understanding the different options can help you select the best lights for your specific needs.
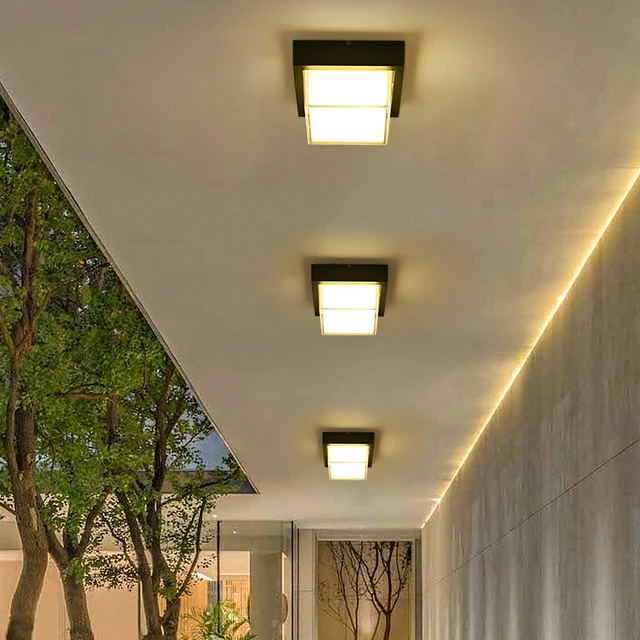
Flush Mount Ceiling Lights
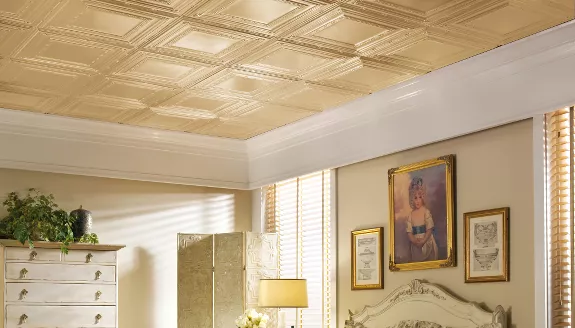
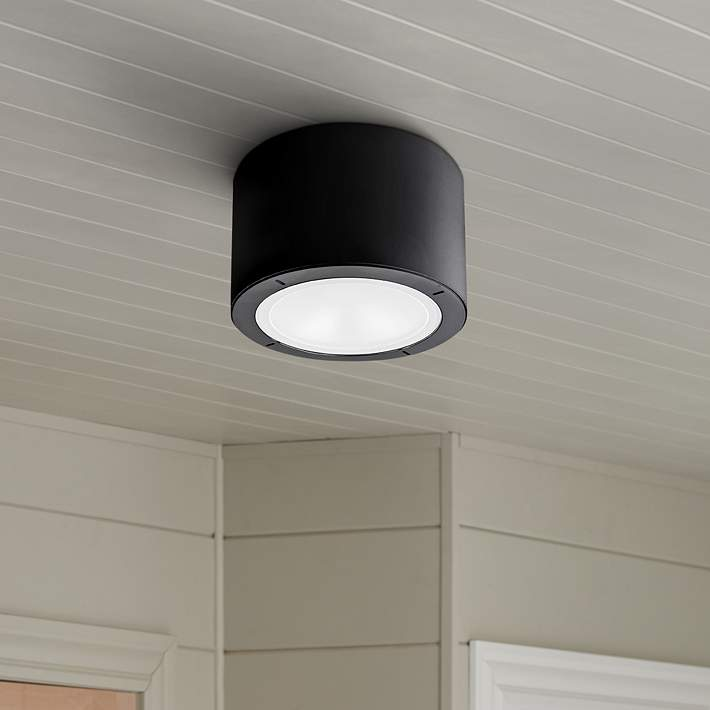
Flush mount ceiling lights are installed directly against the ceiling, providing a sleek and unobtrusive look. They are ideal for rooms with low ceilings or where a minimalist design is desired. Brushed nickel flush mount lights offer a clean and modern appearance while delivering ample illumination.
Semi-Flush Mount Ceiling Lights
Semi-flush mount ceiling lights hang slightly below the ceiling, creating a more decorative and eye-catching effect. They are suitable for spaces with higher ceilings and can add a touch of elegance to your home. These lights strike a balance between form and function, offering both style and illumination.
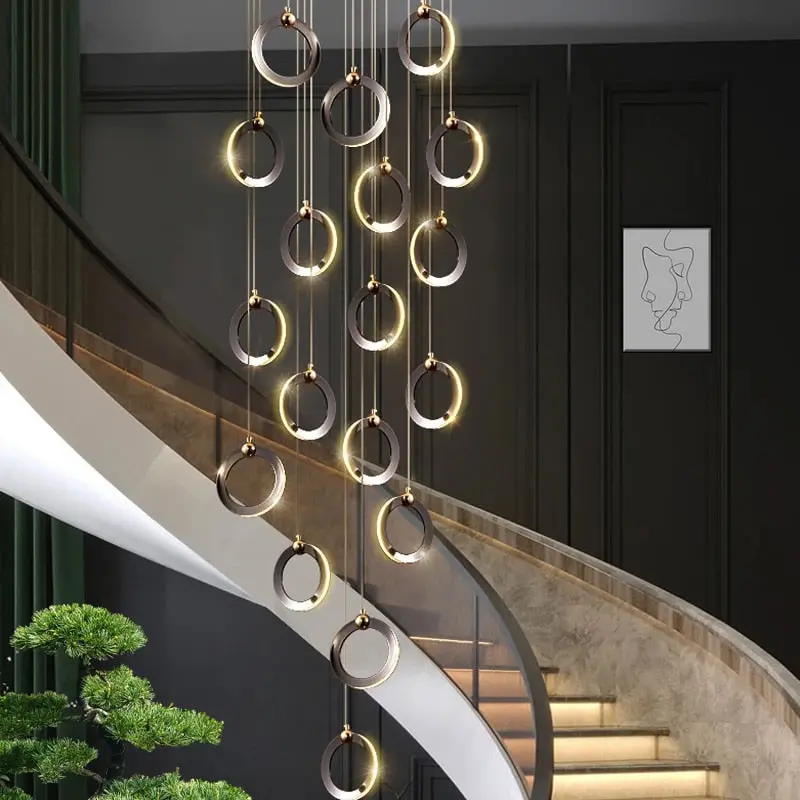
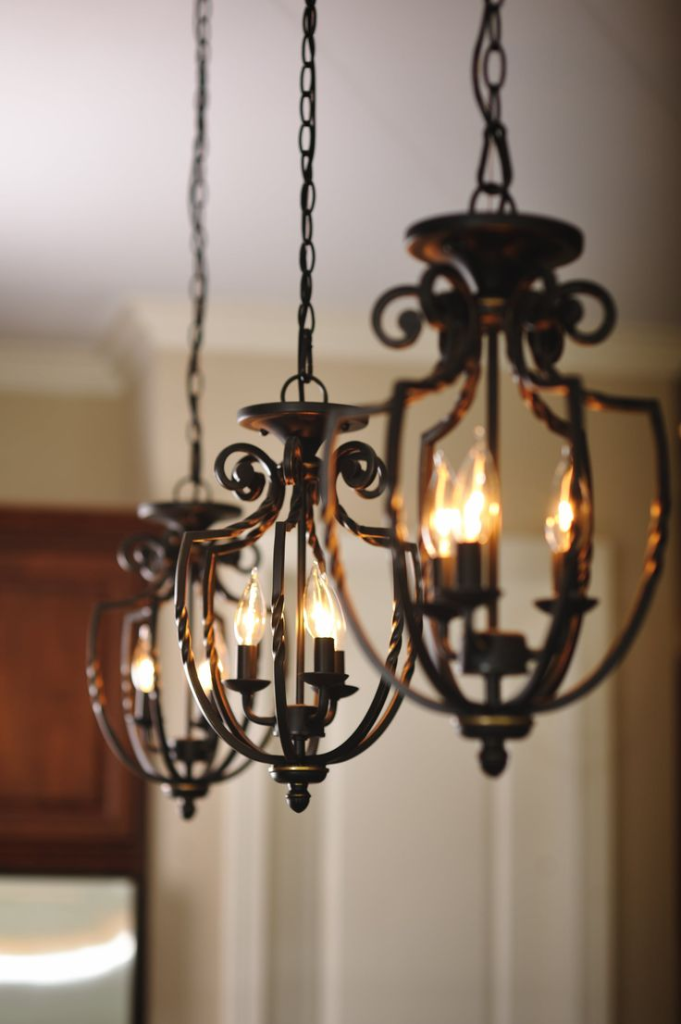
Chandeliers
Brushed nickel chandeliers are a statement piece that can elevate the aesthetic of any room. They come in various styles, from modern geometric designs to traditional candle-like fixtures. Chandeliers are perfect for adding a touch of luxury and sophistication to dining rooms, living rooms, or entryways.
Read too: Kitchen Lighting For A Vaulted Ceiling: Illuminating Your Space with Style and Functionality
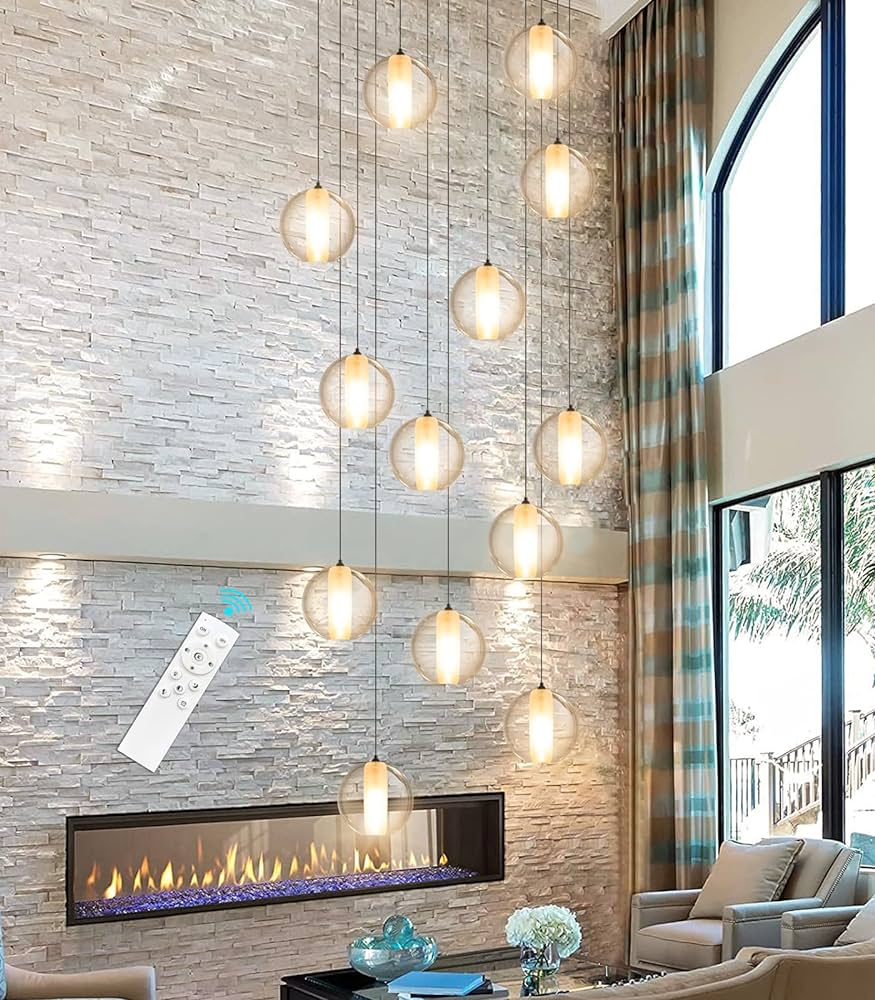
Pendant Lights
Pendant lights hang down from the ceiling on a rod or chain, making a bold design statement. They are ideal for adding a decorative touch to areas such as kitchen islands, dining tables, or foyers. Brushed nickel pendant lights come in a variety of styles, from contemporary to vintage, allowing you to personalize your decor.
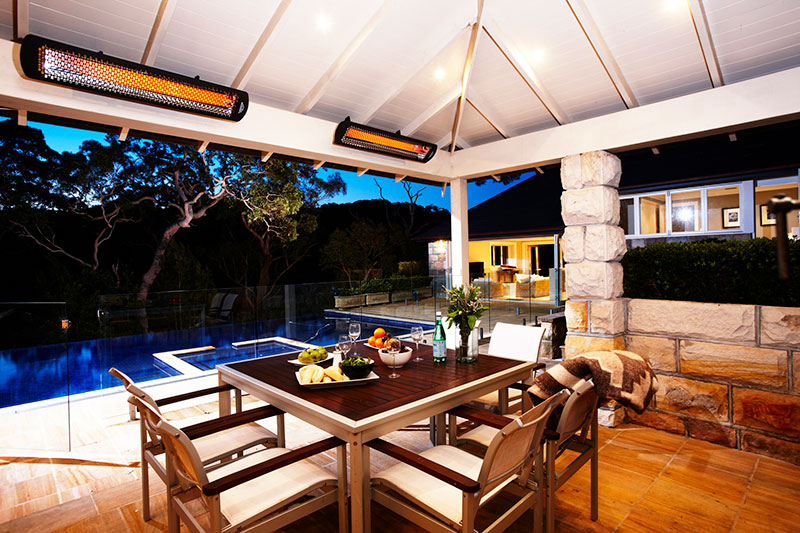
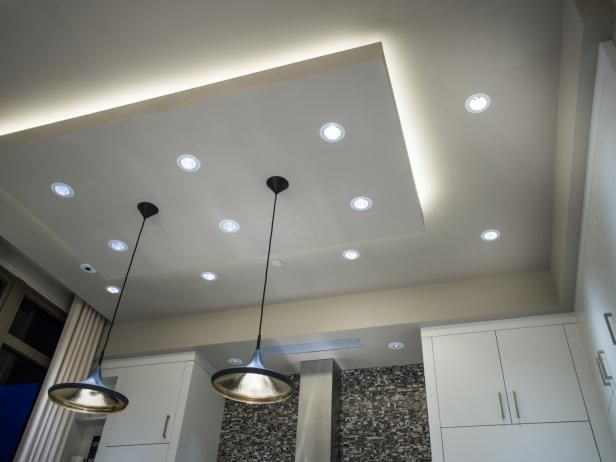
Recessed Lights
Recessed lights, also known as downlights, are installed within the ceiling, providing a streamlined and discreet lighting solution. They are perfect for creating a clean, uncluttered look and are often used to highlight specific areas or features. Brushed nickel recessed lights are versatile and can be arranged in various configurations to achieve the desired lighting effect.
Track Lighting
Track lighting consists of a series of adjustable light heads mounted on a track system. This type of lighting is ideal for highlighting artwork, architectural features, or workspaces. Brushed nickel track lighting adds a contemporary touch and allows for flexibility in directing light where it’s needed most.
Installation Tips for Brushed Nickel Ceiling Lights
Proper installation is crucial for ensuring the optimal performance and longevity of your brushed nickel ceiling lights. Here are some tips to help you achieve a successful installation:
Plan Your Lighting Layout
Before starting the installation, plan your lighting layout to ensure even and effective illumination. Consider the size and shape of the room, as well as any specific areas or features you want to highlight. A well-thought-out lighting plan can enhance the functionality and aesthetics of your space.
Choose the Right Location
Select appropriate locations for your brushed nickel ceiling lights, keeping in mind factors such as ceiling height, proximity to electrical sources, and the room’s purpose. Ensure that the chosen locations provide adequate coverage and complement the overall design of your space.
Follow Electrical Safety Guidelines
Always follow electrical safety guidelines when installing ceiling lights. Turn off the power at the circuit breaker before starting the installation and use proper wiring techniques. If you are not comfortable working with electrical systems, consider hiring a licensed electrician to ensure a safe and professional installation.
Use Proper Mounting Hardware
Ensure that you use the proper mounting hardware for your brushed nickel ceiling lights. This includes appropriate screws, anchors, and mounting brackets that can support the weight of the fixture. Using the right hardware will ensure a secure and stable installation.
Test the Lights
After installing the brushed nickel ceiling lights, test them to ensure they are functioning correctly. Check for any flickering, uneven lighting, or other issues that may need to be addressed. Proper testing can help identify and resolve any problems before they become major concerns.
Design Ideas with Brushed Nickel Ceiling Lights
Brushed nickel ceiling lights can enhance the beauty and functionality of your home in various ways. Here are some design ideas to inspire you:
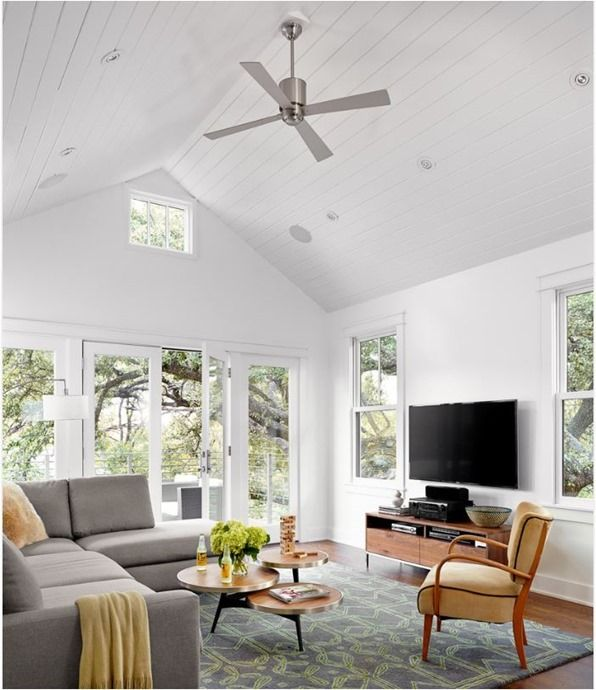
Modern Living Room Lighting
Install a brushed nickel chandelier or semi-flush mount light in your living room to create a focal point and add a touch of elegance. Pair it with recessed lights for ambient lighting and adjustable track lights to highlight artwork or architectural features.
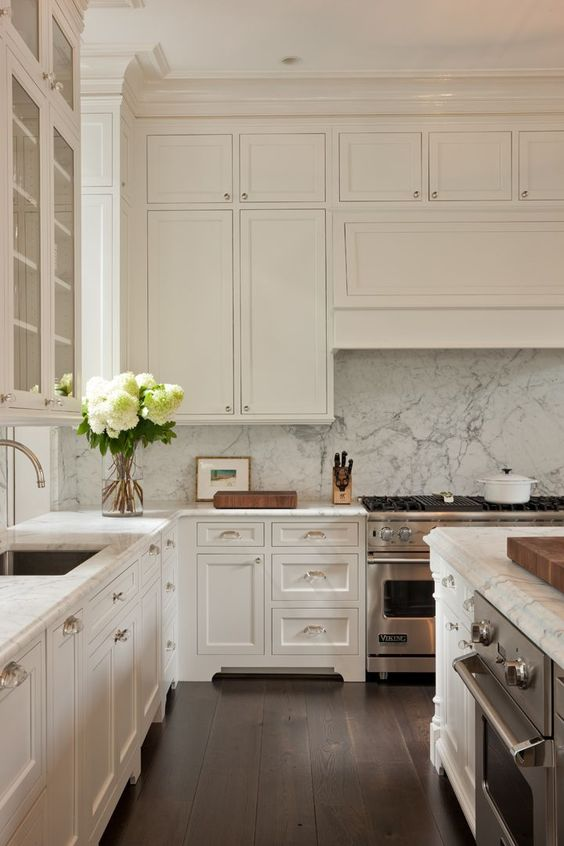
Kitchen Illumination
Use brushed nickel pendant lights above your kitchen island or dining table to provide task lighting and enhance the overall aesthetic. Combine them with recessed lights for general illumination and under-cabinet lighting for a well-lit and functional kitchen space.
Elegant Dining Room
A brushed nickel chandelier can make a stunning centerpiece in your dining room. Choose a design that complements your dining table and other decor elements. Add wall sconces or recessed lights to create layers of lighting and set the perfect mood for dining.
Cozy Bedroom Ambiance
Create a cozy and inviting ambiance in your bedroom with a brushed nickel ceiling light. Opt for a semi-flush mount light or a chandelier for a touch of sophistication. Use dimmable bulbs to adjust the lighting levels according to your preferences and activities.
Welcoming Entryway
Make a lasting first impression with a brushed nickel pendant light or chandelier in your entryway. This will create a welcoming and stylish atmosphere for guests as they enter your home. Consider adding wall sconces or recessed lights for additional illumination.
Functional Home Office
Ensure your home office is well-lit and conducive to productivity with brushed nickel ceiling lights. Use recessed lights for general illumination and adjustable track lights to focus on specific work areas. A pendant light can add a decorative touch while providing ample lighting for tasks.
Maintenance of Brushed Nickel Ceiling Lights
Proper maintenance is essential for ensuring the longevity and performance of your brushed nickel ceiling lights. Here are some maintenance tips:
Regular Cleaning
Regularly clean your brushed nickel ceiling lights to remove dust, dirt, and fingerprints. Use a soft cloth and a mild detergent to wipe down the fixtures, being careful not to damage the light bulbs or electrical components. Regular cleaning can help maintain the brightness and appearance of the lights.
Inspect for Damage
Periodically inspect your brushed nickel ceiling lights for any signs of damage, such as cracks, rust, or loose connections. Address any issues promptly to prevent further damage and ensure the lights continue to function properly.
Check Electrical Connections
Ensure that all electrical connections are secure and free from corrosion. If you notice any loose or corroded connections, turn off the power and repair or replace the affected components. Proper electrical maintenance can help prevent potential safety hazards.
Replace Worn-Out Bulbs
Although brushed nickel fixtures are durable, the light bulbs will eventually need to be replaced. Monitor the performance of your ceiling lights and replace any bulbs that show signs of dimming or flickering. Using high-quality replacement bulbs can ensure consistent and reliable illumination.
Conclusion
Brushed nickel ceiling lights are an excellent choice for enhancing the functionality, safety, and aesthetics of your home. Their durability, versatility, and timeless design make them suitable for a wide range of applications. By understanding the different types of brushed nickel ceiling lights, following proper installation procedures, and maintaining the fixtures, you can create a beautifully illuminated environment that you can enjoy for years to come.