Transform your interiors into a haven of sophistication with Clear Drop Ceiling Tiles, where elegance meets practicality. Dive into the realm of transparent aesthetics, versatile applications, and the transformative impact these tiles bring to contemporary spaces. Discover how the seamless integration of form and function creates a visual masterpiece that goes beyond traditional ceiling solutions.
Unveiling Clarity: The Allure of Clear Drop Ceiling Tiles
Introduce yourself to the world of Clear Drop Ceiling Tiles, where clarity takes center stage. This section provides a captivating overview of the transparent beauty and the myriad benefits that these tiles offer for modern interiors.
Transparency Redefined: Clear Drop Ceiling Tiles in Focus
Delve deeper into the unique characteristics and applications of Clear Drop Ceiling Tiles. This section explores the design elements, installation considerations, and the versatility that sets these tiles apart in the realm of interior design.
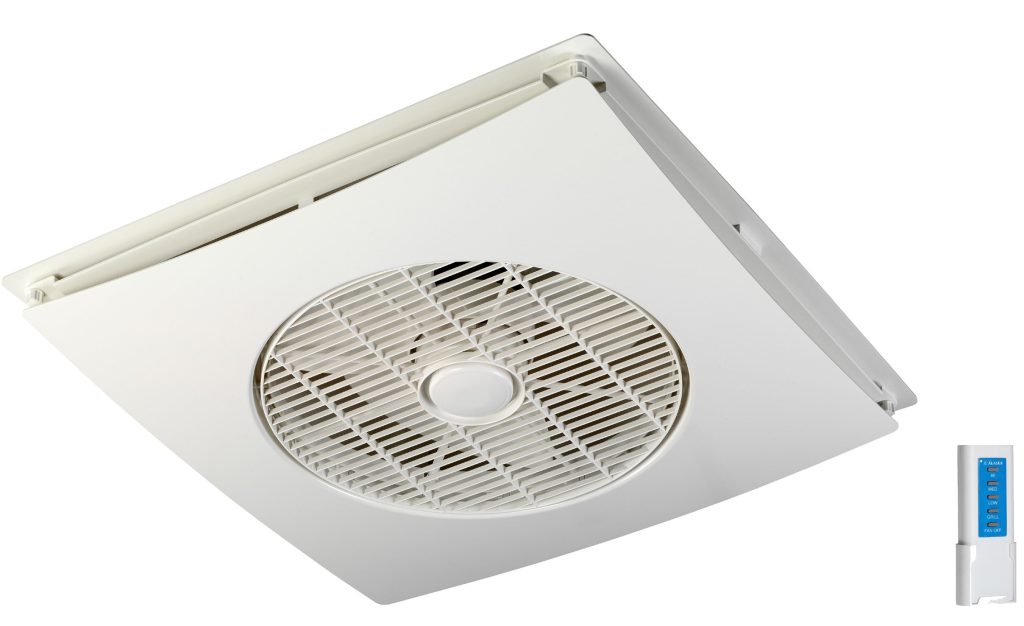
Read too: A Comprehensive Mr Cool Ceiling Cassette Review: Unveiling Excellence
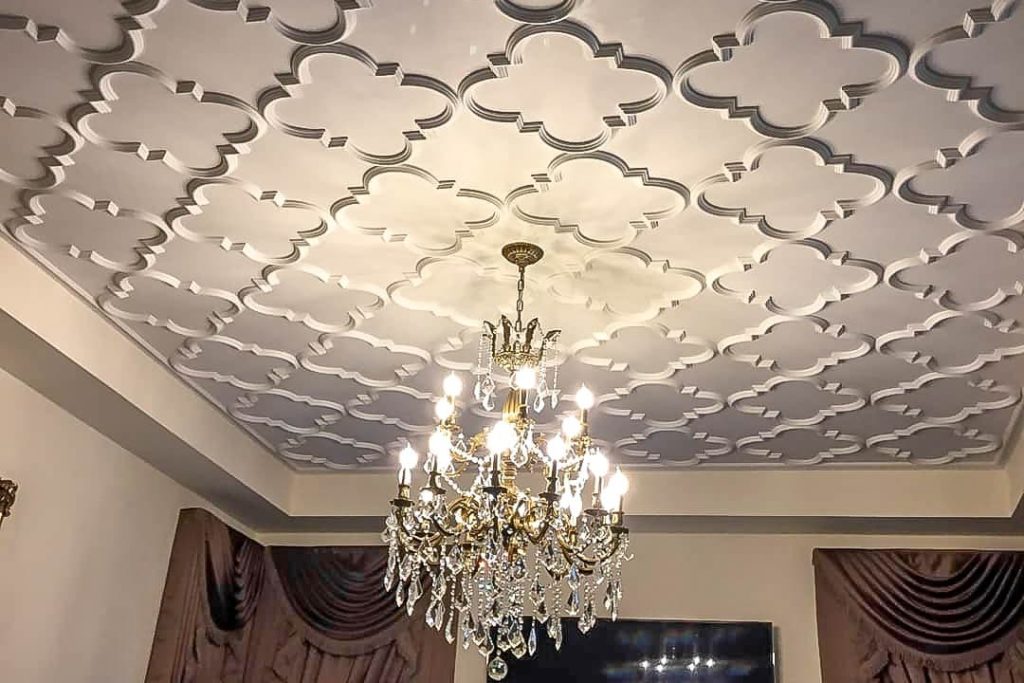
The Aesthetic Appeal of Transparency
Optical Illusions and Spaciousness
Explore how Clear Drop Ceiling Tiles create optical illusions that enhance the perceived spaciousness of a room. Learn how the transparency of these tiles contributes to an open and airy atmosphere, making them an ideal choice for various settings.
Seamless Integration with Interior Design
Discover how Clear Drop Ceiling Tiles seamlessly integrate with diverse interior design styles. From contemporary minimalism to eclectic aesthetics, explore the adaptability of these tiles in complementing various design themes.
Natural Light Enhancement
Uncover the role of Clear Drop Ceiling Tiles in enhancing natural light. Explore how these tiles allow the passage of daylight, reducing the need for artificial lighting and creating a visually appealing play of light and shadows.
Versatility in Applications
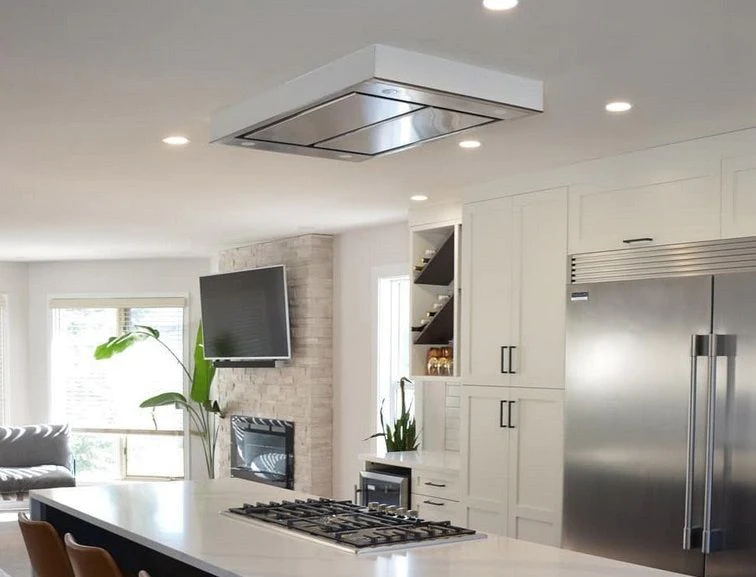
Commercial Spaces
Explore the impactful use of Clear Drop Ceiling Tiles in commercial settings. From retail spaces to corporate offices, understand how the transparent aesthetic contributes to a modern and welcoming ambiance, leaving a lasting impression on visitors.
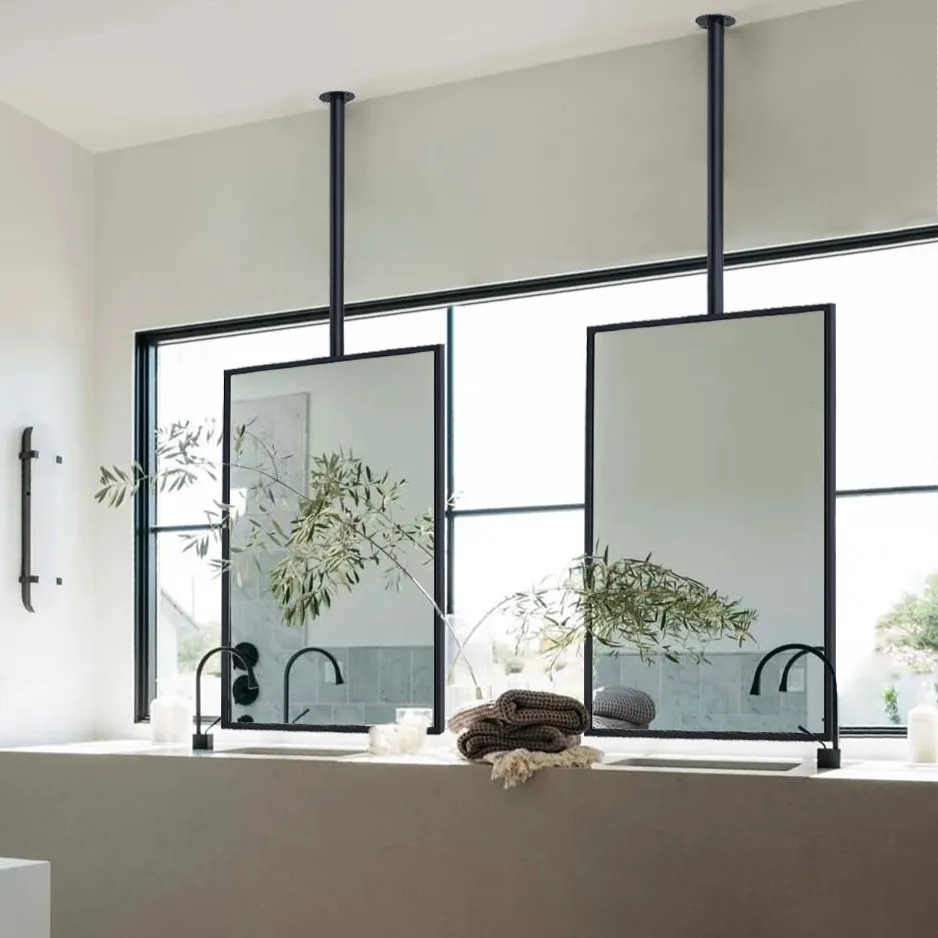
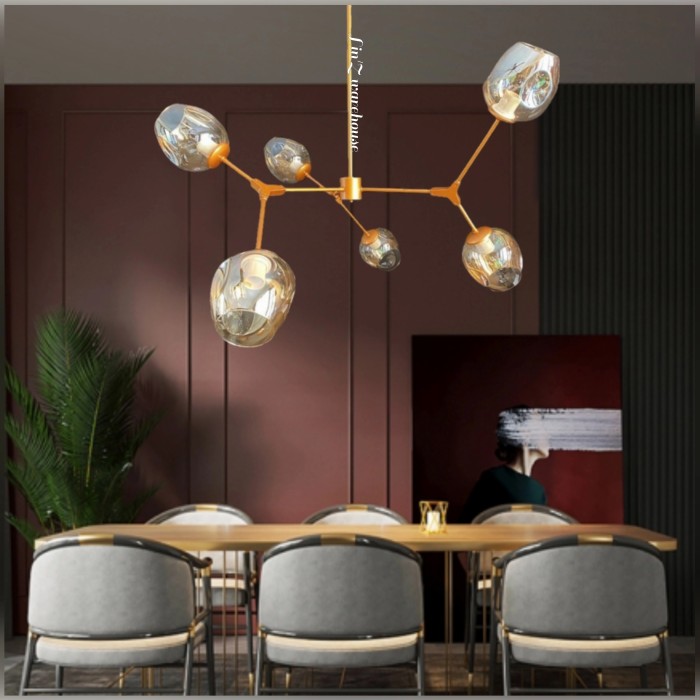
Residential Elegance
Delve into the application of Clear Drop Ceiling Tile in residential interiors. From living rooms to kitchens, explore how these tiles elevate the elegance of homes, creating a contemporary and visually stunning environment.
Creative Design Inspirations
Discover innovative design inspirations using Clear Drop Ceiling Tile. From suspended art installations to dynamic lighting arrangements, explore how designers unleash their creativity with these transparent tiles as a canvas.
Installation Considerations
Proper Handling and Cleaning
Provide insights into the proper handling and cleaning of Clear Drop Ceiling Tile during the installation process. Highlight the importance of maintaining clarity and ensuring a pristine appearance for a visually appealing outcome.
Compatibility with Lighting Fixtures
Explore how Clear Drop Ceiling Tile complement different lighting fixtures. From recessed lights to pendant lamps, understand how the transparency of these tiles interacts with various lighting sources, creating captivating visual effects.
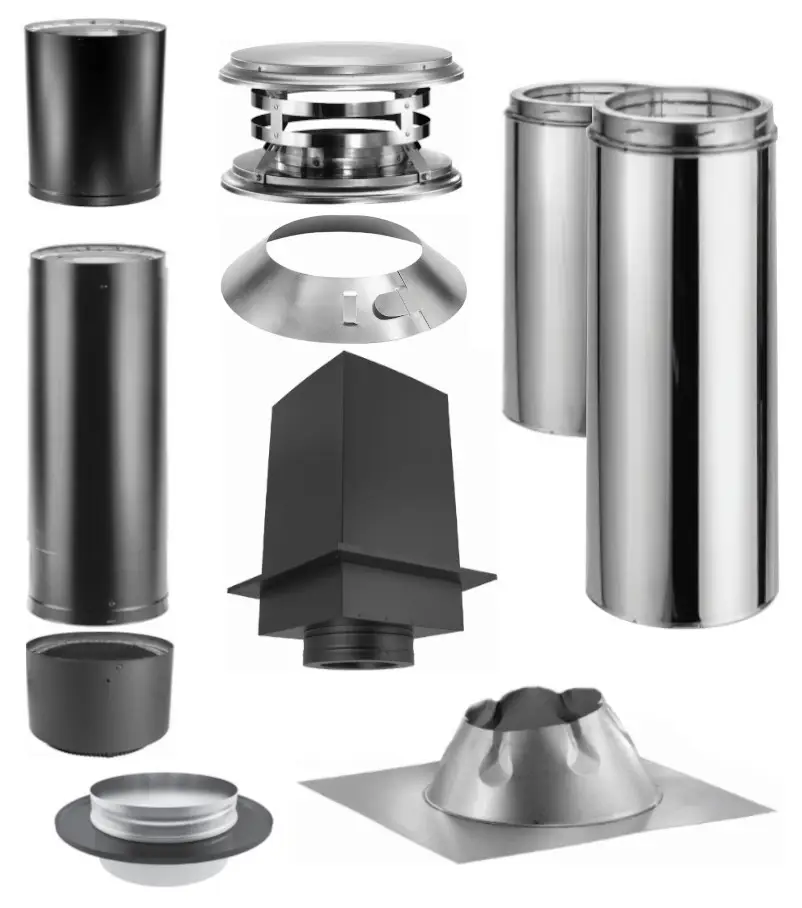
Structural Support and Safety Measures
Address the structural support requirements and safety measures associated with installing Clear Drop Ceiling Tile. Ensure readers are well-informed about the necessary precautions to guarantee a secure and stable installation.
Maintenance Tips for Long-Lasting Transparency
Cleaning Guidelines
Offer practical cleaning guidelines to maintain the transparency of Clear Drop Ceiling Tile. From routine dusting to occasional deep cleaning, provide readers with effective ways to preserve the pristine appearance of these tiles.
Preventive Measures for Scratches
Highlight preventive measures to avoid scratches and damage to Clear Drop Ceiling Tile. Explore the use of soft cleaning tools and protective measures during maintenance routines to ensure the longevity of these transparent tiles.
Conclusion: Clarity Above, Elegance Within
In conclusion, Clear Drop Ceiling Tile redefine the aesthetics of interior spaces, offering a harmonious blend of clarity and elegance. As we explore the transparent allure, versatile applications, and practical considerations, it becomes evident that these tiles are not just a functional choice—they are a statement of modern sophistication.