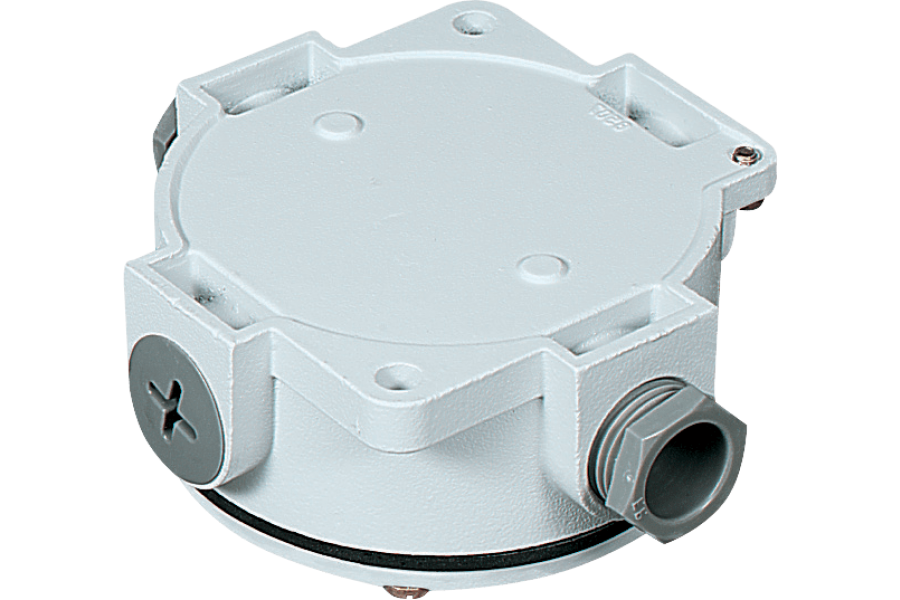
When it comes to installing a ceiling light, one essential component that often goes unnoticed is the Ceiling Light Fixture Box. This small but critical element ensures that your light fixture is securely attached to the ceiling and that the wiring is safely contained. Whether you’re installing a new light fixture or replacing an old one, understanding the role and importance of the ceiling light fixture box is crucial for a successful and safe installation. In this article, we’ll explore everything you need to know about ceiling light fixture boxes, from their types and installation process to safety considerations and maintenance tips.
What is a Ceiling Light Fixture Box?
A Ceiling Light Fixture Box is a type of electrical box specifically designed to house the connections for a ceiling light. It serves as a secure point of attachment for the light fixture, holding it in place while also containing the electrical wiring. The box is typically mounted between the ceiling joists and is made from materials like metal or plastic.
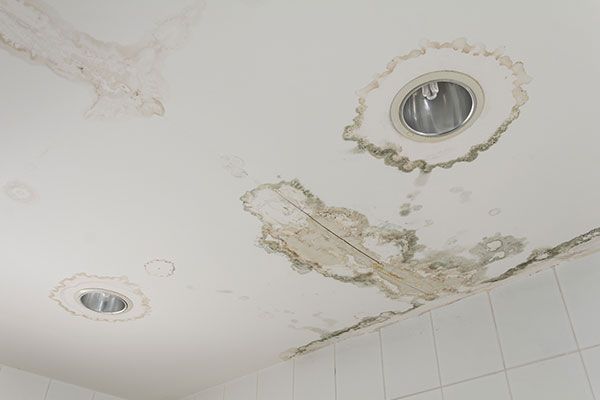
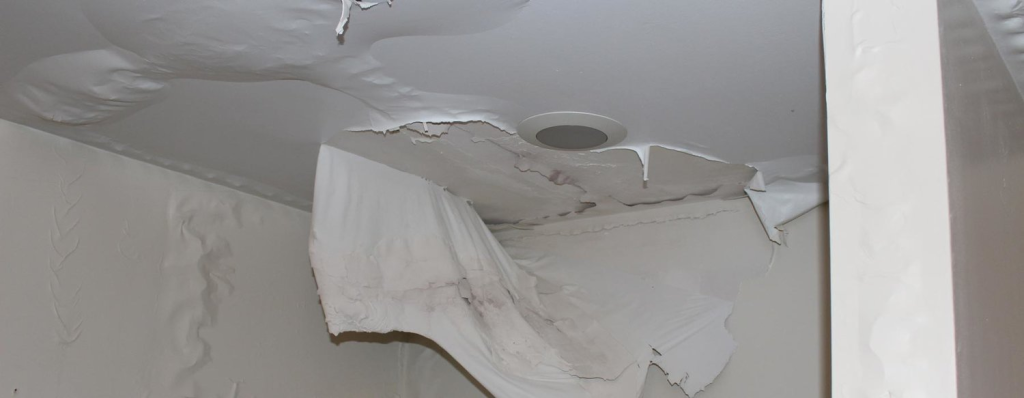
Read too: Bathroom Flooded Through the Ceiling: A Comprehensive Guide
Why is a Ceiling Light Fixture Box Important?
The Ceiling Light Fixture Box plays several crucial roles:
- Support: It provides the necessary support to hold the light fixture securely to the ceiling, preventing it from falling.
- Safety: The box contains and protects the electrical connections, reducing the risk of electrical fires or shorts.
- Code Compliance: Using a proper ceiling light fixture box is required by electrical codes to ensure safe and reliable installation.
Types of Ceiling Light Fixture Boxes
There are several types of Ceiling Light Fixture Boxes available, each designed for specific installation scenarios. Choosing the right type is essential to ensure the fixture is securely mounted and the wiring is safely enclosed.
1. Standard Ceiling Boxes
These are the most common type of ceiling light fixture boxes and are used for lightweight fixtures like ceiling fans or basic light fixtures. They are available in different shapes, including round, octagonal, and square.
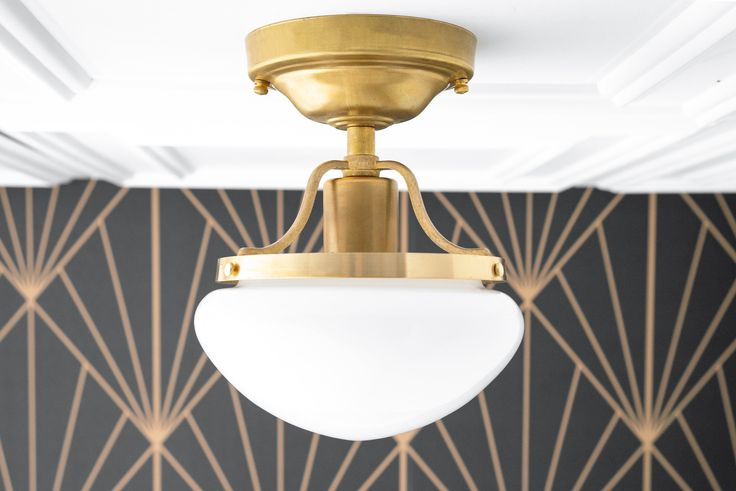
- Round Boxes: Ideal for small, lightweight fixtures like pendant lights.
- Octagonal Boxes: Slightly larger than round boxes, they provide a bit more space for wiring connections.
- Square Boxes: Typically used when the fixture requires more space for wiring or when additional connections are needed.
2. Pancake Boxes
Pancake boxes are shallow boxes designed for use in situations where space is limited, such as with thin ceilings or when mounting fixtures directly onto a ceiling joist. They are typically round and made from metal, providing a secure attachment point in tight spaces.
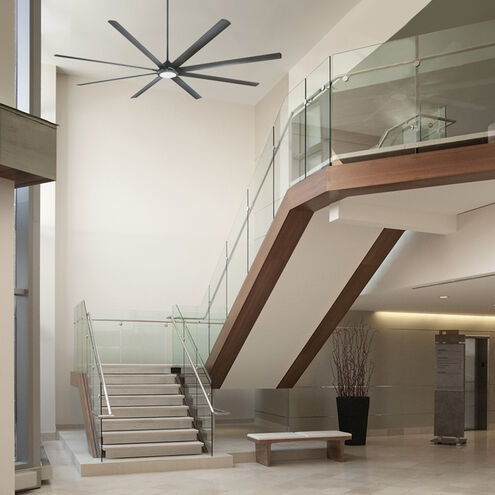
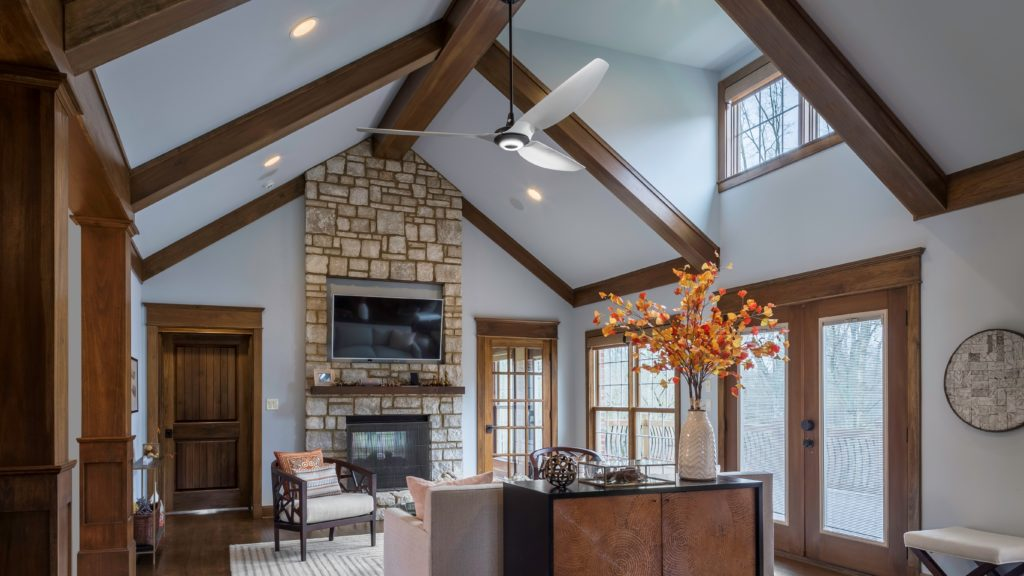
3. Fan-Rated Boxes
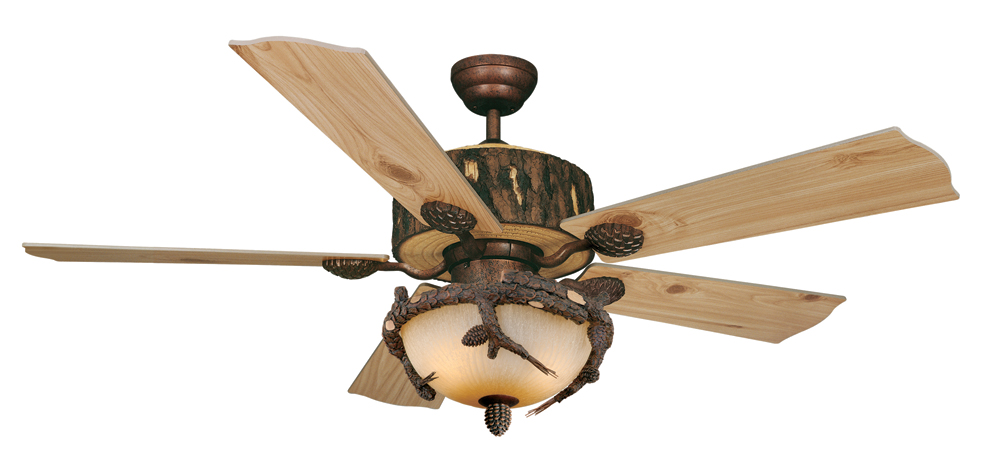
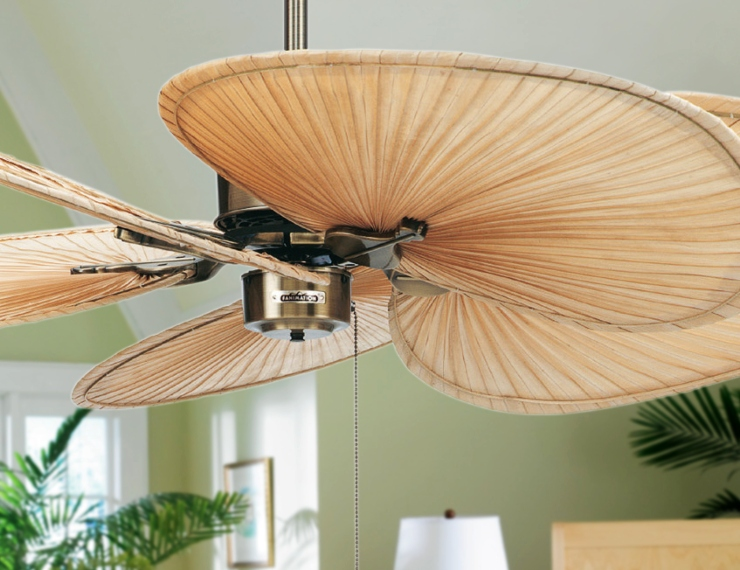
Fan-rated boxes are specifically designed to support ceiling fans, which are significantly heavier and require more support than standard light fixtures. These boxes are reinforced and often include additional bracing to handle the extra weight and motion of a ceiling fan.
4. Adjustable Boxes
Adjustable ceiling light fixture boxes are versatile and can be used in a variety of installations. They allow for height adjustments, making them ideal for ceilings with varying depths or when the exact positioning of the fixture needs to be fine-tuned.
5. Old Work Boxes
Old work boxes, also known as retrofit boxes, are used in situations where you are adding a new fixture to an existing ceiling. These boxes are designed to be installed without cutting into the ceiling joists, making them ideal for renovations or upgrades.
How to Choose the Right Ceiling Light Fixture Box
Selecting the appropriate Ceiling Light Fixture Box depends on several factors, including the type of fixture you are installing, the weight of the fixture, and the ceiling structure.
1. Weight of the Fixture
Ensure that the box you choose is rated to support the weight of the fixture. Lightweight fixtures can be mounted using standard boxes, while heavier fixtures, such as ceiling fans or chandeliers, require fan-rated or heavy-duty boxes.
2. Ceiling Type
The type of ceiling and the space available for installation will influence your choice. For example, pancake boxes are suitable for thin ceilings, while adjustable boxes are ideal for ceilings with varying depths.
3. Installation Method
Consider whether you are installing a new fixture or replacing an existing one. For new installations, a standard or fan-rated box may be suitable. For retrofit projects, an old work box might be necessary.
4. Material and Durability
Ceiling light fixture boxes are made from either plastic or metal. Plastic boxes are lightweight and easy to work with, but metal boxes offer more durability and are often required in certain building codes or for heavier fixtures.
How to Install a Ceiling Light Fixture Box
Installing a Ceiling Light Fixture Box is a straightforward process, but it requires attention to detail to ensure safety and compliance with electrical codes. Here’s a step-by-step guide to help you with the installation.
Step 1: Turn Off the Power
Before starting any electrical work, always turn off the power to the circuit you’ll be working on at the main breaker panel. This is a crucial safety step to prevent electrical shock.
Step 2: Choose the Location
Determine the location where you want to install the fixture. Use a stud finder to locate the ceiling joists, as the box needs to be securely attached to the structure for support.
Step 3: Cut the Hole
Once you’ve selected the location, use a hole saw or drywall saw to cut a hole in the ceiling that matches the size of your fixture box.
Step 4: Attach the Box
- For new installations: Attach the box directly to the ceiling joist using screws. Ensure it is securely fastened and level.
- For retrofit installations: Use an old work box that can be secured in place without the need for additional framing.
Step 5: Run the Wiring
Pull the electrical wiring through the knockout holes in the box. Leave enough wire extending from the box to connect to the fixture.
Step 6: Secure the Wiring
Secure the wiring inside the box using wire connectors. Ensure that all connections are tight and that no bare wires are exposed.
Step 7: Install the Fixture
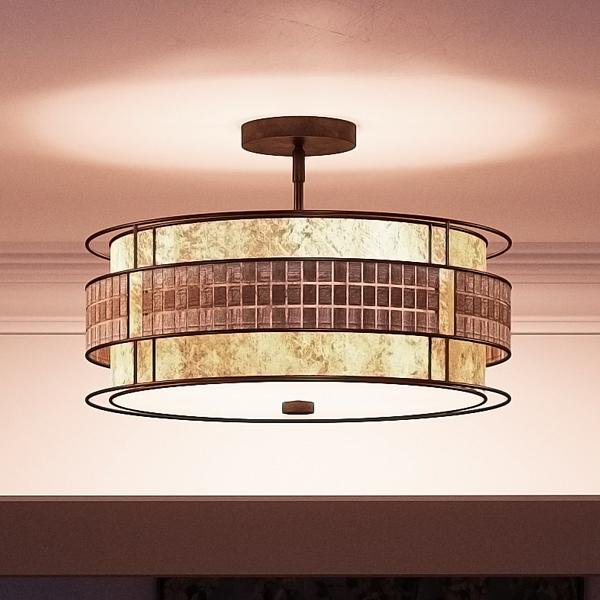
Once the box is installed and the wiring is secure, you can proceed with installing the ceiling light fixture according to the manufacturer’s instructions.
Step 8: Restore Power and Test
After completing the installation, turn the power back on at the breaker panel and test the light fixture to ensure it is functioning correctly.
Safety Considerations
When working with electrical components like a Ceiling Light Fixture Box, safety should be your top priority. Here are some essential safety tips to keep in mind:
- Turn Off the Power: Always turn off the power before working on any electrical project to avoid the risk of electrical shock.
- Use the Right Box: Ensure that the box you choose is rated for the weight of the fixture and the application.
- Follow Local Codes: Be sure to follow all local building and electrical codes when installing a ceiling light fixture box.
- Hire a Professional: If you’re not comfortable working with electrical wiring, it’s best to hire a licensed electrician to handle the installation.
Maintenance Tips for Ceiling Light Fixture Boxes
While Ceiling Light Fixture Boxes require minimal maintenance, it’s important to periodically check the condition of the box and the fixture to ensure everything remains secure and functional.
Regular Inspections
- Check the box and fixture for any signs of wear, damage, or loose connections.
- Ensure that the box is still securely attached to the ceiling and that the fixture is stable.
Cleaning
Dust and debris can accumulate inside the box and on the fixture over time. Use a soft cloth to clean the fixture and the surrounding area regularly.
Upgrades
If you’re upgrading to a heavier fixture, make sure the existing box is rated to support the additional weight. If not, replace it with a more suitable box.
Conclusion
The Ceiling Light Fixture Box is a critical component in any ceiling light installation. It ensures that your fixture is securely mounted, the wiring is safely contained, and that the installation complies with local codes. By understanding the different types of boxes available, how to choose the right one, and how to install it properly, you can achieve a safe and successful lighting installation that enhances the beauty and functionality of your space.