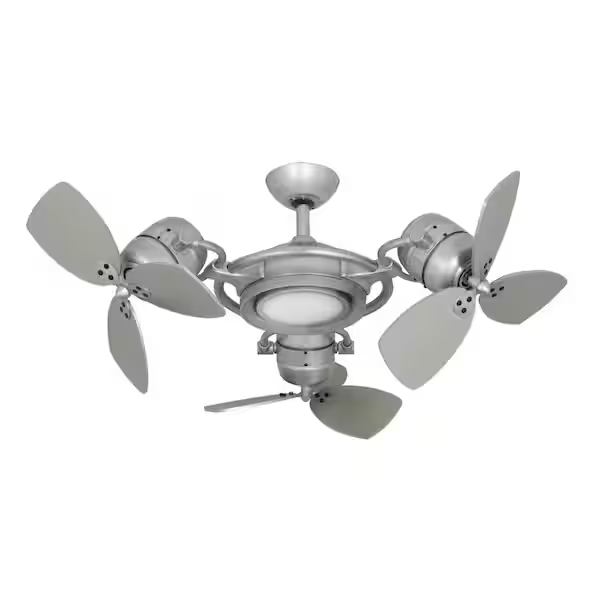
The Mid Century ceiling fan is more than just a functional fixture. It’s a design statement that combines sleek lines, minimalist aesthetics, and the functionality of modern engineering. As we see a resurgence of mid-century modern design in homes across the globe, many homeowners are opting for this style to add a touch of retro elegance to their living spaces.
This article will explore the key features of a Mid Century ceiling fan, how it can enhance your home’s decor, and how to choose the perfect fan for your space. By the end, you’ll have a comprehensive understanding of why mid-century modern fans are gaining popularity and how you can incorporate this timeless piece into your home.
Why Choose a Mid Century Ceiling Fan?
The Mid Century ceiling fan is inspired by the design trends of the 1940s to 1960s, an era known for its clean lines, organic curves, and emphasis on functionality. This period focused on the “less is more” approach, prioritizing practical design without sacrificing style. Here are some key reasons why a Mid Century ceiling fan might be the perfect addition to your home:
1. Timeless Aesthetic Appeal
Mid-century modern design has a timeless quality. Whether you’re styling a modern living room or a cozy bedroom, a mid-century ceiling fan adds a dash of elegance without feeling outdated. The clean lines and geometric shapes make these fans versatile, easily blending with both modern and vintage home decor.
2. Versatile Designs
While mid-century fans are known for their simplicity, they come in a variety of designs, colors, and finishes. You can find models with wooden blades, sleek metallic finishes, or fans featuring bold, eye-catching colors like mustard yellow, burnt orange, or teal, which were iconic during the mid-century era.
Read too: Discovering the Charm of Nautical Outdoor Ceiling Fans for Your Coastal Retreat: Sail into Style
3. Functional and Energy-Efficient
Today’s Mid Century ceiling fans combine the best of both worlds: retro style with modern technology. These fans often feature energy-efficient motors, LED lighting, and remote control capabilities, offering both functionality and eco-friendliness.
4. Adds a Retro Charm
A Mid Century ceiling fan can become a central decorative piece that complements other mid-century modern furniture and accessories, like teak wood furniture, leather sofas, and minimalist coffee tables. Its retro charm brings warmth and character to a space, evoking nostalgia for the golden age of design.
Choosing the Perfect Mid Century Ceiling Fan
Choosing the right Mid Century ceiling fan can make a significant impact on the overall look and feel of your room. Here’s a detailed guide to help you make the best choice based on factors like size, material, finish, and functionality.
1. Size Matters
The size of your ceiling fan plays an important role in both its functionality and aesthetic appeal. When choosing a Mid Century ceiling fan, measure the size of the room to ensure that the fan you select provides adequate airflow. Here’s a general guideline for fan size:
- Small rooms (up to 100 square feet): Choose a fan with a blade span of 29 to 36 inches.
- Medium rooms (100 to 300 square feet): Opt for a fan with a blade span of 42 to 48 inches.
- Large rooms (over 300 square feet): Consider a fan with a blade span of 52 to 56 inches.
Additionally, rooms with higher ceilings may require a downrod to lower the fan to an appropriate height for maximum efficiency.
2. Material and Finishes
Mid-century modern fans often incorporate natural materials like wood, combined with sleek metals. Wooden blades add warmth and a natural touch, while metals like brushed nickel or brass offer a modern, industrial vibe. Look for fans that have a contrast between the materials, such as wooden blades paired with a metallic motor housing, for that perfect mid-century look.
Popular finishes for Mid Century ceiling fans include:
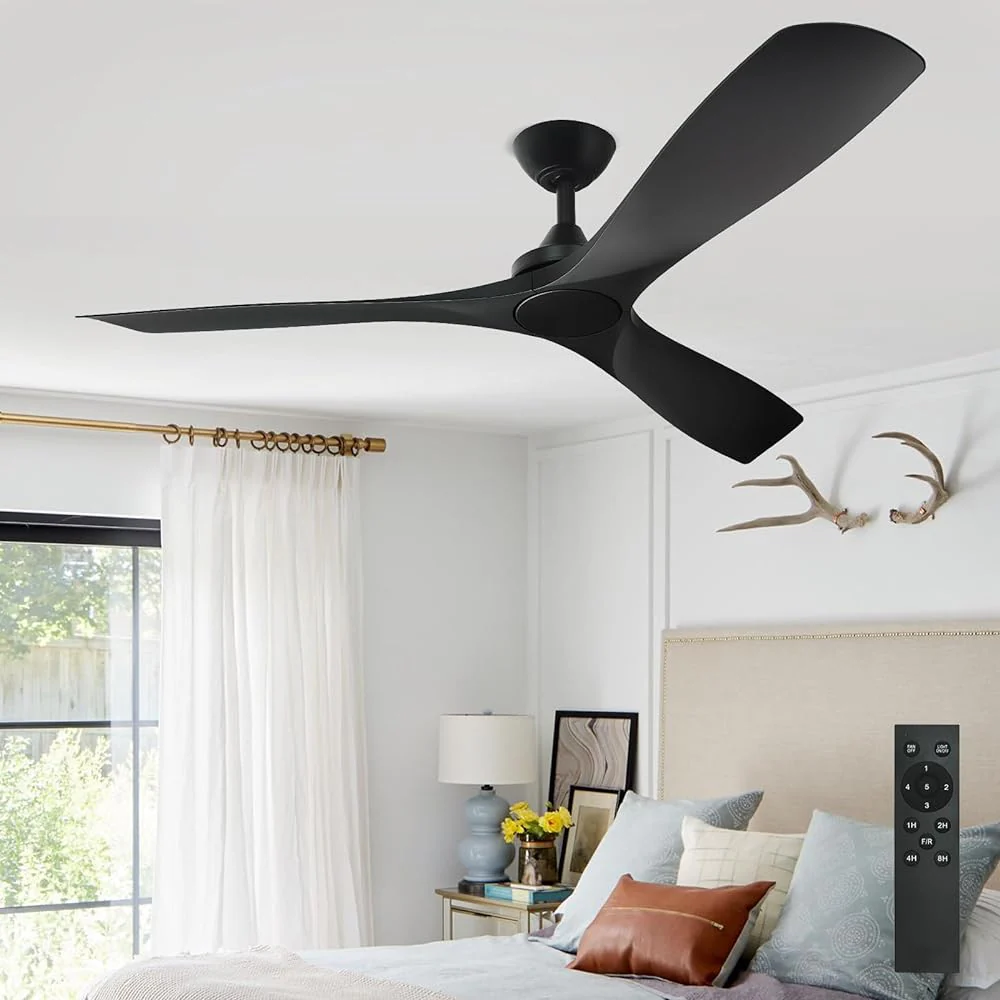
- Matte black: For a bold, sophisticated look.
- Brushed nickel: For a sleek, modern appearance.
- Polished brass: To add a touch of vintage luxury.
- Wood grain: For a natural and earthy feel.
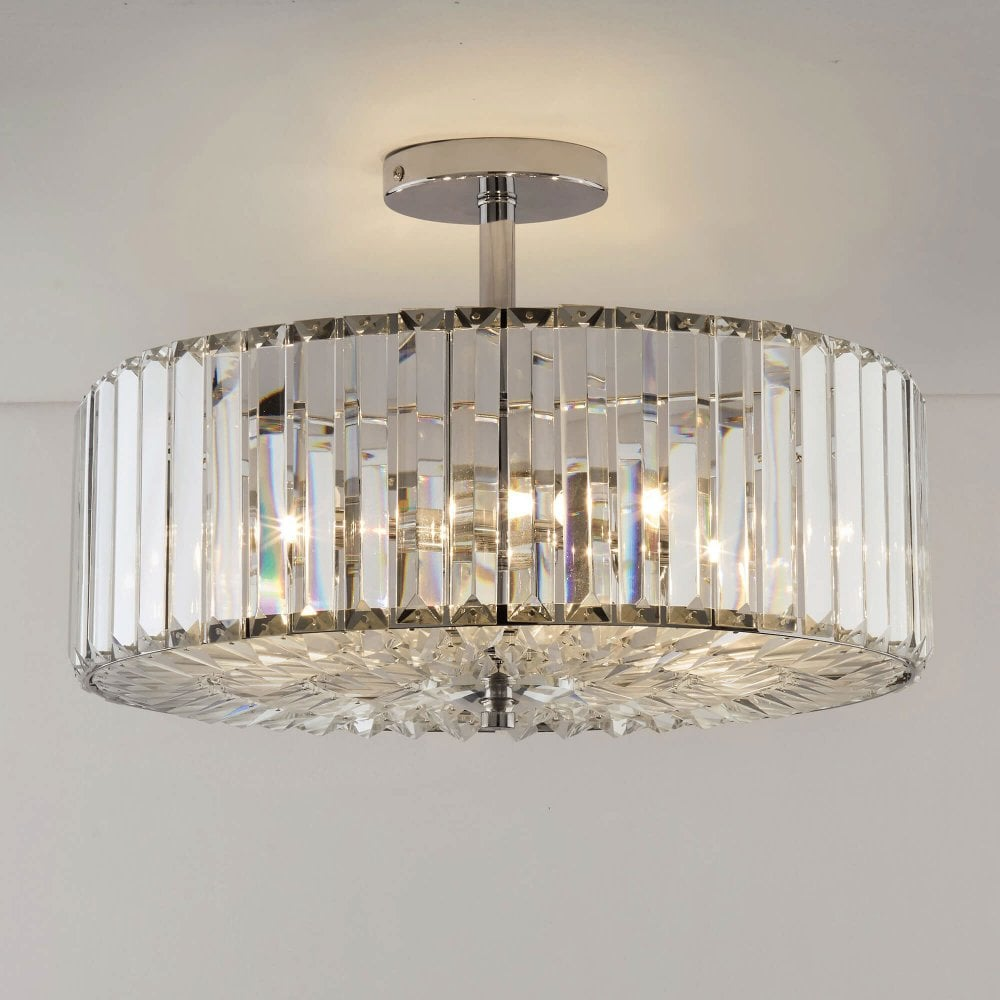
3. Lighting Options
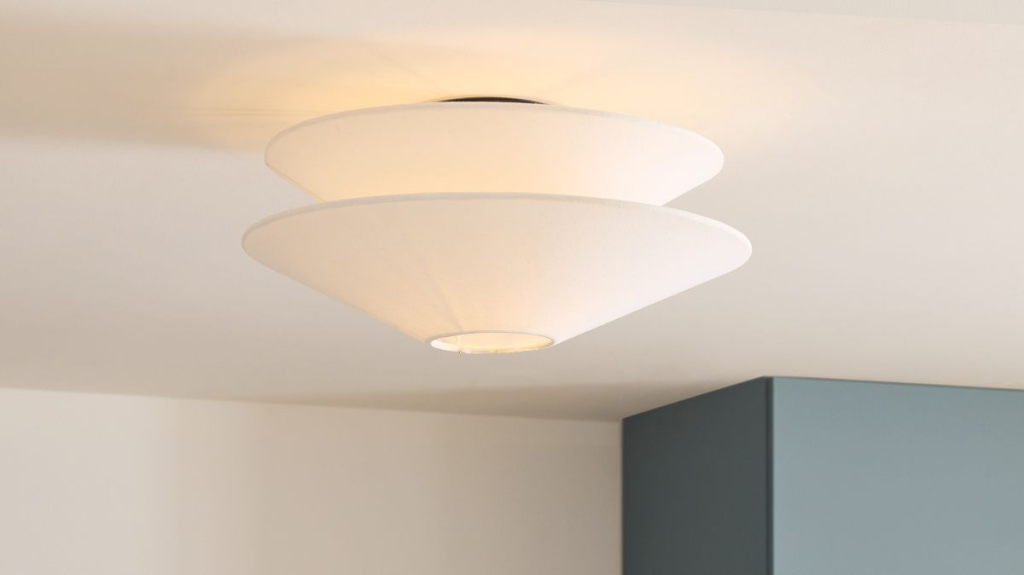
Many ceiling fans come equipped with lighting, and you can choose from a variety of lighting styles that complement the mid-century modern aesthetic. Look for fans with integrated LED lights, which are energy-efficient and offer a soft, warm glow. Additionally, globes or dome-shaped light fixtures, typical of mid-century design, can further enhance the retro look of your fan.
4. Control Features
Modern Mid Century ceiling fans often include advanced control features like remote control, smart home integration, and multiple speed settings. These features make it easier to operate your fan without sacrificing the classic aesthetic. For example, some fans can be connected to a smartphone app or integrated into smart home systems like Google Home or Amazon Alexa.
The Best Rooms for a Mid Century Ceiling Fan
A Mid Century ceiling fan can be installed in virtually any room, adding both style and functionality. However, certain spaces lend themselves particularly well to this retro design. Here are some suggestions on where to install a mid-century fan in your home:
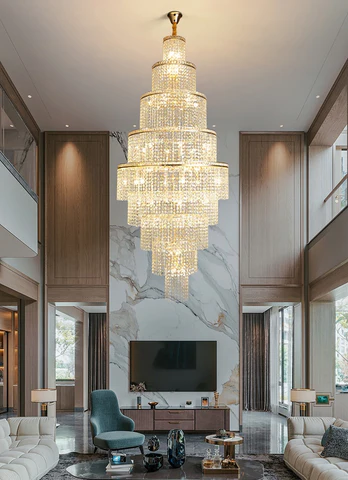
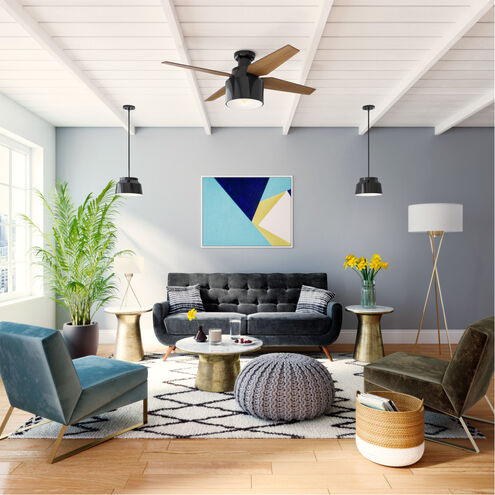
1. Living Room
The living room is the heart of your home, making it the perfect place for a statement piece like a Mid Century ceiling fan. In a living room with high ceilings, a fan with long, sleek blades and a wooden or metallic finish can anchor the space. Pair the fan with mid-century modern furniture, such as a low-profile sofa and a minimalist coffee table, to complete the look.
2. Dining Room
Ceiling fans in dining rooms not only provide airflow but also add a touch of sophistication. Opt for a fan with a unique light fixture to provide both functionality and style. Ensure that the fan is properly scaled to the size of your dining table for a balanced appearance.
3. Bedroom
For bedrooms, a Mid Century ceiling fan can create a calming atmosphere while keeping the room cool. Fans with wooden blades or warm finishes are ideal for bedrooms, adding a natural, cozy feel. Select a fan with a dimmable light to create the perfect ambiance for relaxation.
4. Home Office
In a home office, a sleek and minimalist mid-century fan can provide comfort without distracting from your work. Choose a design with clean lines and neutral finishes to maintain a focused and serene workspace.
How to Install a Mid Century Ceiling Fan
Installing a Mid Century ceiling fan can be done with relative ease, but for optimal results, professional installation is recommended, especially if you have high ceilings or need additional wiring. Here’s a general overview of the installation process:
1. Turn Off Power
Before starting, turn off the power to the ceiling fixture at the circuit breaker. This ensures safety while working with the electrical wiring.
2. Assemble the Fan
Follow the manufacturer’s instructions to assemble the fan, attaching the blades and the downrod if needed. Many fans come partially assembled, but ensure that all parts are securely fastened before installation.
3. Mount the Bracket
Attach the mounting bracket to the ceiling junction box, ensuring that it’s securely fastened. The bracket holds the weight of the fan, so it needs to be strong enough to support the fixture.
4. Connect the Wires
Carefully connect the fan’s wires to the corresponding wires in the ceiling junction box. Typically, you’ll need to connect the black or blue wire (fan power), white wire (neutral), and green wire (ground) to their corresponding wires. If the fan includes lighting, additional wiring may be required.
5. Secure the Fan
Once the wiring is complete, attach the fan to the mounting bracket and secure it in place. Double-check that the fan is level and securely fastened to prevent wobbling.
6. Turn on the Power and Test
After the fan is installed, restore power at the circuit breaker and test the fan and light to ensure everything is functioning correctly.
Mid Century Ceiling Fan Maintenance
To ensure your Mid Century ceiling fan stays in top condition and functions efficiently, regular maintenance is essential. Here are some maintenance tips:
- Clean the blades regularly to prevent dust buildup. Dust can cause the fan to become unbalanced, resulting in noise or wobbling.
- Tighten screws on the blades and mounting hardware every few months to ensure the fan operates smoothly.
- Check the motor for unusual sounds or vibrations, which could indicate the need for professional maintenance.
- Lubricate moving parts (if applicable) to prevent wear and tear, especially on older models with more mechanical components.
Final Thoughts on Mid Century Ceiling Fans
A Mid Century ceiling fan is the perfect blend of form and function. Whether you’re looking to cool down your living space, add a stylish focal point, or elevate your home decor with a touch of retro charm, these fans deliver on all fronts. With a wide range of designs, materials, and features to choose from, there’s a Mid Century ceiling fan for every room and aesthetic.