Ceiling fans are essential in maintaining comfort in our living spaces, especially during warm months. However, encountering issues such as your Minka Aire ceiling fan not working can be frustrating. This guide aims to help you understand potential causes and solutions for common problems that may arise with your Minka Aire ceiling fan.
Understanding Minka Aire Ceiling Fans
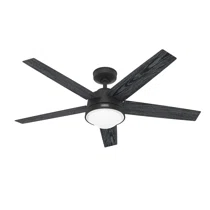
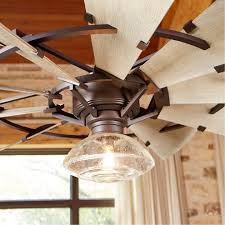
Minka Aire is known for its innovative designs and energy-efficient ceiling fans. These fans often come equipped with features such as remote controls, integrated lighting, and various speed settings. While Minka Aire fans are generally reliable, they can sometimes experience issues that may prevent them from functioning correctly.
Read too: Kitchen Lighting For A Vaulted Ceiling: Illuminating Your Space with Style and Functionality
Common Symptoms of a Non-Working Ceiling Fan
Before diving into troubleshooting, it’s essential to identify the symptoms of your ceiling fan malfunctioning. Here are some common signs:
- Fan Won’t Start: The most obvious issue is when the fan doesn’t respond when you flip the switch or press the remote button.
- Fan Stalls or Stops: The fan may start but then suddenly stop or stall during operation.
- Inconsistent Speed: If your fan runs but operates at a lower speed than normal or fluctuates in speed, this is another sign of trouble.
- Unusual Noises: Grinding, rattling, or clicking noises can indicate mechanical issues.
- Light Malfunction: If your Minka Aire ceiling fan has integrated lighting, you may find the light not working even when the fan operates.
Potential Causes of Minka Aire Ceiling Fan Not Working
Troubleshooting the Minka Aire Ceiling Fan Not Working
If you’re facing issues with your Minka Aire ceiling fan, there are several potential causes. Below, we will discuss common problems and how to troubleshoot them effectively.
1. Power Supply Issues
Cause: One of the first things to check when your ceiling fan is not working is whether it’s receiving power.
Solution:
- Check the Circuit Breaker: Ensure the circuit breaker hasn’t tripped. If it has, reset it and check the fan again.
- Inspect the Wall Switch: Make sure the switch is functioning properly. If it feels loose or doesn’t click, it may need replacement.
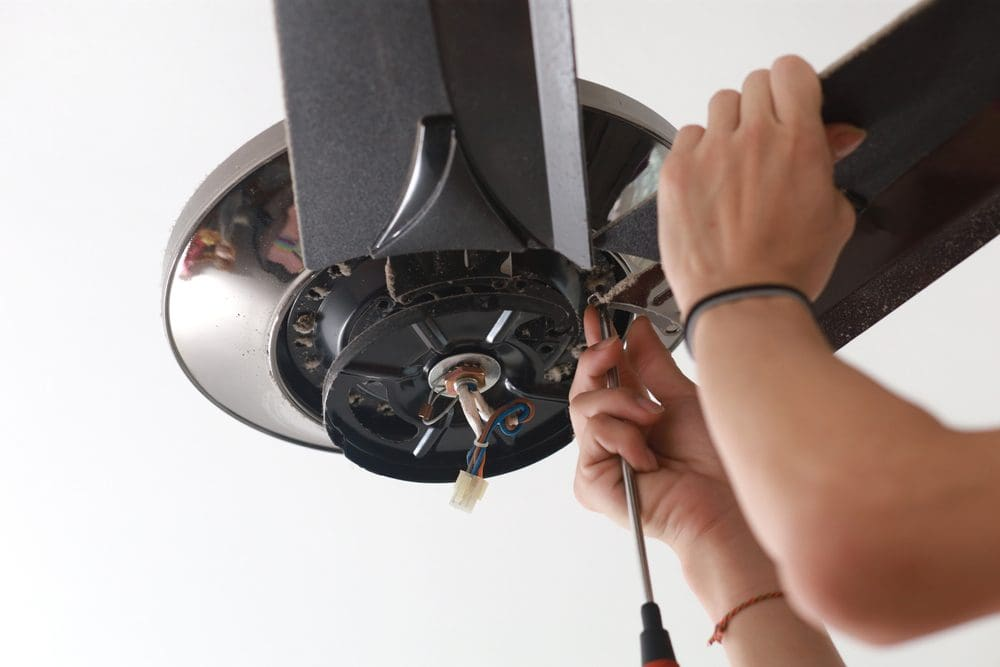
- Verify Power Connection: Check the wiring connections to the fan, especially if it was recently installed. Loose or disconnected wires can prevent the fan from receiving power.
2. Remote Control Issues
Cause: If your Minka Aire fan is remote-controlled and doesn’t respond, the remote might be the issue.
Solution:
- Replace the Batteries: Start by replacing the batteries in the remote control. Weak batteries can lead to poor performance.
- Pair the Remote: Some fans require pairing between the fan and the remote. Refer to your fan’s manual for specific pairing instructions.
- Check the Receiver: The remote control operates through a receiver within the fan. If the remote works, but the fan doesn’t, the receiver may need to be inspected or replaced.
3. Fan Blade Issues
Cause: If the blades are not properly aligned or are obstructed, this can prevent the fan from functioning correctly.
Solution:
- Check Blade Alignment: Ensure the blades are installed correctly and are not warped. Misaligned blades can cause the fan to wobble or stop.
- Inspect for Obstructions: Ensure there are no objects obstructing the fan blades. Sometimes debris can get stuck in the fan and cause it to malfunction.
- Tighten Blade Screws: Ensure all screws holding the blades in place are secure. Loose blades can lead to vibrations and stoppage.
4. Motor Problems
Cause: The motor is the heart of the ceiling fan. If the motor is malfunctioning, the fan may not work at all.
Solution:
- Listen for Noise: When trying to start the fan, listen for any humming or grinding sounds. This can indicate motor issues.
- Lubricate the Motor: Sometimes, motors may need lubrication. Check your fan’s manual for guidance on lubrication.
- Test the Motor: If you’re comfortable with electrical components, you can use a multimeter to test the motor for continuity. If it’s faulty, you may need to replace it.
5. Capacitor Issues
Cause: The capacitor helps the fan motor start and run efficiently. A faulty capacitor can prevent the fan from operating.
Solution:
- Check Capacitor Functionality: If you’re handy with tools, you can check the capacitor using a multimeter. A lack of continuity may indicate it’s time for a replacement.
- Replace Capacitor: If the capacitor is faulty, replace it with a compatible model as specified in the Minka Aire manual.
Additional Tips for Maintaining Your Minka Aire Ceiling Fan
Maintaining your ceiling fan can prevent issues before they arise. Here are some simple tips for keeping your Minka Aire ceiling fan in good working condition:
- Regular Cleaning: Dust and debris can accumulate on the blades and motor. Regularly clean the fan using a soft cloth and ensure the blades are dust-free.
- Check Connections: Periodically inspect all electrical connections and screws to ensure they remain tight and secure.
- Seasonal Use: If you use the fan for both cooling and heating, ensure you reverse the blade direction based on the season to maximize efficiency.
- Professional Inspection: If you encounter persistent issues or if you’re uncomfortable troubleshooting electrical components, it’s best to hire a professional electrician for a thorough inspection.
Conclusion
Experiencing problems with your Minka Aire ceiling fan not working can be frustrating, but many common issues are easy to troubleshoot and fix. By following the guidelines in this article, you can diagnose the problem and restore comfort to your space. Always remember that regular maintenance is key to ensuring your ceiling fan operates efficiently for years to come.
If you have any doubts about handling electrical components or if issues persist despite troubleshooting, don’t hesitate to contact a professional for assistance.