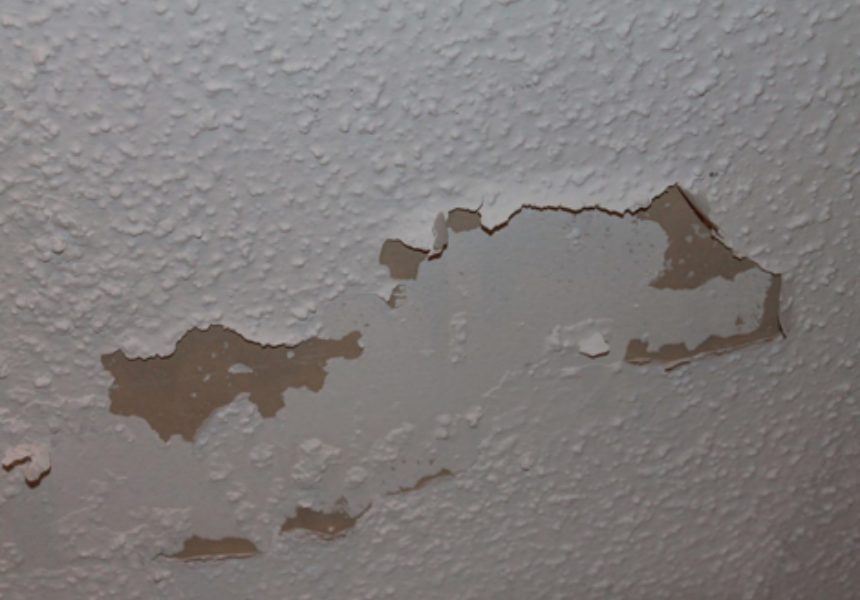
If you’re a homeowner in Denver, you may be considering updating your home’s interior, particularly if it features the once-popular popcorn ceilings. While these textured ceilings were trendy in the mid-20th century, many homeowners are now opting for a cleaner, more modern look. This article will delve into the process of Denver popcorn ceiling removal, the benefits of eliminating this texture, and important considerations to keep in mind.
What Is a Popcorn Ceiling?
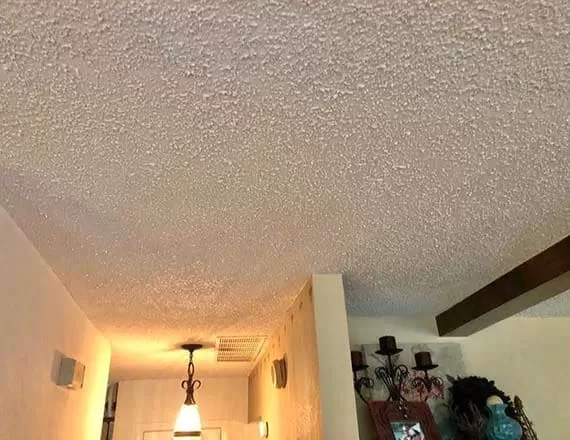
Before diving into the specifics of popcorn ceiling removal, it’s essential to understand what a popcorn ceiling is. Also known as an “acoustic ceiling,” a popcorn ceiling is a spray-on texture applied to the ceiling surface to create a bumpy, textured finish. This texture was popular for several reasons:
- Acoustic Properties: The texture helps to absorb sound, making it a popular choice in homes and commercial buildings for noise reduction.
- Hiding Imperfections: The bumps and ridges can conceal imperfections in the ceiling, such as cracks or uneven surfaces.
- Easy Installation: Popcorn ceilings were relatively quick and inexpensive to install.
Despite these advantages, many homeowners are choosing to remove popcorn ceilings due to the dated look and potential health risks associated with asbestos.
Read too: Shiplap Ceiling in Kitchen: A Timeless Trend for a Stylish and Cozy Space
Why Remove Popcorn Ceilings?
There are several compelling reasons to consider Denver popcorn ceiling removal:
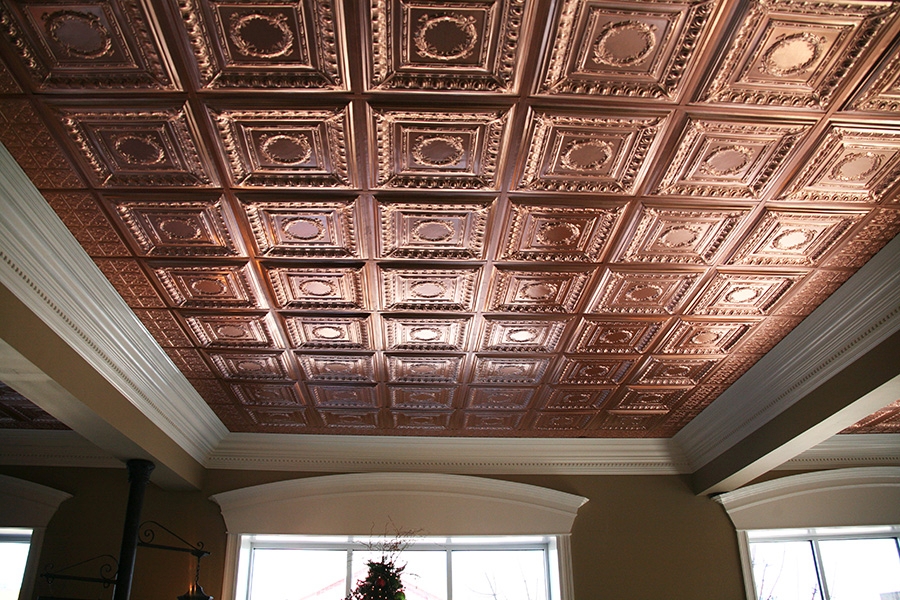
- Aesthetic Appeal: Modern interior design trends favor smooth, clean ceilings that can make spaces look larger and more open. Removing popcorn ceilings can instantly update the look of your home.
- Increased Home Value: Homes with smooth ceilings are often more appealing to potential buyers, which can increase your property’s resale value.
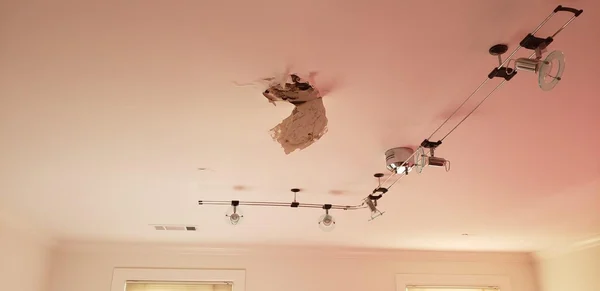
- Health Concerns: Many popcorn ceilings installed before the 1980s contain asbestos, a hazardous material that can lead to serious health issues. If your popcorn ceiling has not been tested, it’s advisable to do so before proceeding with any removal.
- Ease of Cleaning: Popcorn ceilings can be challenging to clean and maintain. Smooth ceilings are generally easier to dust and wipe down, leading to less maintenance in the long run.
The Process of Denver Popcorn Ceiling Removal
Removing a popcorn ceiling can be a daunting task, but with the right approach, it can be accomplished successfully. Here’s a step-by-step guide to Denver popcorn ceiling removal.
Step 1: Prepare Your Space
Before you start the removal process, it’s crucial to prepare the area:
- Clear the Room: Remove furniture and any items from the room that could get damaged during the process. Cover any remaining furniture with drop cloths or plastic sheeting to protect against dust and debris.
- Turn Off Power: If you have ceiling lights or fans, turn off the power to the room at the circuit breaker to avoid any accidents.
- Cover Floors: Lay down drop cloths or plastic sheeting on the floor to catch any falling debris.
Step 2: Test for Asbestos
If your home was built before the 1980s, it’s essential to test the popcorn ceiling for asbestos. You can either hire a professional to conduct the test or use an at-home kit. If asbestos is detected, it’s recommended to hire a certified asbestos abatement contractor for safe removal.
Step 3: Gather Your Supplies
You will need the following supplies for the popcorn ceiling removal process:
- A spray bottle filled with water
- A putty knife or scraper
- A ladder
- Drop cloths or plastic sheeting
- A dust mask or respirator
- Safety goggles
- A bucket for debris
- Paint roller or textured ceiling spray (for touch-ups afterward)
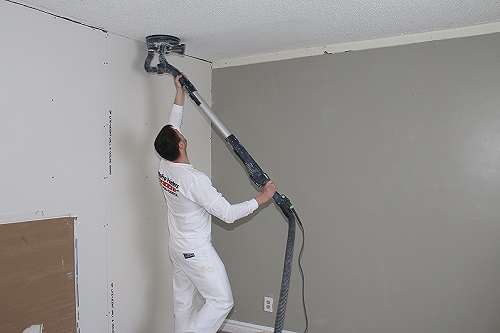
Step 4: Remove the Popcorn Texture
Now that your space is prepared and you’ve confirmed there’s no asbestos, it’s time to start removing the popcorn texture:
- Moisten the Ceiling: Fill a spray bottle with water and lightly mist a small section of the popcorn ceiling. Allow it to soak in for a few minutes to soften the texture.
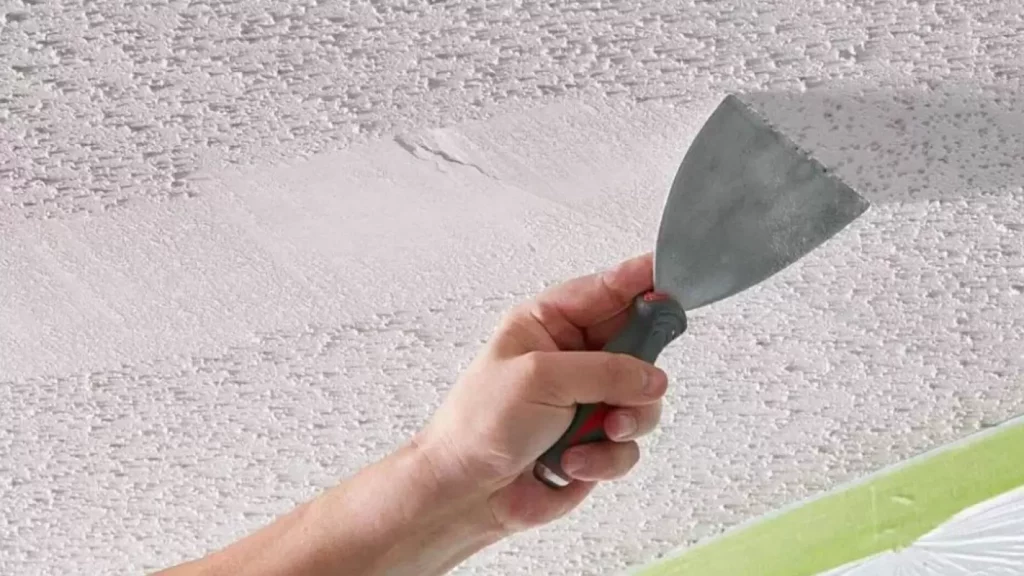
- Scrape Off the Texture: Use a putty knife or scraper to gently lift and remove the popcorn texture from the ceiling. Be careful not to gouge the drywall beneath. Work in small sections for more manageable removal.
- Repeat the Process: Continue misting and scraping sections of the ceiling until the entire popcorn texture is removed. You may need to clean your scraper frequently to ensure effective removal.
Step 5: Smooth the Ceiling
After you’ve removed the popcorn texture, the ceiling may have some imperfections. Here’s how to smooth it out:
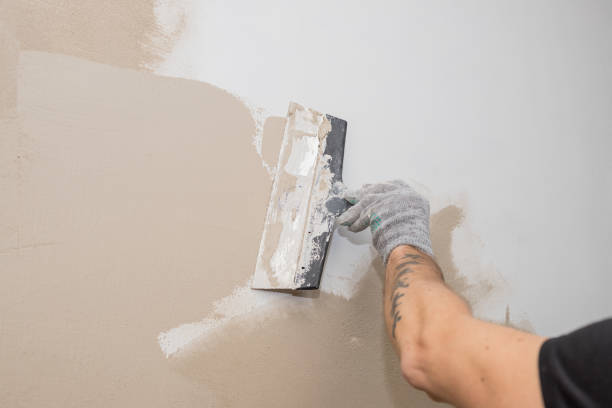
- Fill in Imperfections: Use joint compound to fill any gouges or holes in the drywall. Apply with a putty knife, and let it dry according to the manufacturer’s instructions.
- Sand the Surface: Once the joint compound is dry, use sandpaper to smooth the surface of the ceiling. Wear a dust mask to protect yourself from drywall dust.
- Prime and Paint: After sanding, prime the ceiling to create an even surface for painting. Once the primer is dry, you can apply the paint color of your choice for a fresh, modern look.
Tips for Successful Popcorn Ceiling Removal
Here are some additional tips to ensure a smooth Denver popcorn ceiling removal process:
- Take Your Time: Removing popcorn ceilings can be time-consuming, especially in larger rooms. Be patient and work methodically to avoid damaging the drywall.
- Consider Professional Help: If you’re not comfortable with DIY projects or if asbestos is present, it’s best to hire a professional contractor who specializes in popcorn ceiling removal.
- Plan for Cleanup: The removal process can create a significant mess. Have a plan in place for cleanup, including trash bags for debris and a vacuum for any remaining dust.
- Allow for Touch-Ups: After the popcorn is removed and the ceiling is painted, you may want to consider adding a new texture or finish to give your ceiling a unique look.
Final Thoughts on Denver Popcorn Ceiling Removal
Denver popcorn ceiling removal can significantly enhance the aesthetics of your home, making it feel more modern and inviting. While the process may seem daunting, taking it step by step and being well-prepared can lead to successful results. Whether you choose to tackle the project yourself or hire a professional, removing popcorn ceilings is a worthwhile investment in your home’s value and appearance.
With the right preparation and tools, you can transform your living space and enjoy a fresh, updated look for years to come.