When it comes to enhancing the comfort and style of your home, a ceiling fan with top and bottom light is a versatile and functional option. This type of ceiling fan not only circulates air to keep your space cool but also provides ample lighting, making it an ideal choice for a variety of rooms. In this guide, we’ll explore everything you need to know about selecting the best ceiling fan with top and bottom light, from design considerations to installation tips. Whether you’re upgrading an existing fixture or starting from scratch, this guide will help you make an informed decision.
Why Choose a Ceiling Fan With Top And Bottom Light?
1. Enhanced Lighting Options
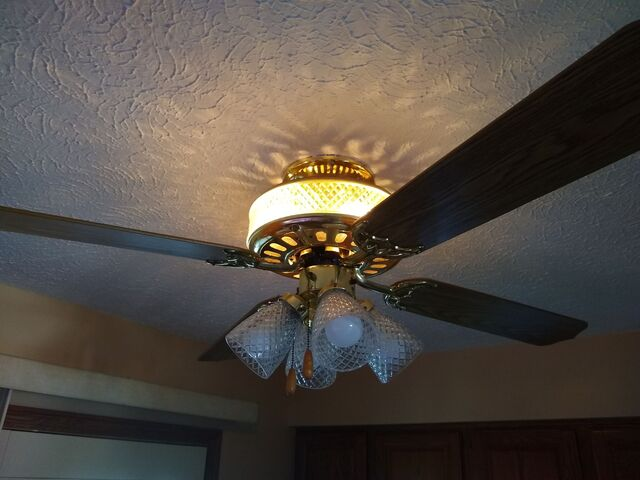
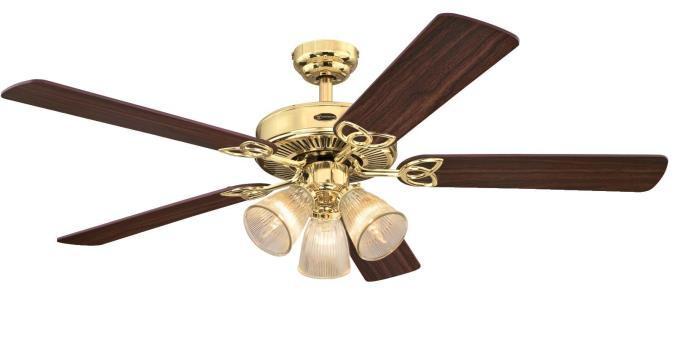
One of the primary benefits of a ceiling fan with top and bottom lights is the ability to control multiple lighting sources. The top light, often referred to as the uplight, adds ambient lighting by reflecting light off the ceiling, creating a soft and even illumination throughout the room. The bottom light, or downlight, provides direct illumination, which is perfect for task lighting or highlighting specific areas.
Read too: Kitchen Lighting For A Vaulted Ceiling: Illuminating Your Space with Style and Functionality
This dual lighting feature allows for greater flexibility in setting the mood of your room. You can choose to use just the uplight for a relaxing atmosphere, just the downlight for focused lighting, or both for maximum brightness.
2. Space-Saving Solution
In rooms where space is at a premium, combining a ceiling fan with lighting eliminates the need for separate light fixtures, freeing up valuable ceiling space. This is especially beneficial in smaller rooms where a single fixture can serve multiple purposes, reducing clutter and creating a more streamlined appearance.
3. Energy Efficiency
Ceiling fans with integrated lighting are an energy-efficient solution for your home. Modern ceiling fans are designed to use less energy than air conditioning units while still effectively cooling a room. Additionally, the use of LED bulbs in both the top and bottom lights can significantly reduce your electricity consumption compared to traditional incandescent bulbs.
4. Aesthetic Appeal
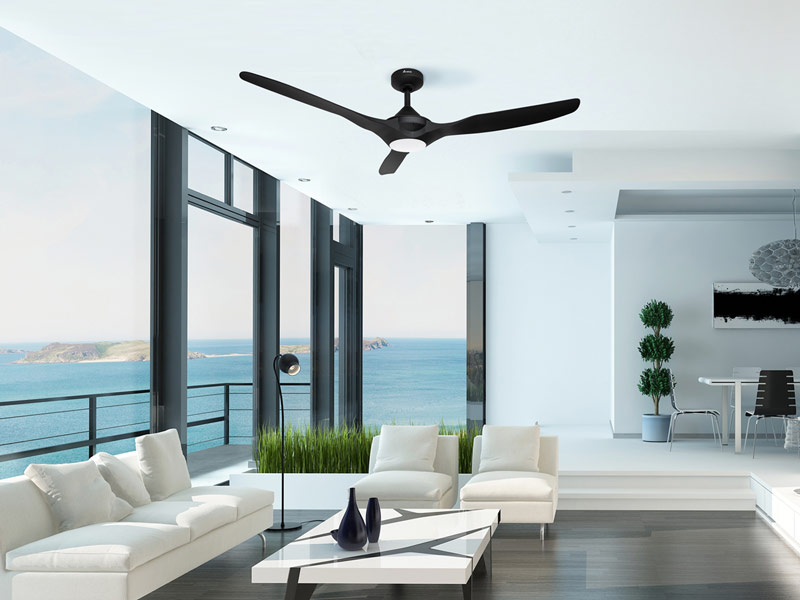
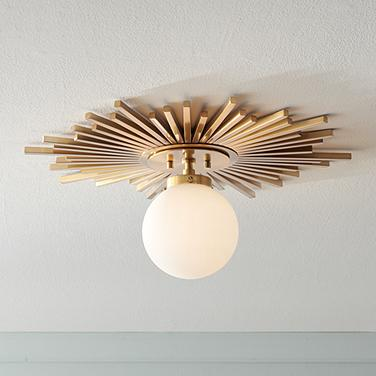
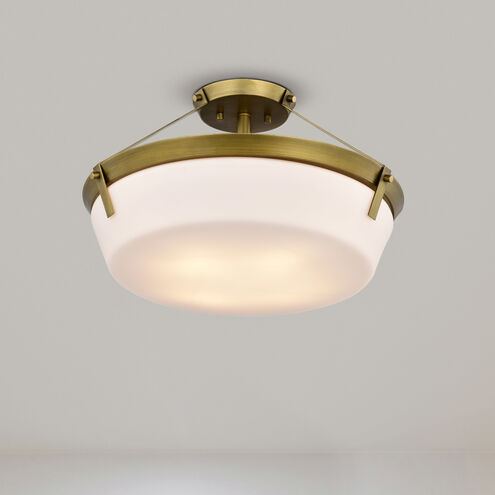
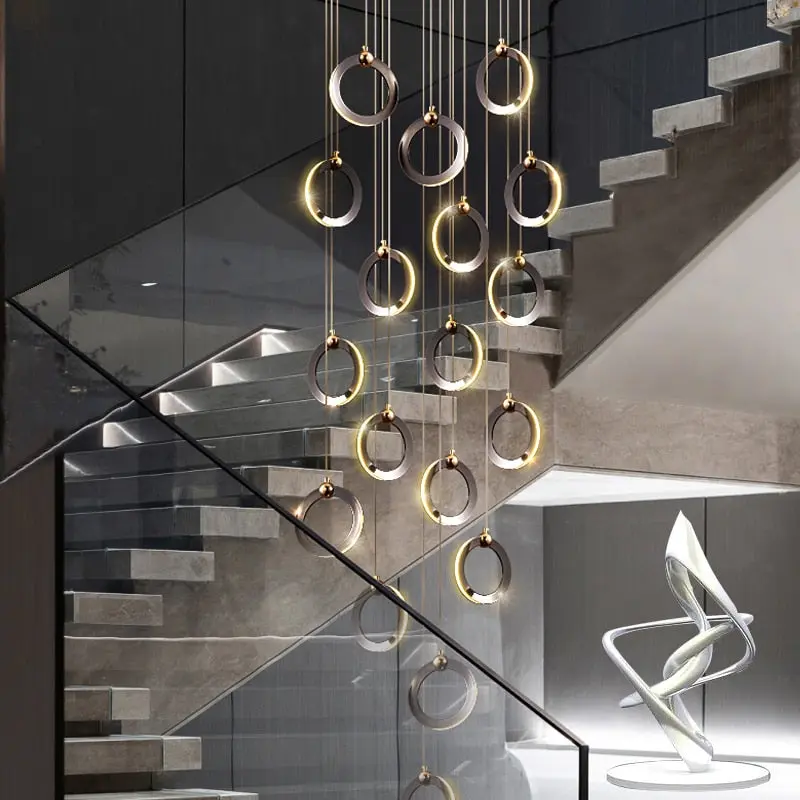
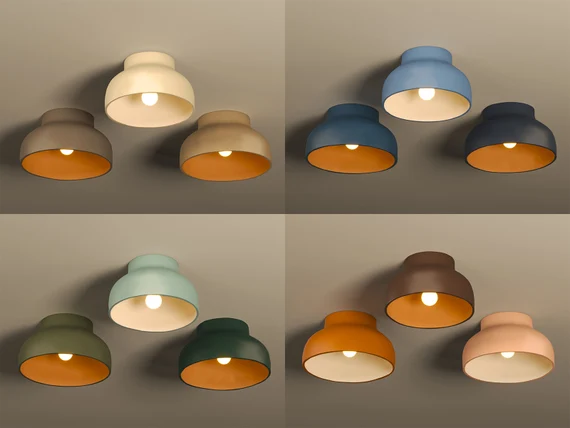
Ceiling fans with top and bottom lights come in a wide range of styles, from traditional to contemporary, allowing you to choose a design that complements your home’s decor. The dual lighting feature can add a touch of elegance and sophistication to any room, making it not only a functional piece but also an attractive focal point.
Key Considerations When Choosing a Ceiling Fan With Top And Bottom Light
1. Room Size and Ceiling Height
When selecting a ceiling fan, it’s important to consider the size of the room and the height of the ceiling. These factors will determine the size of the fan, the length of the downrod, and the placement of the lighting.
- Small Rooms (up to 75 sq. ft.): Opt for a fan with a blade span of 29” to 36”.
- Medium Rooms (76 – 144 sq. ft.): A fan with a blade span of 36” to 42” is ideal.
- Large Rooms (144 – 225 sq. ft.): Choose a fan with a blade span of 44” to 50”.
- Extra-Large Rooms (225+ sq. ft.): Consider a fan with a blade span of 52” or larger.
For rooms with high ceilings, a longer downrod may be required to position the fan at the optimal height for both air circulation and lighting. The general rule is to position the fan about 8 to 9 feet from the floor.
2. Lighting Needs
Consider how much lighting you need in the room and how you plan to use the ceiling fan’s lighting features. If the room requires bright, direct lighting, focus on the specifications of the downlight. For more subtle, ambient lighting, pay attention to the uplight’s design and brightness.
Also, think about the type of bulbs used in the fan. LED bulbs are a popular choice due to their energy efficiency and longevity. They also come in various color temperatures, allowing you to choose between warm, neutral, or cool lighting to suit your space.
3. Control Options
Ceiling fans with top and bottom lights can be controlled in various ways:
- Pull Chains: Traditional ceiling fans are often controlled by pull chains, with separate chains for the fan and each light. This option is straightforward but may be less convenient in rooms with high ceilings.
- Wall Switches: A wall-mounted control panel allows you to easily adjust the fan speed and lighting settings without the need for pull chains.
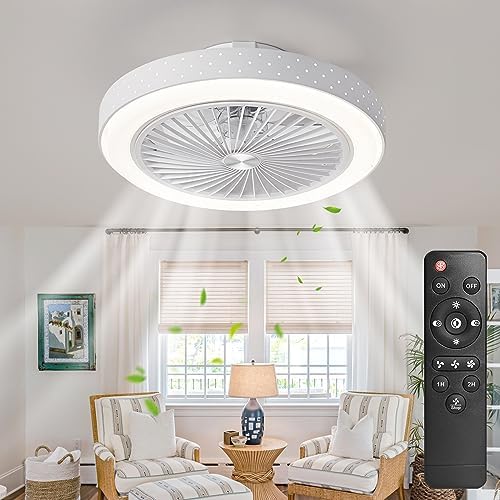
- Remote Controls: Many modern ceiling fans come with remote controls, offering the ultimate convenience. Remotes allow you to control the fan speed, light settings, and sometimes even the direction of the fan blades from anywhere in the room.
- Smart Controls: For the tech-savvy, smart ceiling fans can be integrated with home automation systems or controlled via smartphone apps. This option provides advanced features such as scheduling, voice control, and remote operation when you’re away from home.
4. Style and Design
The aesthetic appeal of your ceiling fan is just as important as its functionality. Ceiling fans with top and bottom lights are available in a variety of styles, so you’re sure to find one that complements your room’s decor.
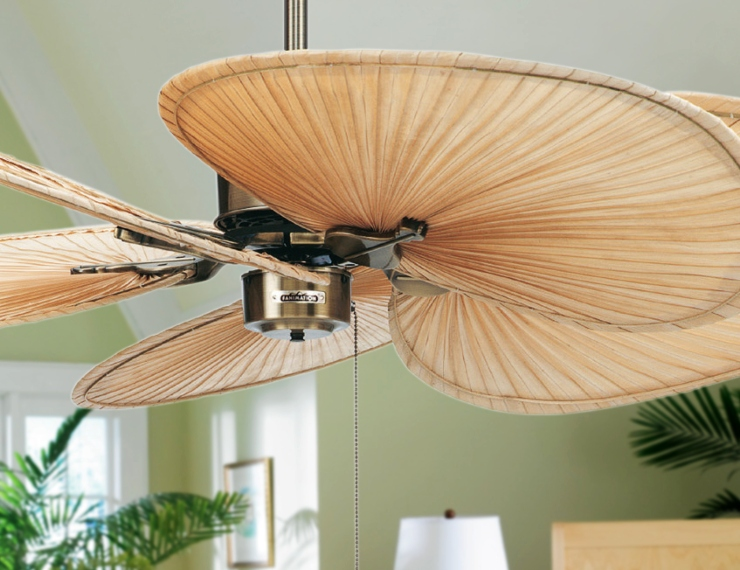
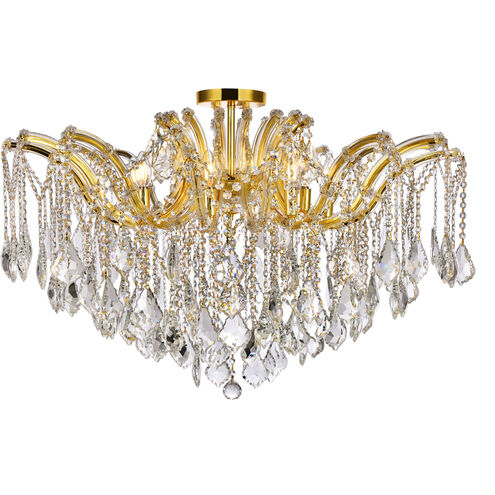
- Traditional: Features such as wood blades, intricate metalwork, and frosted glass lights are typical of traditional ceiling fans. These fans work well in classic or vintage-inspired interiors.
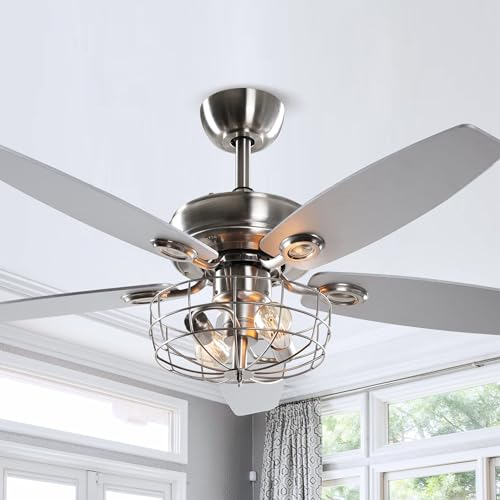
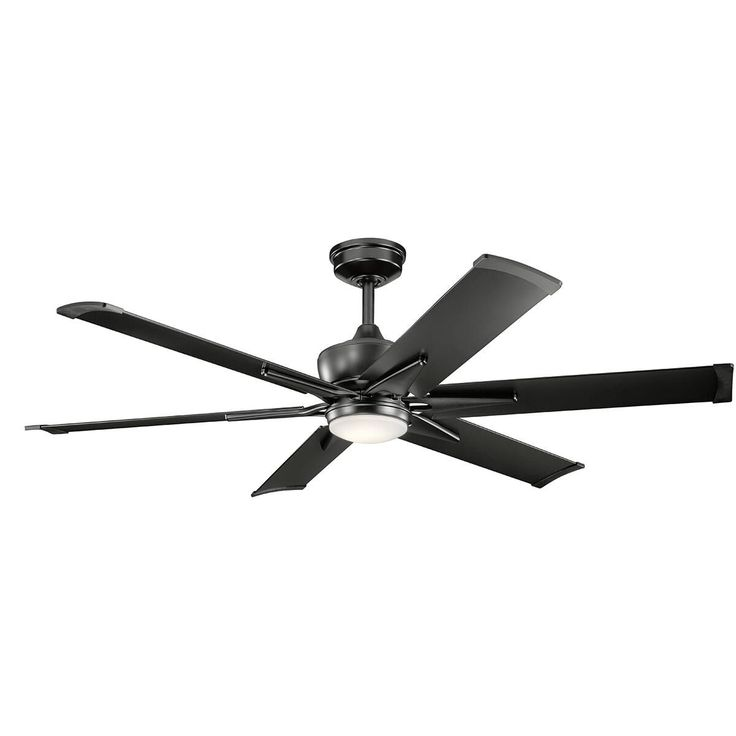
- Modern: Sleek, minimalistic designs with clean lines and contemporary materials like brushed nickel or chrome are characteristic of modern ceiling fans. These fans are perfect for modern or industrial-style homes.
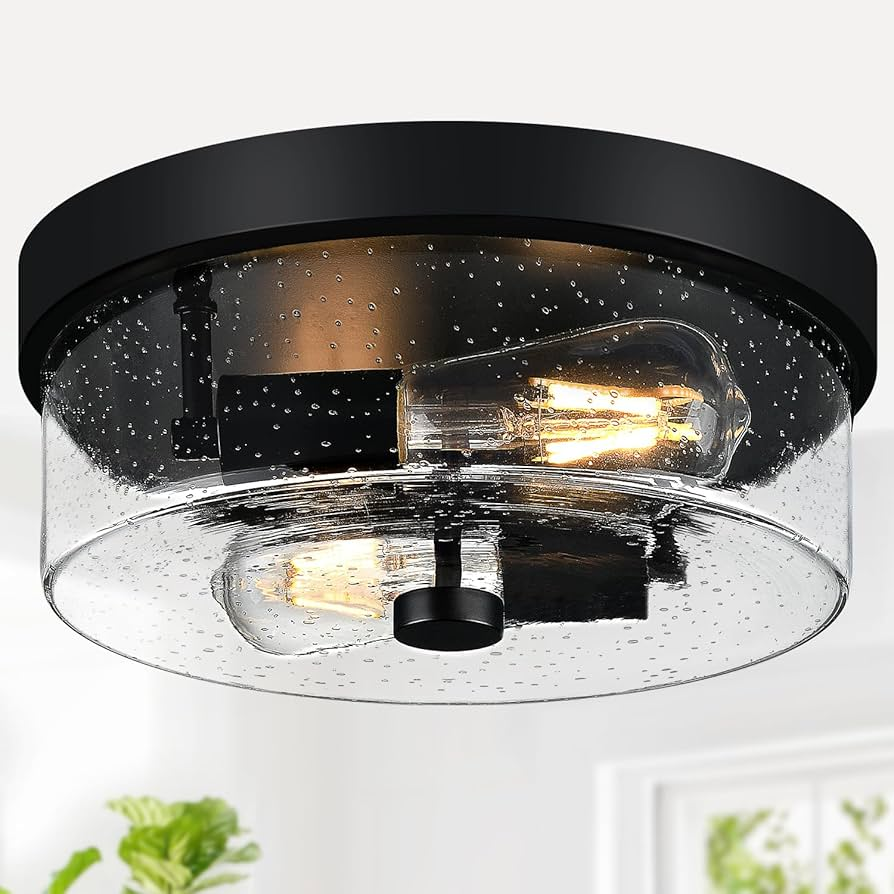
- Rustic: Fans with distressed wood finishes, aged metal accents, and Edison-style bulbs are ideal for rustic or farmhouse interiors.
- Transitional: Transitional ceiling fans blend elements of both traditional and modern styles, making them versatile options for homes with mixed decor themes.
Installation Tips for a Ceiling Fan With Top And Bottom Light
Tools and Materials Needed
- Ceiling fan kit with top and bottom lights
- Ladder or step stool
- Screwdrivers (Phillips and flathead)
- Wire strippers
- Wire nuts
- Electrical tape
- Voltage tester
- Downrod (if needed)
- Ceiling fan mounting bracket
Step 1: Turn Off the Power
Before beginning any installation, ensure that the power to the circuit you’ll be working on is turned off at the breaker box. Use a voltage tester to confirm that the power is off before proceeding.
Step 2: Prepare the Mounting Bracket
Attach the mounting bracket that comes with the ceiling fan kit to the electrical box in the ceiling. The bracket must be securely fastened to support the weight of the fan and lights.
Step 3: Assemble the Fan
If your fan requires assembly, follow the manufacturer’s instructions to attach the blades, light fixtures, and any other components. Make sure all screws are tightened securely.
Step 4: Install the Downrod (If Needed)
For rooms with high ceilings, you may need to attach a downrod to lower the fan to an appropriate height. Secure the downrod to the fan motor, ensuring that it is tightly fastened and properly aligned.
Step 5: Wire the Fan
Connect the wires from the fan to the corresponding wires in the ceiling using wire nuts. Typically, you’ll connect the black or blue wire from the fan to the black (or red) wire from the ceiling for the fan motor, the white wires together for the neutral connection, and the green or bare copper wire to the ground wire. If your fan has separate wires for the top and bottom lights, be sure to connect these appropriately as well.
Step 6: Attach the Fan to the Ceiling
Carefully lift the fan and attach it to the mounting bracket. Make sure all screws and connections are secure, and that the fan is level and stable.
Step 7: Install the Light Fixtures
Install the top and bottom light fixtures as per the manufacturer’s instructions. This may involve attaching glass shades or securing light bulbs in place. Ensure that all components are securely attached.
Step 8: Test the Fan and Lights
Once everything is installed, turn the power back on and test the fan and lights. Check the fan’s operation at all speeds and ensure both the top and bottom lights function correctly. Also, make sure there are no unusual noises or wobbling.
Maintenance Tips for a Ceiling Fan With Top And Bottom Light
Regular Cleaning
Dust and debris can accumulate on both the fan blades and the light fixtures, affecting performance and appearance. Regularly clean the fan blades with a microfiber cloth and wipe down the light fixtures with a damp cloth. For more thorough cleaning, use a vacuum with a brush attachment.
Tighten Loose Screws
Over time, screws and connections may loosen, causing the fan to wobble or make noise. Periodically check and tighten all screws, especially those on the blades and light fixtures.
Replace Light Bulbs
If the lights start to dim or flicker, it may be time to replace the bulbs. Always turn off the power before changing bulbs and ensure you’re using the correct type and wattage as recommended by the manufacturer.
Balance the Blades
If your fan begins to wobble, it may be out of balance. Use a blade balancing kit to adjust the blades and ensure smooth, quiet operation.
Top Design Trends for Ceiling Fans With Top And Bottom Light
1. Energy-Efficient LED Lighting
LED lighting is a top trend in ceiling fans with integrated lights. LEDs are not only energy-efficient but also provide a variety of color temperatures, allowing homeowners to customize their lighting to suit their preferences.
2. Smart Ceiling Fans
Smart ceiling fans are increasingly popular, offering advanced features such as voice control, remote operation, and integration with home automation systems. These fans are ideal for tech-savvy homeowners looking for convenience and energy savings.
3. Rustic and Industrial Designs
Rustic and industrial-style ceiling fans with top and bottom lights are gaining traction, especially in homes with open-concept layouts. These fans often feature distressed wood finishes, exposed bulbs, and metal accents, adding a unique touch to any room.
4. Customization Options
More manufacturers are offering customizable ceiling fans, allowing homeowners to choose the blade material, light fixture style, and even the color of the fan. This trend is perfect for those looking to create a truly personalized space.
Conclusion
A ceiling fan with top and bottom light is a versatile addition to any room, offering both cooling and lighting in a single fixture. By considering factors such as room size, lighting needs, and design preferences, you can select the perfect fan for your space. Proper installation and regular maintenance will ensure your fan remains a functional and stylish feature for years to come.