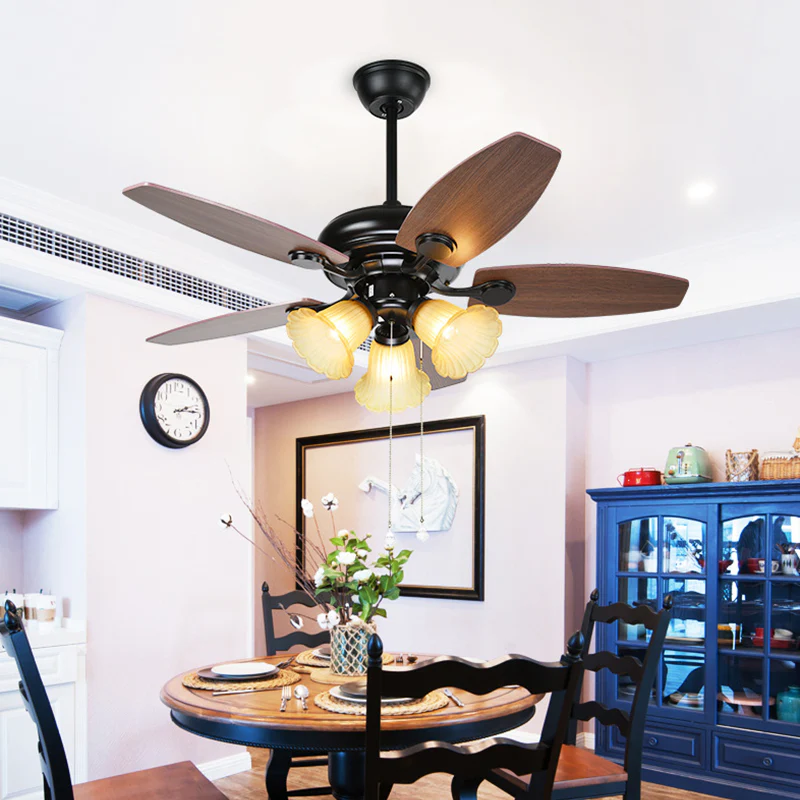
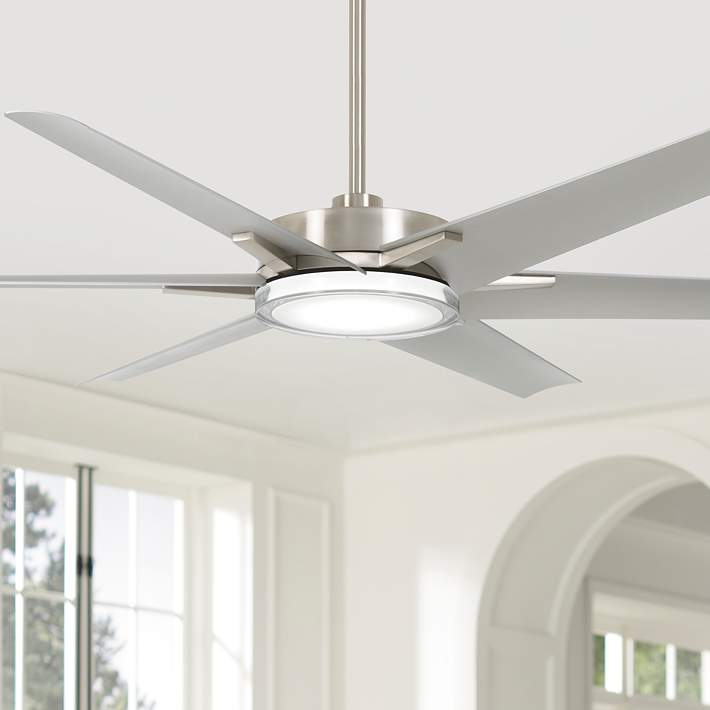
When it comes to enhancing the comfort and aesthetics of your home, few fixtures can match the versatility of a brushed nickel ceiling fan with light. Combining functionality with style, these ceiling fans not only provide much-needed airflow but also serve as elegant light sources that can transform the ambiance of any room. In this article, we’ll explore the benefits, features, installation tips, and maintenance of brushed nickel ceiling fans with lights, helping you make an informed decision for your space.
What is a Brushed Nickel Ceiling Fan With Light?
Definition and Design
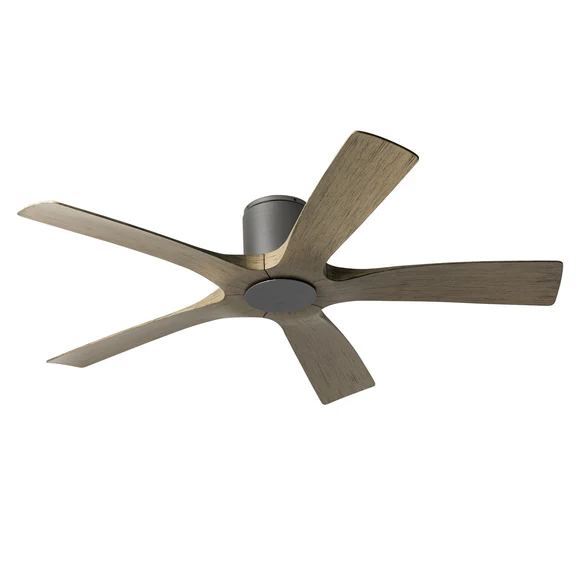
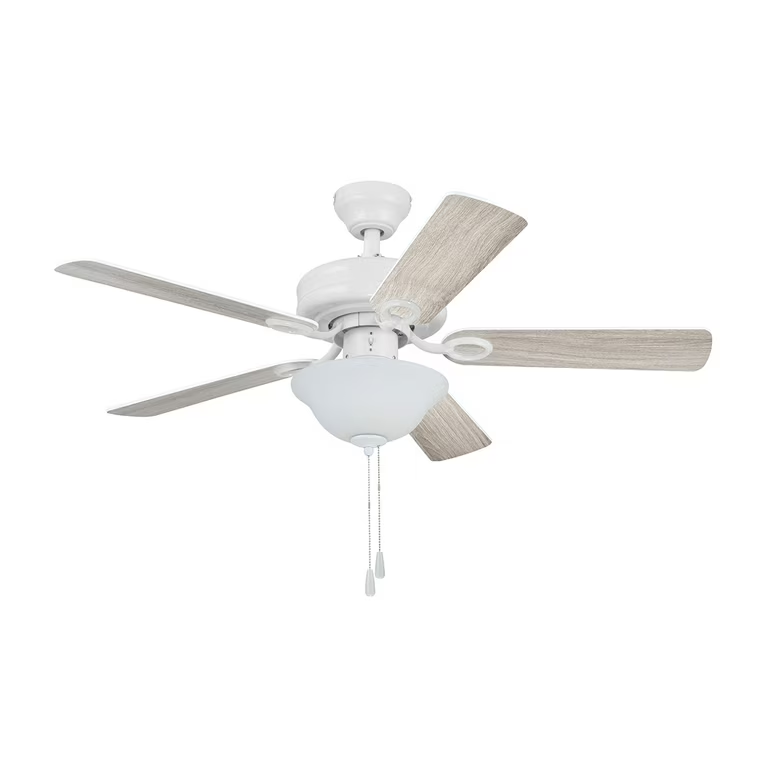
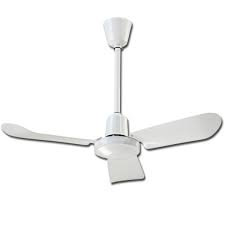
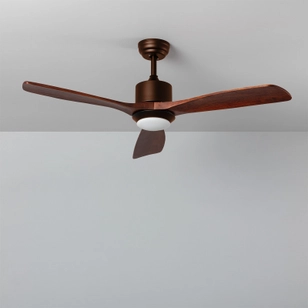
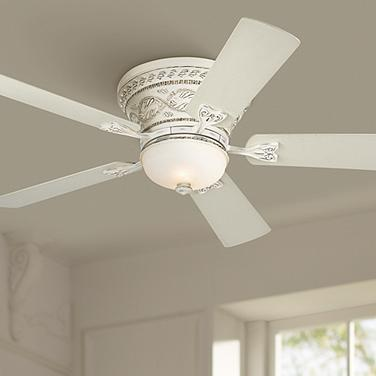
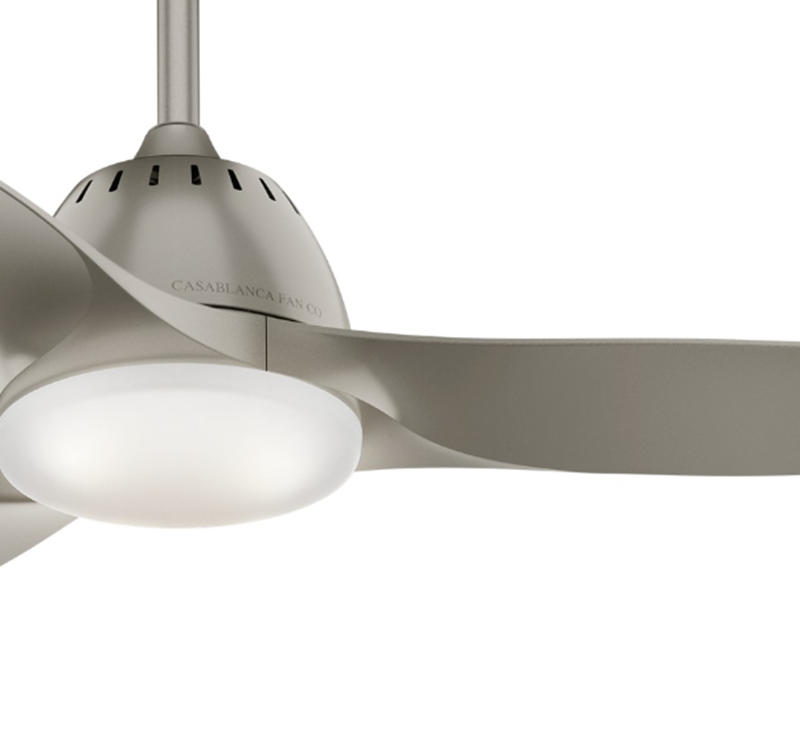
A brushed nickel ceiling fan with light is a ceiling-mounted fan featuring blades designed to circulate air effectively while also incorporating a built-in lighting fixture. The brushed nickel finish provides a modern and sophisticated look, making it an ideal choice for various interior design styles, from contemporary to traditional. The light can come in various forms, including integrated LED lights or light kits that can be added to the fan.
Read too: Kitchen Lighting For A Vaulted Ceiling: Illuminating Your Space with Style and Functionality
Benefits of Choosing a Brushed Nickel Finish
The brushed nickel finish offers several advantages:
- Durability: The finish is resistant to scratches and tarnishing, ensuring your fan retains its appearance over time.
- Versatility: This neutral tone complements various color schemes and design styles, making it an easy fit for any room.
- Modern Aesthetic: Brushed nickel provides a sleek and updated look that enhances the overall decor of your home.
Advantages of a Brushed Nickel Ceiling Fan With Light
1. Energy Efficiency
One of the key benefits of ceiling fans, including those with lights, is their energy efficiency. By circulating air effectively, they can reduce the need for air conditioning, helping to lower energy bills. Additionally, many brushed nickel ceiling fans come with LED lighting options, which consume less energy than traditional bulbs.
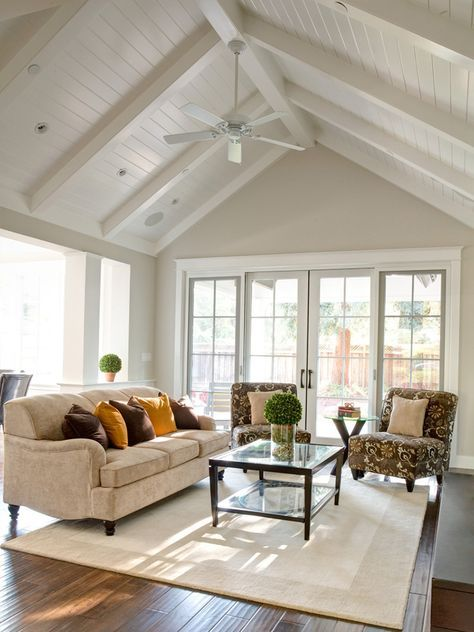
2. Improved Air Circulation
Brushed nickel ceiling fans help distribute air evenly throughout the room, providing a comfortable environment. In warmer months, they can create a cooling breeze, while in winter, running the fan in reverse can help circulate warm air that rises to the ceiling.
3. Enhanced Lighting Options
Incorporating a light fixture into your ceiling fan provides dual functionality. It eliminates the need for separate light fixtures, saving space and enhancing the room’s aesthetic. You can choose from various lighting options, including dimmable LED lights, to create the desired ambiance.
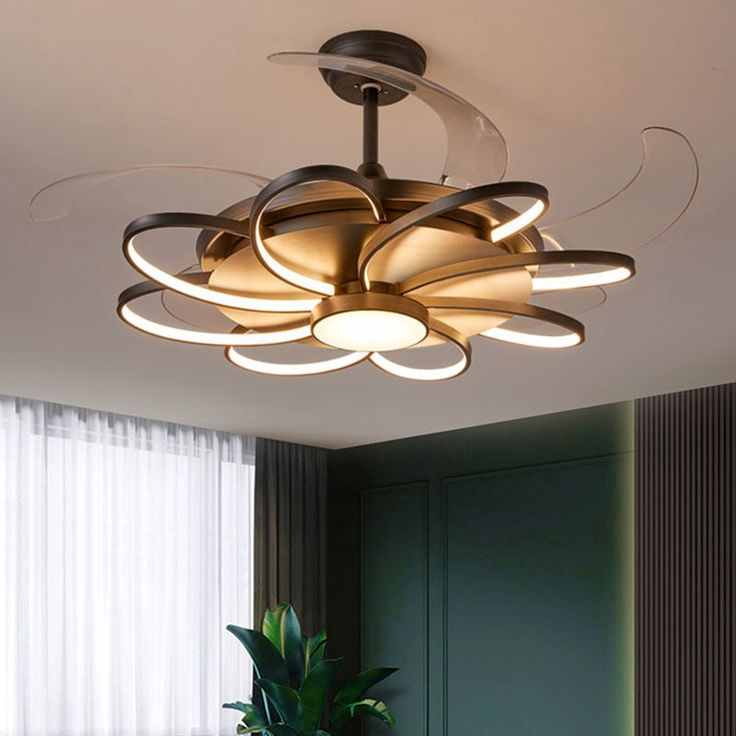
4. Style and Elegance
The brushed nickel finish adds a touch of elegance and sophistication to any room. Whether in a living room, bedroom, or dining area, a brushed nickel ceiling fan with light can serve as a focal point and enhance the overall design.
5. Low Maintenance
These fans typically require minimal maintenance compared to other light fixtures. Regular dusting and occasional blade cleaning are usually sufficient to keep them in good condition.
Choosing the Right Brushed Nickel Ceiling Fan With Light
When selecting the ideal brushed nickel ceiling fan with light for your home, consider the following factors:
1. Size of the Room
The size of your room will dictate the size of the ceiling fan you should purchase. A fan that is too small will not effectively circulate air, while one that is too large can overpower the space. As a general rule, for rooms under 75 square feet, choose a fan with a blade span of 29 to 36 inches. For rooms between 75 and 144 square feet, select a fan with a blade span of 36 to 42 inches. Larger rooms may require fans with blade spans of 50 inches or more.
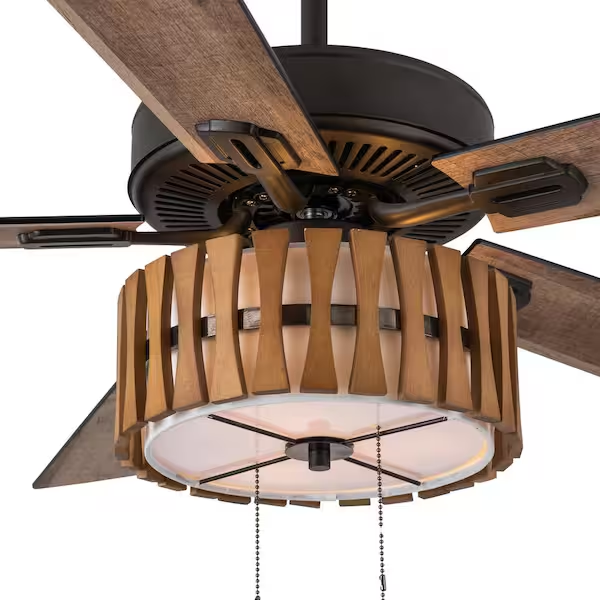
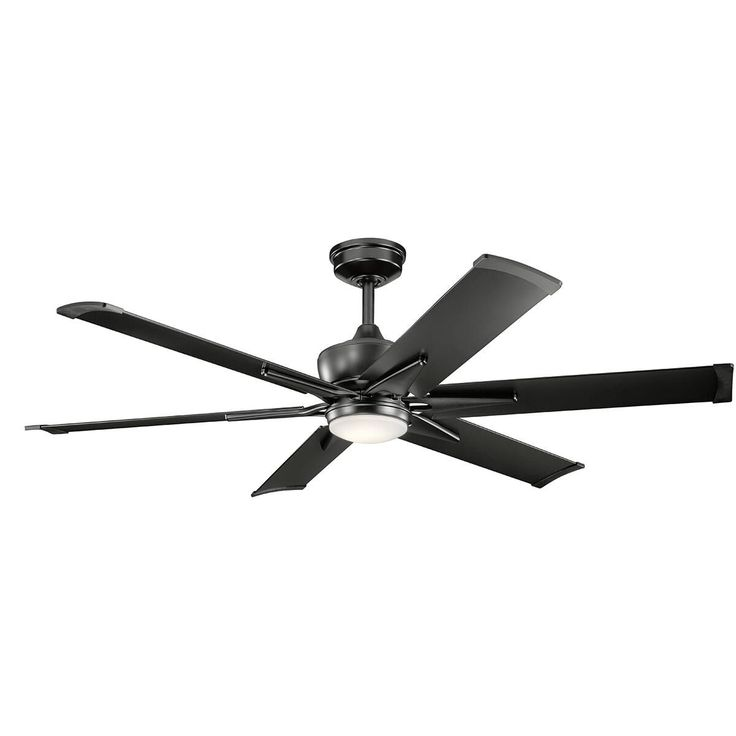
2. Blade Pitch and Number
The pitch of the fan blades affects its airflow efficiency. A blade pitch of 12 to 15 degrees is ideal for optimal air circulation. Additionally, the number of blades can impact the fan’s performance; while more blades can provide more airflow, they may also slow down the fan speed.
3. Motor Quality
A high-quality motor is essential for smooth and quiet operation. Look for fans with a powerful, energy-efficient motor designed for longevity. Check for warranties as an indication of the manufacturer’s confidence in their product.
4. Lighting Features
Consider the type of lighting you prefer for your ceiling fan. Some models come with integrated LED lights, while others offer options for adding light kits. Check the brightness (measured in lumens) and color temperature (measured in Kelvins) to ensure it meets your needs.
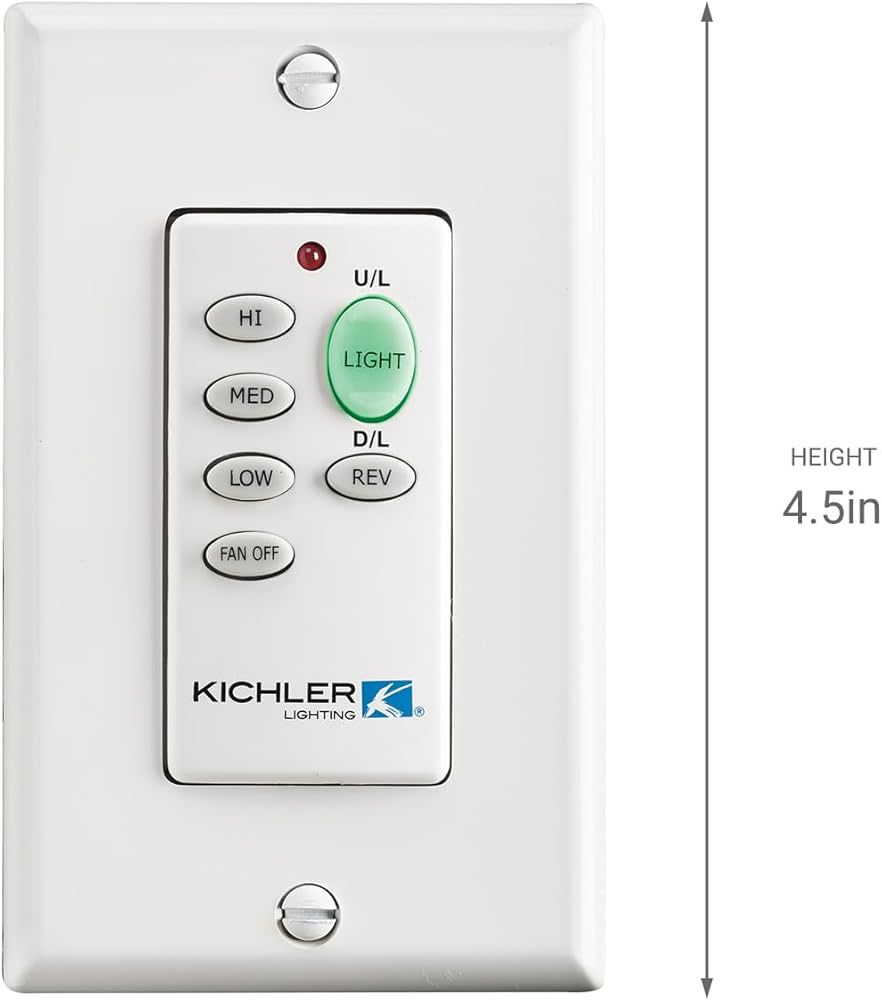
5. Control Options
Ceiling fans can be controlled in various ways, including pull chains, wall switches, and remote controls. A remote control can be especially convenient, allowing you to adjust the fan speed and lighting from anywhere in the room.
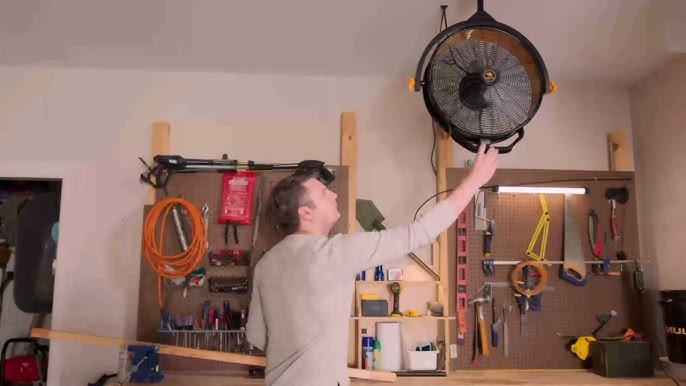
Installation Tips for Brushed Nickel Ceiling Fans With Light
Installing a brushed nickel ceiling fan with light can be a manageable DIY project, but it requires attention to detail and safety precautions. Here’s a step-by-step guide:
1. Gather Your Tools
Before you begin, ensure you have the necessary tools, including a ladder, screwdriver, wire cutters, and a voltage tester.
2. Turn Off Power
Safety is paramount. Always turn off the power to the existing ceiling fixture at the circuit breaker. Use a voltage tester to confirm that the power is off before proceeding.
3. Remove the Old Fixture
Carefully detach the existing light fixture from the ceiling. Be sure to note how the wires are connected, as you’ll need to replicate this for your new fan.
4. Assemble the Ceiling Fan
Follow the manufacturer’s instructions to assemble the fan. Many brushed nickel ceiling fans come with detailed instructions and diagrams, making the assembly process easier.
5. Attach the Mounting Bracket
Secure the mounting bracket to the ceiling using screws provided with the fan. Make sure it is tight and secure, as this will support the weight of the fan.
6. Connect the Wires
Connect the wires according to the manufacturer’s instructions. Typically, this will involve connecting black to black (or red), white to white, and green or bare copper to the ground wire. Use wire nuts to secure the connections.
7. Mount the Fan
Once the wiring is complete, carefully lift the fan and secure it to the mounting bracket. Ensure all screws are tightened.
8. Install the Light Fixture
If your fan has a separate light fixture, install it according to the instructions. Make sure the lightbulbs are securely in place.
9. Restore Power and Test
Once everything is installed, turn the power back on at the circuit breaker. Test the fan and light to ensure they operate correctly.
Maintenance of Brushed Nickel Ceiling Fans With Light
To keep your brushed nickel ceiling fan with light in optimal condition, regular maintenance is essential. Here are some tips:
1. Clean the Blades
Dust and dirt can accumulate on the blades over time, affecting performance and appearance. Use a soft, damp cloth or a microfiber duster to wipe the blades regularly.
2. Check the Bulbs
If your fan has a light fixture, check the bulbs periodically to ensure they are functioning. Replace any burned-out bulbs with the appropriate wattage and type.
3. Inspect for Wobbling
If your fan wobbles during operation, check to ensure all screws are tightened and that the blades are evenly spaced. If necessary, adjust the blade brackets for a balanced rotation.
4. Lubricate the Motor
Some ceiling fans may require lubrication for the motor. Refer to the manufacturer’s guidelines for specific instructions on maintaining the motor.
5. Seasonal Adjustments
During the winter months, you may want to run your fan in reverse to help circulate warm air that rises to the ceiling. Many fans come with a switch that allows you to change the rotation direction.
Conclusion
A brushed nickel ceiling fan with light is an ideal choice for those looking to enhance the comfort and style of their home. With its blend of functionality and elegance, it provides an excellent solution for air circulation and lighting needs. By considering factors such as size, motor quality, and lighting options, you can select the perfect fan for your space. With proper installation and maintenance, your ceiling fan will serve you well for years to come, adding value and comfort to your home.