When it comes to enhancing the comfort and aesthetic appeal of your home, few fixtures are as effective and versatile as a ceiling fan. Whether you’re looking to add style to your living room, create a comfortable breeze in your bedroom, or improve airflow in your kitchen, ceiling fan installation in Orlando can make a significant difference.

In this comprehensive guide, we’ll explore the benefits of ceiling fan installation, the steps involved in the process, and how to find the right professional for the job in Orlando. Whether you’re tackling the installation yourself or hiring an expert, you’ll find the information you need to make the right choice.
Why Choose Ceiling Fans for Your Orlando Home?
Ceiling fans offer more than just aesthetic value. In Orlando, where the weather is often hot and humid, ceiling fans provide both comfort and functionality. Here’s why they are an essential feature for any home in this sunny city:
1. Energy Efficiency and Cost Savings
Ceiling fans are a cost-effective solution to combat Florida’s high temperatures. Instead of relying solely on air conditioning, a ceiling fan helps circulate cool air, making it feel cooler without cranking up the thermostat. This reduces your energy consumption and can lower your cooling costs significantly.
Read too: Kitchen Lighting For A Vaulted Ceiling: Illuminating Your Space with Style and Functionality
2. Improved Air Circulation
Proper air circulation is essential in a tropical climate like Orlando’s. Ceiling fans help distribute air evenly across the room, preventing hot or cold spots. This ensures that your space remains comfortable year-round, especially during Florida’s warm summers.
3. Enhanced Aesthetic Appeal
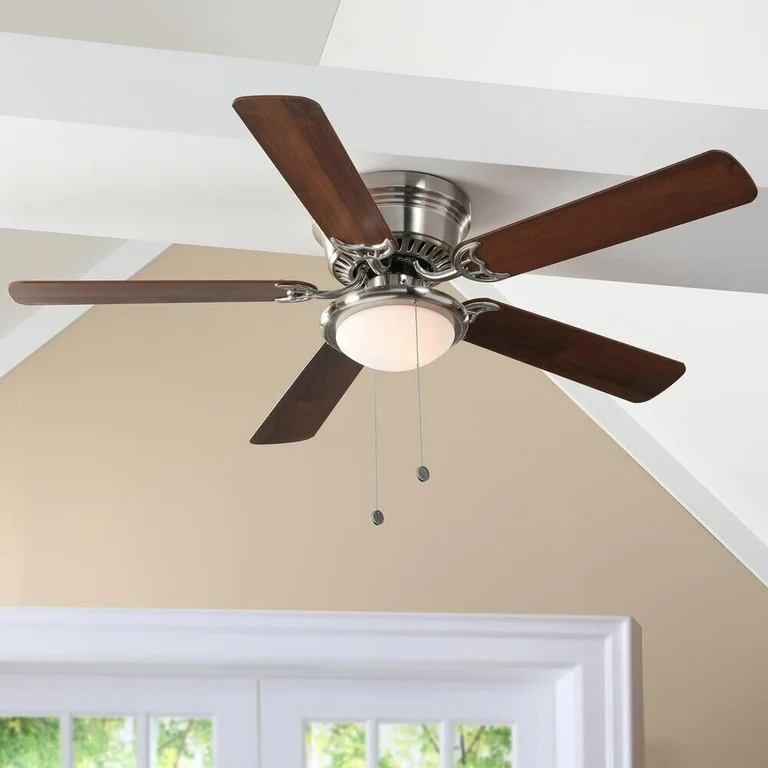
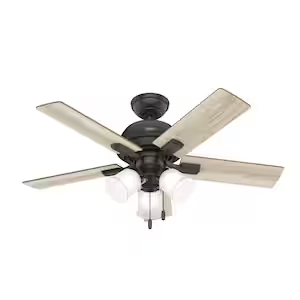
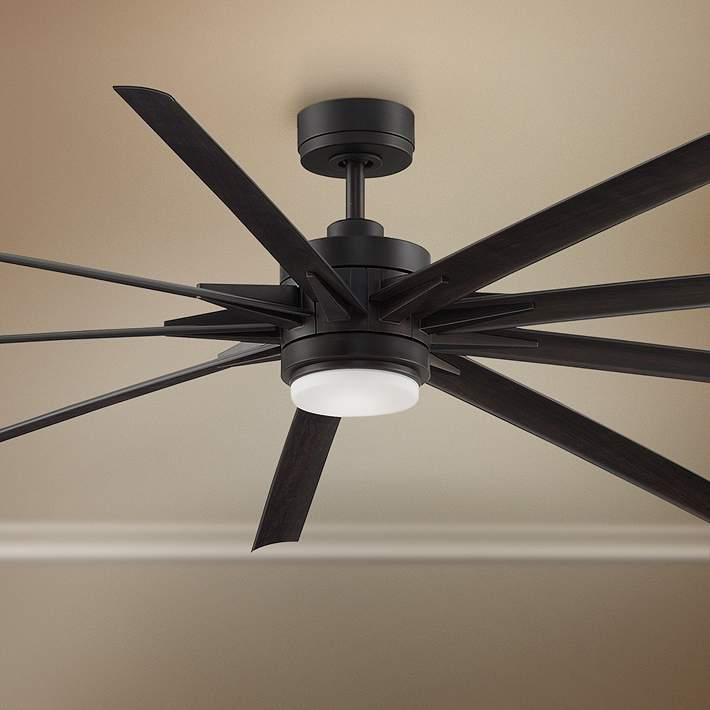
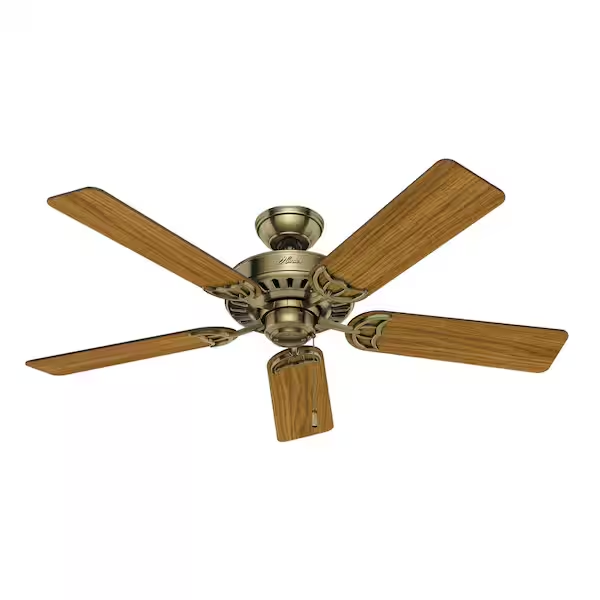
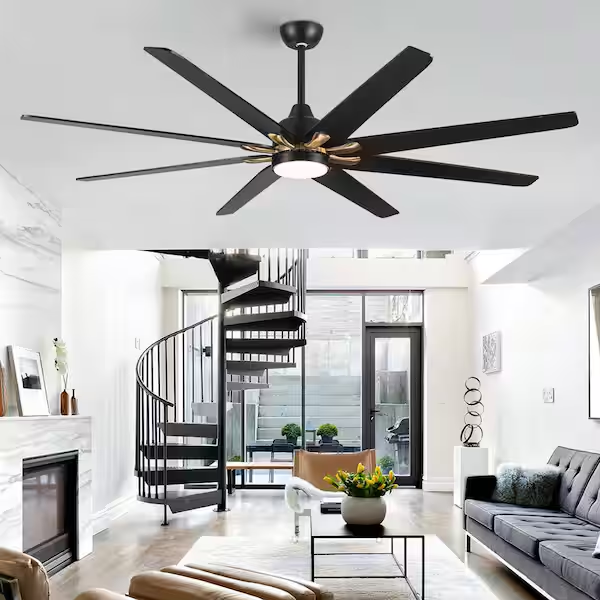
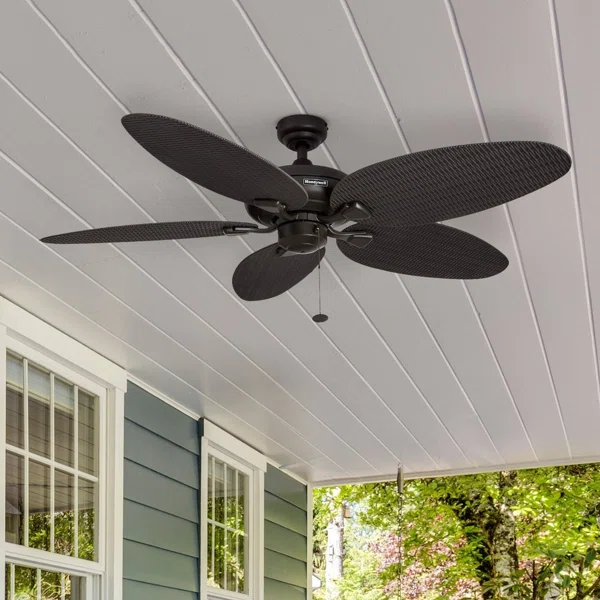
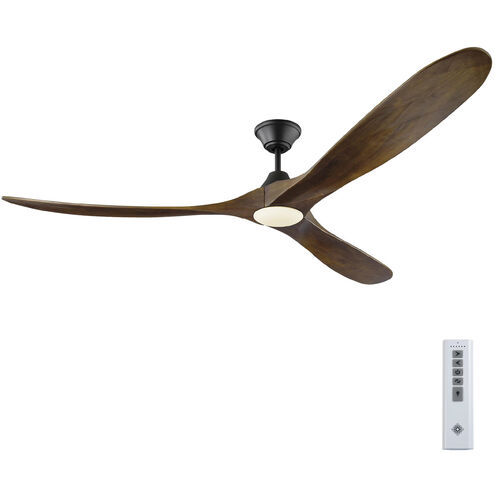
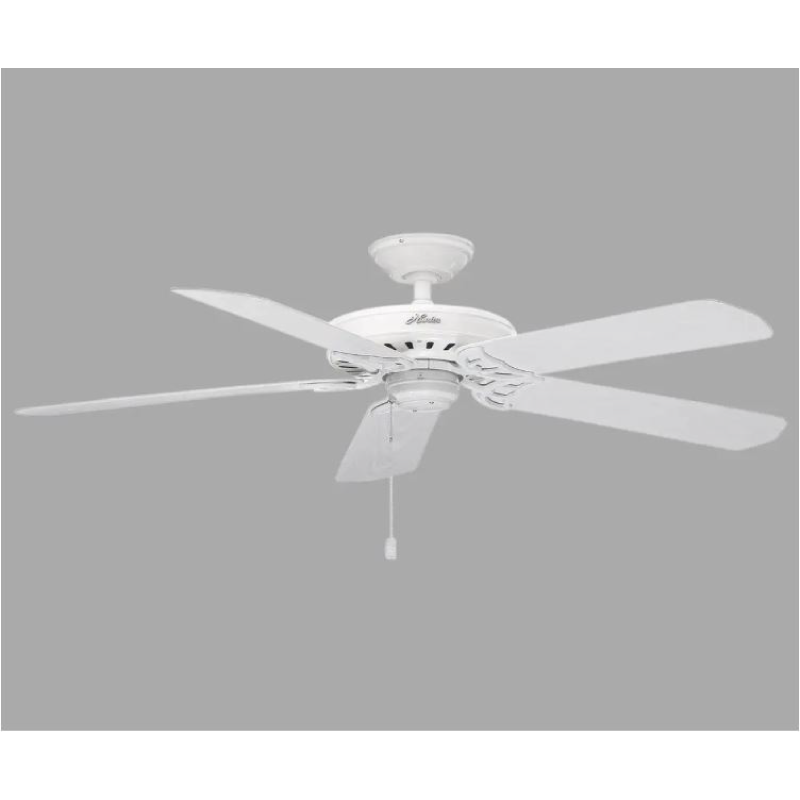
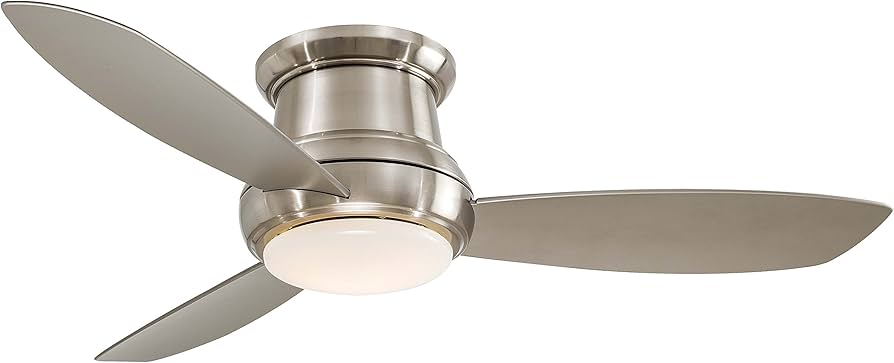
A ceiling fan can be both a practical and stylish addition to any room. Available in a wide variety of designs, finishes, and sizes, ceiling fans can enhance the decor of any space, from modern to traditional homes. Whether you choose a sleek modern fan or a classic wood-bladed fan, it can seamlessly fit into your home’s design.
4. Year-Round Comfort
Ceiling fans are not just for summer! Many fans come with reversible motors, allowing you to change the direction of airflow. In colder months, you can reverse the fan to push warm air down from the ceiling, helping to keep your space warm and comfortable during winter.
What to Expect from Ceiling Fan Installation in Orlando
When considering ceiling fan installation in Orlando, there are a few important steps and considerations that ensure a safe, efficient, and aesthetic installation. Here’s what to expect:
1. Assessment of Your Space
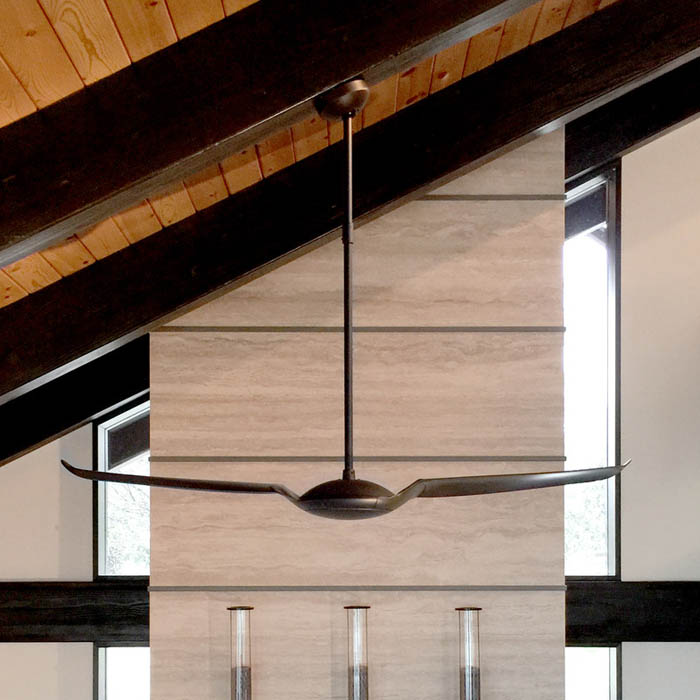
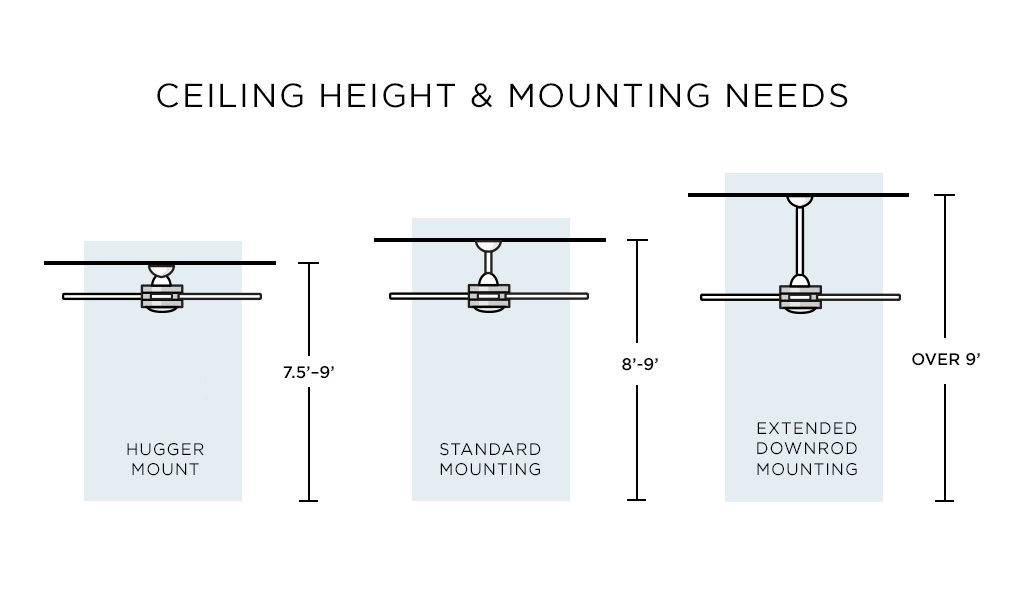
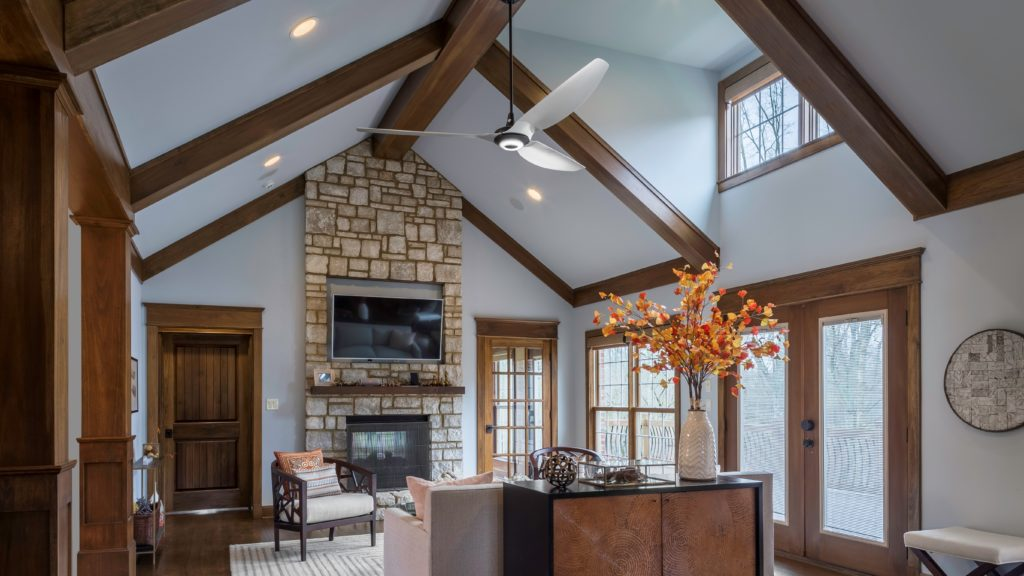
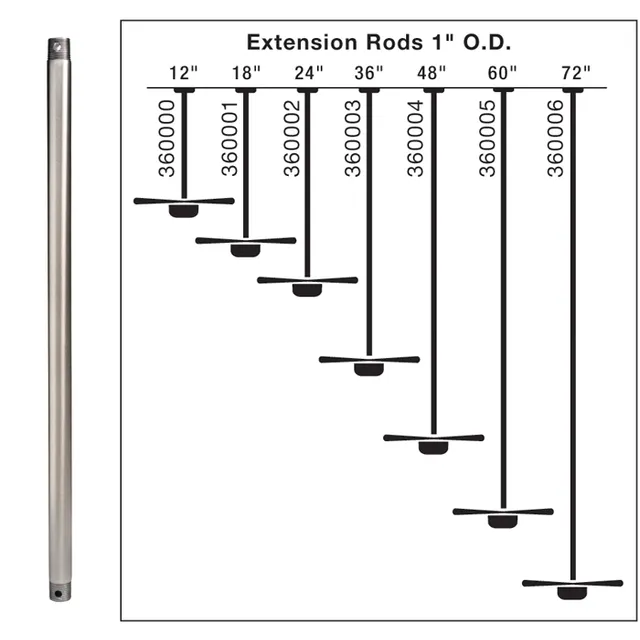
Before installing a ceiling fan, it’s crucial to assess the size of the room and determine the best location for the fan. A ceiling fan should be placed in the center of the room for optimal air circulation. If your room has high ceilings or is unusually shaped, a professional installer will recommend the best type of fan and installation techniques.
2. Choosing the Right Ceiling Fan
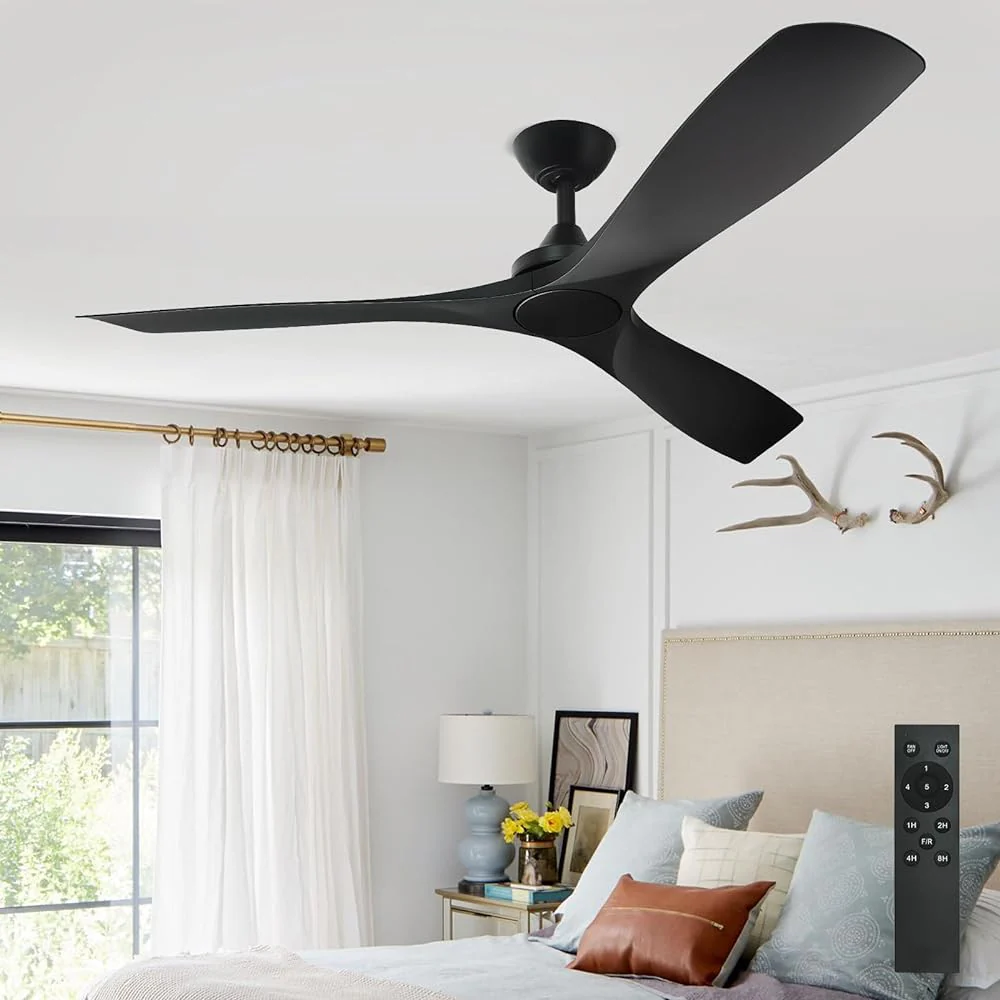
Choosing the right fan for your space is essential. Factors such as room size, ceiling height, and design preferences will influence your decision. In Orlando, homeowners typically prefer fans with high-efficiency motors and energy-saving features, especially during the summer months. Ceiling fans come in a range of styles, from traditional designs with wooden blades to modern, minimalist fans with integrated lighting.
3. Electrical Work and Wiring
One of the most critical aspects of ceiling fan installation in Orlando is ensuring that the electrical wiring is up to code. A licensed electrician should inspect your existing wiring to ensure that your ceiling can support the fan’s weight and electrical requirements. Proper wiring is crucial for safe operation, especially when it comes to installing fans with lights or advanced features like remote controls or smart fan technology.
4. Professional Installation Process
While DIY ceiling fan installations can be tempting, having a professional install your ceiling fan is always the safest option. Here’s the typical installation process:
- Preparation: The professional installer will gather all the necessary tools and materials, including the ceiling fan, electrical components, and mounting hardware.
- Power Shutoff: To avoid electrical hazards, the installer will shut off the power to the room before starting the installation.
- Mounting the Fan: The ceiling fan will be securely mounted to the ceiling, with the wiring connected to the existing electrical box.
- Testing: After installation, the fan will be tested to ensure it works properly, including the light function (if applicable), speed settings, and any remote control or smart features.
5. Ensuring Safety and Code Compliance
It’s important that ceiling fan installations comply with local building codes and safety regulations. Professionals are familiar with these codes and will ensure that your installation is safe, secure, and up to standard.
The Benefits of Hiring a Professional for Ceiling Fan Installation in Orlando
While it’s possible to install a ceiling fan yourself, hiring a professional electrician or installer can save you time, money, and potential headaches. Here’s why you should consider hiring an expert for your ceiling fan installation in Orlando:
1. Expertise and Experience
Professionals have the skills and experience to install ceiling fans quickly and safely. They are knowledgeable about the best fan models for different spaces and can help you select the right one based on your needs. They also understand the intricacies of electrical work, ensuring the fan is wired and installed correctly.
2. Time-Saving
Installing a ceiling fan can be a time-consuming task, especially if you’re unfamiliar with the process. Hiring a professional saves you the hassle and ensures that the job is done right the first time. This allows you to focus on other tasks or simply enjoy your newly installed fan sooner.
3. Safety and Code Compliance
Electrical work can be dangerous if not done properly. Hiring a professional ensures that your installation complies with local electrical codes, preventing potential safety hazards such as electrical fires or improper connections.
4. Warranty Protection
Many ceiling fan manufacturers offer warranties for their products, but these warranties may be voided if the fan is not installed by a licensed professional. By hiring a licensed installer, you can protect your warranty and ensure that your ceiling fan is installed correctly.
How to Find the Right Ceiling Fan Installer in Orlando
When looking for a professional for ceiling fan installation in Orlando, there are a few factors to consider to ensure you find a reliable and experienced installer:
1. Check for Licensing and Insurance
Ensure that the installer or electrician is licensed and insured. This protects you from any liability in case of accidents or damage during the installation process. A licensed installer will also guarantee that the installation meets all local building codes.
2. Look for Experience and Reviews
Seek out professionals with experience in ceiling fan installation and read reviews from past customers. This will give you an idea of the quality of work you can expect. A reputable installer will have positive feedback and a solid track record in the Orlando area.
3. Get Multiple Estimates
Before hiring an installer, get a few quotes from different professionals. Compare pricing, services, and timelines to ensure you’re getting a fair deal. Keep in mind that the cheapest option is not always the best, and you should prioritize quality and expertise.
4. Ask About Warranty and Aftercare
Some installers offer warranties or guarantees on their work, so ask about this before making a decision. A reputable installer should stand by their work and be willing to make any necessary adjustments if issues arise after installation.
Conclusion
Whether you’re looking to improve airflow, add aesthetic value, or increase energy efficiency, ceiling fan installation in Orlando can be a great investment. By choosing the right ceiling fan, working with a professional installer, and following proper maintenance procedures, you can enjoy the many benefits that ceiling fans provide.
If you’re unsure where to start, reach out to an experienced installer in Orlando to help guide you through the process, ensuring that your ceiling fan installation is completed safely and efficiently. With the right fan, you’ll enjoy enhanced comfort, style, and energy savings for years to come.