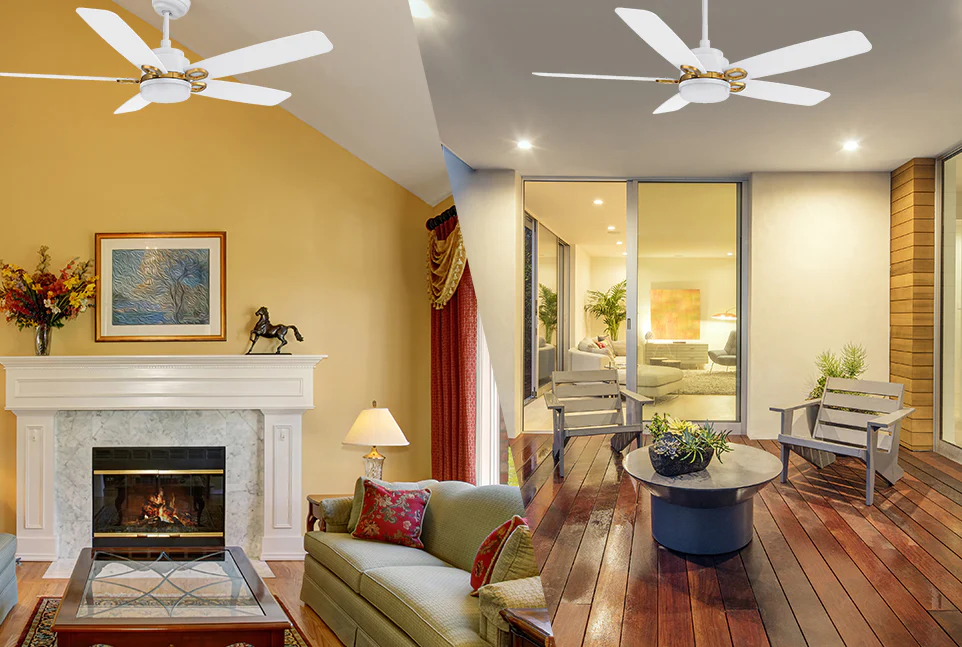
When it comes to home decor, few elements have the same ability to transform a space as a ceiling fan. A ceiling fan not only provides much-needed air circulation but also adds a stylish focal point to a room. If you’re looking for a way to enhance the rustic charm of your home, consider installing Rustic Ceiling Fans Flush Mount. These fans bring both functionality and aesthetic appeal to any space, especially in homes with low ceilings or farmhouse-inspired decor.

In this article, we’ll explore why Rustic Ceiling Fans Flush Mount are a perfect choice for your home, how they work, their benefits, and what to look for when choosing one. Whether you’re redesigning your living room, kitchen, or bedroom, these ceiling fans could be the ideal solution for creating a comfortable and cozy atmosphere.
Read too: Bathroom Flooded Through the Ceiling: A Comprehensive Guide
What Are Rustic Ceiling Fans Flush Mount?
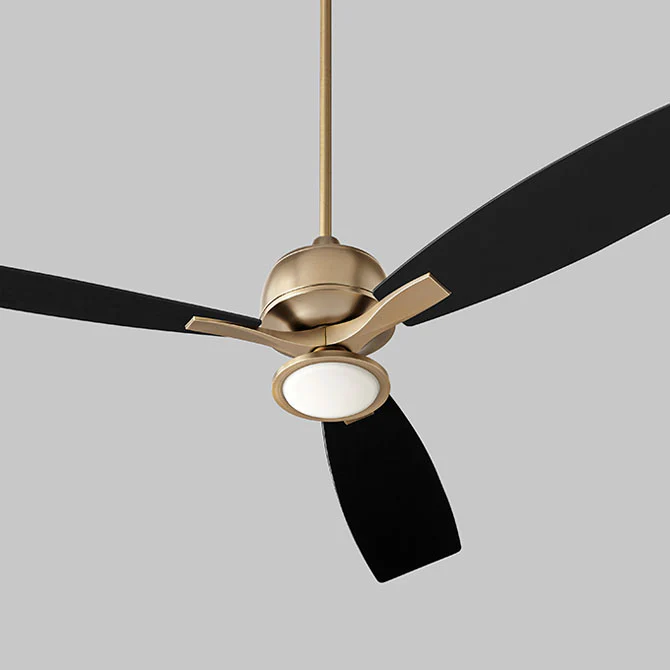
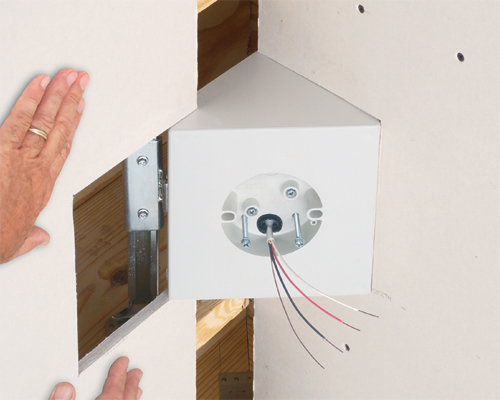
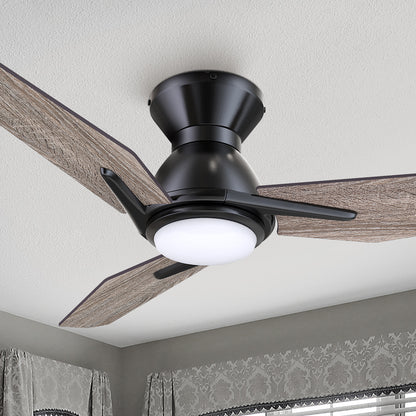
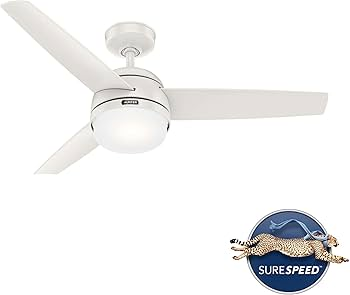
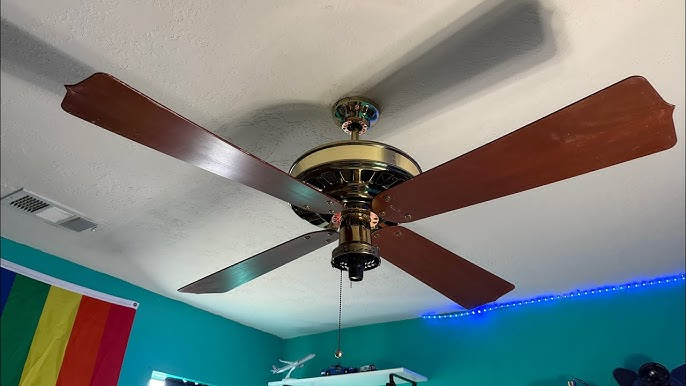
A Rustic Ceiling Fan Flush Mount is a ceiling fan designed to be mounted directly to the ceiling without any space in between, giving it a sleek and clean look. This flush mounting design makes it an excellent choice for rooms with low ceilings or for those looking to maintain a more subtle, integrated appearance.
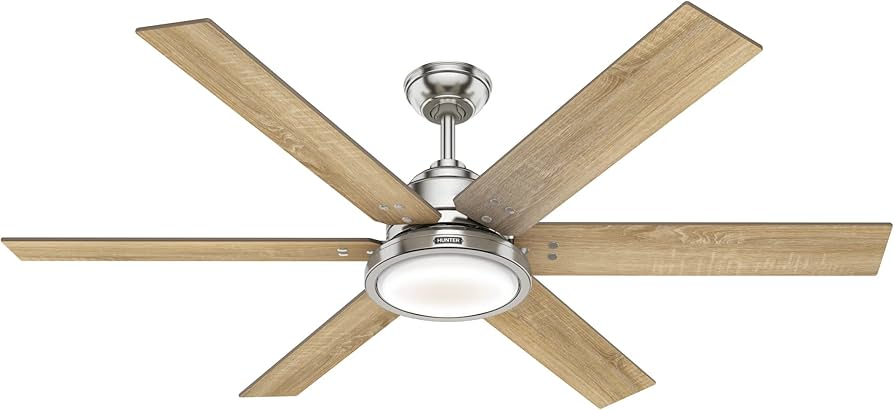
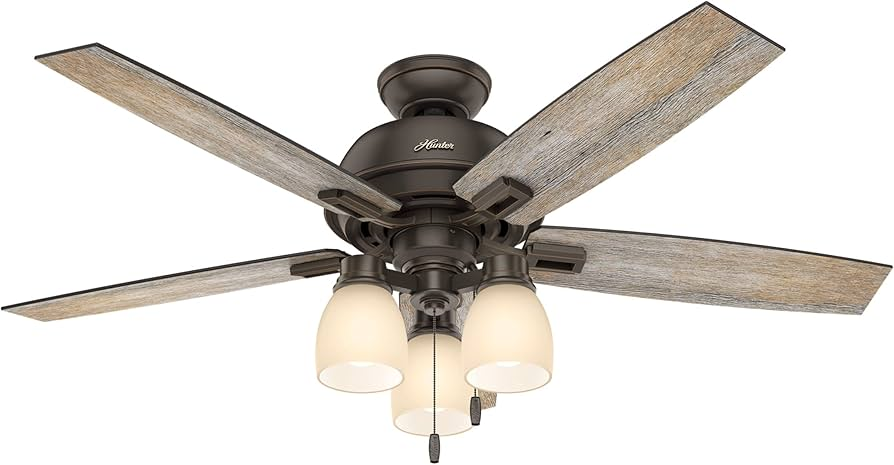
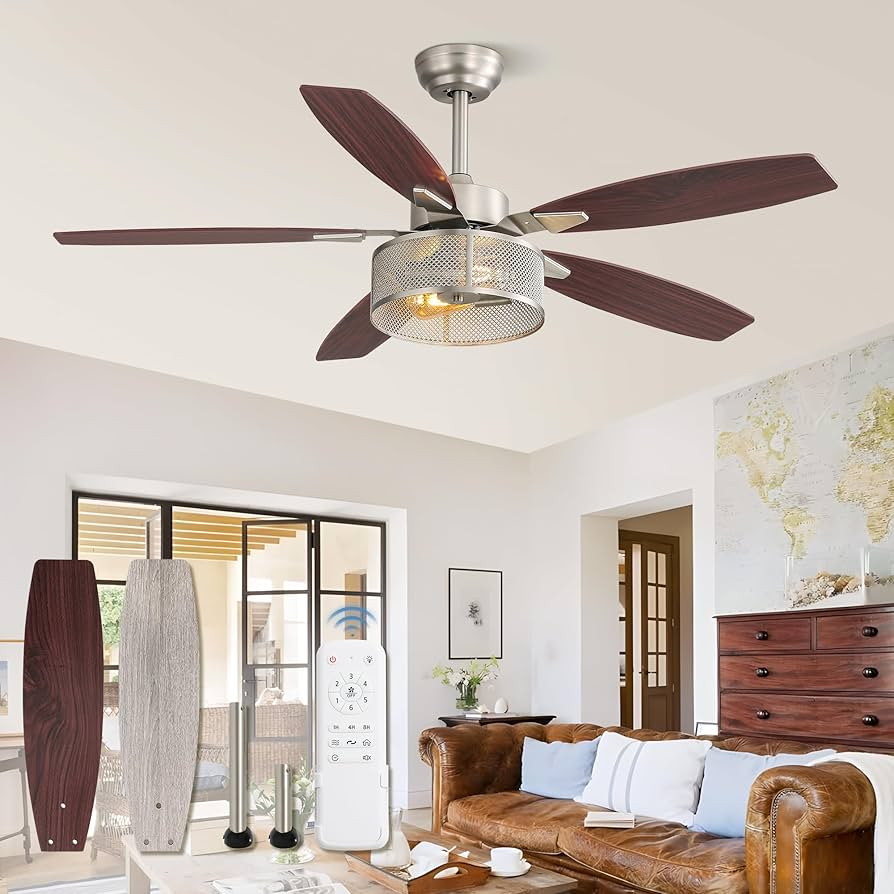
Rustic style is known for its natural materials, warm color tones, and a cozy, inviting atmosphere. When paired with the rustic design aesthetic, a Rustic Ceiling Fan Flush Mount brings the perfect balance of rustic charm and modern convenience. These fans typically feature materials like wood, metal, and wrought iron, adding a rugged, earthy feel to the room.
Why Choose Rustic Ceiling Fans Flush Mount?
Rustic Ceiling Fans Flush Mount are an excellent choice for homeowners who want both style and practicality. Below are some reasons why these fans are so popular:
1. Space-Saving Design
A Rustic Ceiling Fan Flush Mount is perfect for rooms with low ceilings. The flush mount allows the fan to sit directly against the ceiling, preventing it from hanging down too far. This design can save space and prevent the fan from becoming a visual obstruction in small rooms or areas with limited clearance.
2. Elegant and Timeless Design
Rustic decor is all about creating a warm, welcoming space using natural, timeless elements. Rustic Ceiling Fans Flush Mount fit perfectly into this aesthetic with their wood blades, wrought iron accents, and antique finishes. These fans bring a touch of country charm to any room and blend seamlessly into a variety of design styles, including farmhouse, industrial, and traditional.
3. Energy Efficiency
Most Rustic Ceiling Fans Flush Mount are designed with modern, energy-efficient motors that help reduce energy consumption. By improving air circulation in the room, these fans help cool the space in the summer and distribute heat more evenly during the winter. Using a ceiling fan can lower your reliance on air conditioning and heating, making it an environmentally friendly and cost-effective choice.
4. Low Maintenance
Rustic ceiling fans with flush mount designs are usually easier to clean and maintain compared to traditional ceiling fans. Without the hanging rods and chains, you can easily wipe the fan blades and motor housing with a damp cloth, keeping the fan in top condition for years to come.
Benefits of Rustic Ceiling Fans Flush Mount
There are several notable benefits of choosing a Rustic Ceiling Fan Flush Mount for your home. Let’s explore how these fans can enhance your living space.
1. Improved Air Circulation
A ceiling fan’s primary function is to improve air circulation. Whether you’re trying to cool down a hot summer day or evenly distribute warm air during winter, a Rustic Ceiling Fan Flush Mount can help. By circulating the air in the room, the fan makes the space feel more comfortable without relying heavily on air conditioning or heating systems.
This energy-efficient air circulation can lower your overall energy bills by reducing the need for air conditioning in the summer and heating in the winter.
2. Aesthetic Appeal
Rustic decor is gaining popularity because of its warm and inviting feel. Whether your space is a modern farmhouse, a mountain cabin, or a cozy living room, a Rustic Ceiling Fan Flush Mount will add personality to your room while complementing your overall decor.
The combination of wood, metal, and antique finishes adds character and rustic charm, and these fans fit well with various design themes, from industrial chic to vintage-inspired looks.
3. Increased Property Value
When done well, rustic-inspired decor can add value to your home. Buyers often appreciate the style and comfort that comes with a well-designed room. Installing a Rustic Ceiling Fan Flush Mount not only improves the functionality of your space but also adds a unique design element that could appeal to potential buyers if you decide to sell your home.
Where to Install Rustic Ceiling Fans Flush Mount
Rustic Ceiling Fans Flush Mount are versatile and can be installed in various rooms throughout your home. Below are some of the best locations to install them:
1. Living Room
The living room is the heart of the home, and a Rustic Ceiling Fan Flush Mount can bring both style and functionality to this high-traffic area. By improving air circulation, the fan will help make the space more comfortable while also adding a focal point to the room.
2. Bedroom
A flush mount fan in the bedroom is an excellent way to ensure a cool and relaxing environment, especially in smaller bedrooms with low ceilings. It provides gentle air circulation that promotes a better night’s sleep, all while contributing to the rustic aesthetic of the room.
3. Kitchen
Kitchens are often hot and stuffy, especially during meal preparation. A Rustic Ceiling Fan Flush Mount helps to circulate the air and keeps the room comfortable. Plus, with its sleek, unobtrusive design, it won’t interfere with the flow of the kitchen.
4. Covered Porch or Outdoor Space
For those with a covered porch or outdoor living space, a Rustic Ceiling Fan Flush Mount can be the perfect addition. It helps cool down the area and brings the rustic vibe outdoors, creating a cozy and inviting space for relaxation.
What to Consider When Choosing Rustic Ceiling Fans Flush Mount
When shopping for a Rustic Ceiling Fan Flush Mount, there are a few important factors to keep in mind. These will help you choose the perfect fan for your needs.
1. Room Size
The size of your room will influence the size of the ceiling fan you should choose. Larger rooms will need larger fans to circulate air effectively. Check the manufacturer’s guidelines to determine the appropriate size for your space.
2. Fan Blade Material
Rustic ceiling fans typically feature blades made of wood or composite materials. Wood blades add a natural, rustic look, while composite blades can be more durable and easier to clean. Consider the aesthetic of your space when selecting the material for the fan blades.
3. Motor Quality
The quality of the fan motor plays a key role in its performance. Look for a fan with a durable and energy-efficient motor that will provide consistent airflow and last for many years.
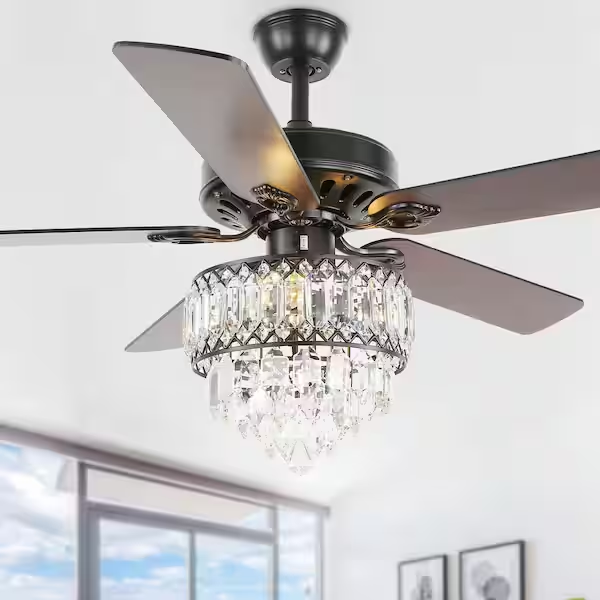
4. Style and Finish
Rustic ceiling fans come in a variety of finishes, including antique brass, oil-rubbed bronze, and weathered wood. Choose a finish that complements your existing decor and adds the right amount of rustic charm to your space.
Conclusion
Rustic Ceiling Fans Flush Mount offer the perfect blend of functionality, style, and practicality for any home. Whether you have a low ceiling or just love the rustic aesthetic, these fans provide excellent air circulation, energy efficiency, and an eye-catching design element. From living rooms to bedrooms and kitchens, a Rustic Ceiling Fan Flush Mount can elevate the comfort and charm of any space.
As you shop for the ideal fan, be sure to consider room size, blade material, motor quality, and finish to ensure you find the perfect match for your home. Whether you’re updating your current decor or starting fresh, these fans are a stylish, functional addition to any rustic or farmhouse-style space.