Acoustic ceiling tiles 2X2 offer an effective solution for improving sound quality and enhancing the aesthetics of any room. These versatile tiles are designed to reduce noise levels, minimize echoes, and create a more comfortable and pleasant environment. In this comprehensive guide, we’ll explore the features, benefits, and installation considerations of acoustic ceiling tiles 2X2, helping you make informed decisions for your space.
Understanding Acoustic Ceiling Tiles 2X2
What are Acoustic Ceiling Tiles 2X2?
Acoustic ceiling tiles 2X2, also known as acoustic panels or sound-absorbing tiles, are square-shaped tiles that are typically installed in a grid system suspended from the ceiling. These tiles consist of sound-absorbing materials such as fiberglass, mineral fiber, or foam, which actively absorb and dampen sound waves, thereby reducing noise levels and enhancing room acoustics.
Benefits of Acoustic Ceiling Tiles 2X2
Acoustic ceiling tiles 2X2 offer several benefits, including:
- Noise Reduction: By absorbing and diffusing sound waves, these tiles help to reduce noise levels and minimize echoes, creating a quieter and more peaceful environment.
- Improved Speech Intelligibility: The enhanced acoustics provided by acoustic ceiling tiles 2X2 can improve speech intelligibility, making it easier to communicate and understand conversations in the room.
- Aesthetic Enhancement: In addition to their acoustic properties, these tiles also contribute to the overall aesthetics of the space. They are available in a variety of styles, colors, and textures, allowing you to create a customized look that complements your interior design.
- Thermal Insulation: Some acoustic ceiling tile 2X2 also offer thermal insulation properties, helping to regulate temperature and reduce energy costs by improving heating and cooling efficiency.
Read too: Understanding and Dealing with Ants in the Ceiling Spaces: Navigating the Intrusion
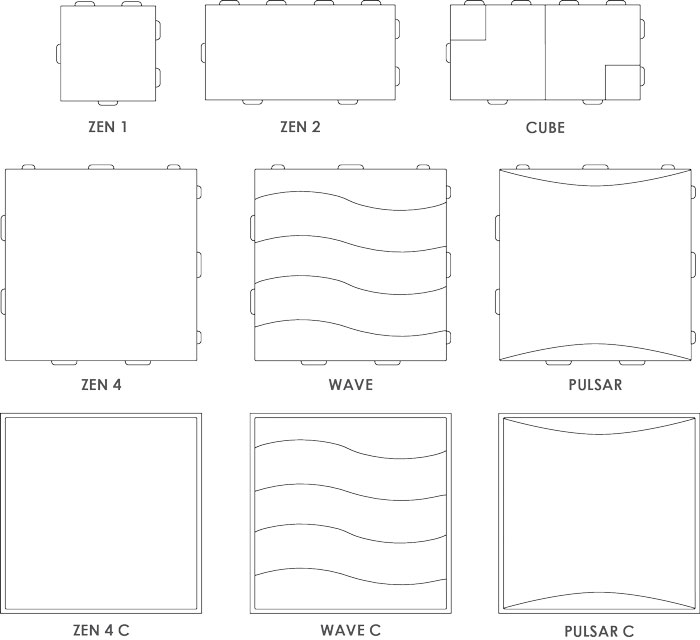
Types of Acoustic Ceiling Tiles 2X2
1. Fiberglass Ceiling Tiles
Fiberglass acoustic ceiling tiles are constructed from lightweight fiberglass material, which offers excellent sound absorption properties. These tiles are durable, moisture-resistant, and fire-retardant, making them suitable for a wide range of applications, including offices, classrooms, and commercial spaces.
2. Mineral Fiber Ceiling Tiles
Mineral fiber acoustic ceiling tiles consist of compressed mineral wool fibers, offering superior sound absorption and thermal insulation properties. These tiles are available in a variety of textures and finishes, including smooth, textured, and decorative designs, allowing for versatile design options.
3. Foam Ceiling Tiles
Foam acoustic ceiling tiles consist of lightweight foam materials that offer excellent sound absorption properties. Users can easily install and customize these tiles by cutting them to size for specific applications. Foam ceiling tiles find frequent use in home theaters, recording studios, and other entertainment spaces where optimal sound quality is a priority.
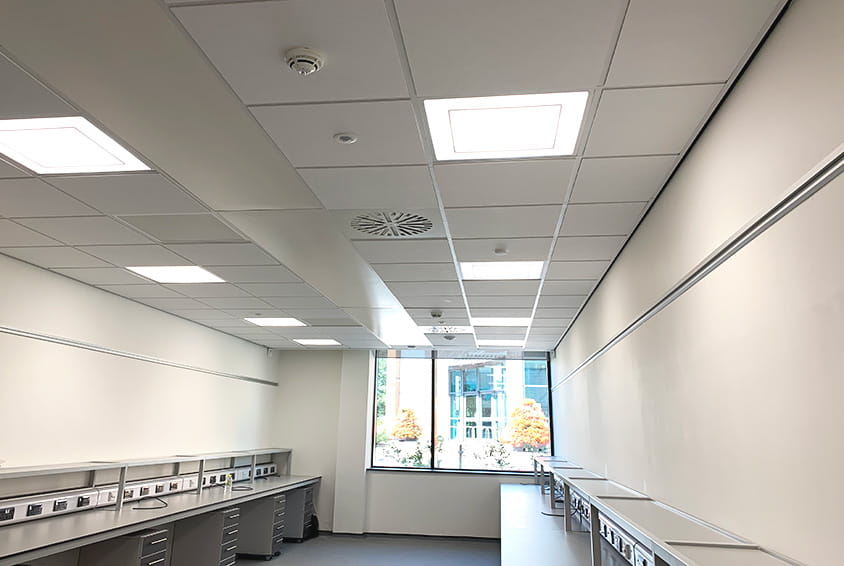
Installation Considerations
When installing acoustic ceiling tile 2X2, consider the following factors:
- Ceiling Condition: Ensure that the ceiling surface is clean, dry, and free from any debris or contaminants before installing the tiles.
- Grid System: Use a sturdy grid system to support the weight of the tiles and provide a level surface for installation.
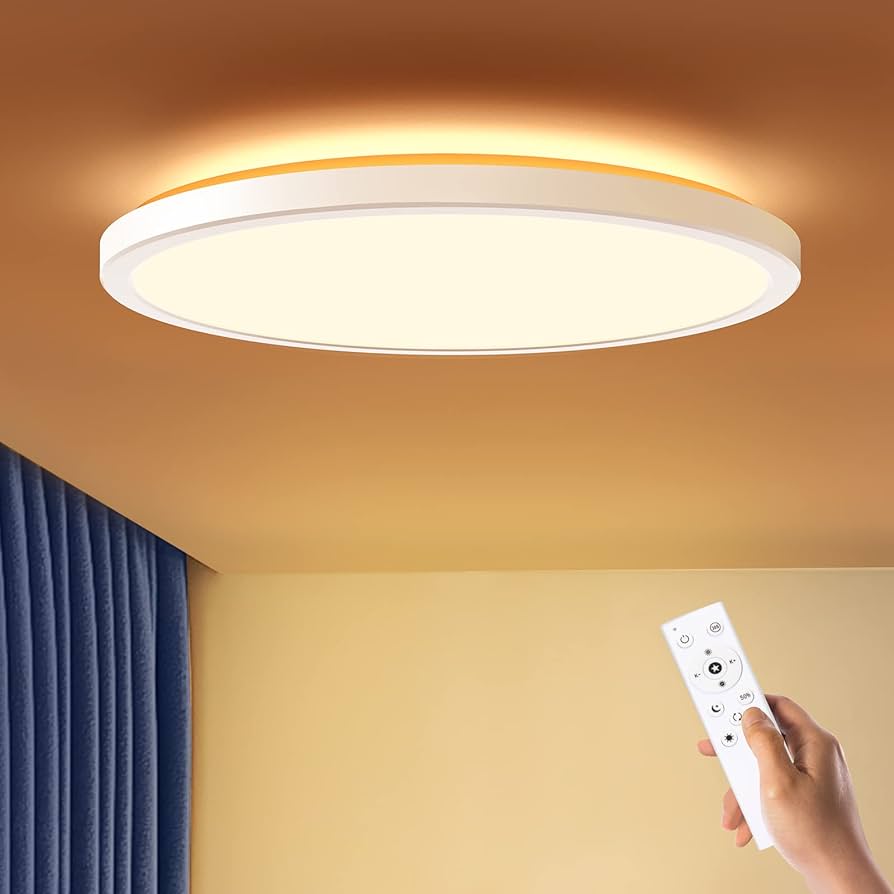
- Lighting and Fixtures: Plan the layout of the tiles around lighting fixtures, air vents, and other ceiling-mounted features to ensure proper placement and alignment.
- Acoustic Performance: Consider the desired level of sound absorption and noise reduction when selecting the type and thickness of acoustic ceiling tile 2X2 for your space.
Conclusion
Acoustic ceiling tile 2X2 offer a practical and effective solution for improving sound quality and enhancing the aesthetics of any room. Whether you’re looking to reduce noise levels in a busy office, improve acoustics in a classroom, or create a more immersive audio experience in a home theater, these versatile tiles provide a customizable and cost-effective solution. By understanding the features, benefits, and installation considerations outlined in this guide, you can select the perfect acoustic ceiling tile 2X2 to create a more comfortable and enjoyable environment in your space.