Explore the timeless appeal and functional benefits of the Hunter 1886 Ceiling Fan, a blend of classic design and modern performance.
Introducing the Hunter 1886 Ceiling Fan
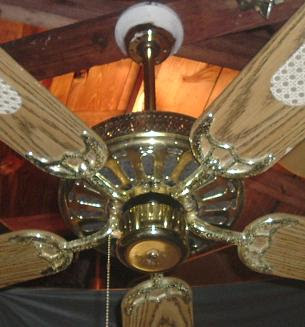
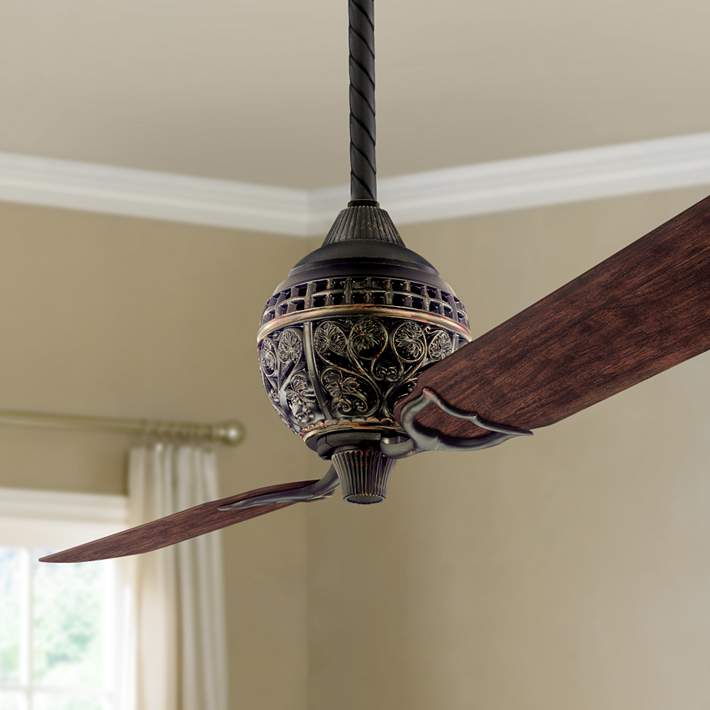
The Hunter 1886 Ceiling Fan is renowned for its vintage-inspired design and exceptional craftsmanship. This ceiling fan model pays homage to Hunter’s heritage while incorporating advanced technology for enhanced cooling and energy efficiency.
Features of the Hunter 1886 Ceiling Fan
- Classic Design: The Hunter 1886 model features a traditional design with intricate details, including ornate blade holders and rich finishes that evoke a sense of nostalgia and elegance.
- High-Quality Materials: Crafted from premium materials such as cast iron and solid wood, the Hunter 1886 Ceiling Fans is built to last. It combines durability with aesthetic appeal, making it a focal point in any room.
- Powerful Motor: Equipped with a powerful motor, the Hunter 1886 provides robust airflow and quiet operation. It is designed to efficiently circulate air, creating a comfortable environment year-round.
- Energy Efficiency: Despite its vintage appearance, the Hunter 1886 Ceiling Fans incorporates modern energy-efficient technology. It helps reduce energy consumption compared to air conditioning while maintaining optimal air circulation.
Advantages of Choosing the Hunter 1886 Ceiling Fan
The Hunter 1886 Ceiling Fan offers several advantages that make it a popular choice among homeowners:
- Enhanced Airflow: With its large blades and powerful motor, the Hunter 1886 efficiently moves air throughout the room, providing cooling relief during hot seasons and distributing heat in colder months.
- Quiet Operation: Engineered for minimal noise, the Hunter 1886 ensures a peaceful environment without disruptive fan noise, ideal for bedrooms, living rooms, and dining areas.
- Versatility: Available in various finishes and blade options, the Hunter 1886 can complement different interior styles, from traditional and vintage to transitional and eclectic.
- Longevity: Built with quality craftsmanship and durable materials, the Hunter 1886 Ceiling Fan is designed to withstand years of use with minimal maintenance.
Installing the Hunter 1886 Ceiling Fan
Installing a Hunter 1886 Ceiling Fan requires careful consideration and attention to detail. Here are the essential steps for installation:
Preparation
Gather all necessary tools and components, including the fan blades, motor assembly, mounting hardware, and electrical wiring. Ensure the power to the installation area is turned off before beginning.
Mounting the Fan
Follow the manufacturer’s instructions for mounting the fan bracket to the ceiling. Use a ceiling fan-rated electrical box and secure it to a ceiling joist or beam for stability.
Wiring
Carefully connect the fan’s wiring to the electrical supply, following proper safety precautions and local building codes. Use wire connectors to secure connections and ensure they are insulated.
Attaching Blades and Light Kit (if applicable)
Attach the fan blades to the motor assembly according to the provided instructions. If your Hunter 1886 model includes a light kit, install it following the additional wiring and mounting instructions.
Testing and Balancing
After installation, turn on the power and test the fan operation at various speeds. Use a balancing kit (often included) to correct any wobbling or imbalance for smooth, efficient operation.
Maintaining the Hunter 1886 Ceiling Fan
To keep your Hunter 1886 Ceiling Fans in optimal condition, perform regular maintenance tasks:
- Dust Regularly: Clean the fan blades and motor housing periodically to remove dust and debris that can accumulate and affect performance.
- Check and Tighten Hardware: Inspect fan blades, brackets, and mounting hardware for tightness and stability. Tighten any loose screws or bolts as needed.
- Lubricate Moving Parts: Apply lubricant to the fan motor bearings as recommended by the manufacturer to reduce friction and noise.
- Inspect Electrical Connections: Periodically check the electrical connections and wiring for signs of wear or damage. Replace any worn components to prevent electrical issues.
Read too: Kitchen Lighting For A Vaulted Ceiling: Illuminating Your Space with Style and Functionality
Conclusion
The Hunter 1886 Ceiling Fans combines timeless elegance with modern functionality, making it a standout choice for homeowners seeking both style and performance. With its durable construction, efficient airflow, and quiet operation, the Hunter 1886 enhances comfort while adding a touch of sophistication to any room. Whether you’re renovating your home or upgrading your existing ceiling fans, consider the benefits of the Hunter 1886 for a classic yet functional addition to your living space.