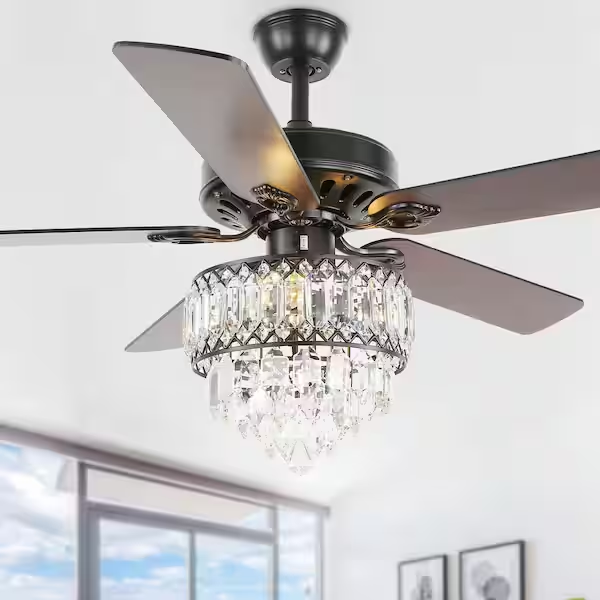
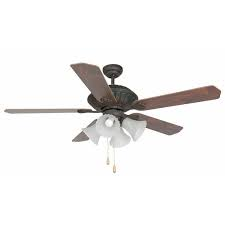
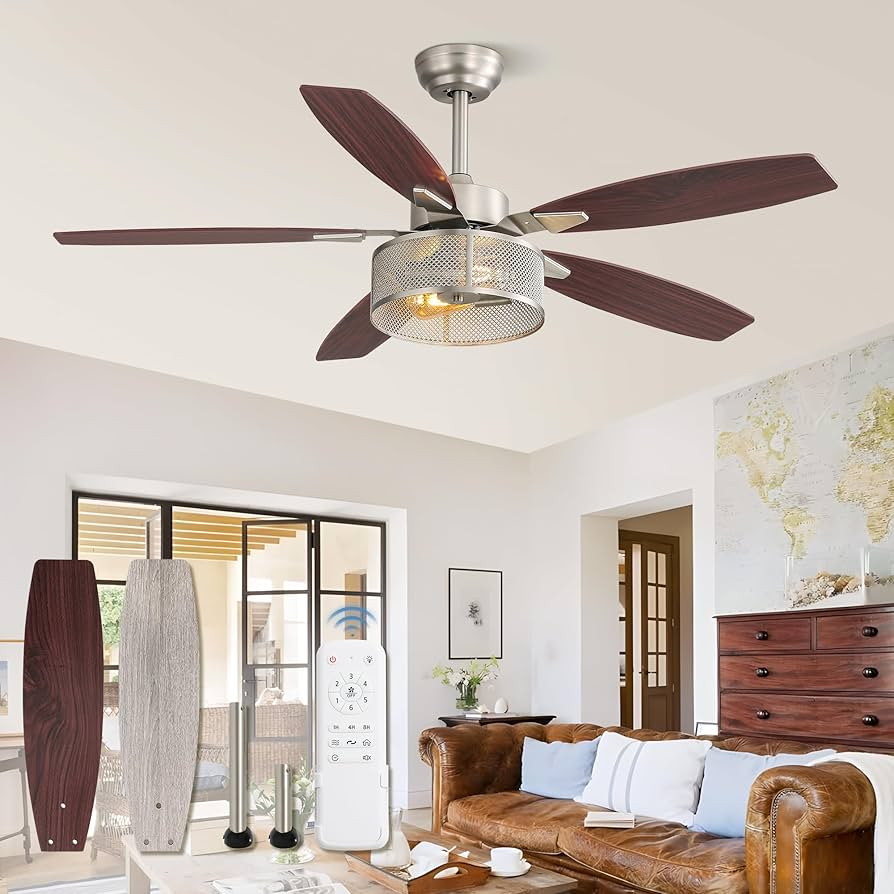
When it comes to creating a comfortable and aesthetically pleasing living space, few elements are as important as lighting and airflow. Brushed Nickel Ceiling Fans with Light Kit combine the best of both worlds, offering both superior air circulation and elegant illumination in one fixture. With their sleek, modern look and practical functionality, these ceiling fans are becoming an increasingly popular choice for homeowners looking to upgrade their home decor. In this article, we’ll explore the features, benefits, installation tips, and design ideas for Brushed Nickel Ceiling Fans with Light Kit, helping you make an informed decision for your home.
What Makes Brushed Nickel Ceiling Fans With Light Kit a Popular Choice?
Brushed nickel is a highly sought-after finish for both light fixtures and ceiling fans. Its unique matte appearance, combined with its durability and low-maintenance characteristics, makes it an ideal material for interior design. Here are some reasons why Brushed Nickel Ceiling Fans with Light Kit are so popular:
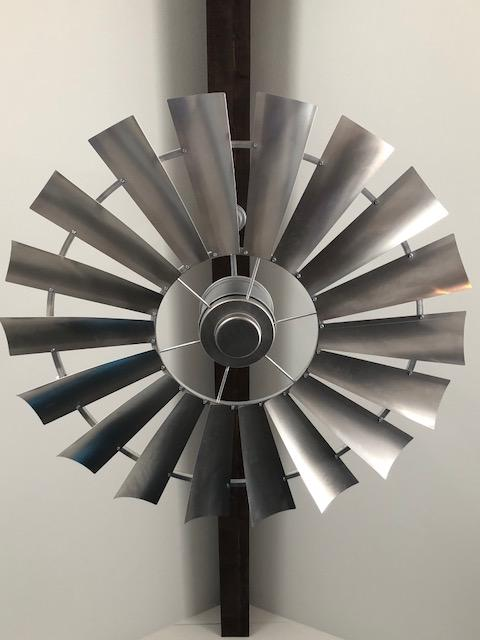
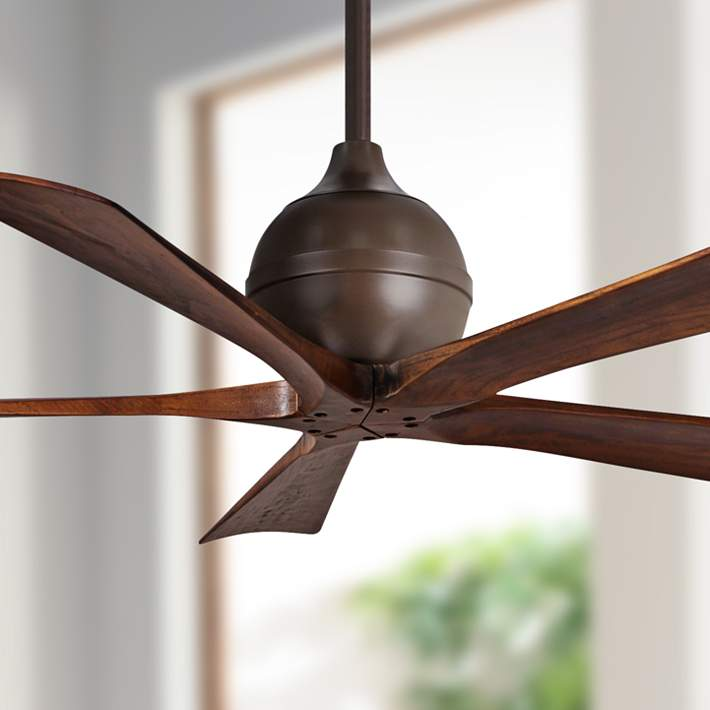
1. Sleek and Modern Aesthetic
The brushed finish gives the fan a sophisticated and contemporary appearance. The subtle, satin-like sheen is less shiny than polished nickel, making it perfect for modern and minimalist interiors. This finish complements a variety of decor styles, from industrial to coastal, and can be easily paired with various wall colors and furniture.
Read too: Shiplap Ceiling in Kitchen: A Timeless Trend for a Stylish and Cozy Space
2. Durability and Easy Maintenance
Brushed nickel resists smudges, fingerprints, and corrosion, making it a practical choice for high-traffic areas. It’s also highly resistant to rust and tarnishing, ensuring that your ceiling fan will retain its sleek appearance for years.
3. Versatility in Design
Brushed nickel ceiling fans with light kits come in a variety of styles and sizes, allowing them to fit into any room. Whether you’re looking for a large chandelier-style fan for your living room or a compact ceiling fan for your bedroom, brushed nickel offers options for every need.
4. Functionality
The light kit attached to the fan allows for dual functionality—air circulation and lighting in one fixture. The light kit can be designed to accommodate various bulb types, including LED bulbs, which are energy-efficient and long-lasting.
Benefits of Brushed Nickel Ceiling Fans With Light Kit
Adding a Brushed Nickel Ceiling Fan with Light Kit to your home offers several practical and aesthetic benefits:
1. Improved Air Circulation
A ceiling fan improves the airflow in a room, helping to keep the space comfortable year-round. Whether it’s circulating cool air during the summer or promoting better heat distribution in winter, a ceiling fan can be a cost-effective way to regulate indoor temperature.
2. Energy Efficiency
Ceiling fans are highly energy-efficient, helping you reduce your reliance on air conditioning and heating systems. By circulating air effectively, a ceiling fan can lower your energy bills by reducing the need to crank up your HVAC system.
3. Ambient Lighting
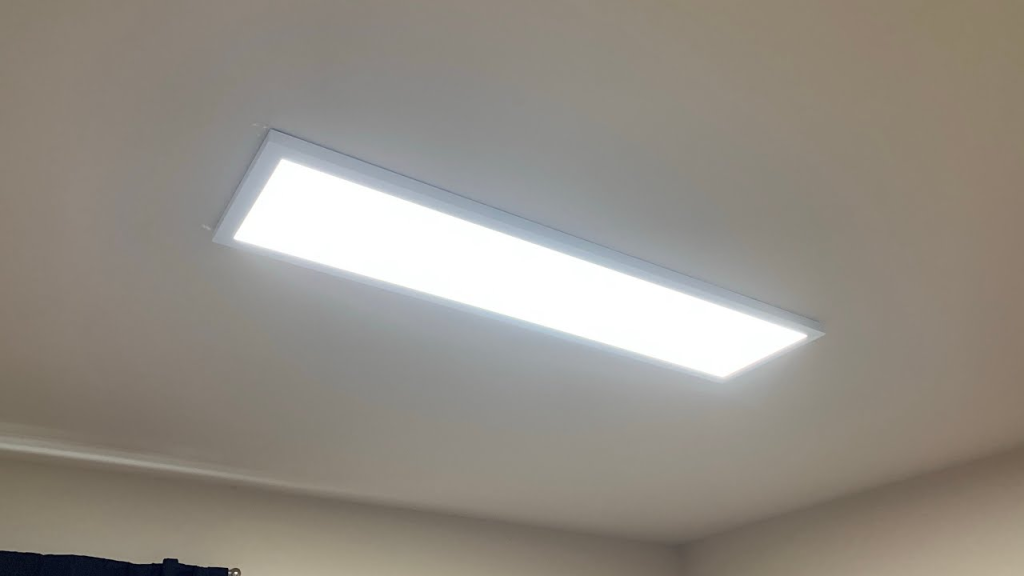
The addition of a light kit makes Brushed Nickel Ceiling Fans with Light Kit not only functional but also beautiful. You get bright, even illumination without needing to install a separate light fixture. LED bulbs are a great option for these light kits, offering energy savings and a longer lifespan.
4. Convenience
Many Brushed Nickel Ceiling Fans with Light Kit come with remote controls or pull chains for easy operation. Some models are even compatible with smart home systems, allowing you to adjust fan speed and lighting levels with your voice or through an app on your phone.
How to Choose the Best Brushed Nickel Ceiling Fans With Light Kit for Your Home
Selecting the right Brushed Nickel Ceiling Fans with Light Kit requires careful consideration of several factors. Here’s a guide to help you choose the ideal fan for your needs:
1. Room Size
Consider the size of the room where you plan to install the ceiling fan. Larger rooms (over 400 square feet) may require a larger fan with a wider blade span (around 52-56 inches) to ensure optimal air circulation. Smaller rooms (up to 144 square feet) typically require smaller fans (42-44 inches).
2. Style and Design
Think about your home’s decor style. A Brushed Nickel Ceiling Fan with Light Kit comes in various designs, from industrial-inspired fans with exposed bulbs to sleek, modern fans with minimalist features. Choose a fan that complements your room’s aesthetic, whether it’s contemporary, traditional, or transitional.
3. Ceiling Height
Consider the height of your ceiling when choosing a ceiling fan. For rooms with low ceilings (under 8 feet), choose a low-profile fan or a flush mount ceiling fan. For higher ceilings, you may need a fan with a downrod to ensure proper air circulation.
4. Lighting Needs
Look at the wattage and type of light bulbs the fan supports. If you need bright light for tasks like reading or cooking, choose a fan with a powerful light kit. For soft ambient lighting, go for a fan with a dimmable LED kit.
5. Noise Level
Most modern ceiling fans are designed to operate quietly, but it’s always good to check the reviews or specifications before purchasing. Look for fans with quiet motors or noise-dampening technology to avoid disturbing sounds during operation.
Installation Tips for Brushed Nickel Ceiling Fans With Light Kit
Installing a Brushed Nickel Ceiling Fan with Light Kit can be a straightforward process if you follow the right steps. However, it’s important to ensure the installation is done safely and correctly. Here’s a step-by-step guide to help:
Step 1: Turn Off the Power
Before you begin, always turn off the power to the room at the circuit breaker to prevent any accidents.
Step 2: Remove the Existing Fixture
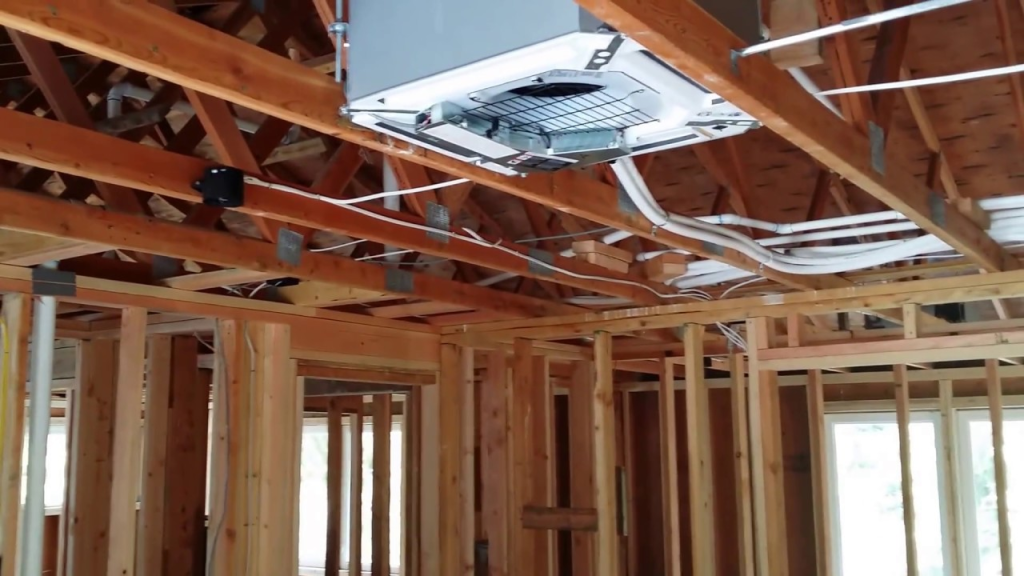
If you’re replacing an existing light fixture, remove it by unscrewing it and disconnecting the wires. Ensure the ceiling box is fan-rated to support the weight of your new ceiling fan.
Step 3: Assemble the Ceiling Fan
Follow the manufacturer’s instructions to assemble the ceiling fan. This typically involves attaching the fan blades, mounting the light kit, and wiring the motor.
Step 4: Mount the Ceiling Fan
Using a mounting bracket, securely attach the fan to the ceiling. Make sure the bracket is firmly attached to the ceiling box.
Step 5: Connect the Wiring
Connect the wires from the ceiling to the corresponding wires on the fan. Generally, black is for the fan motor, white for neutral, and green or bare copper for the ground wire. Use wire nuts to secure the connections and wrap them with electrical tape.
Step 6: Attach the Fan Blades and Light Kit
After the wiring is complete, attach the fan blades and light kit to the fan motor. Make sure each component is tightly secured.
Step 7: Test the Fan and Light
Turn the power back on and test your new ceiling fan. Make sure both the fan and light are working properly. Check for wobbling, and adjust the fan blades if necessary.
Maintenance Tips for Brushed Nickel Ceiling Fans With Light Kit
Proper maintenance will help extend the life of your Brushed Nickel Ceiling Fans with Light Kit and ensure optimal performance. Here are some helpful tips:
1. Clean the Fan Regularly
Dust and dirt can accumulate on the blades and light kit over time, affecting both the fan’s appearance and performance. Use a microfiber cloth or a fan cleaning brush to clean the fan blades regularly.
2. Check for Loose Screws
Over time, the screws holding the fan and light kit in place may loosen. Periodically check and tighten any loose screws to prevent wobbling or instability.
3. Lubricate the Motor
Check the manufacturer’s instructions for guidance on lubricating the fan’s motor. This helps reduce wear and tear and ensures smooth operation.
4. Replace Light Bulbs When Necessary
Replace burned-out light bulbs with the correct type and wattage. If your fan has LED lights, check for compatibility when replacing bulbs.
Final Thoughts
Brushed Nickel Ceiling Fans with Light Kit are a fantastic choice for homeowners looking to combine stylish design with practical functionality. With their sleek finish, durability, and energy efficiency, these fans provide both cooling comfort and elegant illumination to any room. By considering factors such as room size, design style, and installation requirements, you can find the perfect fan to enhance your home. Whether you’re upgrading your living room, bedroom, or kitchen, a brushed nickel ceiling fan will add a modern, sophisticated touch to your space.