Ceilings play a crucial role in the structural integrity and aesthetic appeal of any home. However, over time, ceilings can suffer from various issues such as water damage, cracks, or sagging, requiring professional repair and restoration. If you’re facing ceiling problems in your Columbus, Ohio residence, understanding the intricacies of ceiling repair is essential to ensure a successful restoration. In this comprehensive guide, we’ll explore expert tips and techniques for ceiling repair in Columbus, Ohio, covering everything you need to know to restore your ceiling to its former glory.
Understanding Ceiling Repair Columbus Ohio
Common Ceiling Issues in Columbus Homes
Before delving into repair solutions, it’s essential to identify common ceiling problems prevalent in Columbus, Ohio homes:
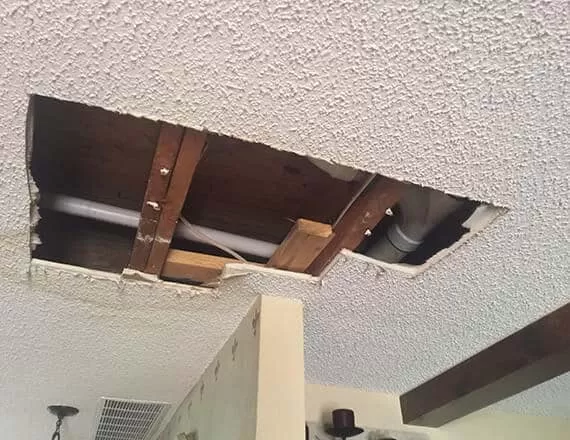
- Water Damage: Columbus experiences a range of weather conditions throughout the year, making homes susceptible to water damage from leaks or flooding.
- Cracks and Settlement: Older homes in Columbus may experience settling over time, leading to cracks and imperfections in the ceiling.
- Mold and Mildew: Humidity levels in Columbus can promote mold and mildew growth, especially in poorly ventilated areas like attics or basements.
Read too: Exploring Craftsman Style Ceiling Fans for Your Home: Embracing Timeless Elegance
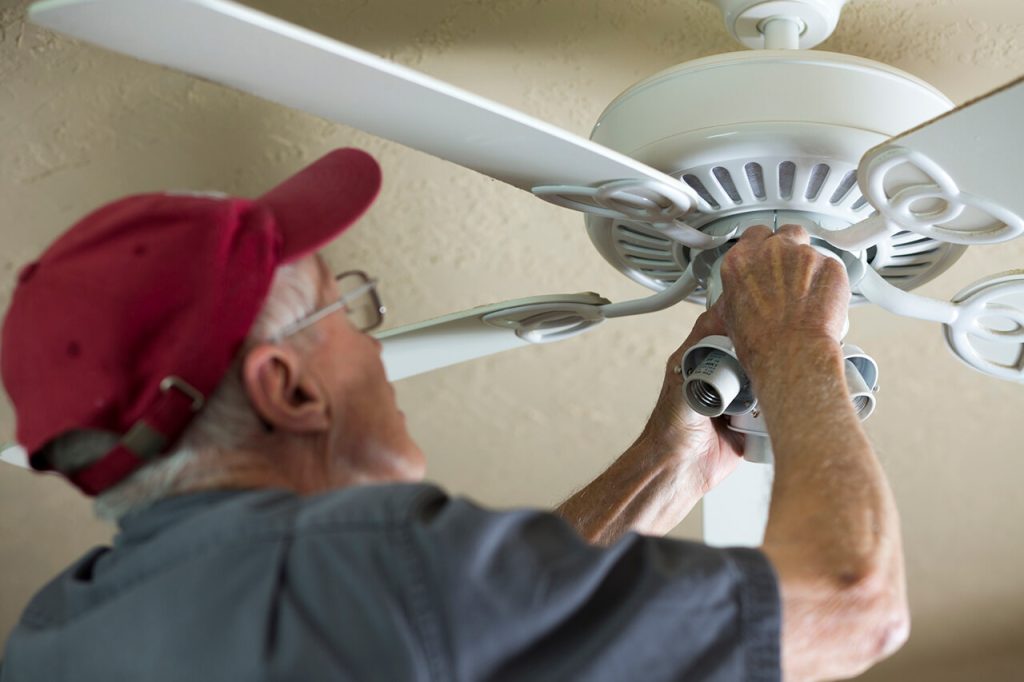
Benefits of Professional Ceiling Repair
While DIY ceiling repair may seem tempting, enlisting the services of a professional for ceiling repair in Columbus, Ohio offers several advantages:
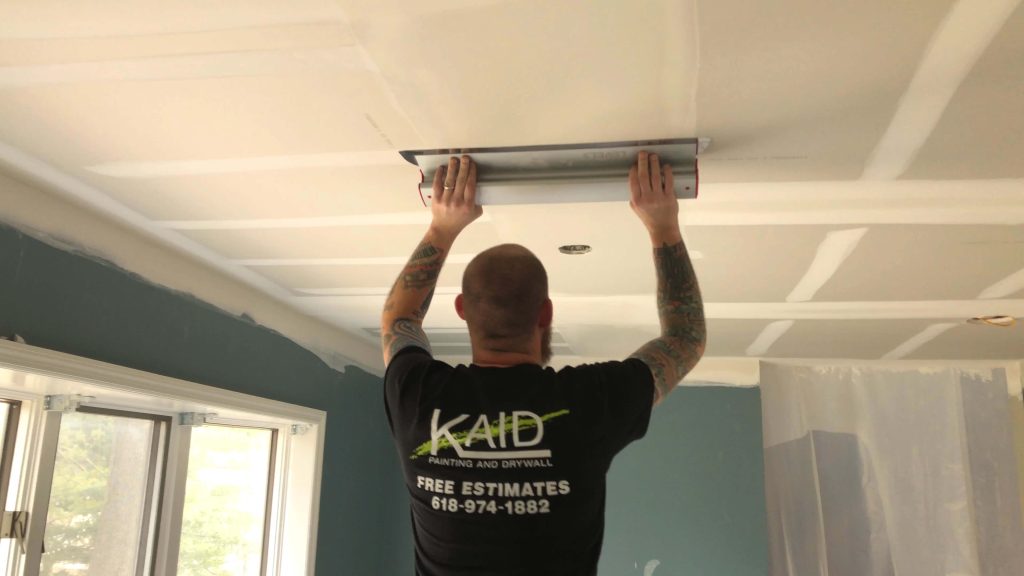
- Expertise and Experience: Professional contractors have the skills and experience to assess ceiling damage accurately and implement effective repair solutions.
- Quality Materials: Professionals use high-quality materials and techniques to ensure durable and long-lasting repairs.
- Time and Cost Savings: Hiring a professional saves time and effort, allowing homeowners to focus on other priorities while the experts handle the repair process efficiently.
Ceiling Repair Columbus Ohio: Expert Solutions
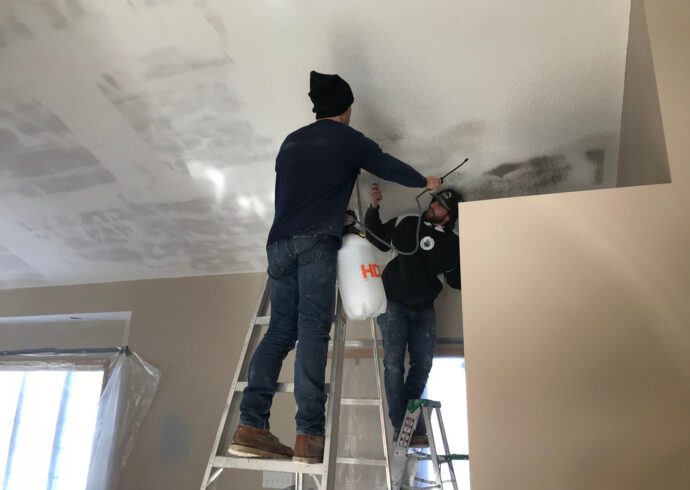
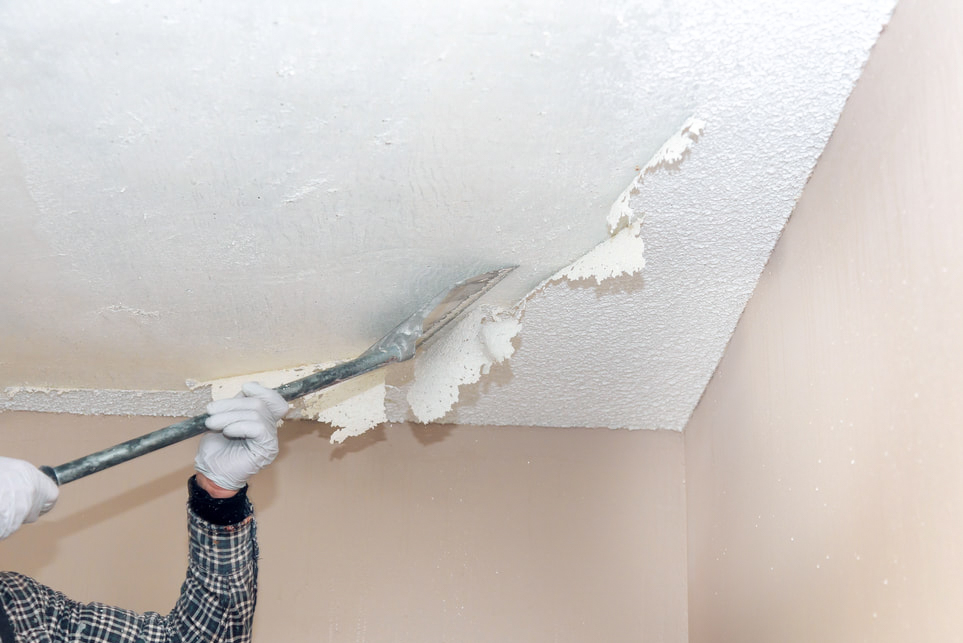
1. Water Damage Repair
- Identify and Stop the Source: The first step in water damage repair is to identify and stop the source of water intrusion, whether it’s a leaky roof, plumbing issue, or condensation buildup.
- Dry Out the Area: Thoroughly dry out the affected area using fans, dehumidifiers, or professional drying equipment to prevent mold growth and further damage.
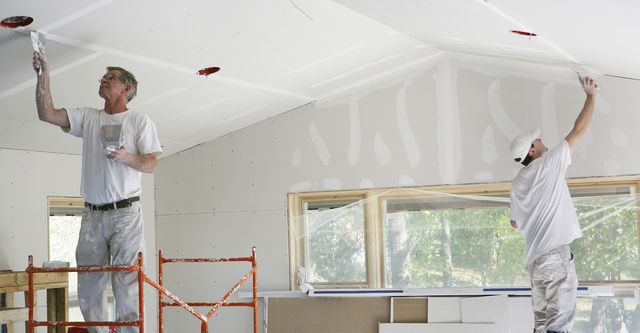
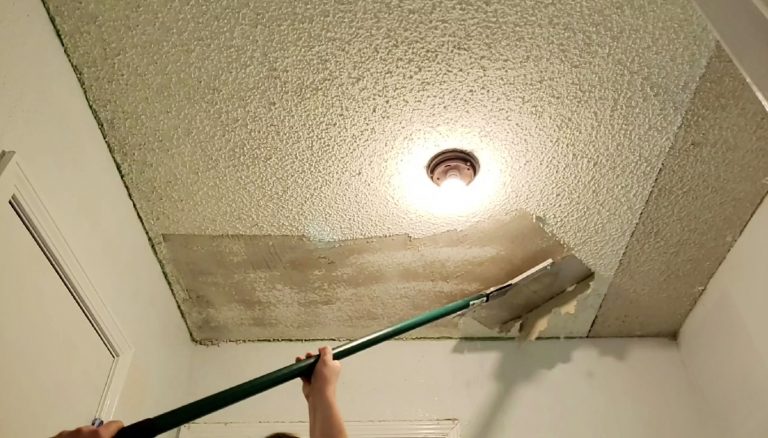
- Repair and Replace Damaged Materials: Replace water-damaged ceiling panels, drywall, or insulation as needed, ensuring proper sealing and waterproofing to prevent future issues.
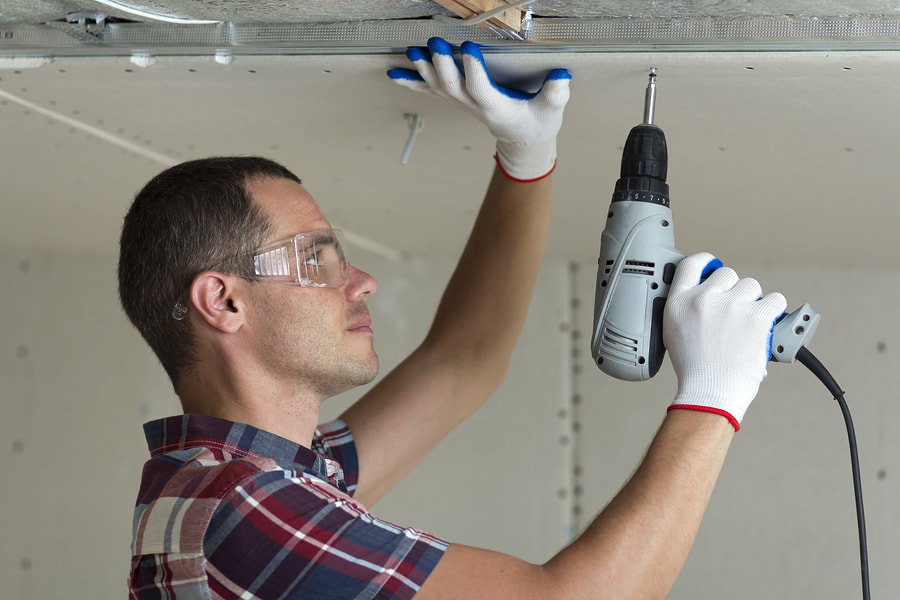
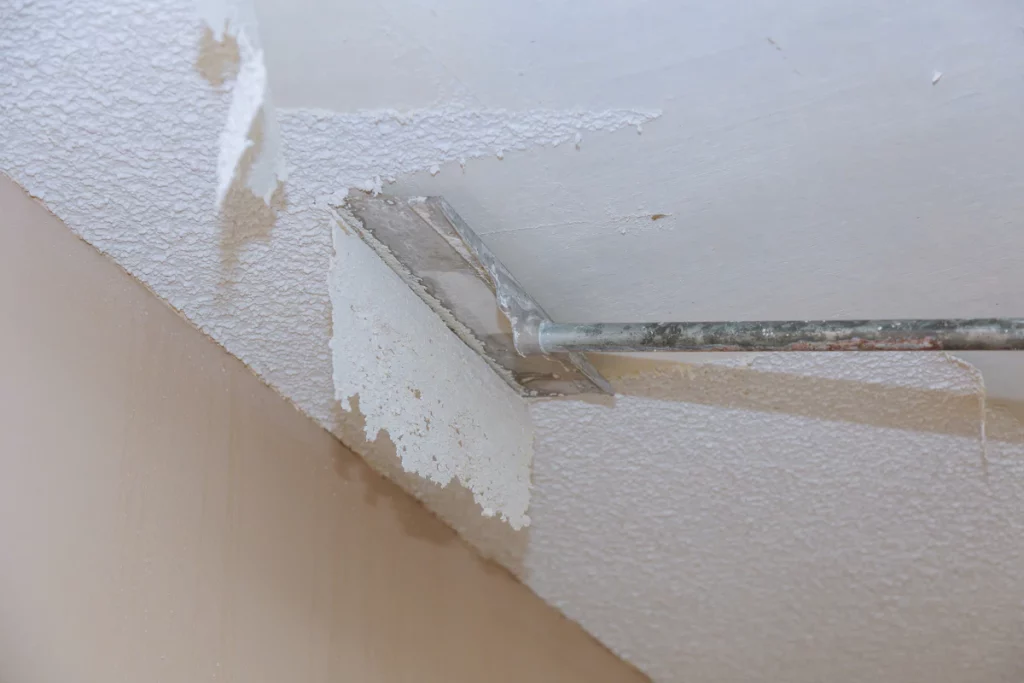
2. Cracks and Settlement
- Assess Structural Integrity: Assess the structural integrity of the ceiling to determine the extent of settlement and identify any underlying issues that may need to be addressed.
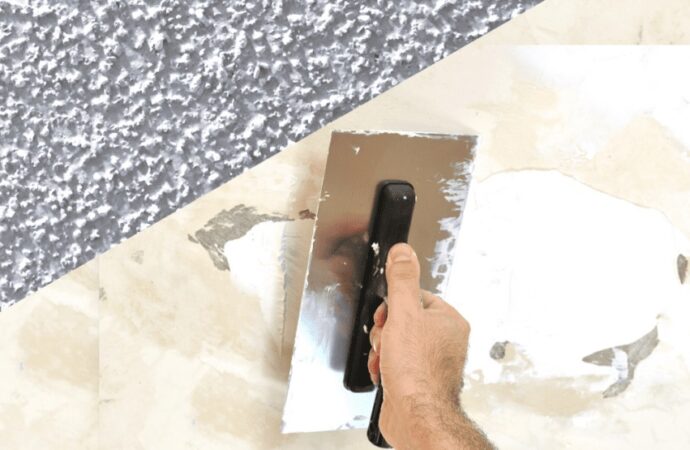
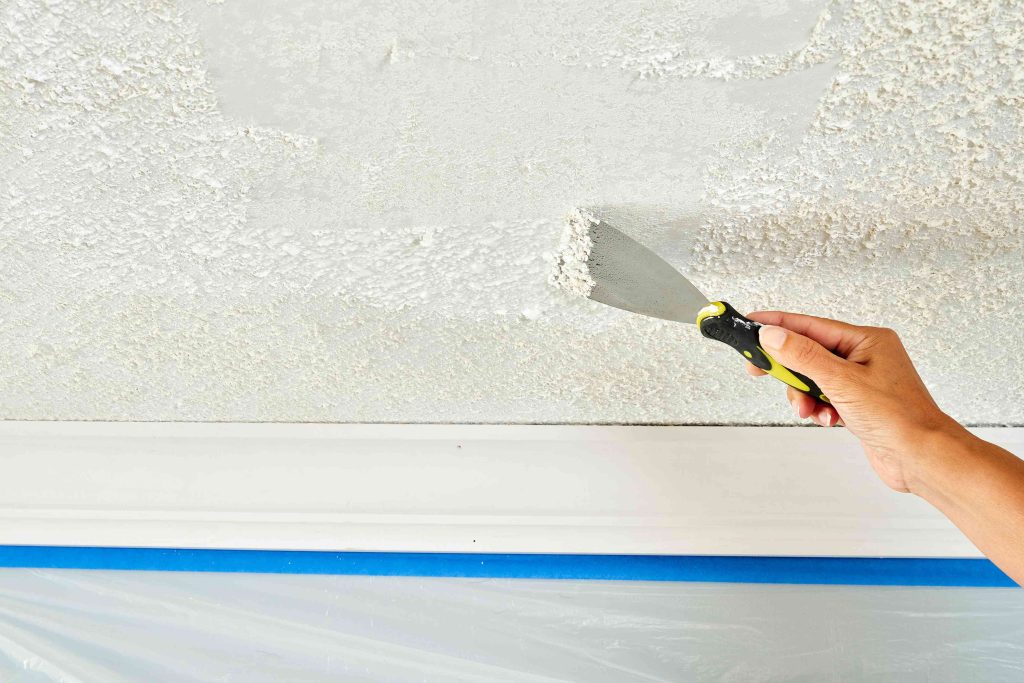
- Fill and Seal Cracks: Fill cracks and gaps with a high-quality joint compound or spackling paste, smoothing the surface for a seamless finish.
- Stabilize and Reinforce: Install ceiling joist reinforcements or support systems as needed to stabilize the ceiling and prevent further settlement.
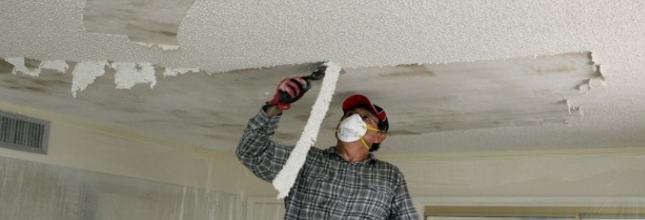
3. Mold and Mildew Remediation
- Remove Mold and Mildew: Use appropriate cleaning solutions and techniques to remove mold and mildew from the ceiling surface and surrounding areas.
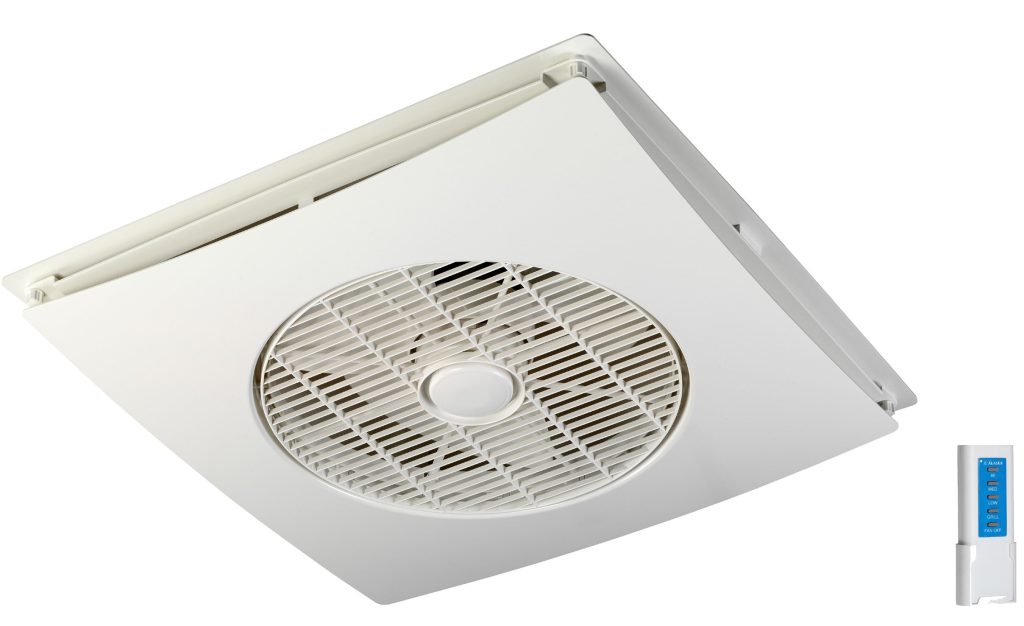
- Improve Ventilation: Enhance ventilation in the affected area to reduce humidity levels and inhibit mold growth. Consider installing exhaust fans or increasing airflow with open windows or vents.
Conclusion
Ceiling repair in Columbus, Ohio, requires careful assessment, planning, and execution to ensure optimal results and long-term durability. By understanding common ceiling issues and implementing expert repair solutions, homeowners can restore their ceilings to pristine condition and maintain the structural integrity and beauty of their homes. Whether dealing with water damage, cracks, or mold growth, entrusting your ceiling repair to experienced professionals ensures peace of mind and satisfaction with the outcome.