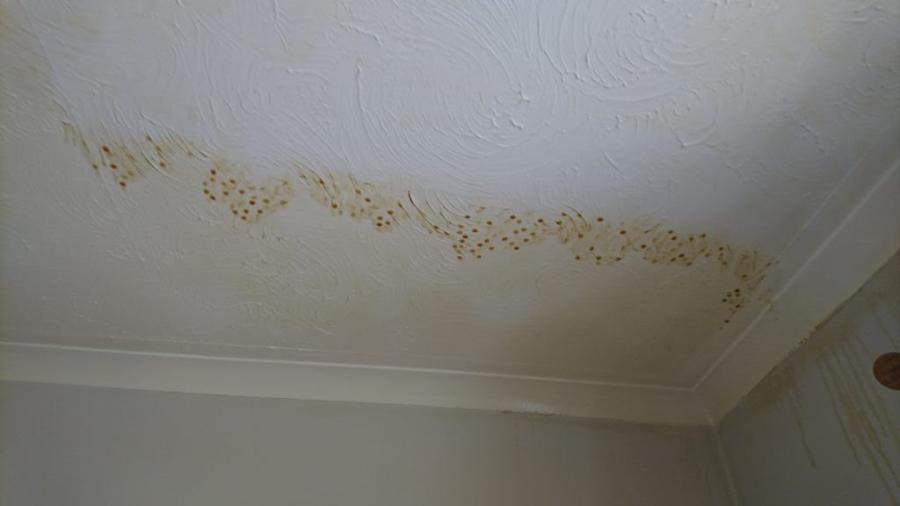
Water marks on your ceiling can be a concerning sight, often indicating a potential leak or water damage. However, what’s puzzling is when you notice these water marks, but there is no apparent source of water or leak in your ceiling. In this article, we will explore the common reasons behind this phenomenon and what you can do to address it.
Understanding Water Marks on the Ceiling
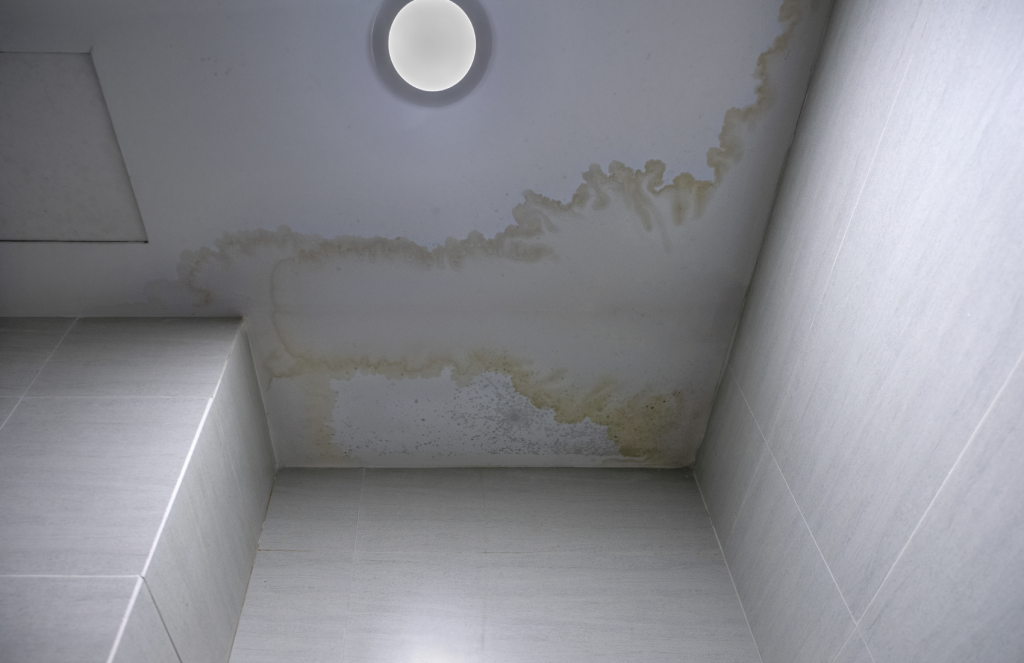
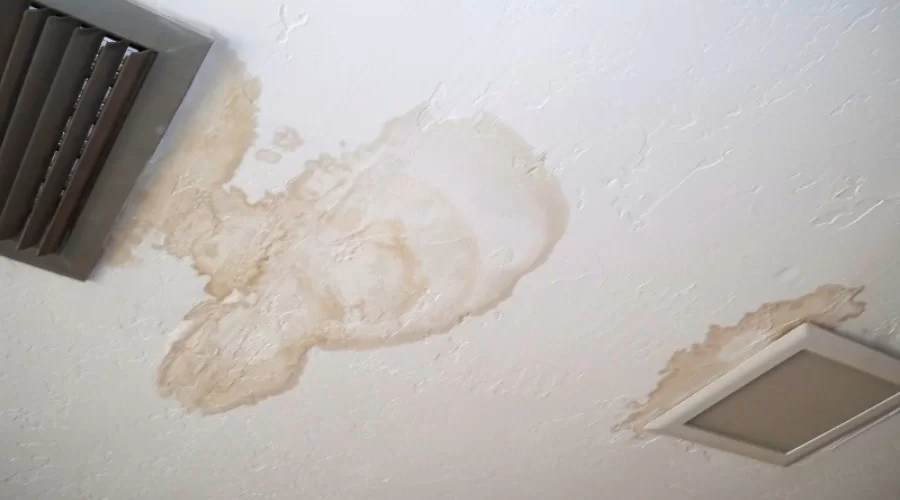
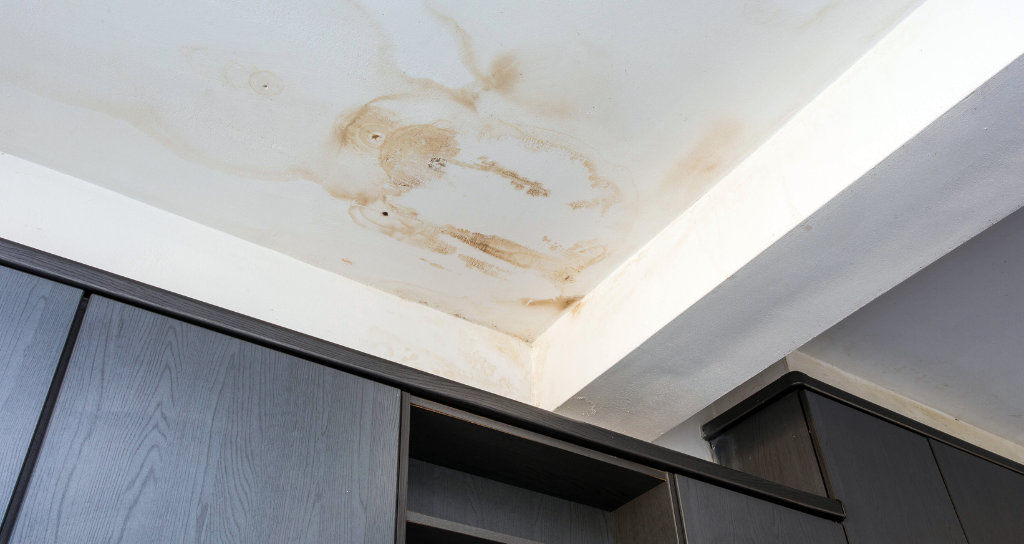
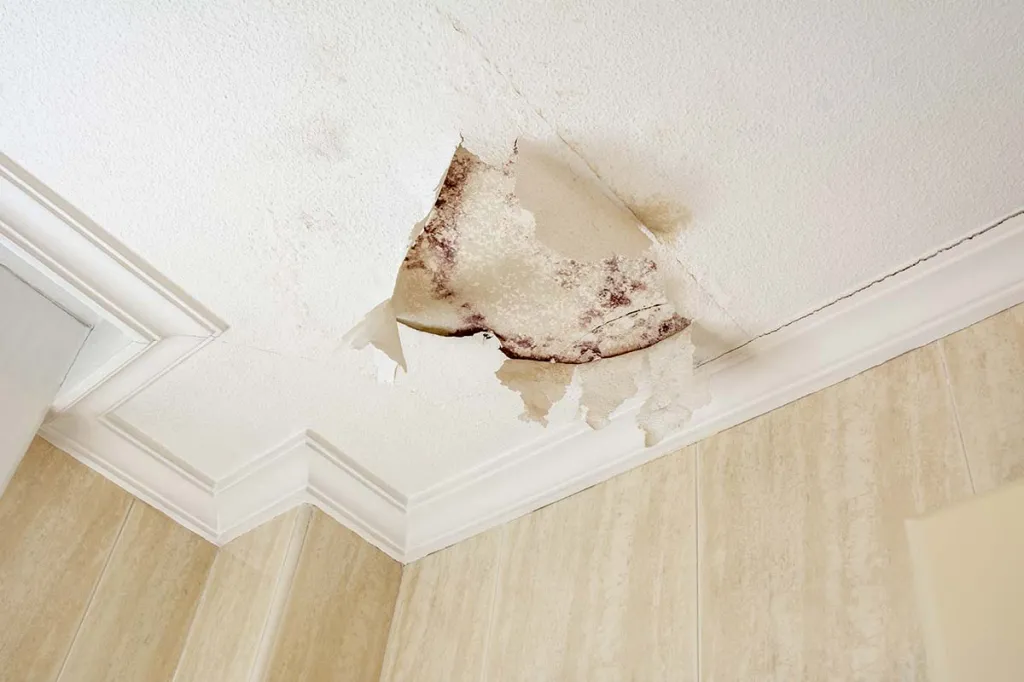
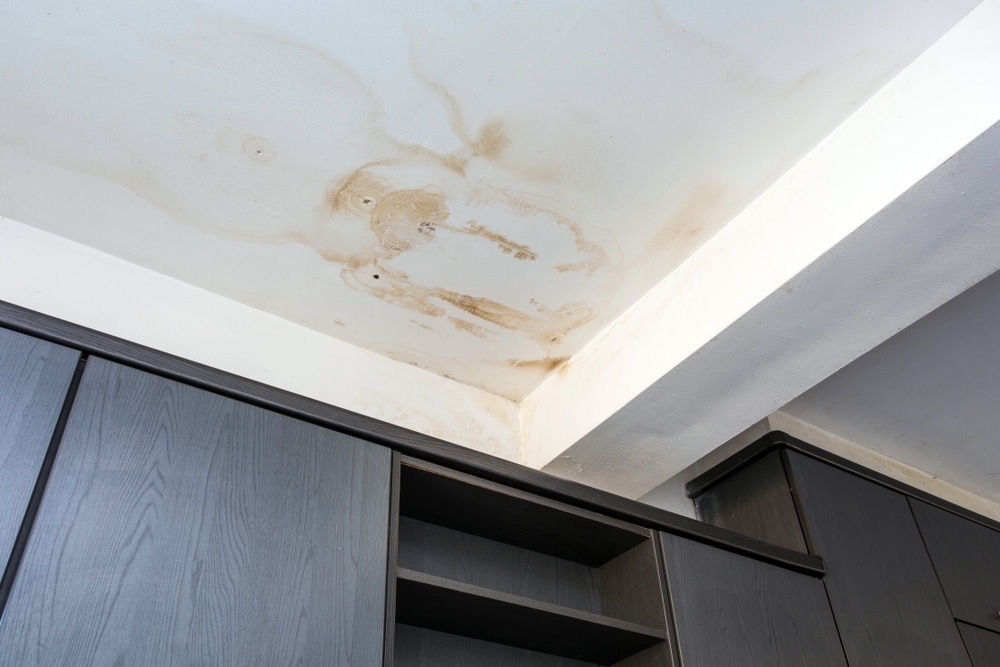
Water marks, also known as water stains, are discolored patches on your ceiling that result from water infiltrating the surface. They can take on various forms, from faint discolorations to more pronounced stains. While they are usually associated with leaks from the roof, plumbing, or other sources, water marks can also appear even when there’s no visible water source.
Common Causes of Water Marks with No Visible Leak
Several factors can lead to water marks on your ceiling without a visible leak:
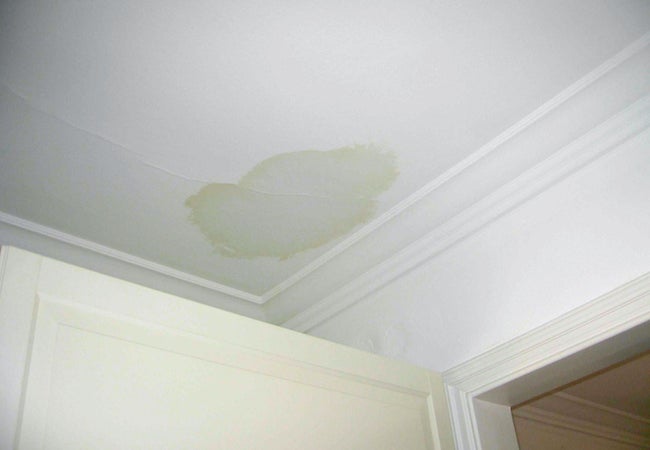
- Previous Leak: Sometimes, water marks are remnants of a past leak that has since been repaired. Even after the source of the leak is fixed, the stains may persist if the affected area is not adequately treated or repainted.
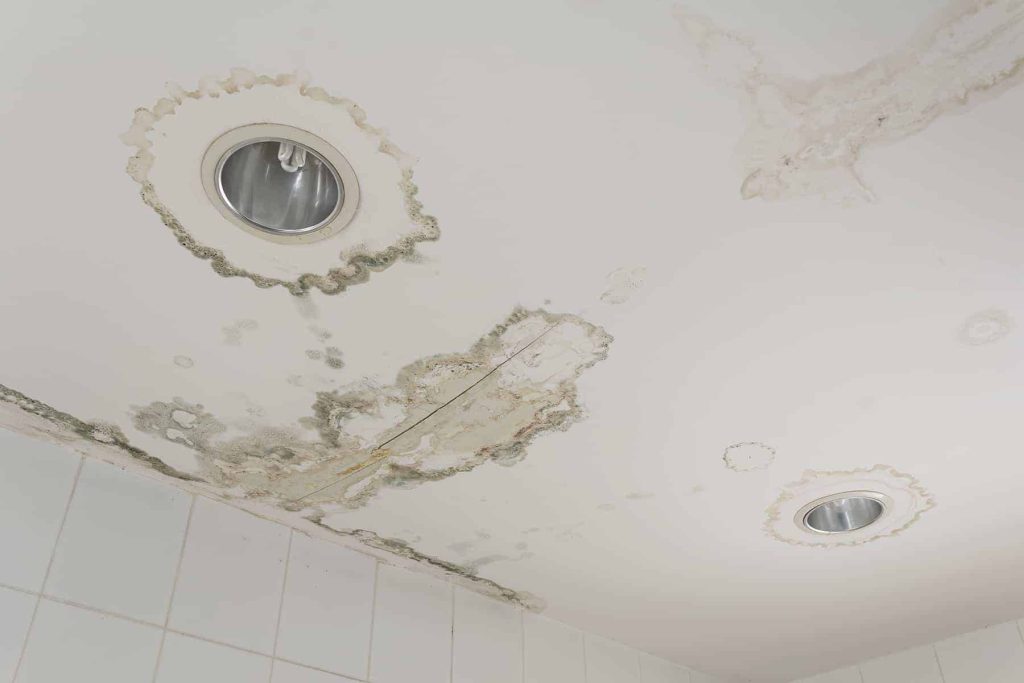
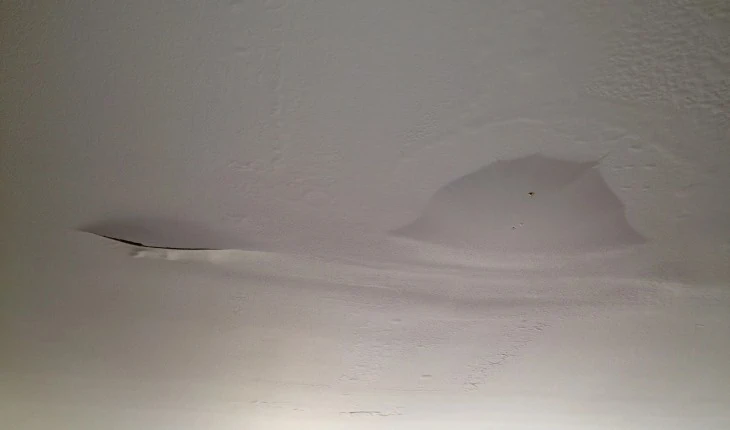
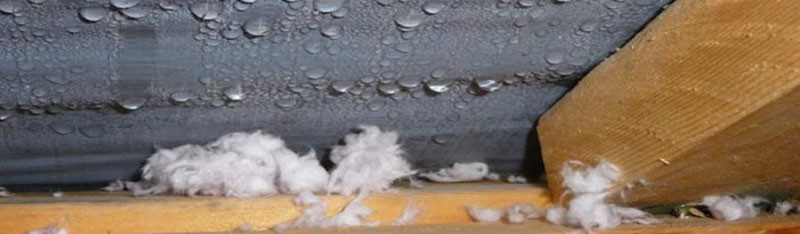
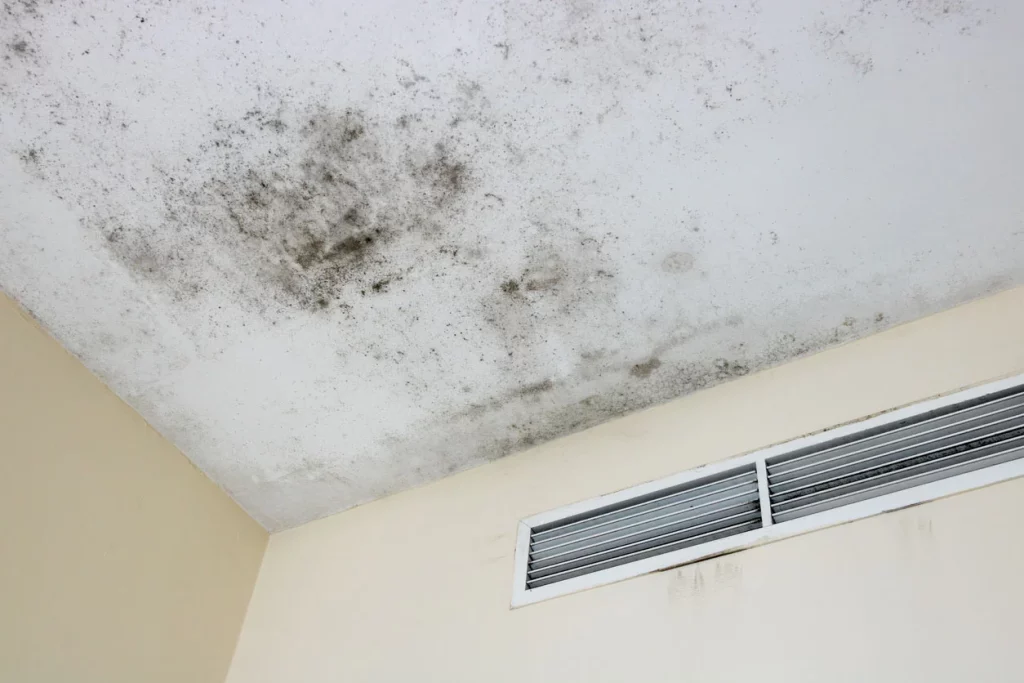
- Condensation: In areas with high humidity or temperature variations, condensation can form on the ceiling’s surface. This condensation can cause water marks over time, even though it’s not related to a structural leak.
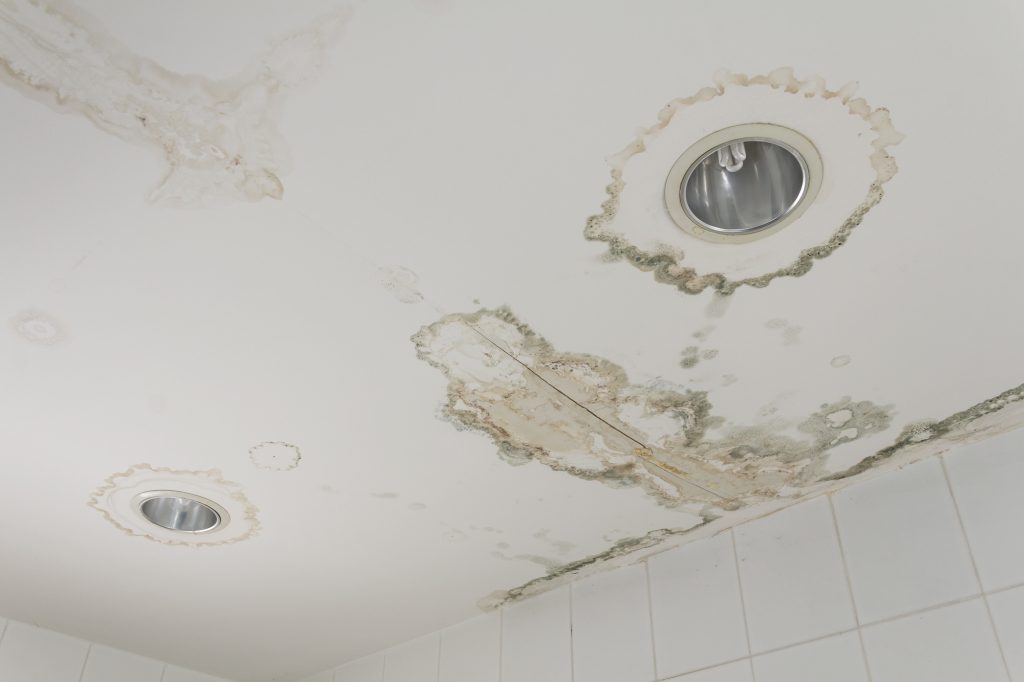
- Roofing Issues: Problems with your roof, such as damaged shingles, worn flashing, or poor ventilation, can allow water to seep in and create water marks on the ceiling. These issues may not always result in visible leaks but can still cause staining.
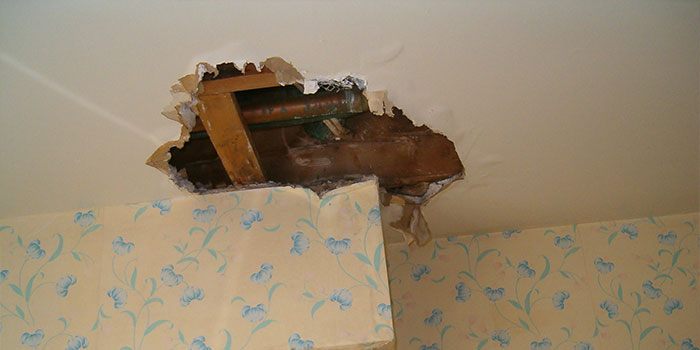
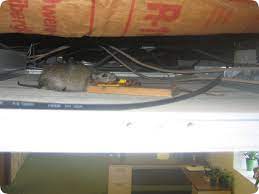
- Plumbing Problems: Plumbing issues, such as slow, undetected pipe leaks within the walls or ceiling, can lead to water marks without any overt signs of a leak.
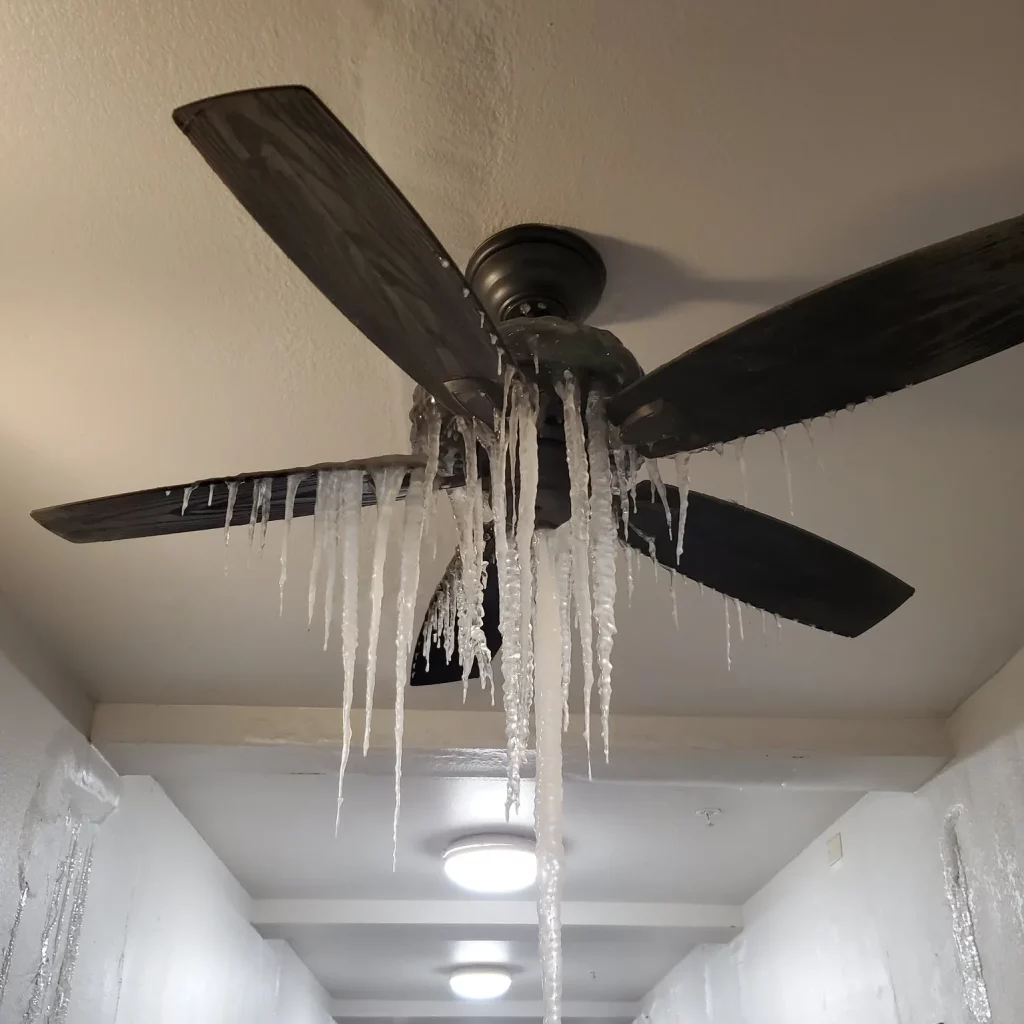
- External Factors: Water marks can also be caused by external factors like a leaking air conditioning unit, an overflowing bathtub, or even water entering through windows during heavy rain or wind-driven storms.
Read too: What Causes Toilet To Leak Through Ceiling
Troubleshooting and Solutions
Here are some steps you can take to troubleshoot and address water marks on your ceiling with no visible leak:
1. Investigate the History:
- Determine if there has been any recent work done on your roof, plumbing, or other areas that could be related to the issue.
2. Monitor for Changes:
- Keep an eye on the water marks to see if they expand, change color, or become more pronounced. This could help identify the source of the issue.
3. Check the Roof:
- Inspect your roof for damaged shingles, flashing issues, or any other signs of damage that may allow water to infiltrate.
4. Plumbing Assessment:
- Have a professional plumber check for any hidden pipe leaks within your home’s structure.
5. Ventilation and Insulation:
- Ensure your attic or crawl space has proper ventilation and insulation to minimize condensation issues.
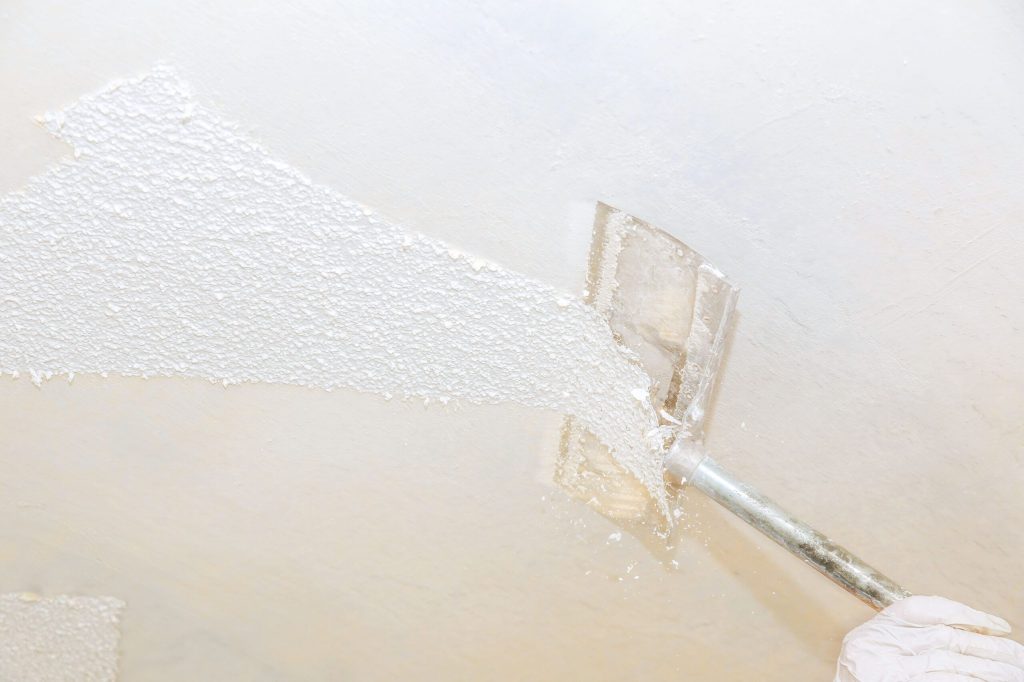
6. Ceiling Repair:
- If the source of the water marks remains elusive, consider repainting the affected area with a stain-blocking primer and ceiling paint to cover the stains.
Conclusion
Water marks on the ceiling with no visible leak can be a perplexing issue. While they may not always indicate a serious problem, it’s essential to investigate and address them promptly to prevent any potential long-term damage. By considering the common causes mentioned above and following the troubleshooting steps, you can get closer to identifying and resolving the issue, restoring the aesthetics and integrity of your home. If you can’t identify the issue, consult a professional contractor or plumber for an accurate assessment.