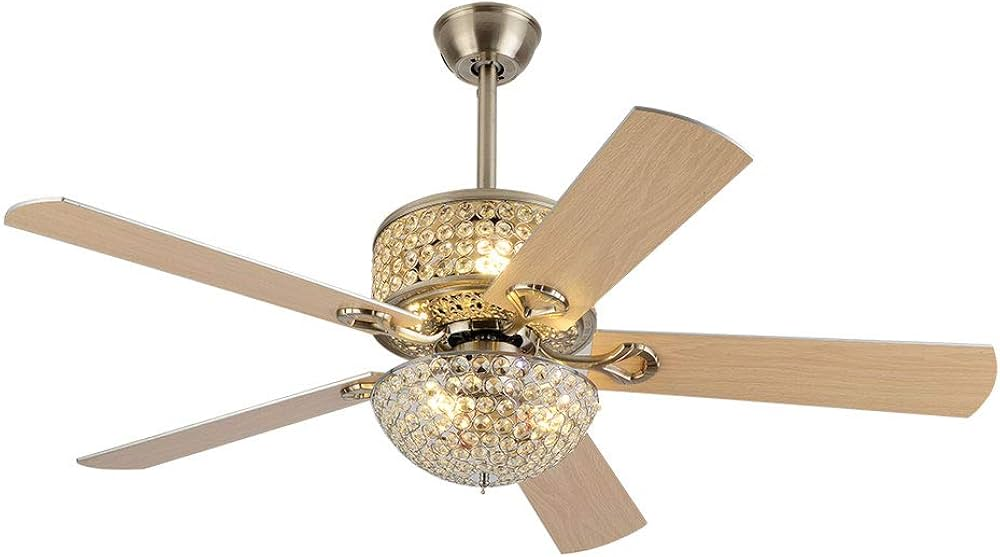
Ceiling fans have always been a staple for efficient home cooling. While most homeowners are familiar with traditional multi-blade fans, a modern trend has emerged—ceiling fans with two blades. These sleek and innovative designs are captivating for their minimalist aesthetic and functional efficiency. But how do they stack up against their multi-blade counterparts? This article dives into everything you need to know about ceiling fan two blades, including their advantages, design trends, and tips for choosing the right one for your home.
Why Choose a Ceiling Fan with Two Blades?
At first glance, the concept of a two-blade fan might seem unconventional. However, they are gaining popularity for several compelling reasons:
1. Aesthetic Appeal
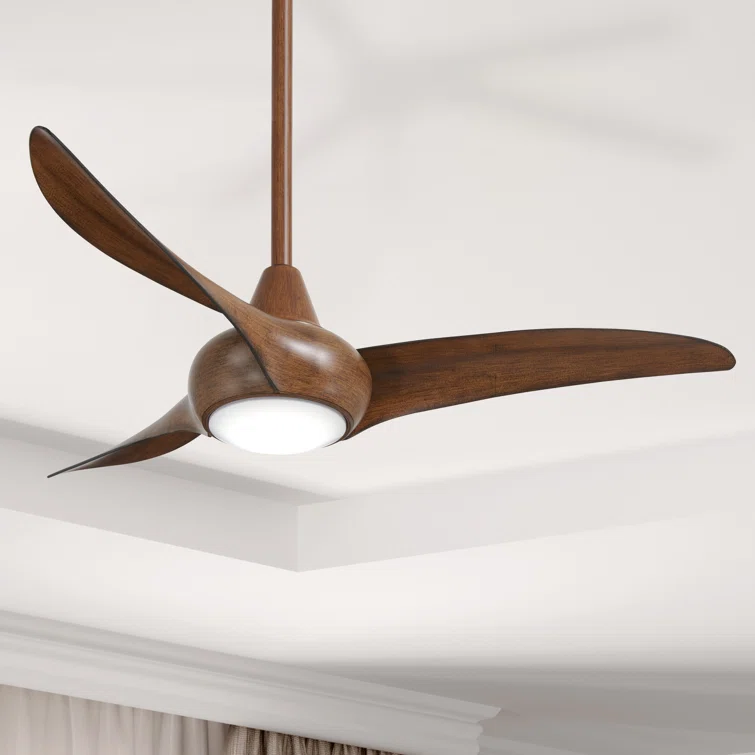
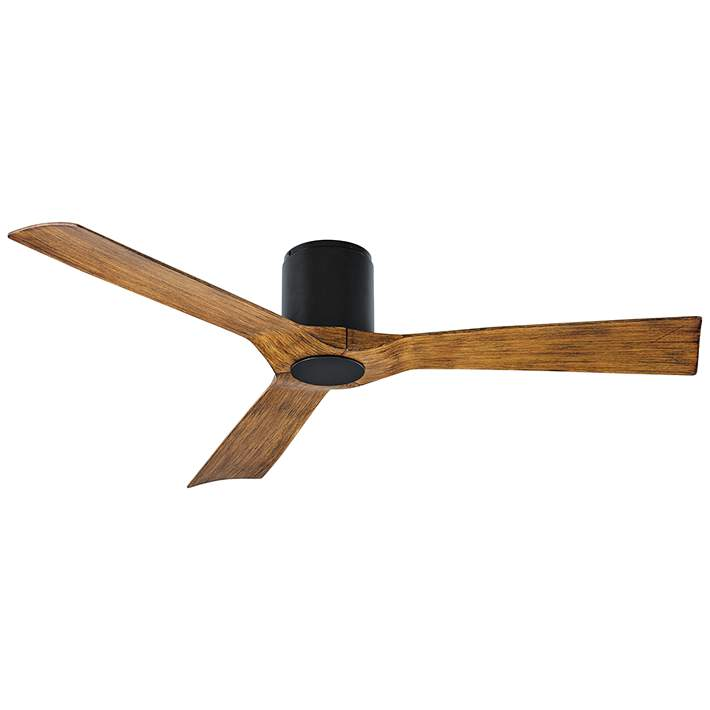
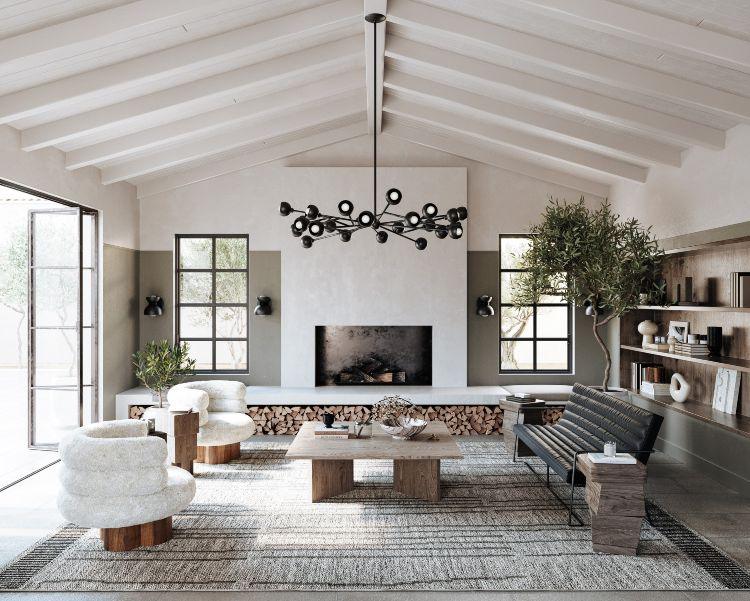
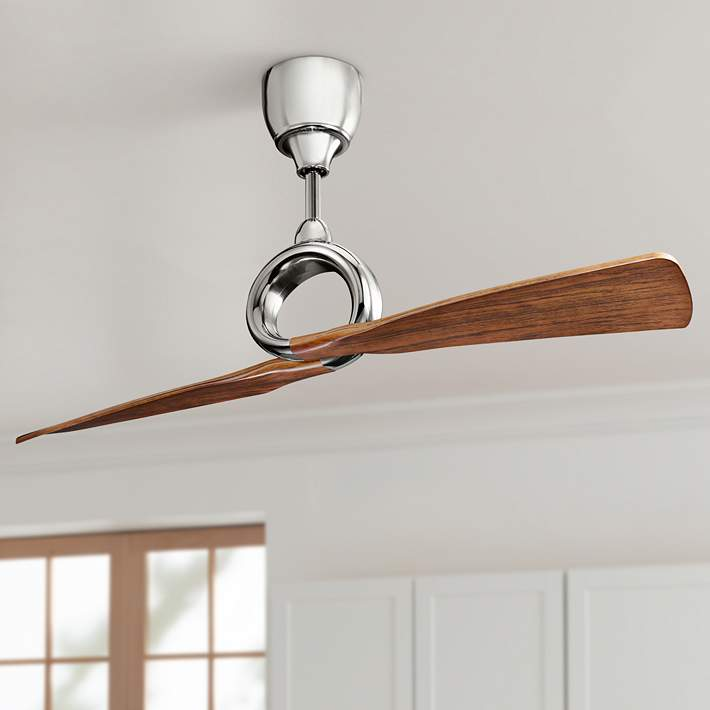
Two-blade ceiling fans are often associated with contemporary or minimalist design styles. Their sleek and streamlined look can complement modern interiors while making a bold statement in any room.
2. Efficient Air Circulation
Contrary to common assumptions, fewer blades don’t necessarily mean compromised airflow. The design and angle of the blades, combined with motor power, determine the fan’s performance.
Read too: Bathroom Flooded Through the Ceiling: A Comprehensive Guide
3. Energy Efficiency
With fewer blades, these fans typically weigh less and require less energy to operate, contributing to lower electricity bills.
4. Noise Reduction
Two-blade fans often produce less noise due to reduced blade interaction with the air, making them ideal for bedrooms or home offices.
The Science Behind Ceiling Fan Two Blades
Blade Dynamics
The efficiency of a ceiling fan is not solely determined by the number of blades. Instead, factors like blade pitch, motor power, and RPM (rotations per minute) play a more significant role. Two-blade fans often incorporate high-performance motors and precisely angled blades to optimize airflow.
Reduced Drag
Fewer blades mean less drag, allowing the fan to spin faster while maintaining energy efficiency. This can result in stronger airflow in certain models compared to multi-blade fans.
Modern Engineering
Advancements in fan technology have enabled manufacturers to design two-blade fans that outperform traditional designs in terms of both efficiency and comfort.
Top Benefits of Ceiling Fan Two Blades
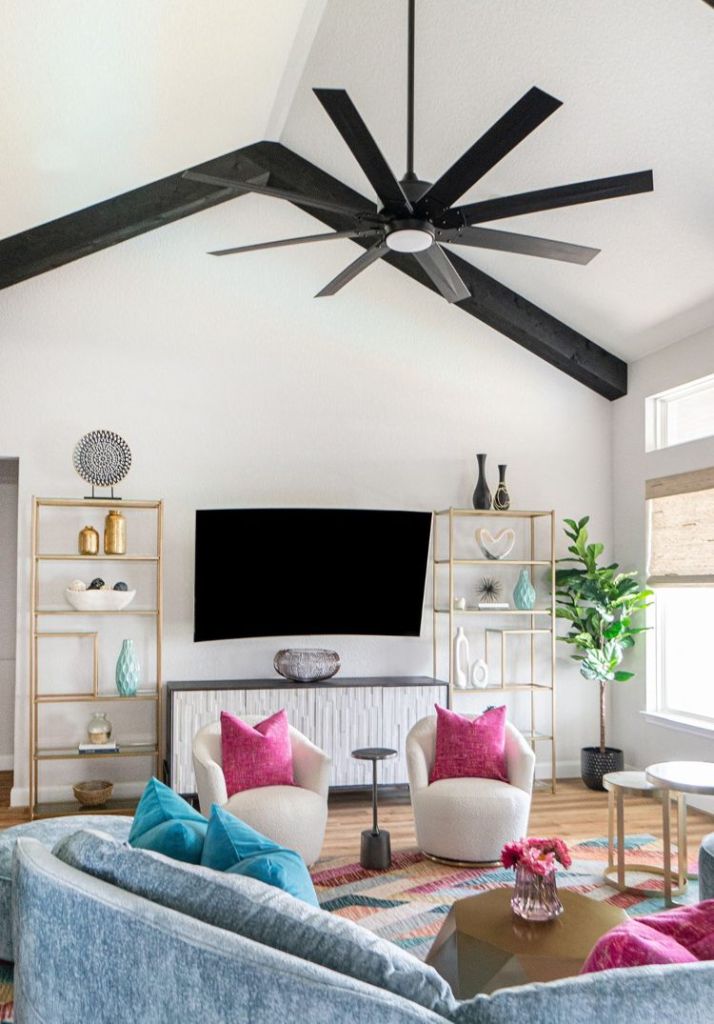
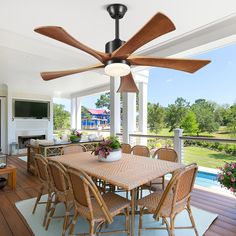
1. Ideal for Large Spaces
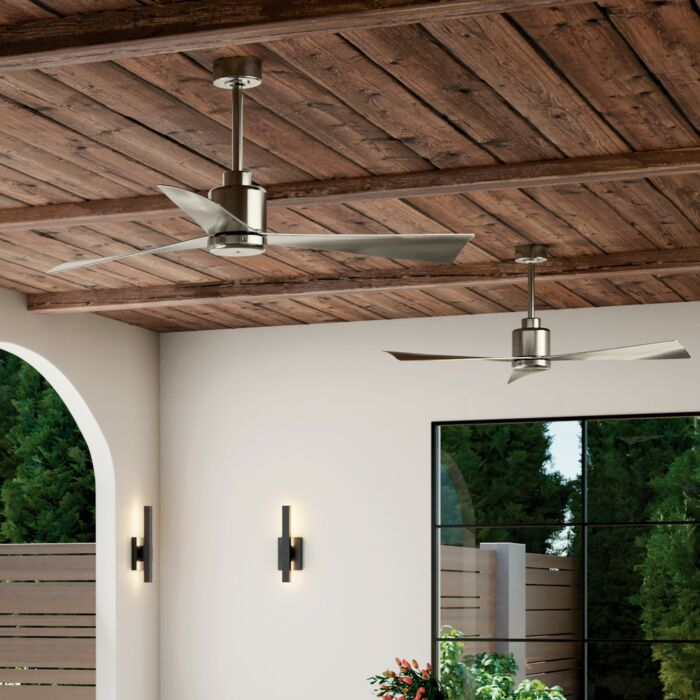
Two-blade fans often have larger blade spans, making them perfect for wide areas like living rooms or patios.
2. Customizable Designs
From industrial metal finishes to sleek wooden designs, two-blade fans come in various styles to suit different decor themes.
3. Eco-Friendly Options
Many two-blade fans are designed with sustainability in mind, using eco-friendly materials and energy-efficient motors.
4. Versatility in Mounting
These fans are often compatible with various mounting options, including flush mounts for low ceilings or extended downrods for high ceilings.
How to Choose the Perfect Ceiling Fan Two Blades
When selecting a two-blade ceiling fan, keep these key factors in mind:
1. Room Size
Measure your room to determine the appropriate blade span. For larger spaces, opt for fans with longer blades to ensure effective cooling.
2. Ceiling Height
Ceiling height impacts the type of mounting required. For high ceilings, use an extended downrod to bring the fan closer to the living space.
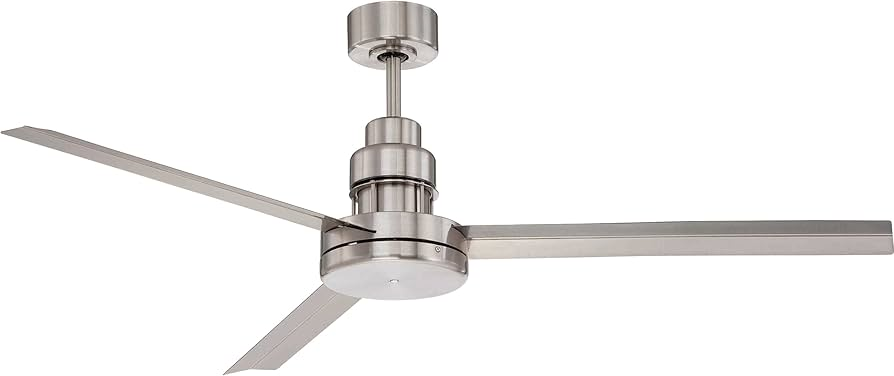
3. Blade Material
Choose a material that complements your room’s aesthetic:
- Wood: Adds warmth and a natural feel.
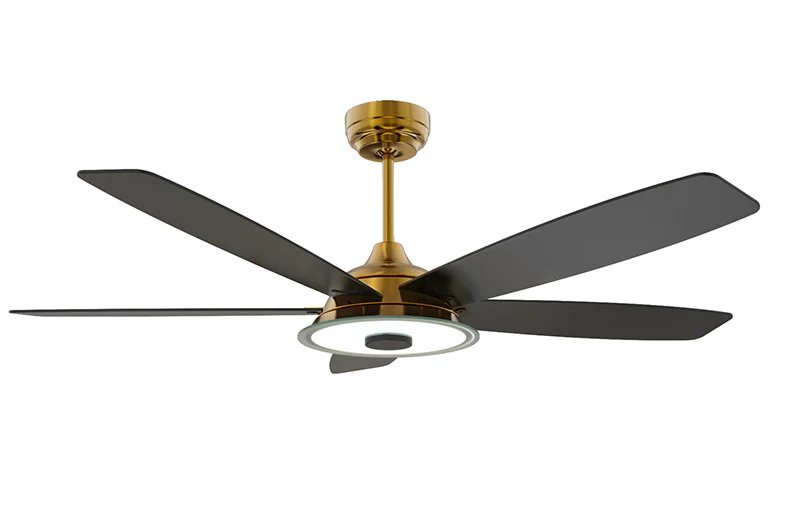
- Metal: Offers an industrial and modern vibe.
- Composite: Durable and versatile for various styles.
4. Motor Quality
A high-quality motor ensures smooth operation and longevity. Look for fans with DC motors for better energy efficiency and quieter performance.
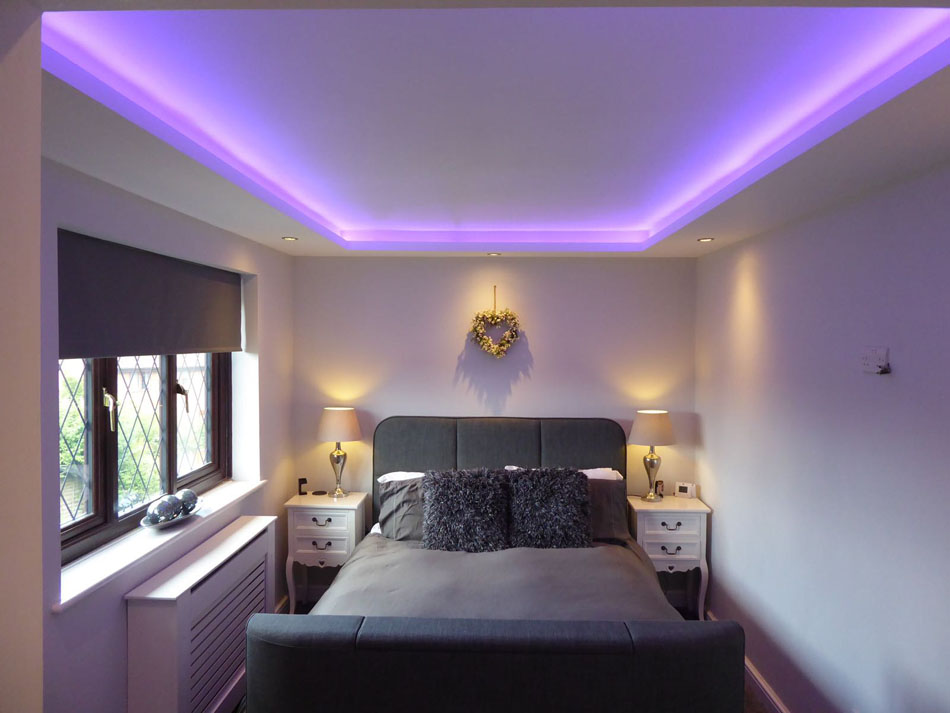
5. Additional Features
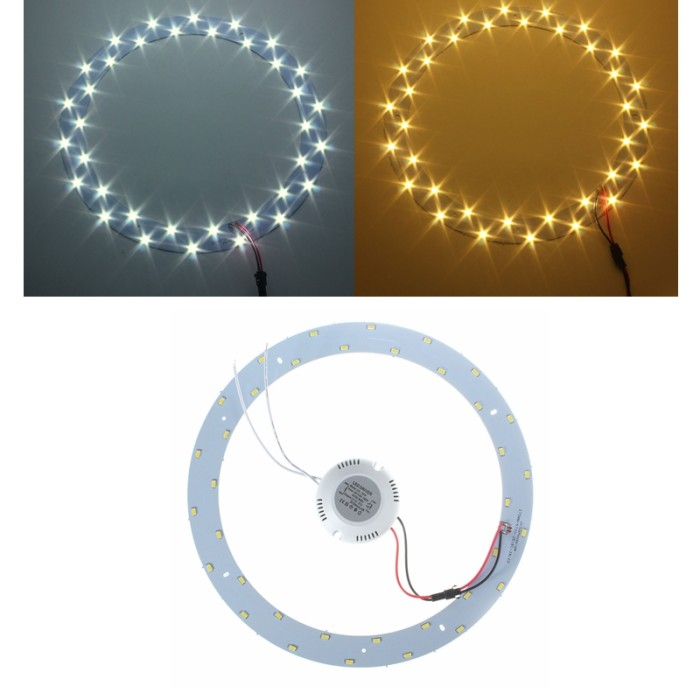
Modern ceiling fans often come with features like remote control operation, integrated LED lights, and reversible motors for year-round use.
Ceiling Fan Two Blades: Style Meets Functionality
Minimalist Interiors
Two-blade ceiling fans are a favorite in minimalist homes due to their understated yet striking appearance. Their clean lines and simple forms blend seamlessly with uncluttered spaces.
Industrial Themes
Fans with metal finishes or bold geometric designs fit perfectly in industrial-style interiors, adding an edge to the decor.
Eco-Chic Homes
For environmentally conscious homeowners, two-blade fans with sustainable materials like bamboo or reclaimed wood are excellent choices.
Installation Tips for Two-Blade Ceiling Fans
1. Check Electrical Connections
Ensure the fan’s power supply aligns with your home’s electrical system.
2. Secure Proper Mounting
Follow the manufacturer’s guidelines for mounting the fan securely, especially if it has a large blade span.
3. Test the Balance
Even with only two blades, proper balancing is essential to prevent wobbling.
4. Use Professional Help
If you’re unsure about the installation process, consider hiring a licensed electrician.
Maintenance of Ceiling Fan Two Blades
1. Regular Cleaning
Dust and debris can accumulate on the blades, affecting performance. Wipe them down every few months with a damp cloth.
2. Inspect Blade Alignment
Ensure the blades remain aligned to prevent noise or wobbling.
3. Lubricate the Motor
For fans with older motors, occasional lubrication may be necessary to maintain smooth operation.
4. Check for Loose Parts
Tighten screws or bolts as needed to keep the fan securely assembled.
FAQs About Ceiling Fan Two Blades
1. Do two-blade fans provide enough airflow?
Yes, when designed properly, two-blade fans can generate sufficient airflow for most spaces. The motor power and blade design are critical factors.
2. Are two-blade fans more energy-efficient?
Typically, yes. With fewer blades, these fans experience less drag and can operate at lower energy levels.
3. Can I use a two-blade fan outdoors?
Many two-blade fans are rated for outdoor use. Look for models with a damp or wet rating to ensure durability.
4. Are two-blade fans noisier than other designs?
No, two-blade fans often produce less noise due to reduced blade interference.
Conclusion: Embrace the Modern Elegance of Ceiling Fan Two Blades
The rise of the ceiling fan two blades trend is a testament to how innovation and design can transform everyday household items. These fans combine modern aesthetics with functional efficiency, making them an excellent choice for those seeking both style and performance.
Whether you’re updating a contemporary home or aiming for a minimalist refresh, a two-blade ceiling fan offers a versatile solution. With proper selection, installation, and maintenance, this sleek design can provide years of reliable cooling while enhancing your home’s overall aesthetic.