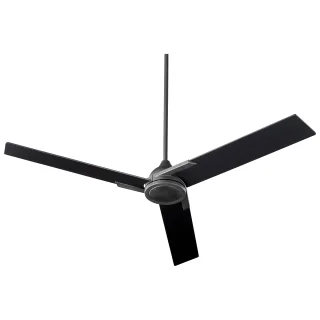
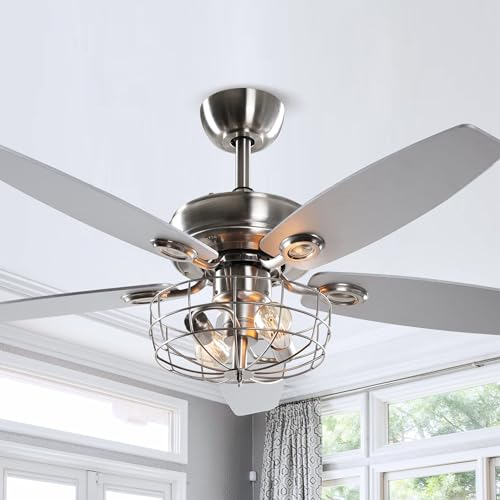
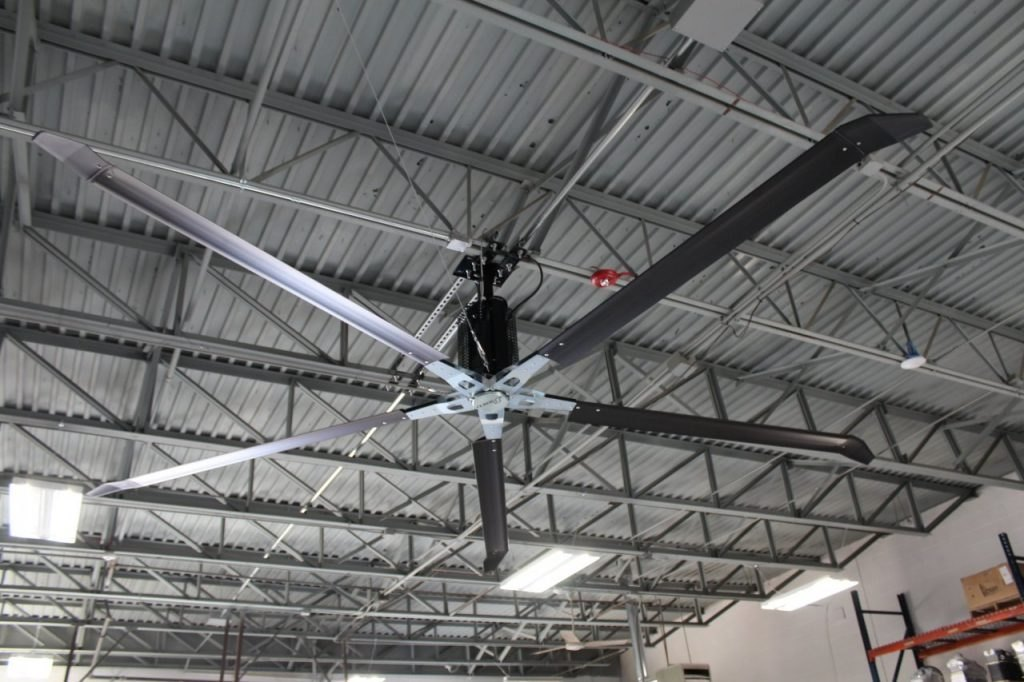
A high volume ceiling fan is an essential addition to any large space that requires efficient air circulation. Whether you are looking to cool down a commercial space, a large living room, or an industrial area, these fans are designed to move large amounts of air, providing comfort and improving air quality. This comprehensive guide will help you understand the benefits, features, and installation process of high volume ceiling fans, ensuring you make an informed decision.
Why Choose a High Volume Ceiling Fan?
High volume ceiling fans offer numerous advantages over traditional ceiling fans. Here are some key benefits:
Efficient Air Circulation
High volume ceiling fans are designed to move a significant amount of air, ensuring that large spaces are evenly cooled. This efficiency helps to maintain a comfortable temperature, reducing the need for air conditioning and lowering energy costs.
Energy Efficiency
Due to their large blades and powerful motors, high volume ceiling fans can circulate air more efficiently than smaller fans. This results in reduced energy consumption, making them an environmentally friendly option for cooling large areas.
Improved Air Quality
By promoting better air circulation, high volume ceiling fans help to reduce humidity, prevent mold growth, and remove stale air. This leads to improved air quality and a healthier indoor environment.
Versatility
High volume ceiling fans are suitable for a variety of settings, including warehouses, gyms, large living rooms, and outdoor patios. They can be used in both residential and commercial spaces, providing a versatile cooling solution.
Read too: Striped Schoolhouse Ceiling Light Fixtures: Unveiling the Timeless Charm
Features to Consider When Choosing a High Volume Ceiling Fan
When selecting a high volume ceiling fan, it’s essential to consider several factors to ensure you choose the best option for your needs. Here are some key features to look for:
Blade Size and Material
The size and material of the fan blades play a significant role in the fan’s performance. Larger blades move more air, making them ideal for large spaces. Common materials include aluminum, steel, and high-grade plastic. Each material has its benefits, such as durability and resistance to corrosion.
Motor Power
A powerful motor is crucial for high volume ceiling fans to operate efficiently. Look for fans with high-quality, energy-efficient motors that provide strong airflow without consuming excessive energy.
Speed Settings
Adjustable speed settings allow you to control the fan’s airflow according to your needs. High volume ceiling fans typically come with multiple speed options, giving you the flexibility to adjust the fan’s performance based on the room’s temperature and your comfort level.
Noise Level
While high volume ceiling fans are generally more powerful than traditional fans, it’s essential to choose one that operates quietly. Look for fans with noise-reducing features, such as aerodynamic blade designs and vibration-dampening mounts.
Controls
Modern high volume ceiling fans often come with remote controls or wall-mounted controls, making it easy to adjust the fan’s speed and direction. Some models also include smart features, allowing you to control the fan using a smartphone app or voice commands.
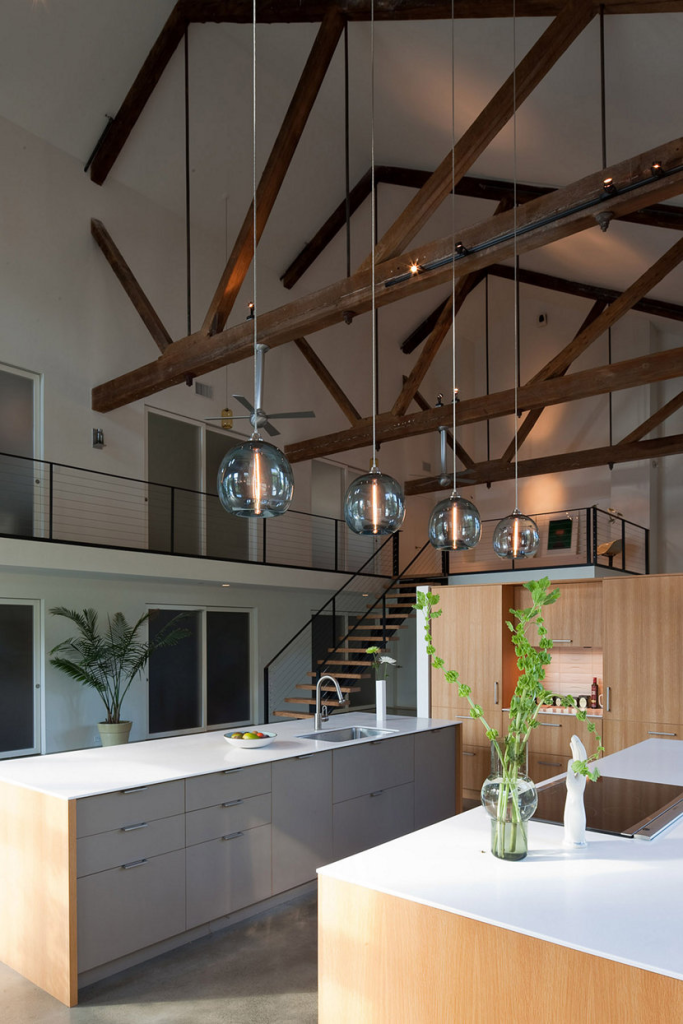
Design and Aesthetics
While functionality is crucial, the fan’s design should also complement your space. High volume ceiling fans are available in various styles, from industrial to modern, ensuring you can find one that matches your décor.
Installation Requirements
High volume ceiling fans may require professional installation, especially in commercial or industrial settings. Ensure that the fan you choose is compatible with your space and that you have the necessary tools and expertise for installation.
Top High Volume Ceiling Fan Models
Here are some of the top-rated high volume ceiling fans on the market, known for their performance and reliability:
Big Ass Fans Haiku L
The Haiku L by Big Ass Fans is a popular choice for both residential and commercial spaces. It features a sleek design, powerful motor, and smart technology integration, allowing you to control the fan with a smartphone app.
Emerson Industrial High Volume Fan
Emerson’s industrial high volume fan is designed for large spaces, such as warehouses and gyms. It features durable steel blades, a powerful motor, and multiple speed settings, ensuring efficient air circulation.
Hunter Industrial Titan
The Hunter Industrial Titan is a heavy-duty ceiling fan designed for commercial and industrial use. It boasts a robust construction, energy-efficient motor, and advanced control options, making it a top choice for large spaces.
How to Install a High Volume Ceiling Fan
Installing a high volume ceiling fan can be a challenging task, especially in large or commercial spaces. Here’s a step-by-step guide to help you through the installation process:
Step 1: Gather Your Tools and Materials
Before you begin, ensure you have all the necessary tools and materials, including:
- High volume ceiling fan kit
- Ladder
- Screwdrivers
- Wrenches
- Wire strippers
- Electrical tape
- Mounting brackets
- Safety glasses and gloves
Step 2: Turn Off the Power
For safety, turn off the power to the circuit where you’ll be installing the fan. This prevents electrical shocks and ensures a safe installation process.
Step 3: Install the Mounting Bracket
Attach the mounting bracket to the ceiling joist or a secure support structure. Ensure the bracket is level and firmly secured, as it will support the weight of the fan.
Step 4: Assemble the Fan
Follow the manufacturer’s instructions to assemble the fan components. This typically involves attaching the blades to the motor housing and connecting any additional parts, such as the downrod or remote control receiver.
Step 5: Wire the Fan
Connect the fan’s wiring to the electrical box according to the manufacturer’s instructions. This usually involves matching the wires by color (e.g., black to black, white to white) and securing them with wire nuts and electrical tape.
Step 6: Attach the Fan to the Mounting Bracket
Lift the assembled fan and attach it to the mounting bracket. Ensure all screws and bolts are tightened securely to prevent the fan from wobbling or falling.
Step 7: Test the Fan
Turn the power back on and test the fan to ensure it operates correctly. Check the speed settings and controls to confirm everything is functioning as expected.
Step 8: Perform Final Adjustments
Make any necessary adjustments to the fan’s alignment and balance to ensure smooth operation. If the fan wobbles or makes noise, check the installation and make adjustments as needed.
Maintenance Tips for High Volume Ceiling Fans
Regular maintenance can extend the lifespan of your high volume ceiling fan and ensure it operates efficiently. Here are some maintenance tips:
Clean the Blades
Dust and dirt can accumulate on the fan blades, affecting performance and air quality. Clean the blades regularly with a damp cloth or a vacuum cleaner attachment.
Lubricate Moving Parts
Apply lubricant to the fan’s moving parts, such as the motor bearings and pivot points, to reduce friction and prevent wear and tear.
Check for Loose Screws
Periodically check all screws and bolts to ensure they are tight and secure. Loose components can cause the fan to wobble and make noise.
Inspect the Wiring
Inspect the fan’s wiring for any signs of wear or damage. If you notice any issues, consult a professional electrician for repairs.
Balance the Blades
If your fan wobbles, use a blade balancing kit to ensure the blades are balanced and aligned. This can improve performance and reduce noise.
Conclusion
A high volume ceiling fan is an excellent investment for anyone looking to improve air circulation and comfort in large spaces. By considering factors such as blade size, motor power, and installation requirements, you can choose the best fan for your needs. Proper installation and regular maintenance will ensure your high volume ceiling fan provides efficient and reliable performance for years to come.