Art Deco is a design movement that emerged in the early 20th century, celebrated for its luxurious, geometric, and bold aesthetics. When it comes to interior lighting, Art Deco ceiling light fixtures embody this opulence and sophistication. This guide will explore the history, design elements, benefits, and installation of Art Deco ceiling light fixtures, helping you make informed decisions for your space.
Understanding Art Deco Ceiling Light Fixtures
Art Deco ceiling light fixtures are more than just sources of illumination; they are statement pieces that define the ambiance of a room. To fully appreciate their impact, it’s essential to understand the Art Deco style and how it influences lighting design.
The Essence of Art Deco
Art Deco emerged in the 1920s and 1930s, characterized by its embrace of modernity and luxury. It blends traditional craftsmanship with industrial materials, resulting in a style that is both elegant and functional. Key features of Art Deco include:
- Geometric Shapes: Angular patterns, chevrons, and symmetrical designs are hallmark elements.
- Luxurious Materials: Use of high-quality materials such as chrome, glass, crystal, and marble.
- Bold Colors: Rich and vibrant hues often contrasted with black or metallic finishes.
- Streamlined Forms: Emphasis on clean lines and streamlined silhouettes.
Read too: Kitchen Lighting For A Vaulted Ceiling: Illuminating Your Space with Style and Functionality
Art Deco ceiling light fixtures often reflect these elements, combining form and function to enhance your interior decor.
Types of Art Deco Ceiling Light Fixtures
Art Deco ceiling light fixtures come in various styles and designs, each contributing to the overall aesthetic of a space. Here are some popular types:
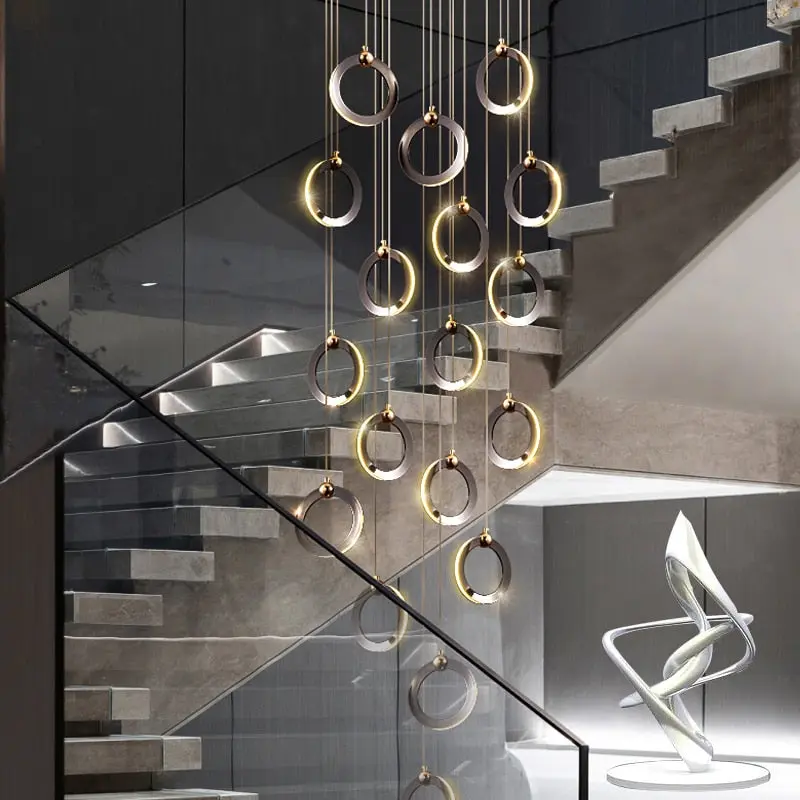
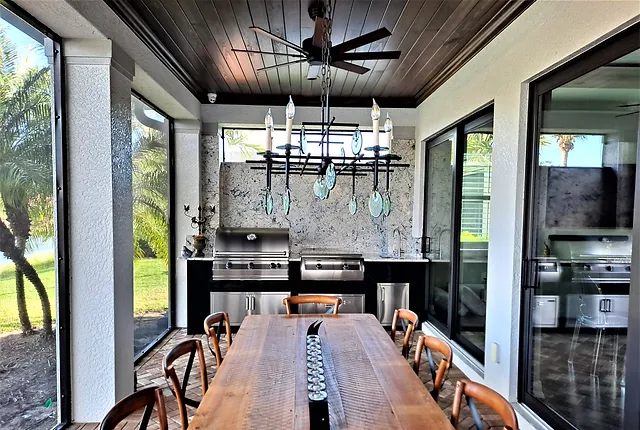
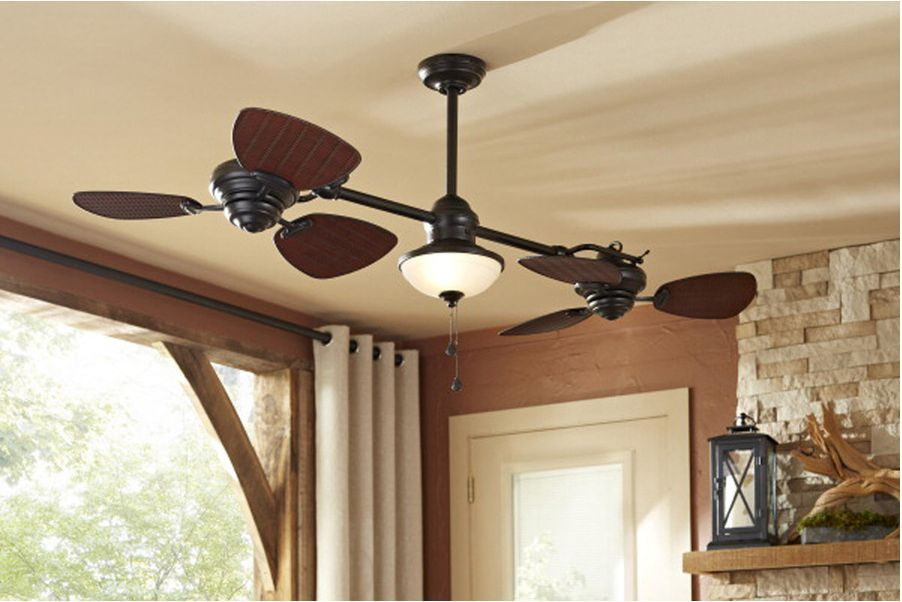
1. Chandeliers
Art Deco chandeliers are the epitome of elegance. They typically feature geometric crystal arrangements, chrome or brass finishes, and bold shapes. Chandeliers can serve as focal points in dining rooms, entryways, or grand living areas.
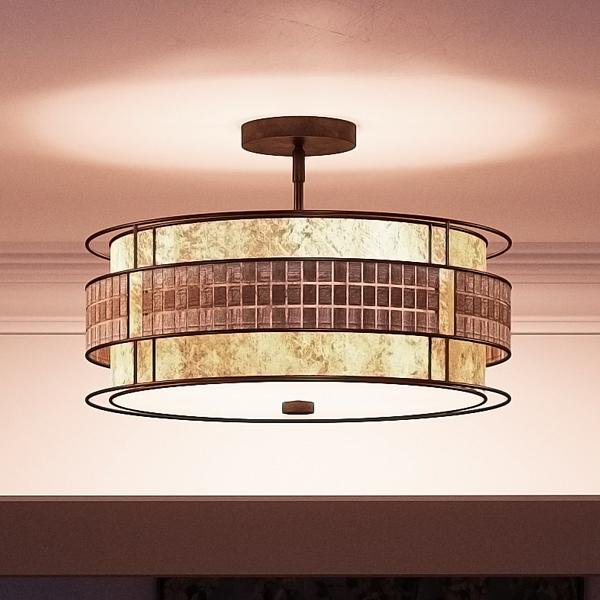
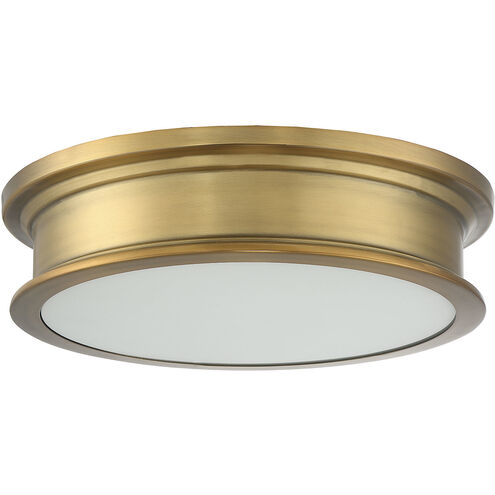
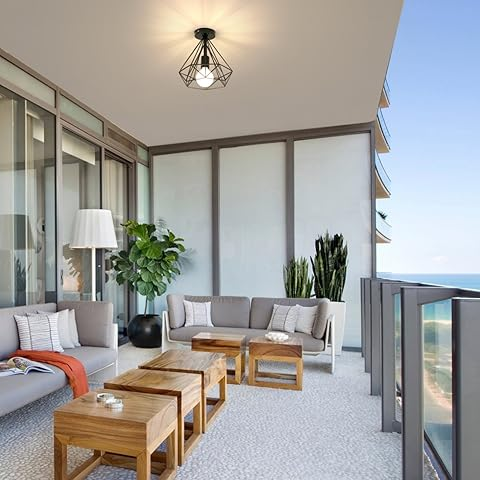
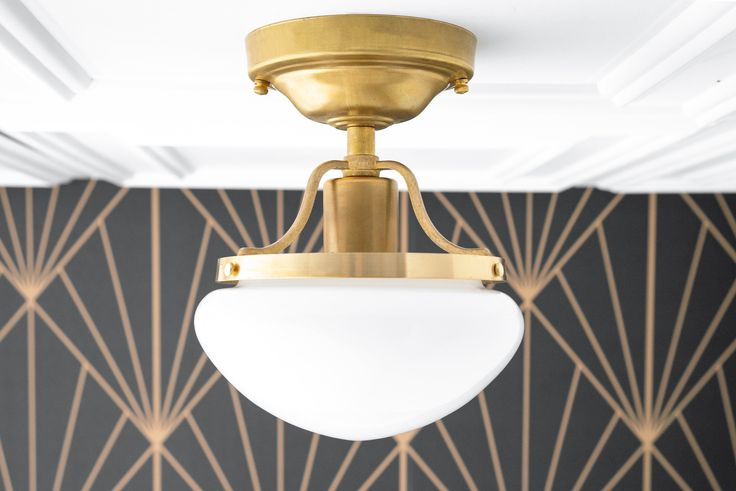
2. Flush Mounts
For spaces with lower ceilings, Art Deco flush mount lights offer a stylish solution. These fixtures are mounted directly against the ceiling and often feature intricate glass patterns or chrome detailing. They provide a sleek and unobtrusive lighting option.
3. Pendant Lights
Pendant lights in the Art Deco style often include suspended geometric shapes or glass shades with detailed patterns. They are ideal for illuminating specific areas like kitchen islands or dining tables while adding a touch of glamour.
4. Sconces
While not technically ceiling-mounted, Art Deco sconces complement ceiling fixtures by providing additional lighting. They often feature similar design elements, such as geometric patterns and luxurious materials, to maintain a cohesive look.
Choosing the Right Art Deco Ceiling Light Fixture
Selecting the perfect Art Deco ceiling light fixture involves considering several factors to ensure it complements your space and meets your lighting needs.
1. Room Size and Ceiling Height
The size of the fixture should be proportionate to the room. Larger chandeliers work well in spacious rooms, while flush mounts are better suited for smaller or lower-ceiling areas. Measure your room and ceiling height to choose an appropriately sized fixture.
2. Design and Style
Art Deco fixtures come in various designs, from elaborate chandeliers to minimalist flush mounts. Consider the existing decor and the level of formality you wish to achieve. For a dramatic impact, opt for ornate chandeliers; for a subtler touch, choose sleek flush mounts or pendant lights.
3. Material and Finish
The materials used in Art Deco lighting fixtures are crucial to their overall look. Chrome, brass, and polished nickel are common finishes, while glass and crystal elements add a touch of luxury. Choose materials that complement the other furnishings and fixtures in your room.
4. Lighting Needs
Consider the function of the fixture and the amount of light required. Chandeliers and pendant lights often provide more focused illumination, while flush mounts offer general lighting. Ensure that the fixture you choose provides adequate lighting for the intended space.
5. Installation Requirements
Some Art Deco ceiling light fixtures may require professional installation, especially if they are large or complex. Make sure to account for any additional installation costs and ensure that the fixture is compatible with your ceiling type.
Installation of Art Deco Ceiling Light Fixtures
Proper installation is key to achieving the best performance and appearance from your Art Deco ceiling light fixture. Follow these steps for a successful installation:
1. Gather Tools and Materials
Before beginning the installation, gather all necessary tools and materials, including the light fixture, mounting hardware, a ladder, a screwdriver, and wire connectors. Ensure you have the installation manual for reference.
2. Turn Off Power
Safety is paramount. Turn off the power to the circuit where you will be installing the light fixture at the circuit breaker. Verify that the power is off using a voltage tester.
3. Prepare the Ceiling
Remove any existing fixtures and ensure that the ceiling box is securely attached and rated to support the new fixture’s weight. Make any necessary repairs or adjustments to the ceiling box.
4. Assemble the Fixture
Follow the manufacturer’s instructions to assemble the fixture. This may involve attaching the light bulbs, glass shades, or any decorative elements.
5. Mount the Fixture
Attach the mounting bracket to the ceiling box. Connect the fixture’s wiring to the ceiling wires, matching the colors (black to black, white to white, and green or copper to the ground wire). Secure the connections with wire connectors.
6. Install the Fixture
Once the wiring is connected, attach the fixture to the mounting bracket. Ensure that all screws and fasteners are tightly secured. Install any additional components, such as glass shades or decorative elements.
7. Turn On Power and Test
Restore power to the circuit and test the fixture to ensure it operates correctly. Check for proper illumination and any potential issues with the installation.
Maintenance of Art Deco Ceiling Light Fixtures
To keep your Art Deco ceiling light fixtures looking their best and functioning properly, regular maintenance is essential. Here are some tips for maintaining your fixtures:
1. Cleaning
Dust and debris can accumulate on the fixture, affecting its appearance and performance. Use a soft cloth to clean the fixture regularly. For glass or crystal elements, use a glass cleaner and a lint-free cloth to avoid streaks.
2. Inspecting for Damage
Periodically inspect the fixture for any signs of damage, such as cracked glass or loose components. Address any issues promptly to prevent further damage and ensure safe operation.
3. Replacing Bulbs
Replace burned-out bulbs with the appropriate type and wattage recommended by the manufacturer. Ensure that the fixture is turned off and cool before replacing bulbs.
4. Checking Electrical Connections
Occasionally check the electrical connections to ensure they are secure and free from corrosion. If you notice any issues, consult a professional electrician for repairs.
Troubleshooting Common Issues
If you experience problems with your Art Deco ceiling light fixture, here are some common issues and troubleshooting tips:
1. Fixture Not Working
If the fixture does not turn on, check the power supply and ensure the circuit breaker is not tripped. Verify that the fixture is properly connected to the ceiling box and that the wiring is intact.
2. Flickering Light
Flickering lights can be caused by loose bulbs or wiring issues. Check that the bulbs are securely installed and inspect the wiring connections for any loose or damaged wires.
3. Uneven Illumination
Uneven illumination can result from a poorly installed fixture or obstructions. Ensure that the fixture is properly aligned and that there are no objects blocking the light.
4. Noise or Vibration
If the fixture produces unusual noises or vibrations, check for loose components or imbalances. Tighten any loose screws and ensure that the fixture is securely mounted.
Conclusion
Art Deco ceiling light fixtures are a timeless addition to any interior, offering both functional lighting and a touch of luxury. By understanding the key elements of Art Deco design, selecting the right fixture, and following proper installation and maintenance procedures, you can enhance your space with a beautiful and functional lighting solution. Whether you opt for a grand chandelier or a sleek flush mount, Art Deco ceiling light fixtures will add elegance and sophistication to your home.