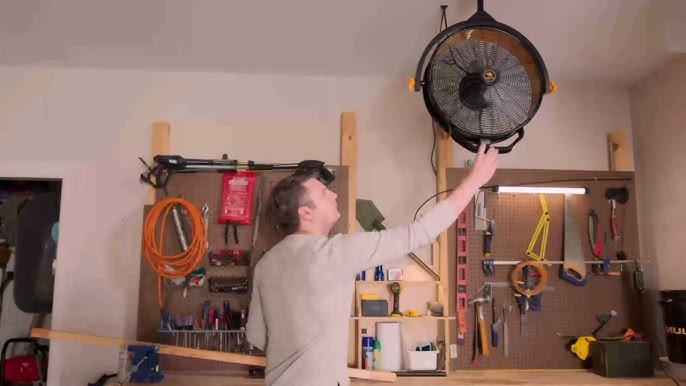
When creating a cozy and charming environment in your rustic cabin, the right ceiling fan can be both a functional and aesthetic choice. Rustic Cabin Ceiling Fan blend seamlessly with the natural, rugged charm of cabin interiors, enhancing both comfort and style. This comprehensive guide will explore the benefits of rustic cabin ceiling fans, factors to consider when choosing one, and maintenance tips to keep them in top condition.
Understanding Rustic Cabin Ceiling Fans
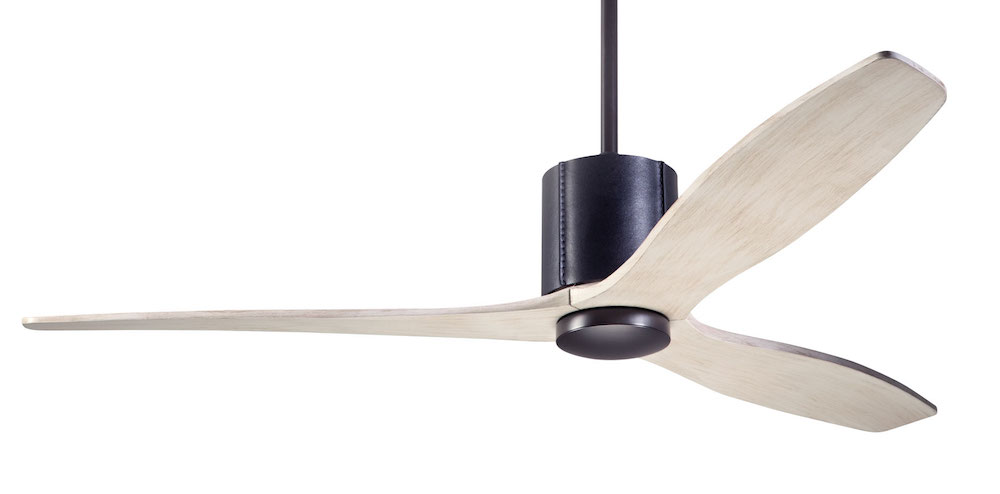
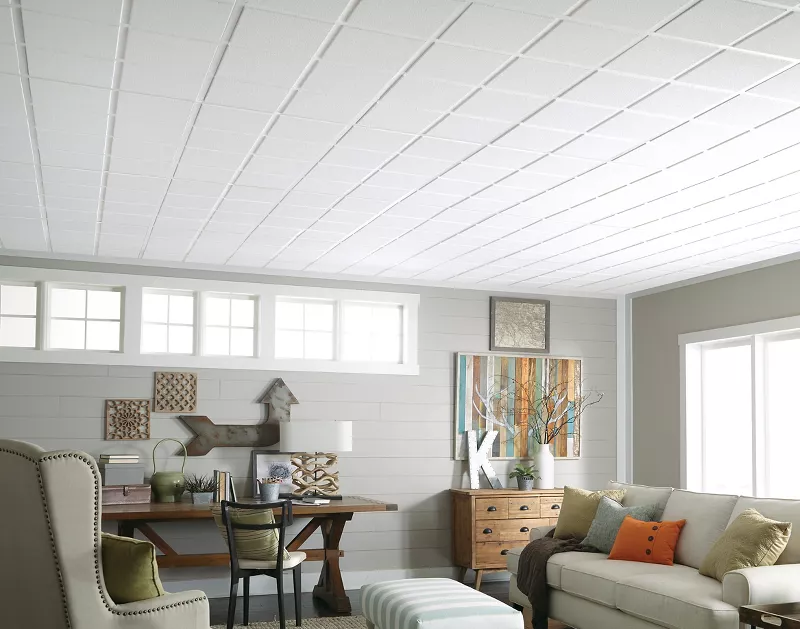
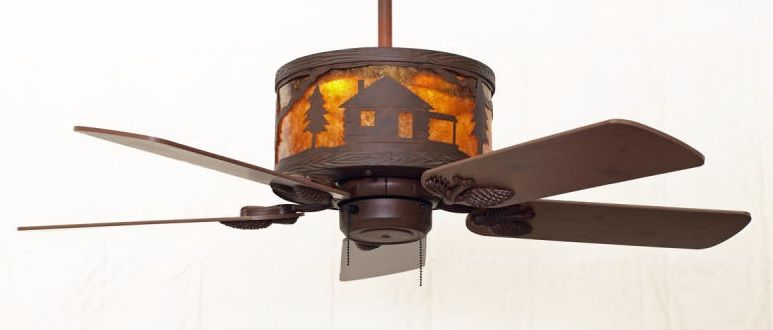
Rustic Cabin Ceiling Fans are designed to complement the natural and earthy aesthetics of cabin interiors. These fans often feature materials and designs that echo the rugged beauty of nature, such as wood finishes, metal accents, and traditional motifs. They not only provide essential airflow but also contribute to the overall ambiance of your cabin.
Key Features of Rustic Cabin Ceiling Fans
- Natural Materials: Many rustic ceiling fans incorporate materials like wood, wrought iron, and antique finishes. These materials help to create a warm, inviting atmosphere that aligns with the natural beauty of a cabin setting.
- Traditional Designs: Rustic ceiling fans often feature traditional or vintage designs. Look for fans with details such as ornate metalwork, distressed wood finishes, and classic blade shapes.
- Durability: Given the often harsh conditions of cabin environments, rustic ceiling fans are built to be durable and long-lasting. They are designed to withstand varying temperatures and humidity levels.
Benefits of Rustic Cabin Ceiling Fans
1. Enhancing Aesthetic Appeal
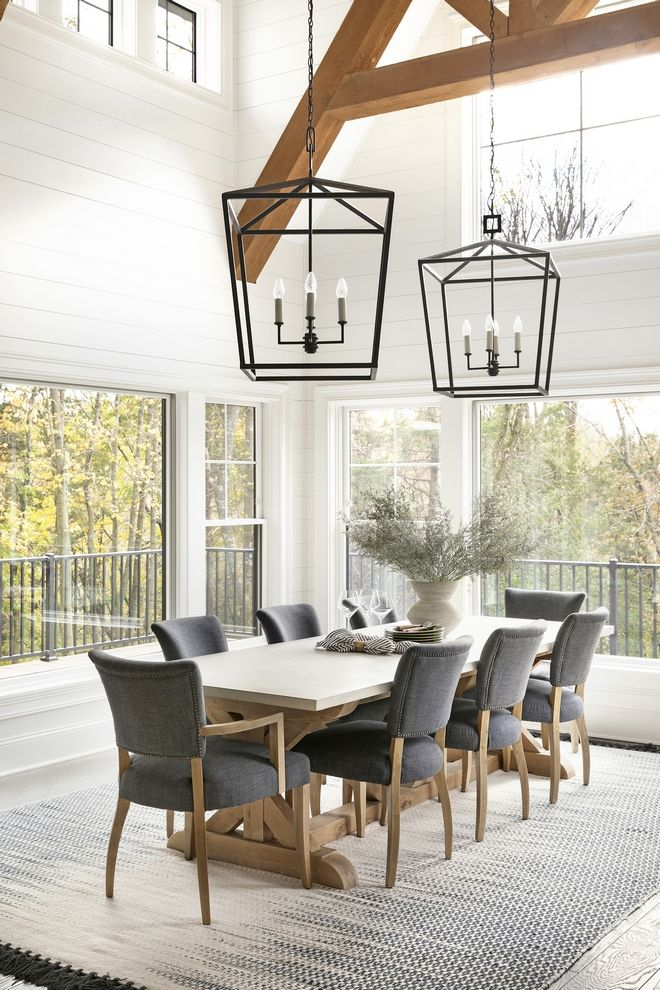
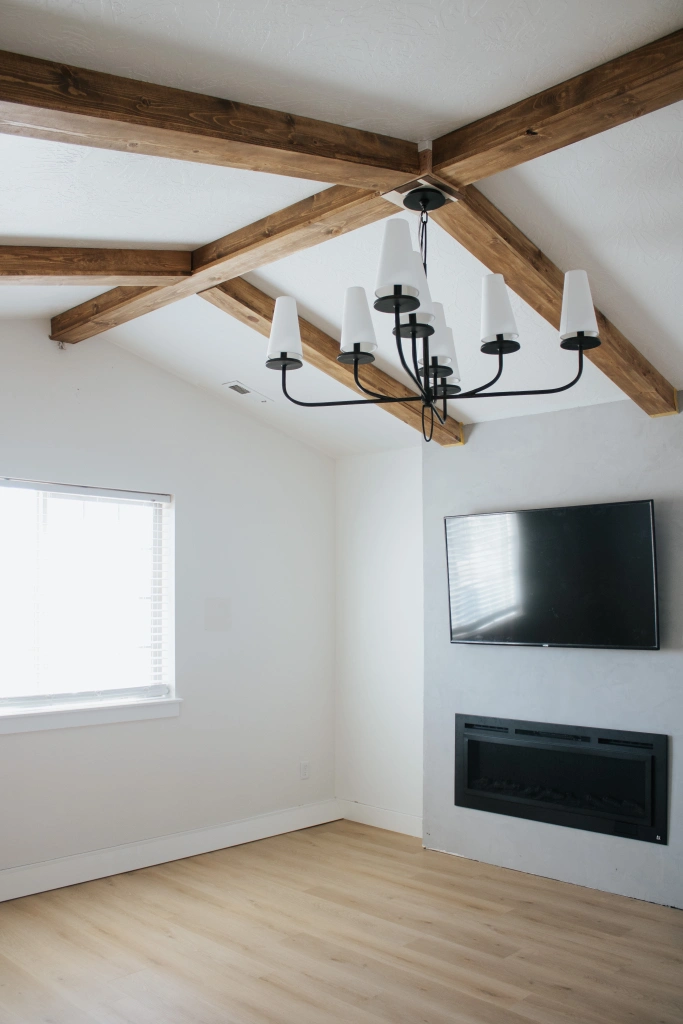
One of the main benefits of Rustic Cabin Ceiling Fans is their ability to enhance the aesthetic appeal of your cabin. They blend effortlessly with the natural, rugged decor of a cabin, adding a touch of sophistication while maintaining a casual, comfortable look.
Read too: Bathroom Flooded Through the Ceiling: A Comprehensive Guide
2. Improving Air Circulation
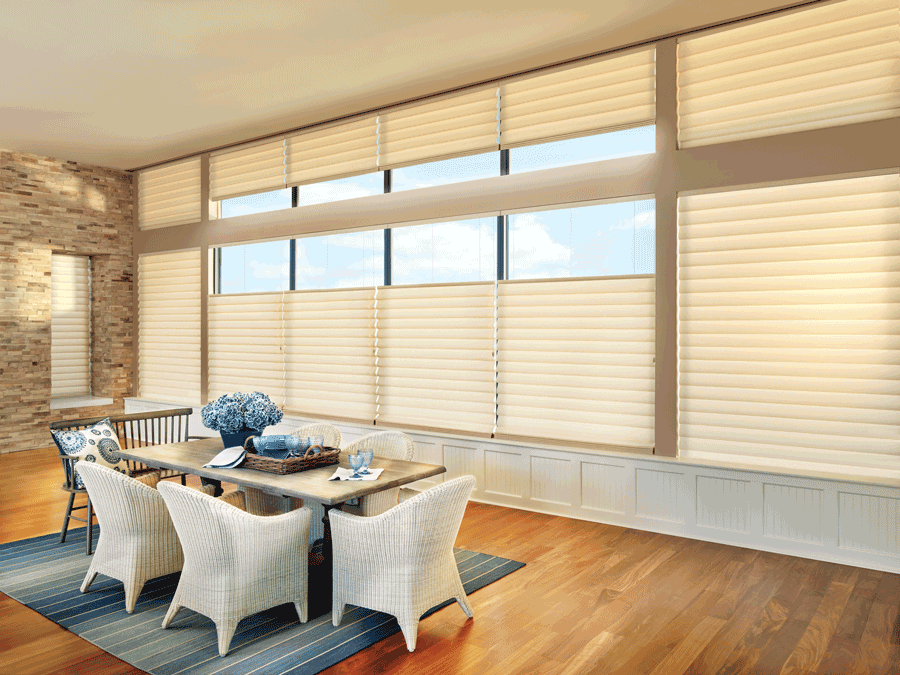
Ceiling fans are essential for improving air circulation. They help to distribute air evenly throughout the room, creating a comfortable environment by reducing hot and cold spots. This is especially useful in a cabin, where heating and cooling can be uneven.
3. Energy Efficiency
Using ceiling fans can help reduce energy costs. By improving air circulation, you can reduce the reliance on heating and cooling systems, which can lower your energy bills. In the summer, a ceiling fan helps to create a wind-chill effect, making the room feel cooler without lowering the thermostat.
4. Versatility
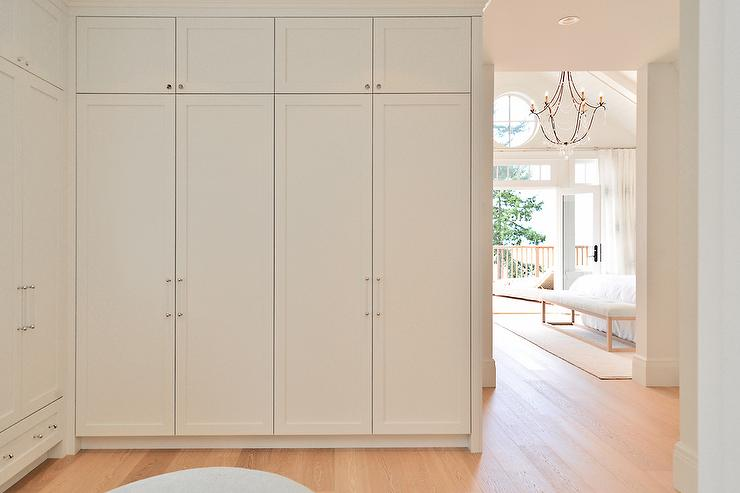
Rustic Cabin Ceiling Fans are versatile and can be used in various settings within a cabin. Whether you’re outfitting a living room, bedroom, or even a covered porch, a rustic ceiling fan can provide both style and function.
Choosing the Right Rustic Cabin Ceiling Fan
1. Consider the Size of the Room
The size of your room will influence the size of the ceiling fan you choose. Larger rooms benefit from fans with longer blade spans, while smaller rooms require more compact models. Measure your room and consult the manufacturer’s guidelines to select the appropriate size.
2. Evaluate the Design and Finish
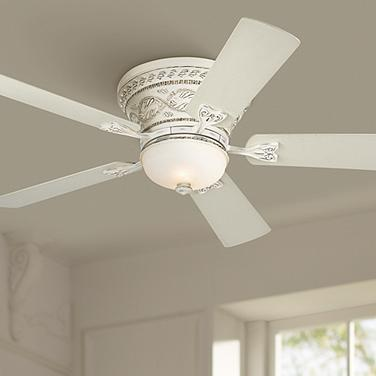
The design and finish of your ceiling fan should complement your cabin’s decor. Rustic cabin fans come in various styles, including those with wood blades, antique finishes, and metal accents. Choose a design that enhances the overall theme of your cabin while providing the functionality you need.
3. Look for Adjustable Speeds and Reversible Motor
A fan with adjustable speeds allows you to control the airflow according to your needs. A reversible motor feature is also beneficial, as it enables the fan to run in both directions. In the winter, running the fan in reverse helps to circulate warm air that collects near the ceiling.
4. Check for Additional Features
Modern Rustic Cabin Ceiling Fans may come with additional features such as integrated lighting, remote controls, and energy-efficient LED bulbs. Consider these extras based on your preferences and needs.
Installation and Maintenance Tips
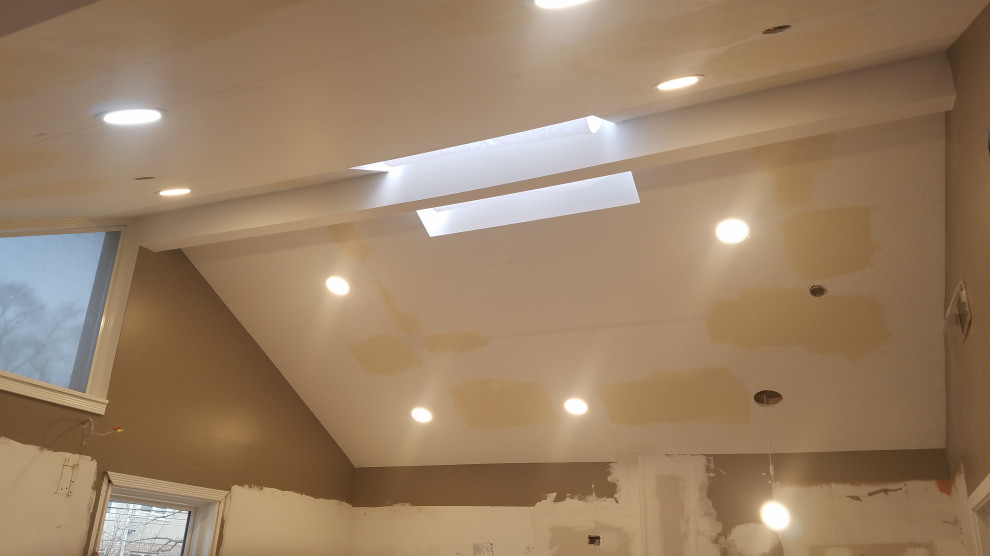
1. Professional Installation
For best results, it’s recommended to have your ceiling fan installed by a professional. Proper installation ensures that the fan operates efficiently and safely. A professional can also help with any electrical work needed.
2. Regular Cleaning
To maintain the appearance and performance of your Rustic Cabin Ceiling Fan, regular cleaning is essential. Dust the blades and other components regularly to prevent buildup. Use a soft cloth and a gentle cleaner to avoid damaging the finish.
3. Inspect for Wear and Tear
Periodically check your ceiling fan for any signs of wear and tear, such as loose blades or squeaking noises. Address any issues promptly to prevent further damage and ensure the fan continues to operate smoothly.
4. Lubrication
Some ceiling fans require occasional lubrication of the motor and moving parts. Consult the manufacturer’s instructions for specific maintenance recommendations for your model.
Comparing Rustic Cabin Ceiling Fans with Other Styles
1. Modern Ceiling Fans
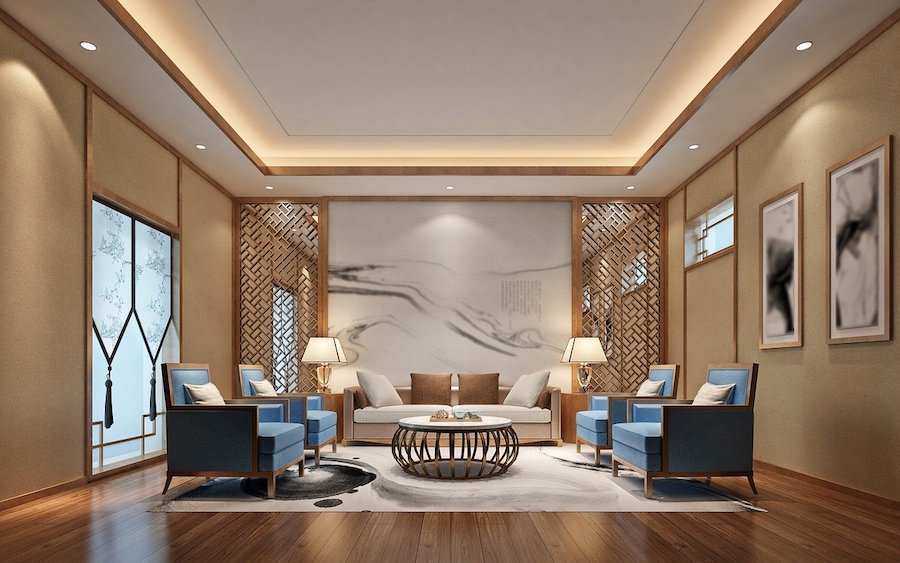
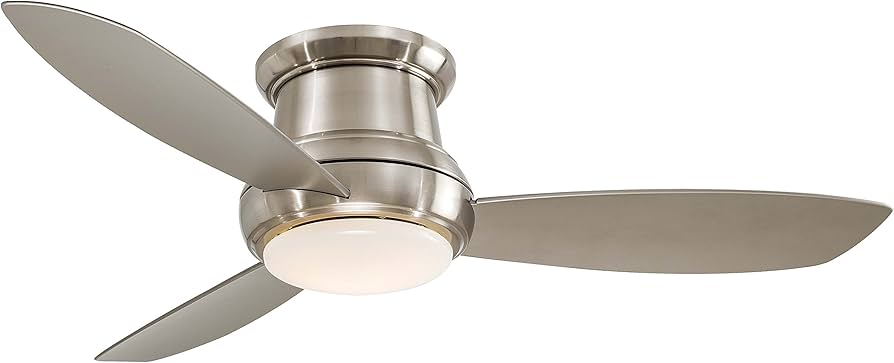
Modern ceiling fans often feature sleek, minimalistic designs and advanced technology. While they offer contemporary style and efficiency, they may not blend as seamlessly with the traditional charm of a rustic cabin.
2. Industrial Ceiling Fans
Industrial ceiling fans are designed for durability and functionality in industrial settings. They often feature robust materials and utilitarian designs. While durable, they may lack the aesthetic appeal of a rustic cabin fan.
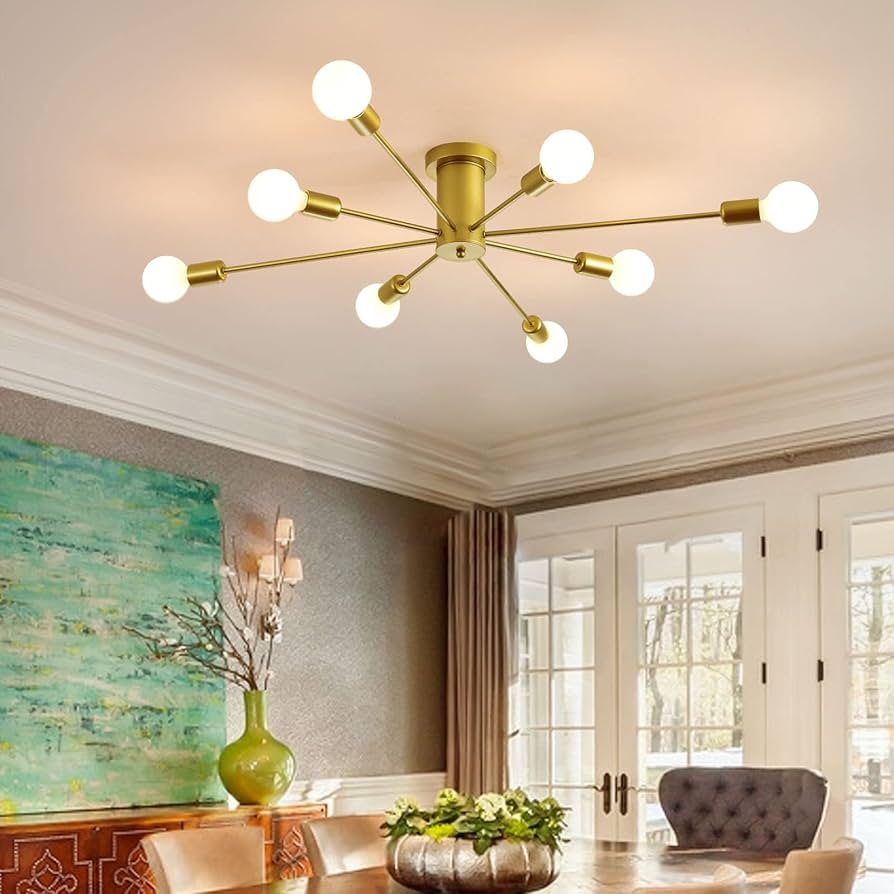
3. Traditional Ceiling Fans
Traditional ceiling fans include classic designs with ornate details. They share some similarities with rustic fans but may not always feature the same natural materials or rugged finishes.
Conclusion
Rustic Cabin Ceiling Fans are more than just a practical addition to your cabin; they are a stylish and functional element that enhances your living space. By choosing the right fan, considering installation and maintenance tips, and comparing with other styles, you can create a comfortable and charming environment that reflects the natural beauty of your rustic retreat.