Discover the top Craftmade outdoor ceiling fans to enhance your outdoor living spaces with style and functionality. Whether you’re looking to cool a patio, porch, or deck, Craftmade offers a range of high-quality fans designed to withstand outdoor conditions while providing optimal airflow. This comprehensive guide explores everything you need to know about Craftmade outdoor ceiling fans, from their features and benefits to installation tips and maintenance.
Why Choose Craftmade Outdoor Ceiling Fans?
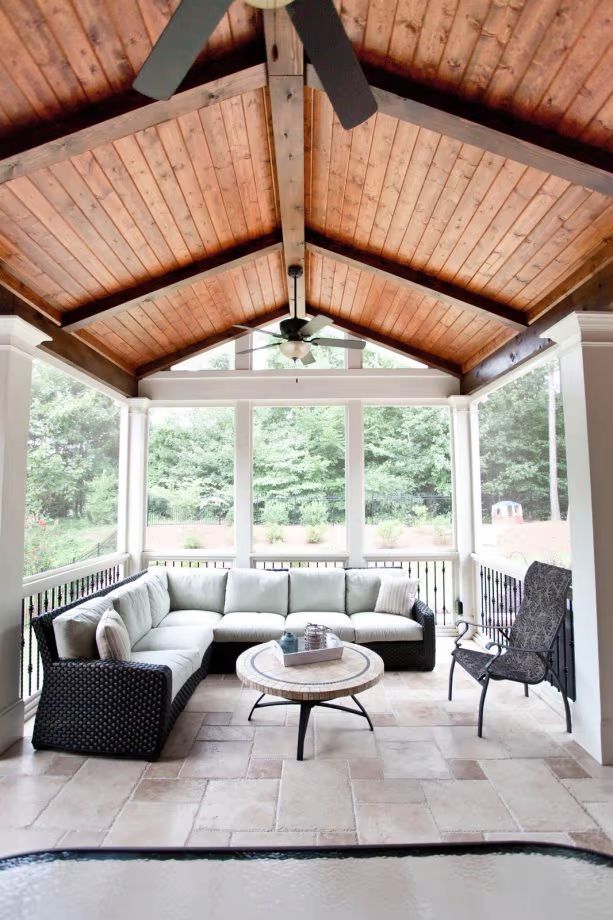
Craftmade outdoor ceiling fans are renowned for their durability, performance, and aesthetic appeal. Key reasons to consider these fans for your outdoor spaces include:
- Weather-resistant Construction: Craftmade fans are designed with materials that withstand outdoor elements such as moisture, humidity, and sunlight.
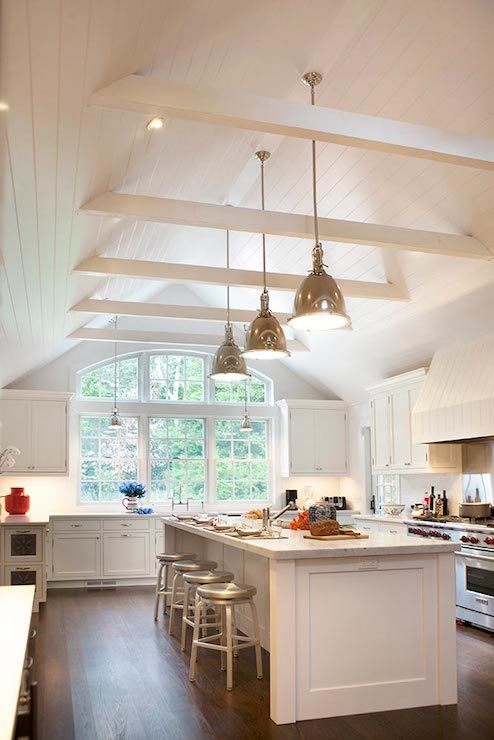
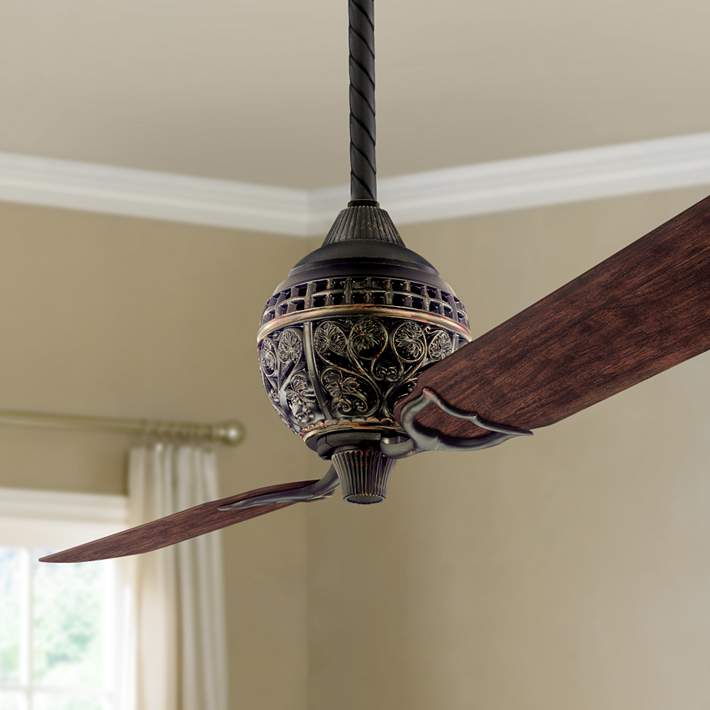
- Variety of Styles: From traditional to contemporary designs, Craftmade offers a wide selection of fans to complement any outdoor decor scheme.
- Energy Efficiency: Many Craftmade models are Energy Star rated, helping you save on energy costs while keeping your outdoor area comfortable.
- Quiet Operation: Enjoy a peaceful outdoor environment with Craftmade fans that operate quietly, ideal for relaxing or entertaining outdoors.
Features of Craftmade Outdoor Ceiling Fans
Explore the features that make Craftmade outdoor ceiling fans stand out:
- Damp-Rated and Wet-Rated Options: Craftmade offers fans with damp-rated or wet-rated certifications, suitable for covered patios or fully exposed outdoor areas.
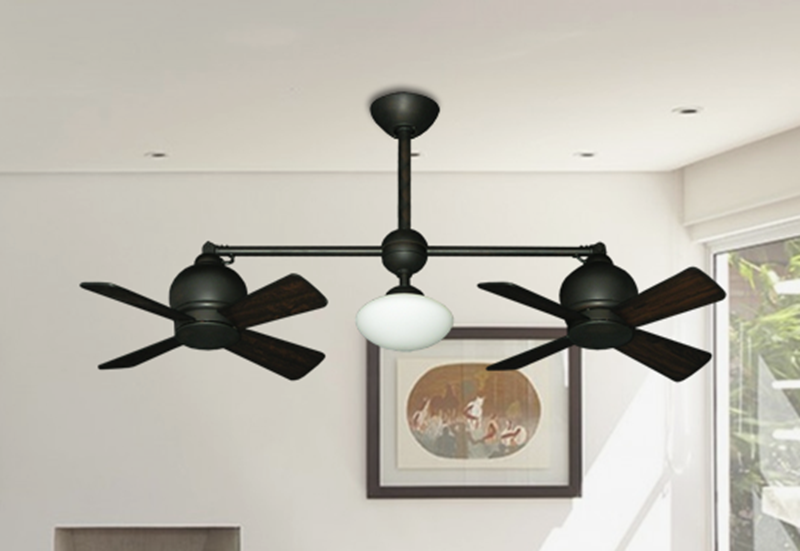
- Blade Options: Choose from various blade materials and finishes, including ABS plastic, wood, or metal, to match your outdoor decor.
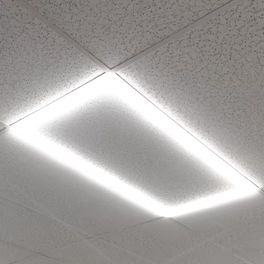
- Lighting Options: Many Craftmade outdoor fans come with integrated light kits or the option to add one, providing both illumination and air circulation.
- Remote Control and Smart Options: Some models include remote controls or are compatible with smart home technology, offering convenience and ease of use.
Choosing the Right Craftmade Outdoor Ceiling Fan
Consider these factors when selecting a Craftmade outdoor ceiling fan for your space:
- Size: Choose a fan size appropriate for the square footage of your outdoor area to ensure effective air circulation.
- Location: Determine whether your fan will be installed in a damp or wet location to select the appropriate rating (damp-rated for covered areas, wet-rated for exposed areas).
- Style and Design: Select a fan that complements your outdoor decor, whether you prefer a classic look or a modern aesthetic.
- Airflow Efficiency: Check the fan’s CFM (cubic feet per minute) rating to ensure it provides sufficient airflow for your outdoor space.
Installation Tips
Follow these steps for a successful installation of your Craftmade outdoor ceiling fan:
Preparation:
- Turn Off Power: Shut off electricity to the installation area at the breaker box to ensure safety during installation.
- Gather Tools: Prepare tools such as a screwdriver, ladder, and wire cutters for the installation process.
- Check Mounting Surface: Ensure the ceiling or mounting surface is sturdy enough to support the weight of the fan and is compatible with the installation hardware provided.
Installation Process:
- Mounting Bracket Installation: Securely install the mounting bracket to the ceiling or beam according to manufacturer instructions.
- Wire Connection: Connect the fan’s wiring to the electrical supply, following wiring diagrams provided in the fan’s manual.
- Assemble Fan Components: Assemble the fan blades, motor housing, and any light kit components according to the included instructions.
Testing and Adjustments:
- Secure Connections: Double-check all connections to ensure they are secure and insulated properly.
- Test Operation: Turn on the power and test the fan and any lighting functions to ensure they operate correctly.
- Balance Blades: Use a balancing kit (if included) to balance the fan blades for smooth operation and minimal vibration.
Maintaining Craftmade Outdoor Ceiling Fans
To keep your Craftmade outdoor ceiling fan in optimal condition:
- Regular Cleaning: Clean fan blades, motor housing, and light fixtures regularly to remove dust and debris.
- Check for Rust: Inspect metal components for signs of rust or corrosion, especially in wet-rated fans exposed to the elements.
- Lubricate Moving Parts: Apply lubricant to the fan motor and bearings as recommended by the manufacturer to maintain smooth operation.
- Inspect Electrical Connections: Periodically check wiring and electrical connections for signs of wear or damage, repairing or replacing components as needed.
Where to Buy Craftmade Outdoor Ceiling Fans
Explore these sources for purchasing Craftmade outdoor ceiling fans:
- Home Improvement Stores: Visit local stores such as Lowe’s or Home Depot for in-person selection and assistance.
- Online Retailers: Websites like Wayfair, Amazon, and Craftmade’s official website offer a wide range of models with customer reviews and detailed specifications.
- Specialty Lighting and Fan Retailers: Consider purchasing from specialty retailers that focus on ceiling fans and outdoor lighting solutions for expert advice and customization options.
Read too: Elevate Your Home Décor with Exquisite Japanese Style Ceiling Lamp Designs
Conclusion
Craftmade outdoor ceiling fans offer a stylish and practical solution to enhance comfort in your outdoor living spaces. By understanding their features, selecting the right fan for your needs, and ensuring proper installation and maintenance, you can enjoy cool breezes and added ambiance in your patio, porch, or deck year-round.