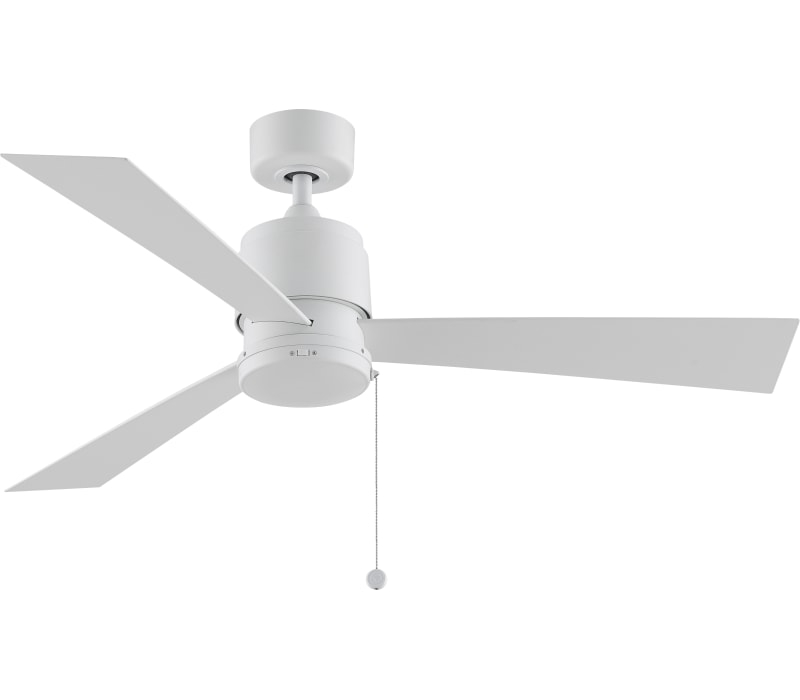
When it comes to enhancing comfort and style in your home, Fasco Industries ceiling fans stand out as a top choice. With a rich history of craftsmanship and innovation, Fasco Industries has been delivering high-quality ceiling fans that cater to various tastes and needs. In this article, we will explore the unique features, benefits, styles, and maintenance tips for Fasco Industries ceiling fans, helping you make an informed decision for your living space.
Introduction to Fasco Industries
Fasco Industries has built a reputation for producing reliable and stylish ceiling fans since its inception. Known for their durability and aesthetic appeal, Fasco ceiling fans are designed to complement various interior styles, from traditional to contemporary. The brand is committed to energy efficiency and innovation, making their fans a smart choice for environmentally-conscious consumers.
Why Choose Fasco Industries Ceiling Fans?
When selecting a ceiling fan, it’s essential to consider several factors: design, performance, efficiency, and maintenance. Fasco Industries ceiling fans excel in all these aspects, ensuring you receive a product that meets your expectations. Here are some reasons to choose Fasco:
- High-Quality Materials: Fasco ceiling fans are constructed using premium materials, ensuring longevity and performance. Whether you opt for wood, metal, or a combination, you can be confident in your fan’s durability.
- Energy Efficiency: Many models are designed with energy-saving features, allowing homeowners to enjoy comfortable airflow without excessive energy costs. This not only helps the environment but also reduces utility bills.
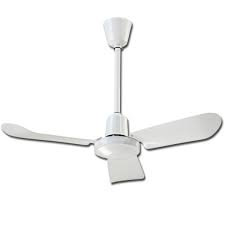
- Wide Range of Styles: Fasco offers a vast selection of ceiling fans in various styles, sizes, and finishes. Whether you are looking for something modern and sleek or classic and ornate, Fasco has a fan that will fit your décor.
- Quiet Operation: The engineering behind Fasco ceiling fans ensures quiet performance, making them ideal for bedrooms, living rooms, and offices where noise can be a distraction.
- Easy Installation: Most Fasco fans are designed for easy installation, allowing homeowners to set them up without needing professional assistance.
Read too: Bathroom Flooded Through the Ceiling: A Comprehensive Guide
Features of Fasco Industries Ceiling Fans
Understanding the unique features of Fasco Industries ceiling fans will help you make an informed decision. Here are some key features that set these fans apart:
1. Stylish Designs
Fasco ceiling fans come in various styles, including:
- Traditional: These fans often feature intricate designs, rich wood finishes, and ornate details that complement classic home décor.
- Contemporary: Sleek lines, minimalist designs, and modern materials characterize contemporary fans, making them perfect for modern interiors.
- Rustic: If your home has a country or farmhouse theme, Fasco offers fans that capture the essence of rustic charm, featuring distressed wood and vintage finishes.
2. Variety of Sizes
Fasco understands that different spaces require different fan sizes. They offer ceiling fans in a range of diameters, from small fans for cozy rooms to large fans for spacious living areas. This ensures that you can find the perfect size for your space.
3. Efficient Airflow
One of the standout features of Fasco Industries ceiling fans is their ability to circulate air effectively. Many models are equipped with powerful motors that provide adjustable speed settings, allowing you to customize the airflow to your liking. This feature is particularly useful during extreme weather conditions, whether it’s hot summer days or chilly winter nights.
4. Reversible Motor
Most Fasco ceiling fans come with a reversible motor, which allows the fan blades to rotate in both directions. In the summer, you can set the fan to rotate counterclockwise, creating a cooling breeze. In the winter, switching to a clockwise rotation helps circulate warm air that rises to the ceiling, making your space more comfortable year-round.
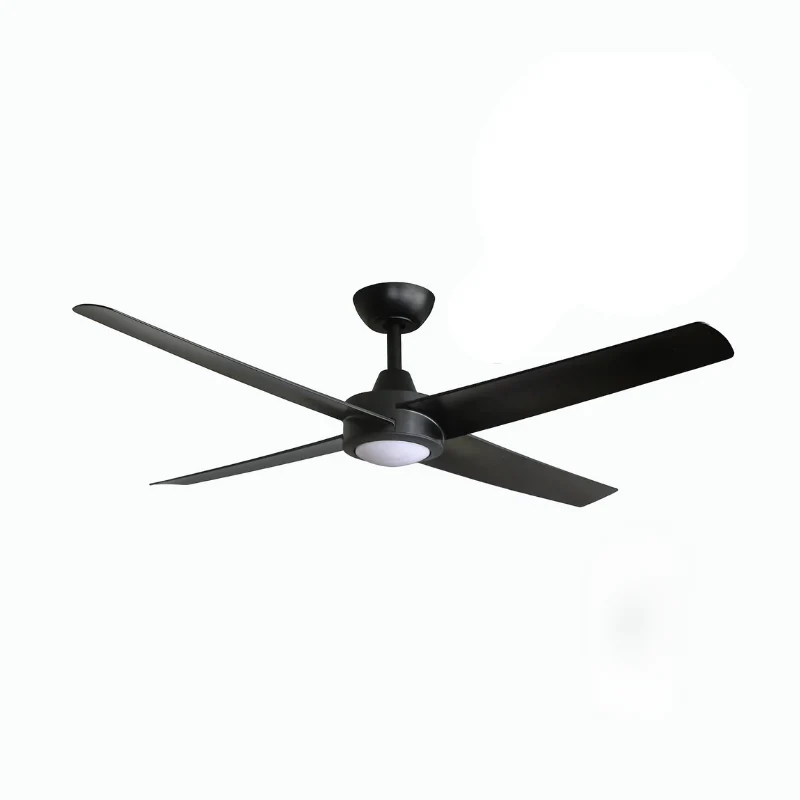
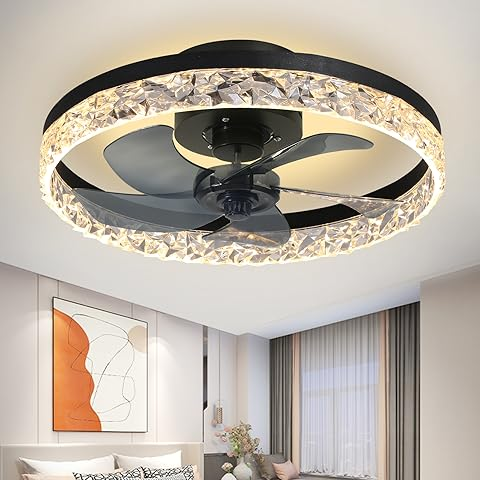
5. Integrated Lighting
Many Fasco Industries ceiling fans feature integrated lighting options, providing both illumination and airflow. Whether you prefer a soft glow or bright light, these fans can enhance the ambiance of your room while keeping it well-lit.
Benefits of Fasco Industries Ceiling Fans
Investing in Fasco Industries ceiling fans comes with numerous advantages that extend beyond aesthetics. Here are some of the key benefits:
1. Improved Comfort
Fasco ceiling fans help regulate room temperature by promoting better air circulation. This leads to a more comfortable environment, reducing the need for excessive heating or cooling.
2. Energy Savings
By using ceiling fans in conjunction with your heating and cooling systems, you can reduce energy consumption. During summer months, ceiling fans help cool your space, allowing you to raise the thermostat by a few degrees without sacrificing comfort. In winter, the reversible motor can circulate warm air, reducing the workload on your heating system.
3. Enhanced Décor
With a variety of styles, colors, and finishes available, Fasco Industries ceiling fans can serve as stunning focal points in any room. They can enhance your home’s overall aesthetic and bring together various design elements.
4. Low Maintenance
Fasco ceiling fans are designed for durability and ease of maintenance. A simple dusting and occasional cleaning of the blades are usually all that’s required to keep your fan looking and functioning at its best.
5. Increased Home Value
Quality ceiling fans can add value to your home. Potential buyers often appreciate the comfort and aesthetic appeal of stylish, functional ceiling fans, making your home more attractive on the market.
Popular Models of Fasco Industries Ceiling Fans
Fasco Industries offers a variety of models to cater to different needs and preferences. Here are a few popular models that you might consider:
1. Fasco Industries F76301
The Fasco Industries F76301 ceiling fan features a classic design with a beautiful wood finish. Its three-speed motor and reversible function make it a versatile choice for any season. The elegant style complements traditional and rustic decors, making it a timeless addition to your home.
2. Fasco Industries 52″ Roto Ceiling Fan
The 52″ Roto Ceiling Fan is known for its contemporary design and powerful airflow. With its sleek lines and minimalist style, it fits perfectly in modern spaces. The integrated LED light provides excellent illumination, making it a practical choice for living areas and kitchens.
3. Fasco Industries 44″ Eberle Ceiling Fan
If you’re looking for something compact, the 44″ Eberle Ceiling Fan is an excellent option. This fan is ideal for smaller rooms and features a stylish design that doesn’t compromise on performance. Its quiet operation and energy-efficient motor make it a popular choice for bedrooms.
Installation Tips for Fasco Industries Ceiling Fans
Installing a Fasco Industries ceiling fan can be a straightforward process if you follow the right steps. Here’s a quick guide to help you with the installation:
Step 1: Gather Your Tools
Before you begin, ensure you have the necessary tools, such as:
- Screwdriver
- Ladder
- Wire cutters
- Voltage tester
- Wire connectors
Step 2: Turn Off Power
Safety is paramount. Before starting, turn off the power to the existing ceiling fan or light fixture at the circuit breaker.
Step 3: Remove the Old Fixture
If replacing an existing fan, carefully remove it by unscrewing the mounting bracket and disconnecting the wiring.
Step 4: Assemble the Fan
Follow the instructions included with your Fasco Industries ceiling fan to assemble the unit. This usually involves attaching the blades to the motor and securing the light fixture if applicable.
Step 5: Mount the Fan
Attach the mounting bracket to the ceiling and secure the fan’s motor assembly to the bracket. Ensure that it is level and stable.
Step 6: Connect the Wiring
Carefully connect the wires following the color coding: typically, black to black (power), white to white (neutral), and green or copper to the ground wire. Use wire connectors for safety.
Step 7: Test the Fan
Once all connections are secure, restore power at the circuit breaker and test the fan to ensure it operates correctly.
Maintenance Tips for Fasco Industries Ceiling Fans
To keep your Fasco Industries ceiling fans running smoothly, regular maintenance is crucial. Here are some tips:
1. Clean the Blades
Dust accumulation can affect performance and air quality. Use a soft cloth or duster to clean the fan blades regularly. For hard-to-reach areas, an extendable duster works well.
2. Check for Wobbling
If your fan wobbles during operation, it could indicate loose screws or imbalanced blades. Turn off the fan, tighten all screws, and ensure the blades are evenly spaced.
3. Lubricate the Motor
Depending on the model, some Fasco fans may require occasional lubrication of the motor to maintain optimal performance. Refer to the manufacturer’s instructions for specifics.
4. Inspect the Wiring
Periodically check the wiring for signs of wear or damage. If you notice any issues, consult a qualified electrician for repairs.
Conclusion
Fasco Industries ceiling fans offer a perfect blend of style, efficiency, and functionality. With a variety of designs, materials, and sizes available, there’s a Fasco fan to suit every home and lifestyle. By understanding the features, benefits, and maintenance tips, you can make a well-informed decision when selecting the right ceiling fan for your space. Whether you’re upgrading an existing fan or installing a new one, Fasco Industries ceiling fans will undoubtedly enhance your home’s comfort and aesthetic appeal.