Installing a Ceilings Fan on a Sloped Ceiling: Maximizing Comfort and Style

Learn how to enhance the functionality and aesthetics of your home by installing a ceilings fan on a sloped ceiling, ensuring optimal airflow and comfort in any room.
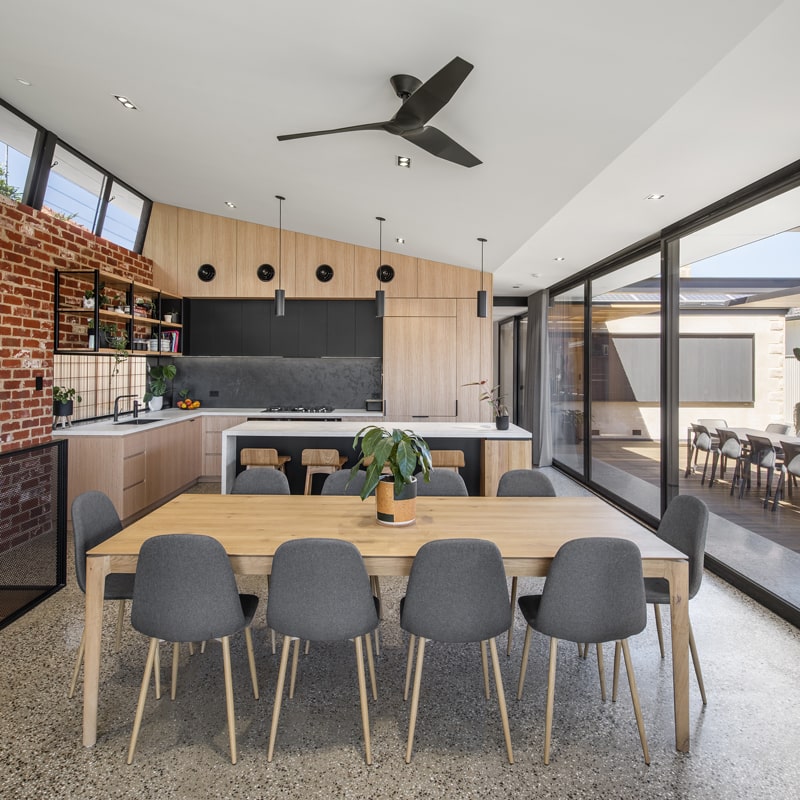
Ceiling Fan On Sloped Ceiling

Understanding

Installing a ceiling fan on a sloped ceiling presents unique challenges and considerations. However, with the right techniques and accessories, homeowners can successfully mount a ceiling fan on a sloped or vaulted ceiling, maximizing both comfort and style in their living spaces.

Challenges of Installing Ceiling Fan on Sloped Ceiling

Mounting a ceiling fan on a sloped ceiling requires careful planning and execution due to several challenges:

  1. Angle Adjustment: Sloped ceilings vary in angle, making it essential to select a ceiling fan with an adjustable mounting bracket that can accommodate different slopes.
  2. Stability: Ensuring the stability and balance of the ceiling fan on a sloped surface is crucial to prevent wobbling or shaking during operation.
  3. Wiring: Properly routing and concealing electrical wiring on a sloped ceiling can be more challenging than on a flat ceiling, requiring careful attention to safety and aesthetics.

Solutions for Installing Ceiling Fan on Sloped Ceiling

Follow these steps for a successful installation:

1. Choose the Right Ceiling Fan

  • Select a ceiling fan specifically designed for sloped ceilings, equipped with an adjustable mounting bracket and appropriate wiring for angled installations.

2. Measure the Slope

  • Use a carpenter’s level or inclinometer to determine the angle of the sloped ceiling and ensure compatibility with the fan’s adjustable mounting bracket.

3. Install the Mounting Bracket

  • Securely attach the mounting bracket to the ceiling joist or support structure, following the manufacturer’s instructions and ensuring proper alignment with the ceiling slope.

4. Balance the Fan

  • Use a balancing kit to ensure the fan blades are properly aligned and balanced, minimizing noise and vibration during operation.

5. Conceal Wiring

  • Route electrical wiring along the ceiling joists or use conduit to conceal wiring on the sloped ceiling, ensuring a neat and professional-looking installation.

Benefits of Ceiling Fan on Sloped Ceiling

Installing a ceiling fan on a sloped ceiling offers several benefits:

  1. Improved Air Circulation: Ceiling fans help distribute air more evenly throughout the room, enhancing comfort and reducing energy costs.
  2. Enhanced Aesthetics: A ceiling fan adds visual interest to sloped ceilings, serving as both a functional fixture and a stylish design element.
  3. Space Optimization: By utilizing vertical space on sloped ceilings, ceiling fans maximize floor space and provide efficient cooling and air circulation.

Conclusion

Installing a ceilings fan on a sloped ceiling is an effective way to improve airflow, enhance comfort, and add visual appeal to any room. By understanding the challenges and solutions for mounting a ceiling fan on a sloped surface, homeowners can create a comfortable and stylish living environment that reflects their unique sense of style and functionality.

Read too: Flush Mount Rustic Ceiling Lights: Illuminate Your Space with Stunning
Bathroom With Sloped Ceiling: Design Tips and Ideas for a Stunning

Designing a bathroom with a sloped ceiling presents unique challenges and opportunities. Whether you’re working with an attic bathroom or a room tucked under a gabled roof, maximizing space and creating a stylish ambiance are key considerations. In this comprehensive guide, we’ll explore design tips and ideas for creating a stunning bathroom with a sloped ceiling, helping you make the most of your limited space while achieving a beautiful and functional design.

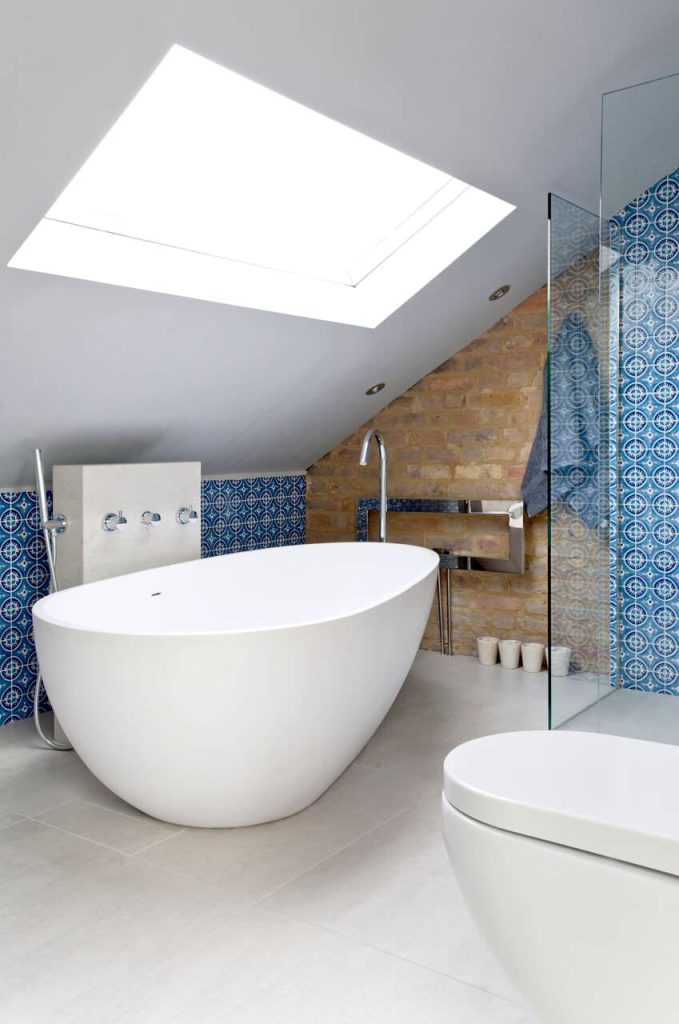
Bathroom With Sloped Ceiling

Understanding Bathroom With Sloped Ceiling

Maximizing Space

Bathrooms with sloped ceilings often have limited floor space, making it essential to maximize every inch of available space. Consider built-in storage solutions such as recessed shelving or cabinets to optimize storage without encroaching on valuable floor space. Additionally, choosing compact fixtures and fittings, such as wall-mounted toilets and pedestal sinks, can help free up space and create a more open and airy feel in the room.

Read too: Exploring Craftsman Style Ceiling Fans for Your Home: Embracing Timeless Elegance

Enhancing Natural Light

Sloped ceilings can create unique opportunities for incorporating natural light into your bathroom design. Consider installing skylights or dormer windows to bring in abundant natural light and create a sense of openness and connection to the outdoors. Additionally, strategically placing mirrors can help reflect light and make the space feel brighter and more expansive.

Creating a Stylish Ambiance

Despite the challenges posed by sloped ceilings, there are many ways to create a stylish and inviting ambiance in your bathroom. Choose a cohesive color scheme and cohesive design elements to visually unify the space and create a sense of harmony. Consider incorporating decorative lighting fixtures, such as pendant lights or wall sconces, to add a touch of elegance and sophistication to the room.

Design Tips for Bathroom With Sloped Ceiling

Embrace Vertical Space

In bathrooms with sloped ceilings, vertical space is your best friend. Take advantage of the height of the room by installing tall storage cabinets or shelving units to maximize storage capacity. Consider extending tile or wallpaper all the way up to the ceiling to visually elongate the walls and draw the eye upward, creating the illusion of a taller space.

Opt for Low-Profile Fixtures

When selecting fixtures and fittings for your bathroom with a sloped ceiling, opt for low-profile options that won’t overwhelm the space. Choose a shower enclosure with a low-profile base and sliding doors to save space and avoid obstructing the flow of the room. Similarly, select a sleek and compact vanity or sink that won’t protrude too far into the room.

Incorporate Reflective Surfaces

Incorporating reflective surfaces into your bathroom design can help bounce light around the room and make the space feel brighter and more spacious. Choose glossy tiles for the walls and floors to reflect light and create a sense of depth. Additionally, consider installing a large mirror above the vanity to visually expand the room and enhance its overall ambiance.

Conclusion

Designing a stunning bathroom with a sloped ceiling requires careful planning and creativity. By maximizing space, enhancing natural light, and incorporating stylish design elements, you can create a beautiful and functional bathroom that makes the most of its unique architectural features.

Ideas for a Stunning Shower With Sloped Ceiling: Transform Your Bathroom

Are you faced with the challenge of designing a shower in a bathroom with a sloped ceiling? While sloped ceilings can pose design obstacles, they also offer unique opportunities to create a visually stunning and functional shower space. In this guide, we’ll explore creative ideas and practical solutions for designing a shower with a sloped ceiling that combines style and functionality seamlessly.

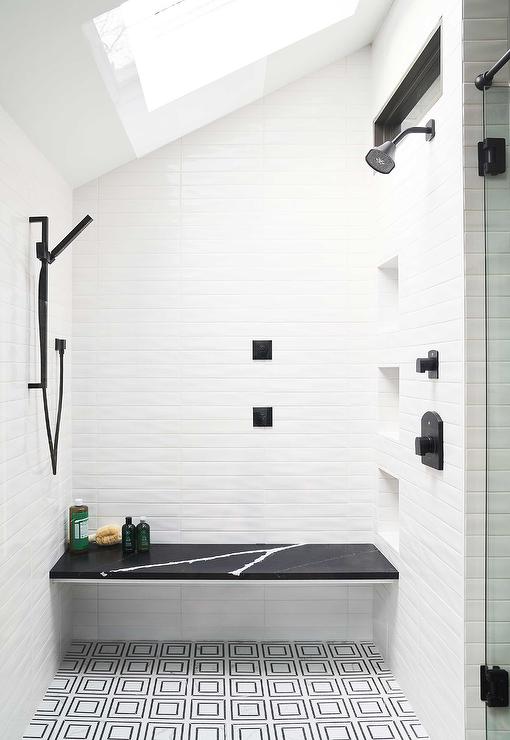
Shower With Sloped Ceiling

Understanding the Challenges and Opportunities

Designing a shower under a sloped ceiling presents both challenges and opportunities for homeowners and designers alike. While limited headroom and awkward angles may seem daunting, they can be leveraged to create a cozy and intimate shower experience. With thoughtful planning and innovative design solutions, you can transform your shower into a focal point of your bathroom.

Design Considerations for Shower With Sloped Ceiling

When planning a shower with a sloped ceiling, several key factors should be taken into account to ensure a successful design:

  1. Maximize Vertical Space: Since sloped ceilings limit vertical space, it’s essential to make the most of the available height. Consider installing taller shower doors or opting for a frameless glass enclosure to create a sense of openness and maximize natural light.
  2. Choose the Right Showerhead: Selecting the appropriate showerhead is crucial when working with a sloped ceiling. Opt for a wall-mounted or ceiling-mounted showerhead with adjustable height and spray settings to accommodate varying ceiling heights and ensure optimal water flow and coverage.
  3. Incorporate Built-In Storage: To optimize space and minimize clutter, consider integrating built-in storage solutions into your shower design. Recessed shelves or niches can be installed directly into the sloped walls to provide convenient storage for toiletries and bath essentials.
  4. Embrace Creative Lighting: Lighting plays a significant role in enhancing the ambiance of a shower with a sloped ceiling. Incorporate recessed lighting, LED strips, or waterproof sconces to illuminate the space effectively and create a spa-like atmosphere. Additionally, installing a skylight or a strategically placed window can introduce natural light and visually expand the shower area.
  5. Choose Durable and Waterproof Materials: Since showers are exposed to moisture and humidity, it’s essential to select durable and waterproof materials for the walls, floors, and ceiling. Opt for waterproof tile, stone, or glass surfaces that are easy to clean and maintain, ensuring longevity and performance in wet environments.

Inspirational Ideas for Shower With Sloped Ceiling

Now that we’ve covered the essential design considerations, let’s explore some inspirational ideas for creating a stunning shower with a sloped ceiling:

  1. Spa-Inspired Retreat: Transform your shower into a luxurious spa retreat by incorporating calming elements such as natural stone tile, rainfall showerhead, and built-in bench seating. Add a touch of elegance with a freestanding soaking tub and lush greenery for a serene and relaxing ambiance.
  2. Contemporary Elegance: Achieve a sleek and modern look with a monochromatic color scheme, minimalist fixtures, and geometric tile patterns. Install a linear drain along the shower floor for a seamless and stylish finish, complemented by recessed lighting and sleek glass partitions.
  3. Rustic Charm: Embrace the warmth and character of rustic design by incorporating reclaimed wood accents, exposed beams, and earthy textures. Opt for a walk-in shower with a stone or brick accent wall, paired with antique-inspired fixtures and vintage-style lighting for a cozy and inviting atmosphere.

Conclusion

Designing a shower with a sloped ceiling requires careful planning and attention to detail, but the results can be truly spectacular. By maximizing vertical space, incorporating built-in storage, embracing creative lighting, and choosing durable materials, you can create a shower that not only functions beautifully but also elevates the overall aesthetic of your bathroom.

Read too: Exploring the Efficiency of Radiant Ceiling Heater Electric: A Comprehensive Guide

6-Inch LED Recessed Lighting For Sloped Ceiling: Illuminating Your Space with Style and Efficiency

6-Inch LED Recessed Lighting For Sloped Ceiling. When it comes to illuminating your home, especially spaces with sloped ceilings, finding the right lighting solution can be a challenge. Traditional lighting fixtures often struggle to adapt to the unique angles and contours of sloped ceilings, resulting in uneven lighting and a less-than-ideal ambiance. However, with the advent of 6-inch LED recessed lighting, homeowners now have a versatile and efficient option that is specifically designed to complement sloped ceilings while providing ample illumination and energy savings.

6-Inch Led Recessed Lighting For Sloped Ceiling

In this comprehensive guide, we will explore everything you need to know about 6-inch LED recessed lighting for sloped ceilings, from its benefits and features to installation tips and design considerations.

Why Choose 6-Inch LED Recessed Lighting For Sloped Ceiling?

6-Inch LED recessed lighting fixtures are specifically engineered to provide optimal lighting solutions for spaces with sloped ceilings. Unlike traditional lighting fixtures, which may require special mounting brackets or adapters to accommodate sloped ceilings, 6-inch LED recessed lights are designed to seamlessly integrate with the unique angles and contours of sloped surfaces.

One of the primary advantages of 6-inch LED recessed lighting is its versatility. These fixtures can be installed at various angles to ensure uniform illumination across the entire space, regardless of the slope of the ceiling. Additionally, LED technology offers superior energy efficiency and longevity compared to traditional incandescent or fluorescent bulbs, resulting in lower energy bills and reduced maintenance costs over time.

Read too: A Comprehensive Mr Cool Ceiling Cassette Review: Unveiling Excellence

Installing 6-Inch LED Recessed Lighting on Sloped Ceilings

Installing 6-inch LED recessed lighting on sloped ceilings requires careful planning and attention to detail to ensure optimal performance and aesthetics. Here are some steps to follow:

  1. Choose the Right Fixture: Select a 6-inch LED recessed lighting fixture that is specifically designed for sloped ceilings. These fixtures typically come with adjustable housings and trim options to accommodate various slope angles.
  2. Determine the Placement: Decide on the placement of the recessed lights based on the layout and dimensions of the room. Aim for uniform spacing and avoid placing fixtures too close to walls or corners.
  3. Prepare the Ceiling: Before installation, ensure that the ceiling surface is clean and free of any debris or obstacles. Mark the locations for the recessed lights using a pencil or chalk line.
  4. Cut the Openings: Use a hole saw or jigsaw to cut openings for the recessed lighting fixtures. Follow the manufacturer’s instructions for the correct hole size and spacing.
  5. Install the Fixtures: Secure the fixtures into the ceiling openings using the provided clips or brackets. Make sure they are flush with the ceiling surface and securely fastened in place.
  6. Connect the Wiring: Carefully follow the wiring diagram included with the fixtures to connect them to the electrical system. If you are not comfortable working with electrical wiring, it is best to hire a professional electrician for this step.
  7. Install Trim and Adjust: Once the fixtures are installed and wired, attach the trim pieces and adjust the angle of the lights as needed to achieve the desired illumination pattern.

Design Considerations for 6-Inch LED Recessed Lighting

In addition to providing practical illumination, 6-inch LED recessed lighting can also enhance the aesthetic appeal of your space. Here are some design considerations to keep in mind:

  • Trim Options: Choose trim styles and finishes that complement your decor and personal style. Options range from sleek and modern to traditional and decorative, allowing you to customize the look of your recessed lighting fixtures.
  • Dimming Capabilities: Opt for LED recessed lights with dimming capabilities to create ambiance and adjust the level of illumination according to different activities and moods.
  • Color Temperature: Consider the color temperature of the LED bulbs, which can range from warm white to cool white. Warmer temperatures (around 2700-3000 Kelvin) are ideal for creating a cozy and inviting atmosphere, while cooler temperatures (around 4000-5000 Kelvin) are better suited for task lighting and productivity.
  • Beam Spread: Pay attention to the beam spread of the recessed lights, which determines the width and intensity of the light beam. Narrow beams are suitable for accent lighting and highlighting specific areas, while wider beams provide general illumination.

Conclusion

6-Inch LED recessed lighting offers a versatile, energy-efficient, and aesthetically pleasing solution for illuminating spaces with sloped ceilings. Whether you’re renovating your home or designing a new construction project, these fixtures provide the perfect combination of style and functionality. With proper installation and thoughtful design considerations, you can create a beautifully illuminated space that enhances the overall ambiance and functionality of your home.