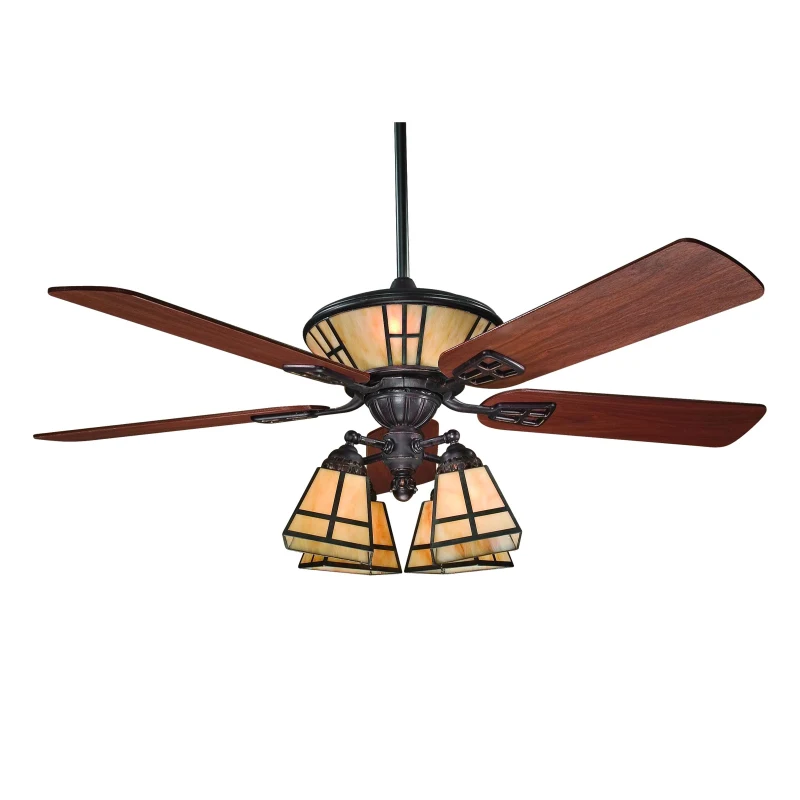
Discover the perfect blend of form and function with exquisite Mission Style Ceiling Fan. Elevate your interior design with these stunning fixtures that combine traditional craftsmanship with modern cooling technology.
Introduction
Mission style, also known as Arts and Crafts or Craftsman style, emerged in the late 19th century as a reaction against the mass-produced goods of the Industrial Revolution. Characterized by clean lines, simple forms, and natural materials, Mission style celebrates handcrafted elements and timeless design. Mission style ceiling fans embody these principles, offering both aesthetic appeal and superior functionality for any space.
Understanding Mission Style Ceiling Fans
Craftsmanship and Quality
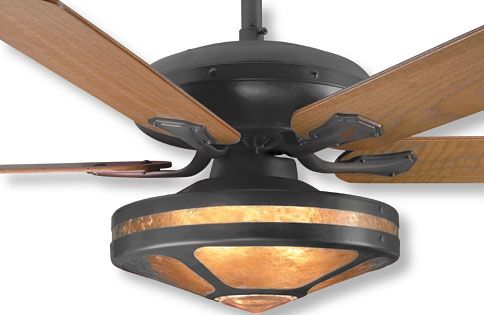
At the heart of Mission style ceiling fans is a commitment to craftsmanship and quality. These fans are meticulously crafted using traditional techniques and high-quality materials, such as solid wood blades, hand-forged metal hardware, and stained glass accents. Each fan is a work of art in its own right, designed to enhance the beauty and character of any room.
Timeless Design
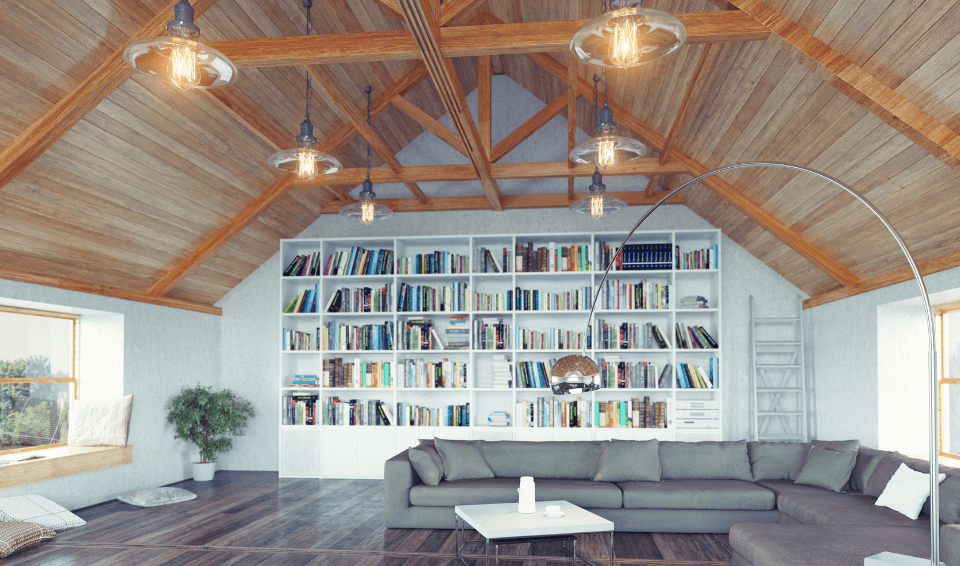
Mission style ceiling fans feature a timeless design that complements a variety of interior styles, from traditional to contemporary. With their clean lines, geometric shapes, and rich wood finishes, these fans evoke a sense of warmth and sophistication. Whether you’re furnishing a Craftsman bungalow, a rustic cabin, or a modern loft, a Mission style ceiling fan adds a touch of elegance and charm to any space.
Efficient Cooling
In addition to their aesthetic appeal, Mission style ceiling fans are designed to provide efficient cooling and ventilation. Powerful motors ensure optimal airflow, while adjustable speed settings allow you to customize the level of comfort in your space. Whether you’re looking to cool a bedroom, living room, or outdoor patio, a Mission style ceiling fan provides reliable performance and superior comfort year-round.
Advantages of Mission Style Ceiling Fans
Enhanced Aesthetics
One of the primary advantages of Mission style ceiling fans is their ability to enhance the aesthetics of any room. With their distinctive design elements, such as exposed hardware, stained glass accents, and intricate woodwork, these fans serve as focal points that tie together the overall decor scheme. Whether you choose a classic Craftsman model or a more contemporary interpretation, a Mission style ceiling fan adds visual interest and sophistication to your space.
Versatility
Mission style ceiling fans are available in a wide range of sizes, finishes, and configurations to suit any design preference or functional requirement. Whether you prefer a traditional fan with wood blades and oil-rubbed bronze accents or a more modern fan with sleek metal blades and brushed nickel finishes, there’s a Mission style ceiling fan to match your style and complement your decor.
Energy Efficiency
In addition to their aesthetic appeal and versatility, Mission style ceiling fans are also energy-efficient. By circulating air and creating a gentle breeze, these fans help reduce the workload on heating and cooling systems, resulting in lower energy consumption and utility bills. With their efficient performance and long-lasting durability, Mission style ceiling fans are a smart investment for any home or business.
Choosing the Right Mission Style Ceiling Fan
When selecting a Mission style ceiling fan for your space, consider the following factors:
- Size: Choose a fan size that is appropriate for the room’s dimensions. Larger rooms may require fans with longer blade spans for optimal airflow.
- Finish: Select a finish that complements your existing decor and enhances the overall aesthetic of the space. Popular finishes for Mission style ceiling fans include oil-rubbed bronze, antique brass, and matte black.
- Blade Material: Opt for blades made from high-quality materials such as solid wood or composite for durability and performance.
- Additional Features: Consider additional features such as integrated lighting, remote control operation, and reversible blade options for added convenience and functionality.
Installation and Maintenance
Installing a Mission style ceiling fan is a relatively straightforward process, but it’s essential to follow the manufacturer’s instructions carefully to ensure proper installation and optimal performance. Here are some general guidelines for installation and maintenance:
- Prepare the Ceiling: Turn off power to the existing ceiling fixture and remove it. Install the mounting bracket according to the manufacturer’s instructions.
- Assemble the Fan: Follow the included instructions to assemble the fan components, including the motor, blades, and light kit (if applicable).
- Mount the Fan: Lift the fan assembly onto the mounting bracket and secure it in place using the provided hardware. Ensure that the fan is balanced and level to prevent wobbling.
- Connect Wiring: Carefully connect the fan’s wiring to the electrical wiring in the ceiling, following the color-coded instructions. Use wire connectors to secure the connections and ensure they are insulated.
- Test Operation: Turn on the power and test the fan to ensure it is operating correctly. Adjust the speed settings and direction of rotation as needed.
Routine maintenance for a Mission style ceiling fan typically involves dusting or wiping down the blades and motor housing regularly to remove dust and debris. Lubricate moving parts, such as the motor bearings, annually to ensure smooth operation. Inspect the fan for any signs of wear or damage and address any issues promptly to prevent further damage.
Conclusion
Mission style ceiling fans offer a perfect blend of form and function, combining timeless design with efficient cooling technology. Whether you’re furnishing a Craftsman bungalow, a rustic cabin, or a modern loft, a Mission style ceiling fan adds elegance, charm, and superior comfort to any space. Invest in a Mission style ceiling fan to elevate your interior design and create a welcoming atmosphere that you’ll love coming home to.
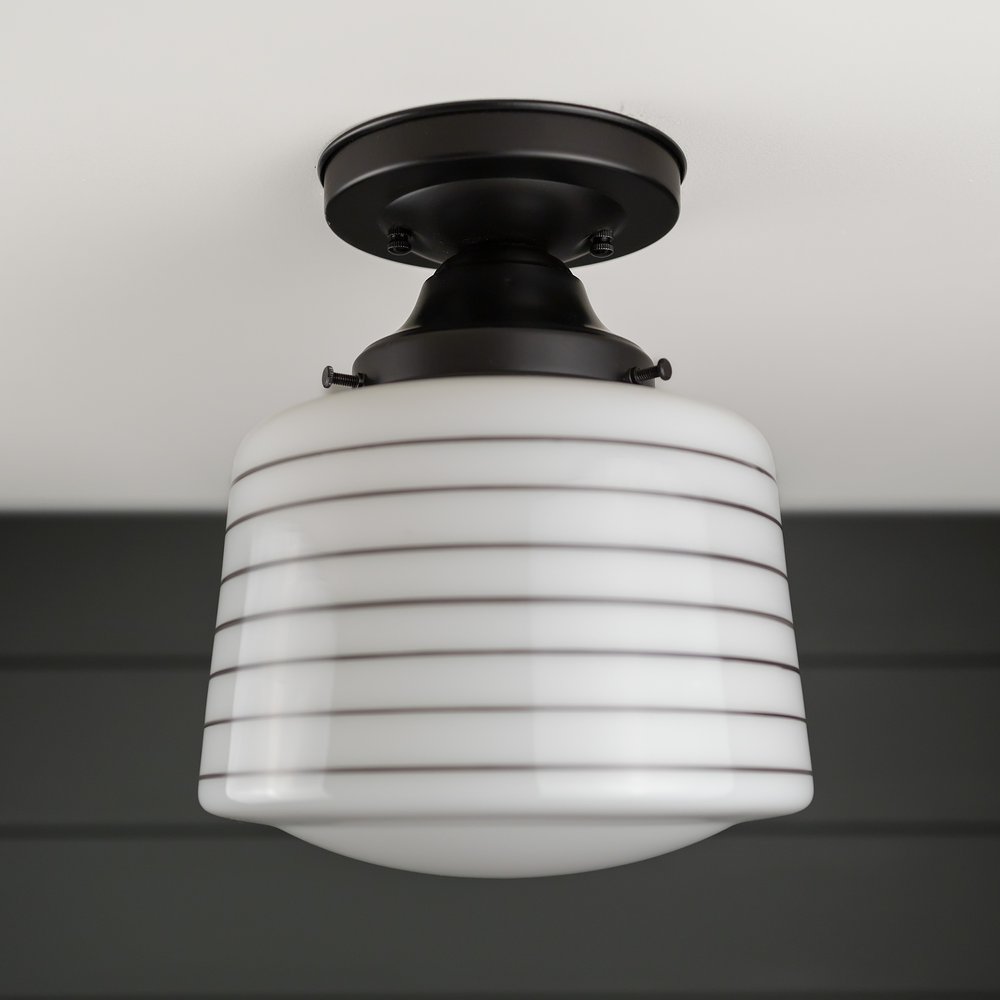
Read too: Striped Schoolhouse Ceiling Light Fixtures: Unveiling the Timeless Charm