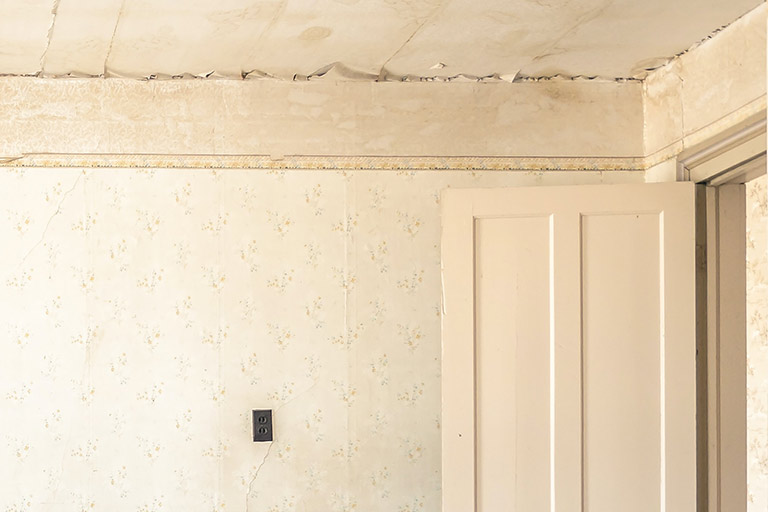
Discover the causes, prevention, and remedies for those pesky black spots on the ceiling. Transform your living space by addressing this common issue effectively.
Unmasking the Culprits – Black Spots On The Ceiling
Delve into the world of black spots on the ceiling, unraveling the mysteries behind their appearance and conquering the battle against these unwelcome intruders.
Identifying the Causes of Black Spots On The Ceiling:
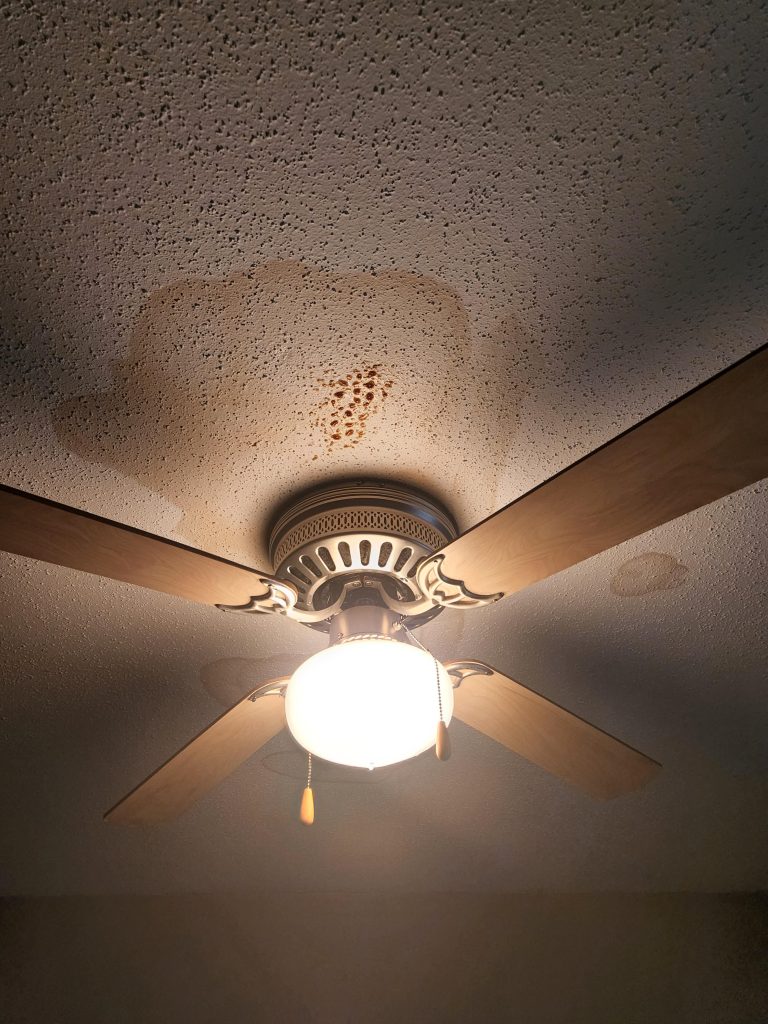
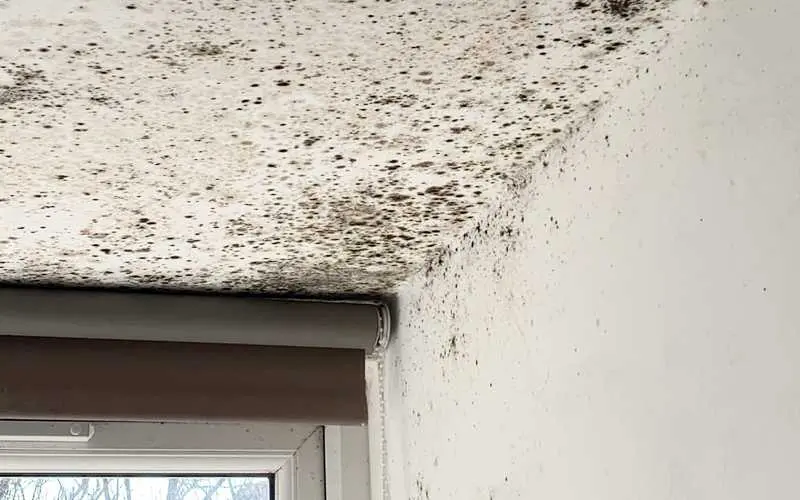
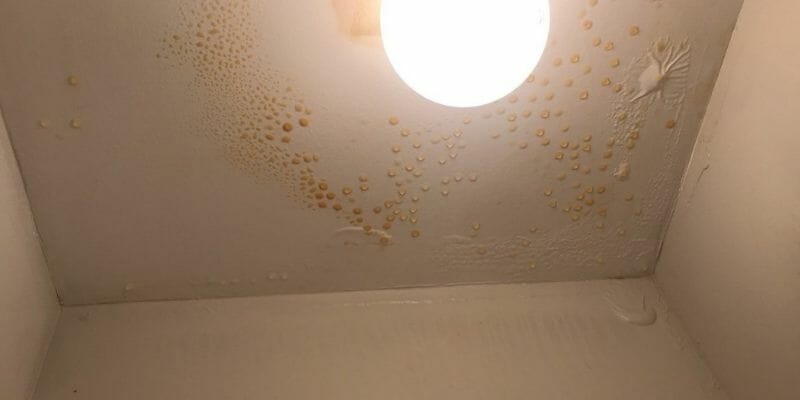
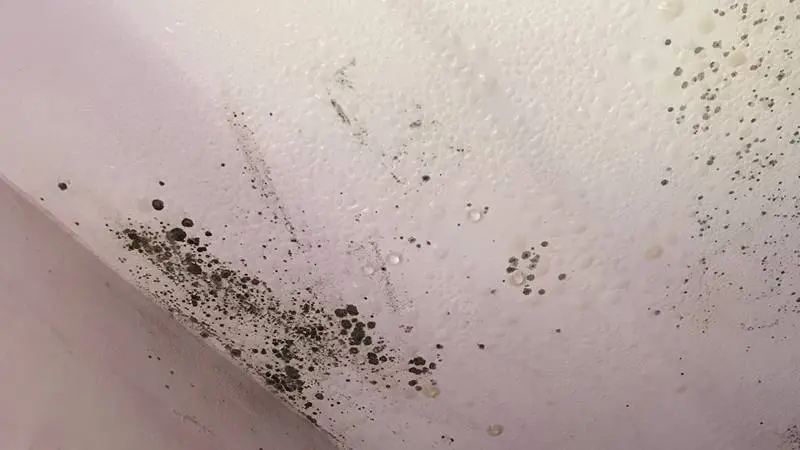
- Mold and Mildew:
- Explore how mold and mildew can thrive in moist environments, leading to the formation of black spots.
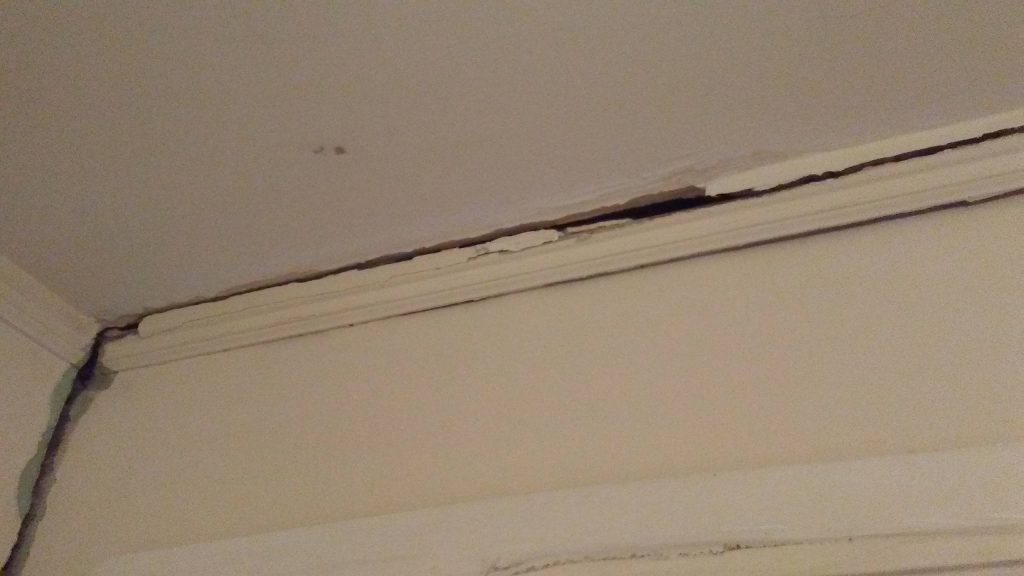
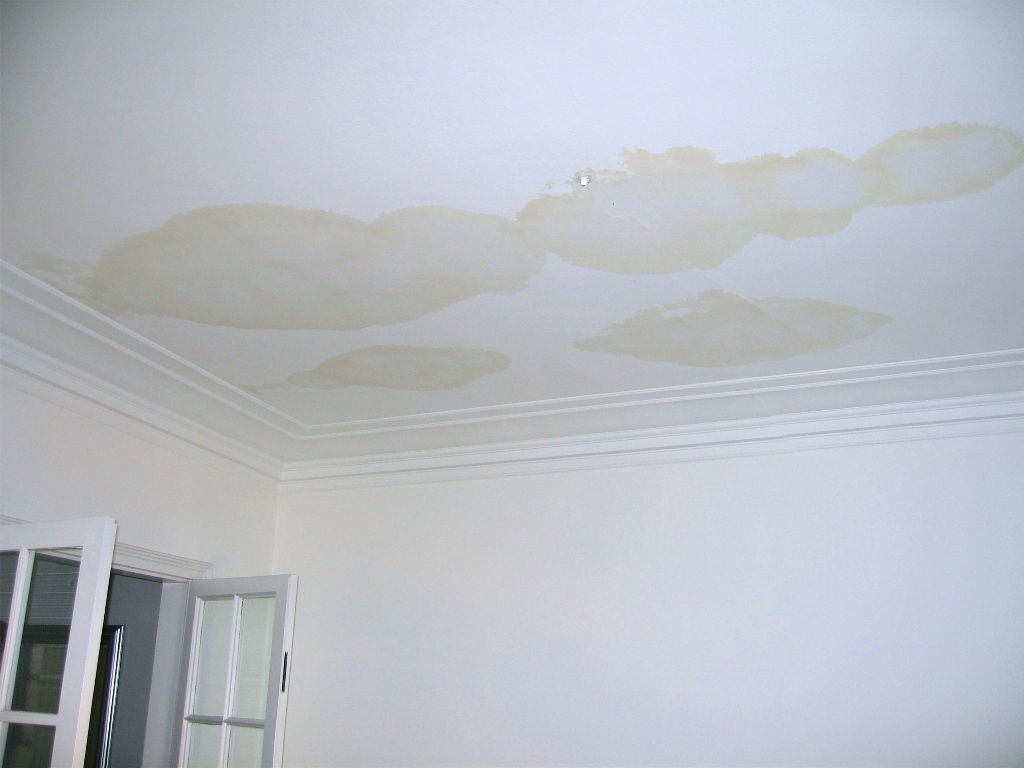
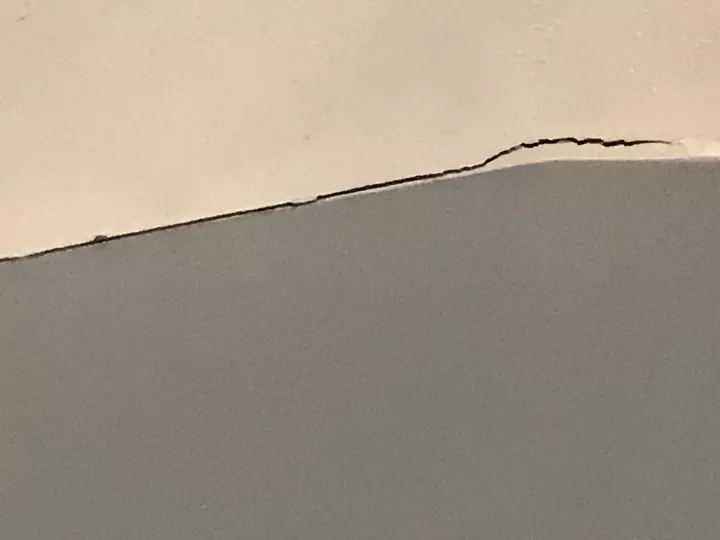
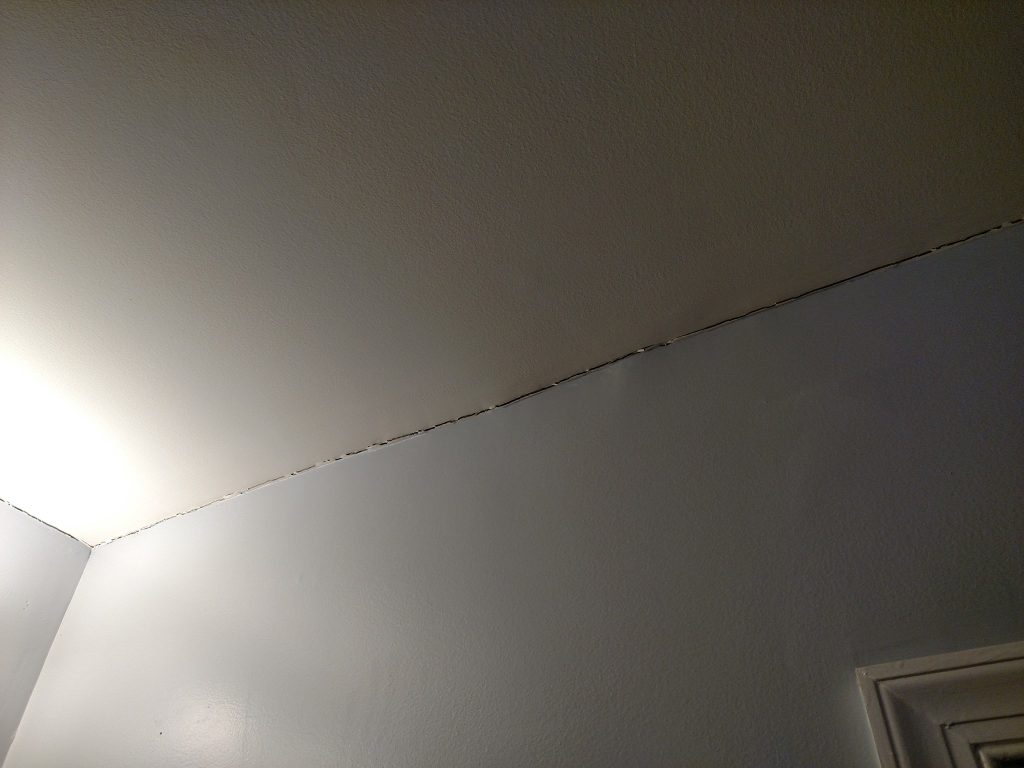
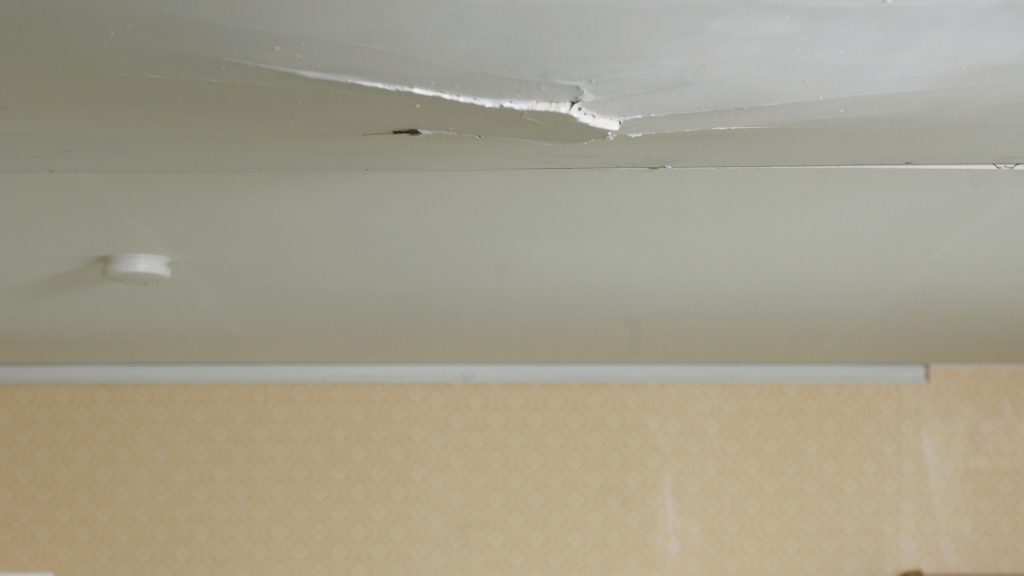
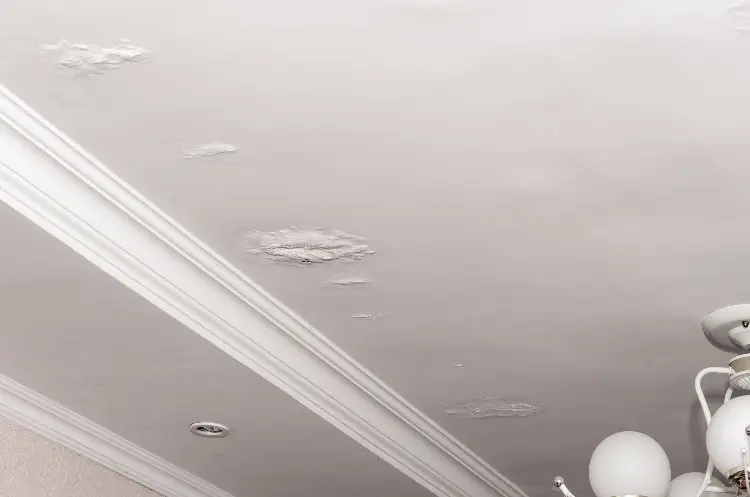
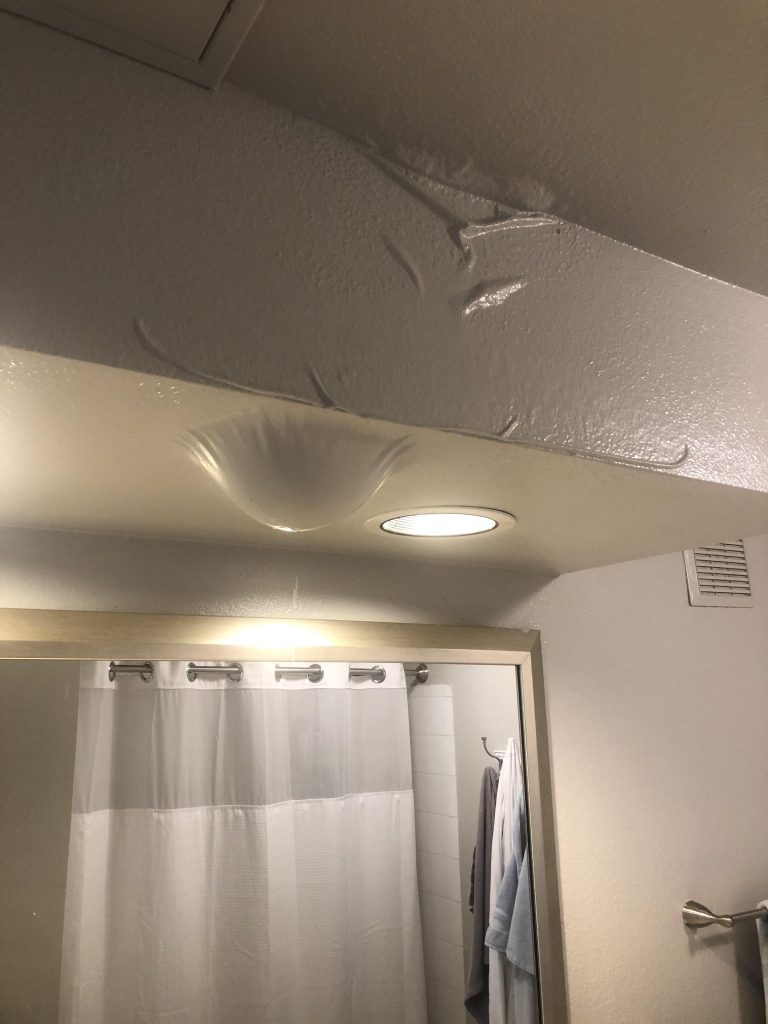
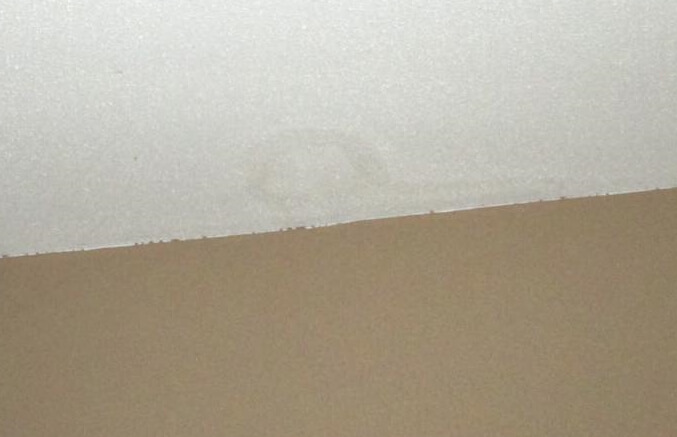
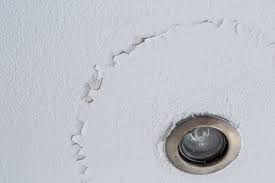
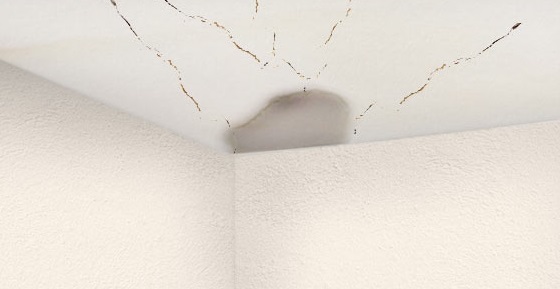
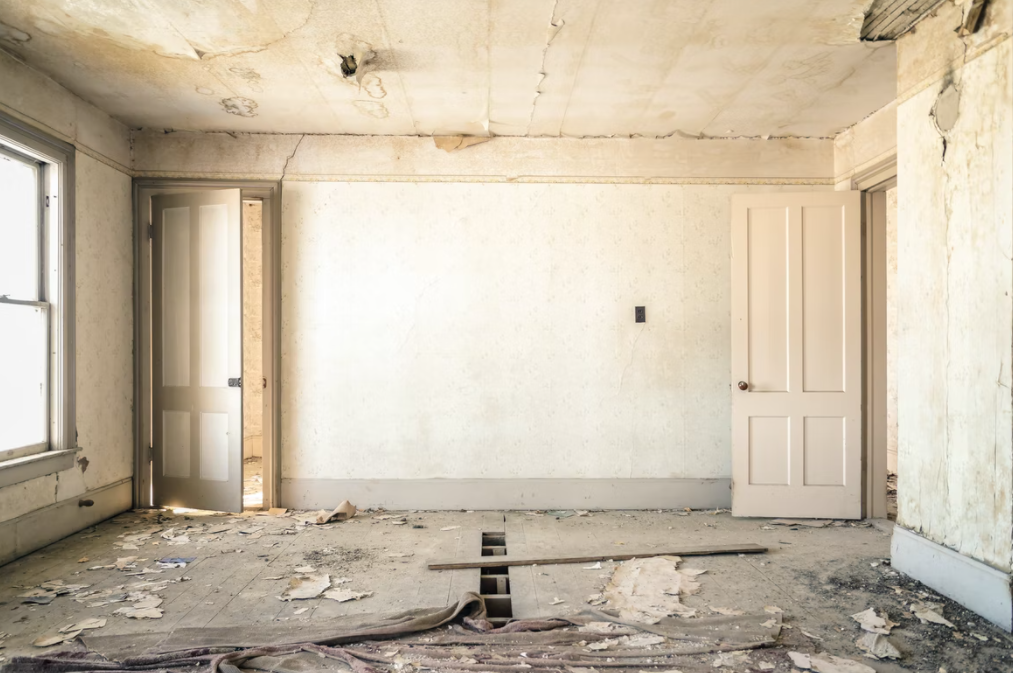
- Water Leaks:
- Understand the connection between water leaks and the development of black spots, signaling potential issues in your home’s infrastructure.
- Smoke Residue:
- Delve into the impact of smoking indoors and its contribution to the formation of black spots on the ceiling.
- Inadequate Ventilation:
- Learn how poor ventilation can create conditions conducive to the growth of mold and accumulation of airborne particles, resulting in black spots.
Addressing Black Spots On The Ceiling:
- Cleaning with Mold Removers:
- Explore the use of mold removers and cleaning solutions to eliminate black spots caused by mold and mildew. Follow proper safety measures.
- Repairing Water Leaks:
- Address water leaks promptly by identifying and repairing the source. This prevents further damage and the recurrence of black spots.
- Repainting:
- Understand the importance of repainting affected areas after cleaning to restore the aesthetic appeal of the ceiling and prevent future issues.
- Improving Ventilation:
- Implement strategies to enhance ventilation, such as using exhaust fans, opening windows, or installing a ventilation system to prevent black spots.
Preventing the Return of Black Spots On The Ceiling:
- Maintaining Optimal Humidity Levels:
- Learn how to control indoor humidity levels to discourage the growth of mold and mildew.
- Regular Inspections:
- Adopt a routine of inspecting ceilings and other susceptible areas for signs of water leaks, addressing any issues promptly.
- Avoiding Indoor Smoking:
- Understand the impact of indoor smoking on air quality and how abstaining can contribute to a cleaner ceiling.
- Investing in Proper Ventilation Systems:
- Consider investing in effective ventilation systems to ensure adequate air circulation throughout your living space.
Read too: Is Bathroom Ceiling Mold Dangerous to Your Health and Home? Unveiling the Threat
When to Seek Professional Assistance:
- Extensive Mold Growth:
- If black spots are indicative of extensive mold growth, consult with professionals for a thorough assessment and remediation.
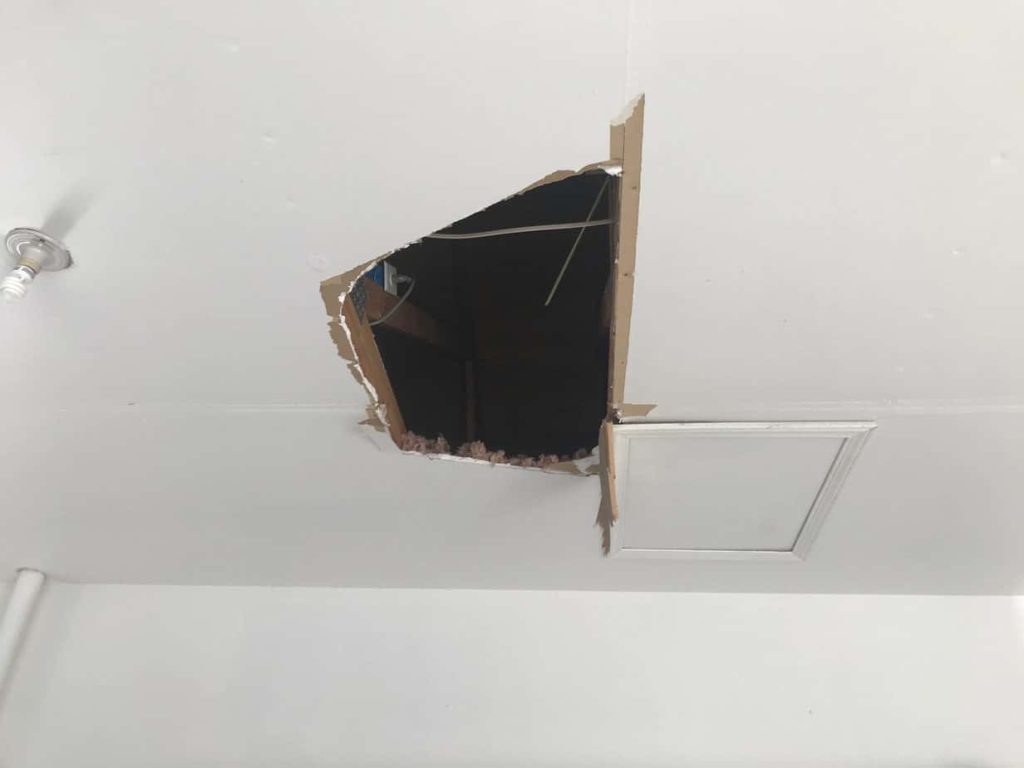
- Persistent Water Leaks:
- Persistent water leaks may require the expertise of a plumber or contractor to identify and address the underlying issue.
- Complex Structural Problems:
- In cases where black spots are symptoms of complex structural problems, enlist the assistance of structural engineers or specialists.
Conclusion: A Spotless Ceiling Awaits
In conclusion, conquering black spots on the ceiling involves understanding their causes and implementing effective prevention and remediation strategies. By taking proactive measures and addressing issues promptly, you can ensure a spotless and aesthetically pleasing ceiling in your home.
Transform your living space, bid farewell to black spots, and welcome a cleaner and healthier environment.