Drop ceilings, also known as suspended ceilings, are popular in residential and commercial spaces due to their sleek appearance and practicality. One of the most important elements for enhancing these ceilings is selecting the right light fixtures for drop ceiling setups. Whether you’re remodeling your home, designing an office, or outfitting a retail space, proper lighting plays a critical role in functionality and aesthetics.
This guide will explore everything you need to know about light fixtures for drop ceiling, from types and installation to design tips and energy efficiency.
What Are Drop Ceilings?
Before diving into lighting options, let’s briefly understand drop ceilings. These ceilings consist of a grid system suspended below the structural ceiling, with tiles or panels fitting into the grid. The flexibility of this setup makes it easy to integrate light fixtures, HVAC systems, and soundproofing materials.
Benefits of Using Light Fixtures for Drop Ceiling
Proper lighting enhances the usability and ambiance of any space. Here’s why choosing the right light fixtures for drop ceiling is essential:
- Improved Aesthetics: Well-chosen fixtures enhance the overall look of the space.
- Efficient Illumination: Ensure even distribution of light for functionality.
- Customizable Layouts: Drop ceilings allow flexibility in fixture placement.
- Energy Savings: Modern fixtures often come with energy-efficient LED options.
Types of Light Fixtures for Drop Ceiling
When selecting lighting, consider the type of fixtures that best suit your space’s needs and style.
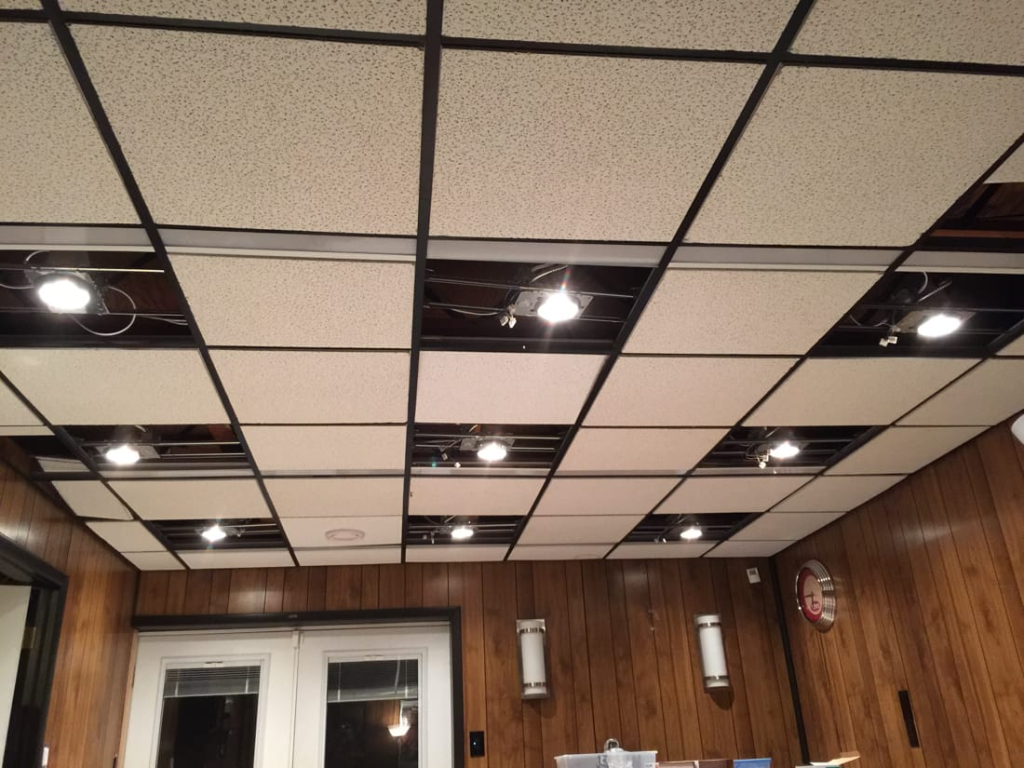
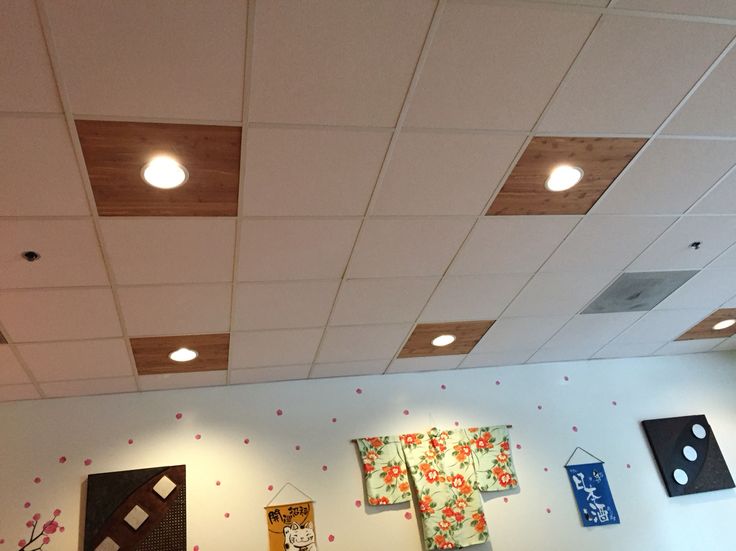
1. Recessed Lighting
Recessed lights, also known as can lights, are popular for their minimalistic design. These fixtures fit directly into the ceiling grid and provide a clean, unobtrusive look.
Read too: Shiplap Ceiling in Kitchen: A Timeless Trend for a Stylish and Cozy Space
Best for: Offices, retail stores, and modern living spaces.
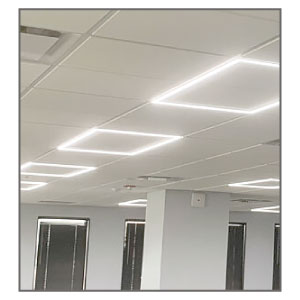
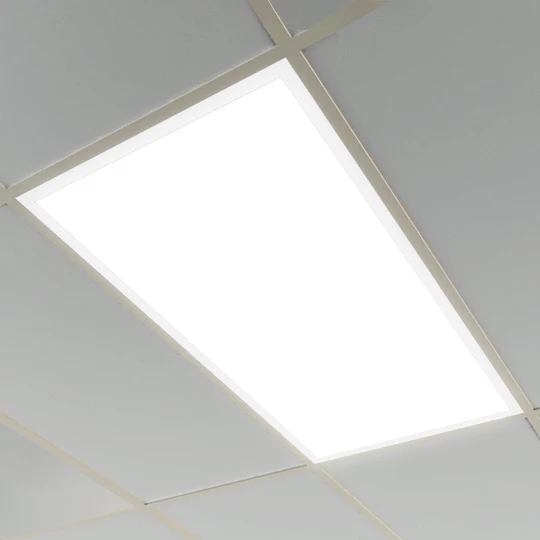
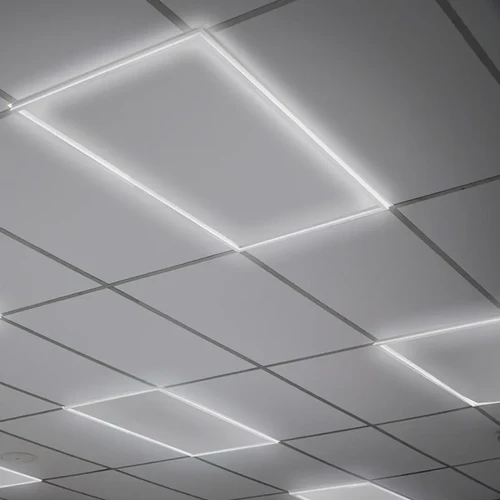
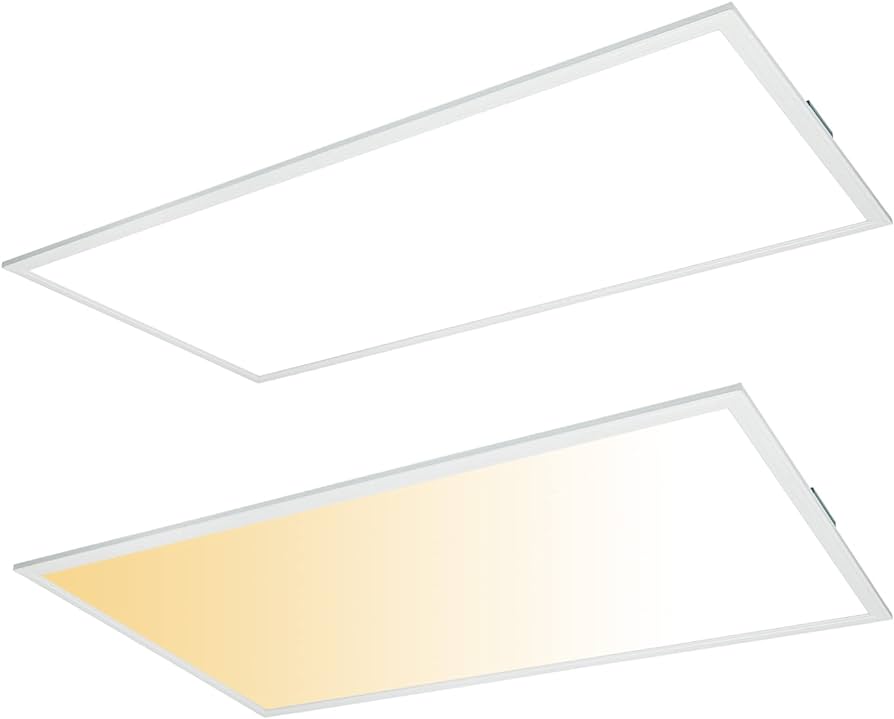
2. LED Panel Lights
LED panel lights are thin, energy-efficient, and offer excellent brightness. These fixtures fit seamlessly into drop ceiling grids and are available in various sizes, such as 2×2 or 2×4 feet panels.
Best for: Large spaces like conference rooms, classrooms, and commercial kitchens.
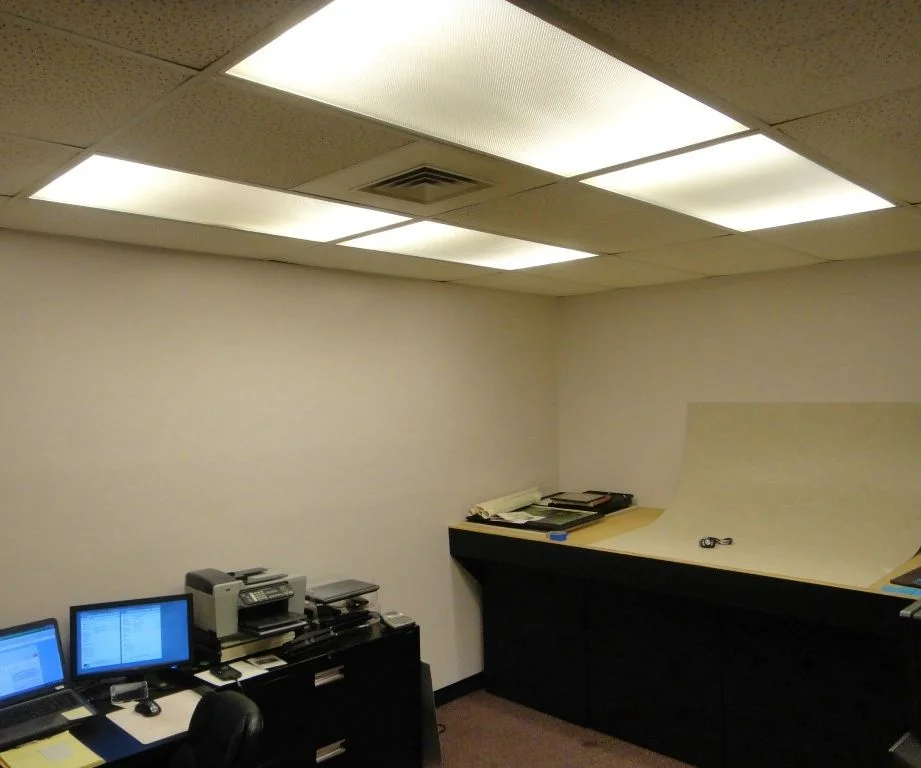
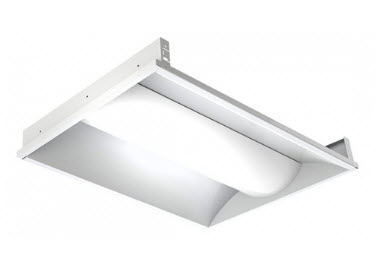
3. Fluorescent Troffers
Fluorescent troffers are traditional fixtures commonly found in offices and schools. They’re affordable and provide ample light coverage, though many are transitioning to LED alternatives for energy efficiency.
Best for: Budget-friendly commercial installations.
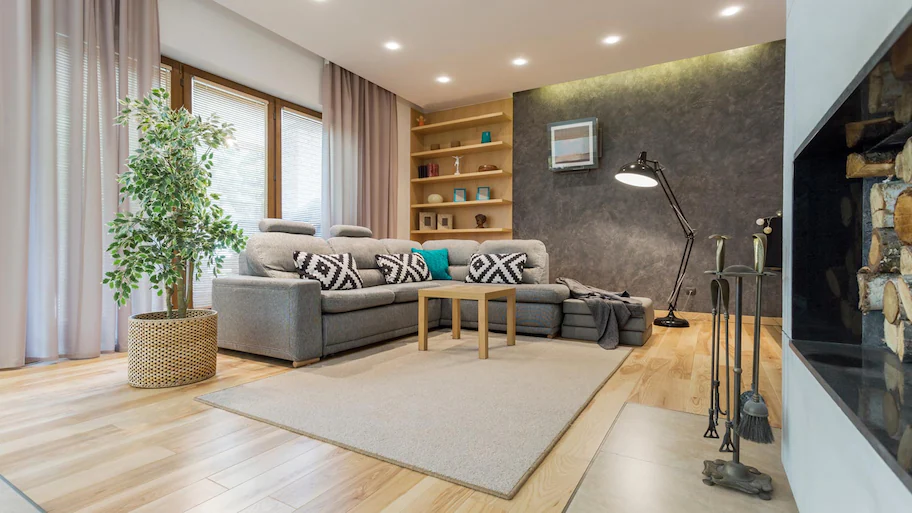
4. Pendant Lighting
Pendant lights hang from the ceiling grid, offering a more decorative touch. These fixtures work well for creating focal points or adding a touch of elegance.
Best for: Residential areas, retail spaces, and hospitality environments.
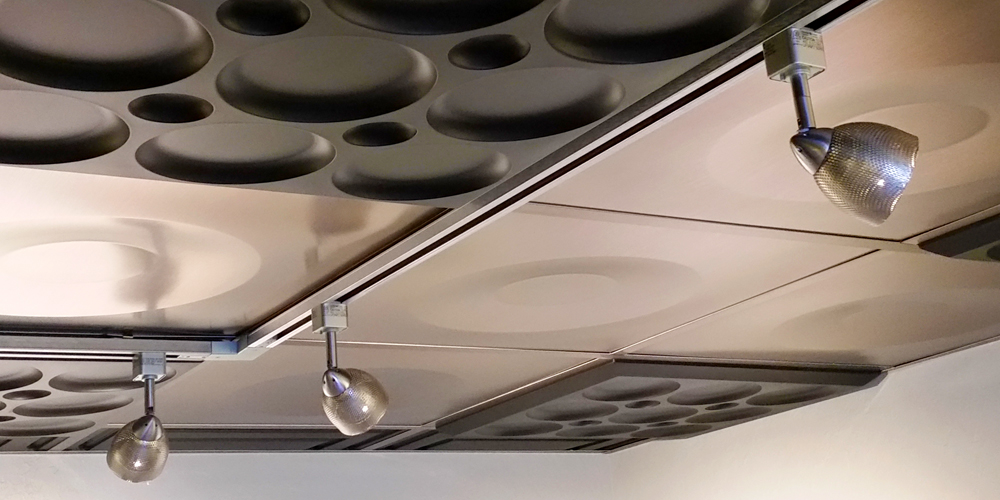
5. Track Lighting
Track lighting systems consist of adjustable fixtures mounted on a track. These are great for highlighting specific areas or creating a dynamic lighting scheme.
Best for: Art galleries, showrooms, and retail spaces.
How to Choose the Right Light Fixtures for Drop Ceiling
Selecting the perfect lighting involves balancing functionality, design, and budget. Here are key factors to consider:
1. Purpose of the Space
Determine the primary use of the room. For example, offices require bright, even lighting to enhance productivity, while a living room might need softer, ambient lighting.
2. Ceiling Height
Drop ceilings reduce the height of a room. Opt for fixtures that maximize vertical space, such as recessed lights or thin LED panels.
3. Energy Efficiency
Choose LED fixtures for their long lifespan and energy savings. They use up to 75% less energy than traditional incandescent bulbs.
4. Ease of Installation
Select fixtures designed specifically for drop ceilings to simplify installation. Many options come with clips or brackets that fit directly into the grid.
5. Aesthetic Appeal
Consider how the fixtures will complement your room’s overall design. Decorative options like pendant lights can add character.
Installation Tips for Light Fixtures in Drop Ceiling
Proper installation ensures safety and maximizes the effectiveness of your lighting. Here are some tips:
1. Plan Your Layout
Use a blueprint or grid map to decide where fixtures will be placed. Ensure even spacing to avoid dark spots.
2. Check Weight Limits
Drop ceiling grids have weight limitations. Ensure your chosen fixtures are lightweight or use additional supports for heavier options.
3. Use Compatible Fixtures
Purchase fixtures designed specifically for drop ceilings. These often include easy-mount brackets or clips.
4. Hire a Professional
While DIY is possible, hiring an electrician ensures compliance with local codes and a safer installation.
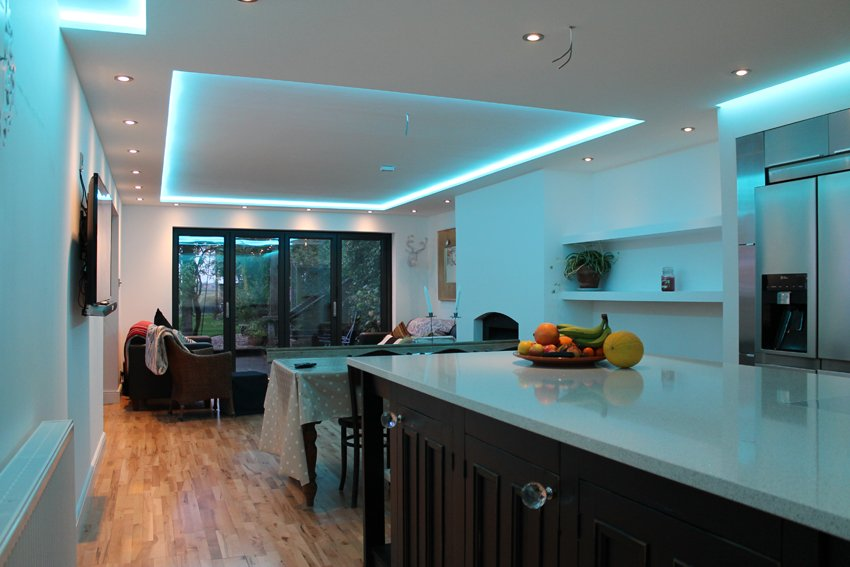
Design Tips for Enhancing Drop Ceiling Lighting
1. Layered Lighting
Combine different types of fixtures for a layered effect. For example, use recessed lighting for general illumination and pendant lights for accents.
2. Dimmable Fixtures
Install dimmers to adjust light intensity according to mood or time of day. This is especially useful in multipurpose spaces.
3. Color Temperature
Select fixtures with the right color temperature. Warm white (2700K-3000K) creates a cozy ambiance, while cool white (4000K-5000K) is ideal for task-oriented spaces.
4. Highlight Features
Use track lighting or spotlights to draw attention to architectural features, artwork, or displays.
Maintaining Light Fixtures for Drop Ceiling
Proper maintenance ensures your lighting remains functional and aesthetically pleasing:
- Regular Cleaning: Dust fixtures and panels to maintain brightness.
- Replace Bulbs Promptly: Swap out burnt-out bulbs to avoid uneven lighting.
- Inspect Wiring: Periodically check for loose connections or damaged wires.
- Upgrade When Necessary: Consider upgrading to energy-efficient LED options as older fixtures wear out.
The Future of Light Fixtures for Drop Ceiling
Advancements in technology continue to improve lighting solutions. Trends include smart lighting systems that integrate with home automation, tunable white lighting for customizable color temperatures, and sustainable designs using recyclable materials.
Conclusion
Choosing the right light fixtures for drop ceiling can transform your space into a well-lit, functional, and visually appealing environment. By understanding the types of fixtures, installation techniques, and design principles, you can create a lighting plan that suits your needs and enhances your space’s overall ambiance.
Whether you’re renovating a home office, designing a commercial space, or upgrading an existing layout, this guide provides the insights you need to make informed decisions. Illuminate your space the right way with the perfect light fixtures for your drop ceiling.