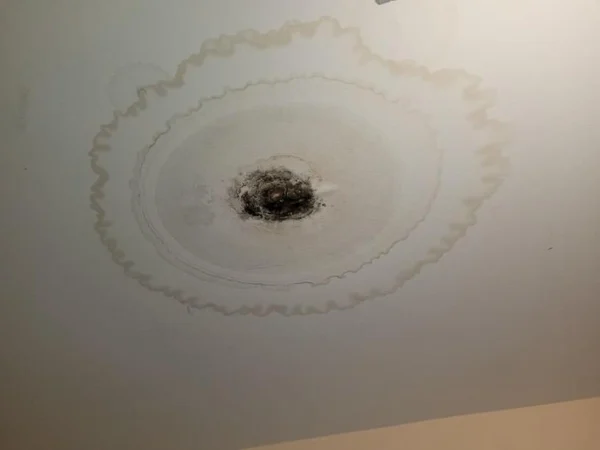
If you notice toilet water leaking through the ceiling, it’s crucial to address the issue immediately. Water leaks can cause significant damage to your home, leading to structural issues, mold growth, and increased repair costs. A toilet water leak might seem like a small issue at first, but it can quickly escalate if not addressed properly. This article will guide you through the causes, potential risks, and solutions to fix the issue of toilet water leaking through the ceiling.
Toilet Water Leaking Through Ceiling: Understanding the Problem
When you notice toilet water leaking through the ceiling, it often indicates a plumbing problem in your bathroom. The issue could originate from your toilet, pipes, or other areas within your bathroom’s plumbing system. It’s important to pinpoint the cause to prevent further damage and avoid costly repairs down the road.
1. What Causes Toilet Water to Leak Through the Ceiling?
Several factors can lead to water leaking from the toilet and through the ceiling. Understanding these causes will help you determine the source of the leak and decide on the best course of action. Some of the most common reasons include:
- Damaged Wax Seal: The wax seal is a crucial component that forms a watertight connection between your toilet and the drain pipe. Over time, this seal can wear out, crack, or become dislodged, causing water to leak from the base of the toilet and seep into the ceiling below.
- Cracked Toilet Tank: If the toilet tank is cracked or damaged, water can slowly leak out. The leak might not be immediately noticeable, but over time, it can pool beneath the toilet and eventually drip through the ceiling below.
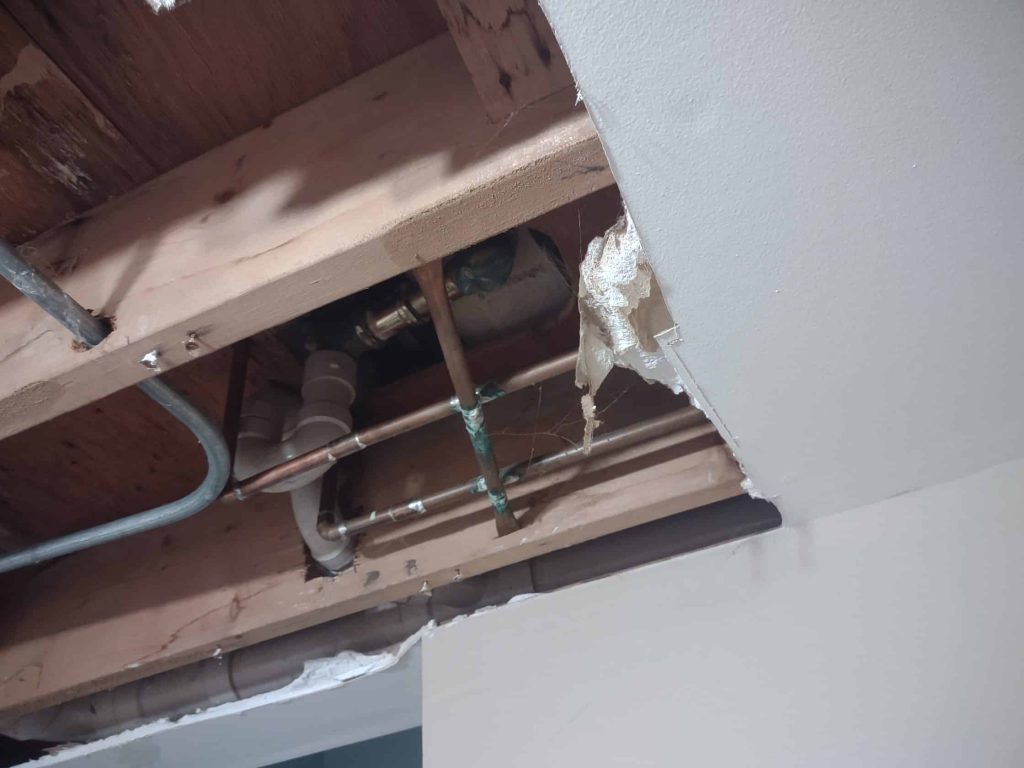
- Loose or Broken Pipes: A leak in the pipes connected to the toilet’s water supply could also cause water to seep through the ceiling. If the pipes under the sink or behind the wall are leaking, water may accumulate and create visible damage in the ceiling below.
- Clogged Drain Lines: A blockage in the toilet’s drain line can lead to water backup. As pressure builds up, it could cause the toilet to overflow or leak water through the ceiling.
- Faulty Flange: The flange that connects the toilet to the drainpipe might be faulty or corroded, leading to water leakage. This issue often causes water to seep under the toilet and travel through the ceiling below.
Read too: Kitchen Lighting For A Vaulted Ceiling: Illuminating Your Space with Style and Functionality
2. How Dangerous Is Toilet Water Leaking Through the Ceiling?
Toilet water leaking through the ceiling can cause significant problems in your home. Some of the most dangerous effects include:
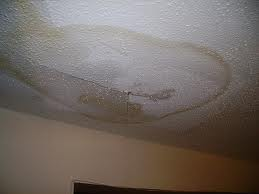
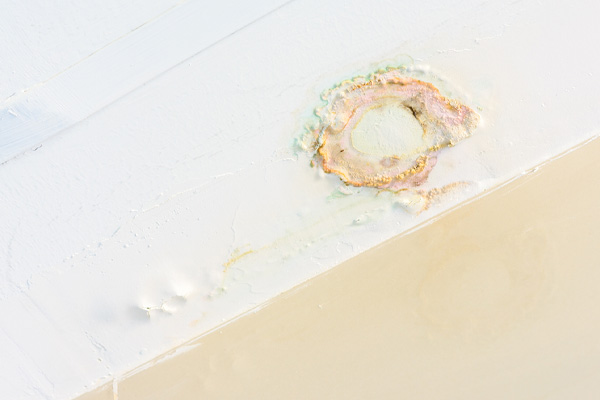
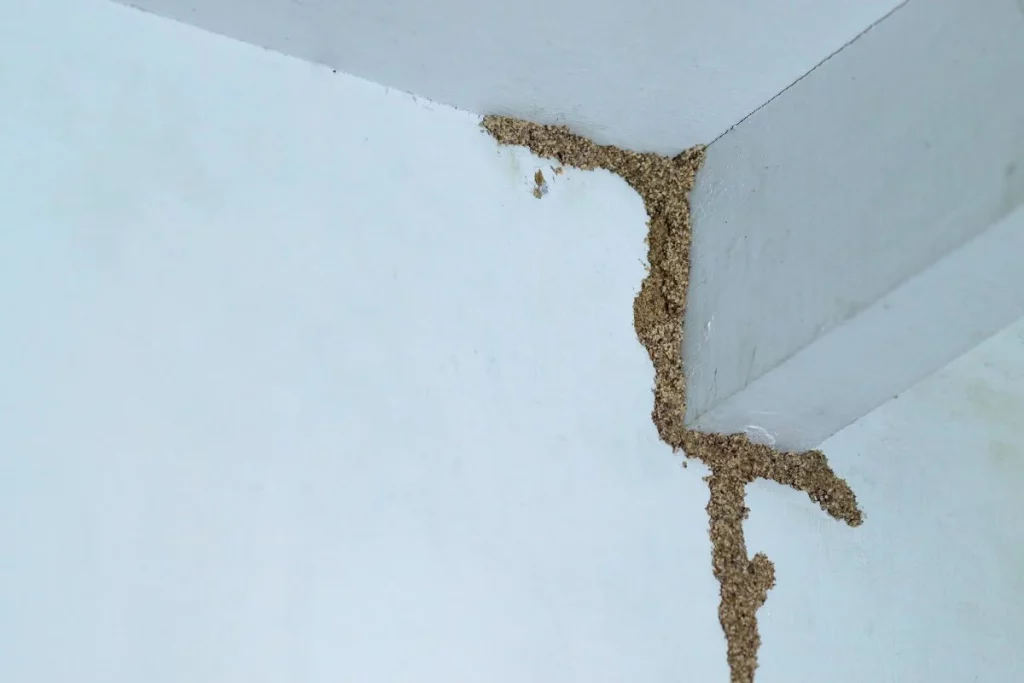
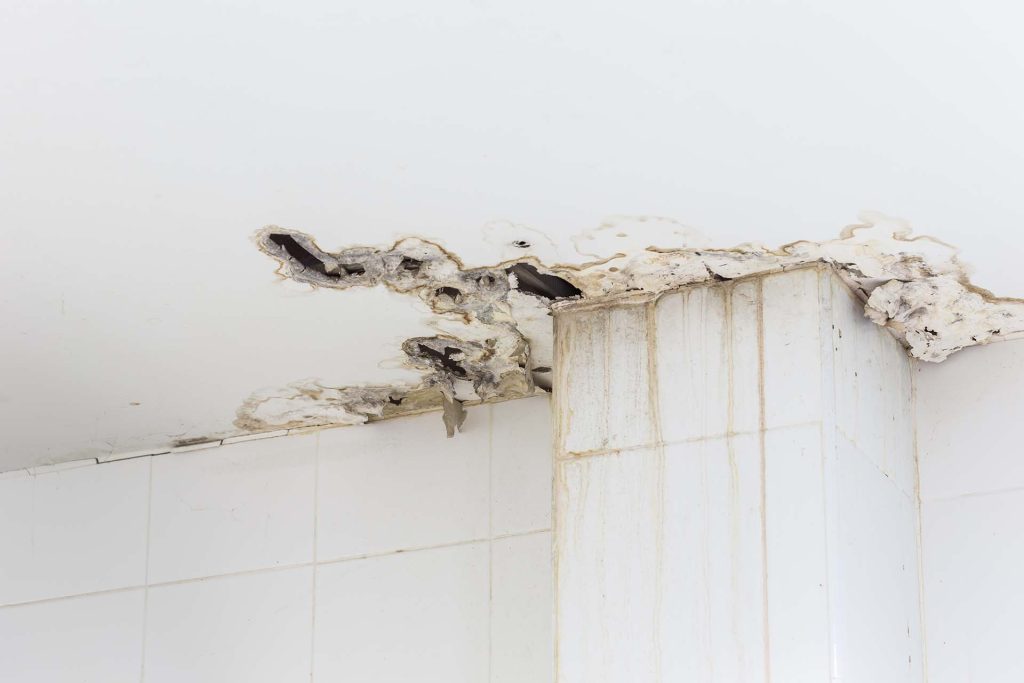
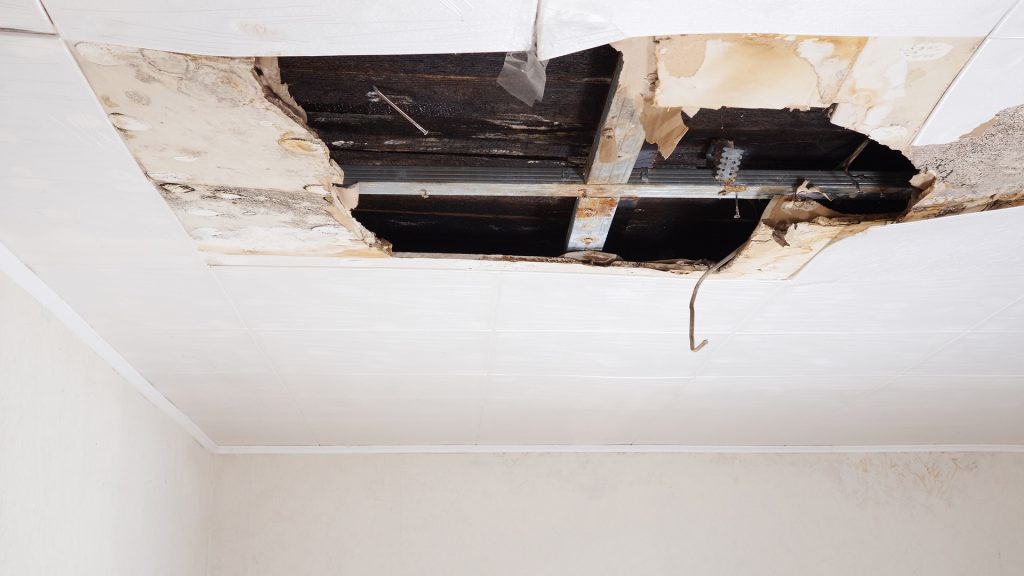
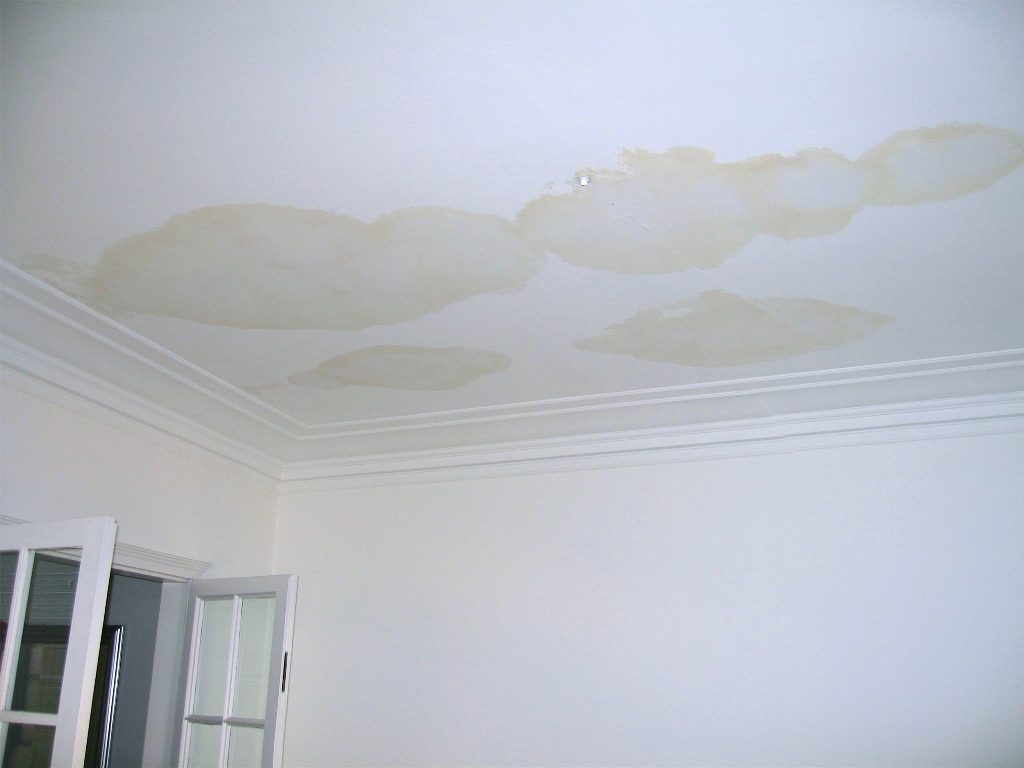
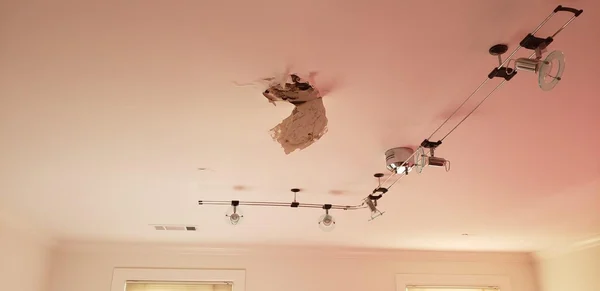
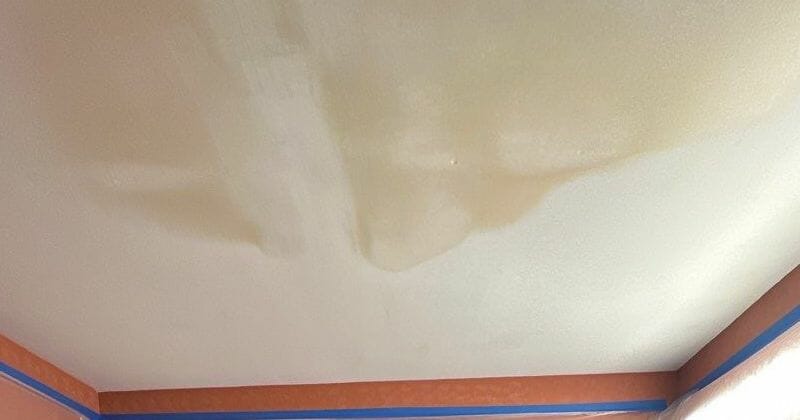
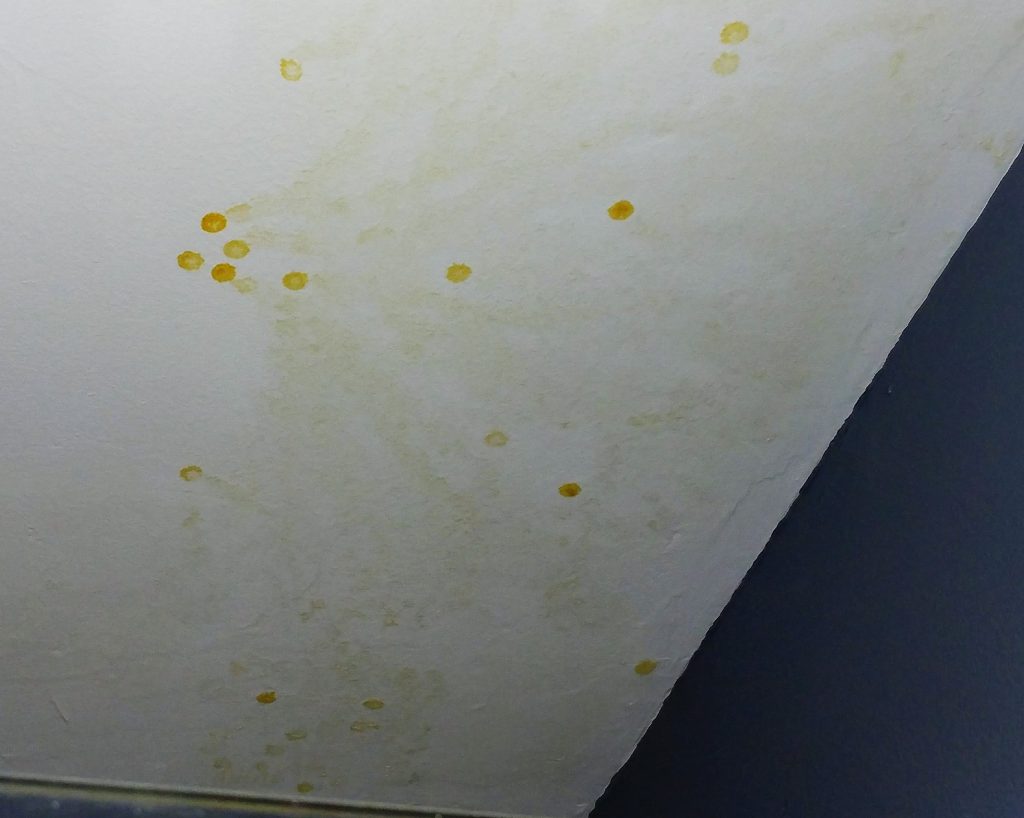
- Water Damage: Water leaking from the toilet can damage the ceiling, walls, and flooring below. The longer the leak persists, the more extensive the damage becomes. This could lead to the need for costly repairs, including replacing drywall, repainting, and even repairing the subfloor.
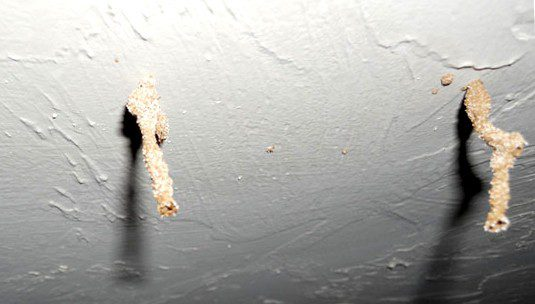
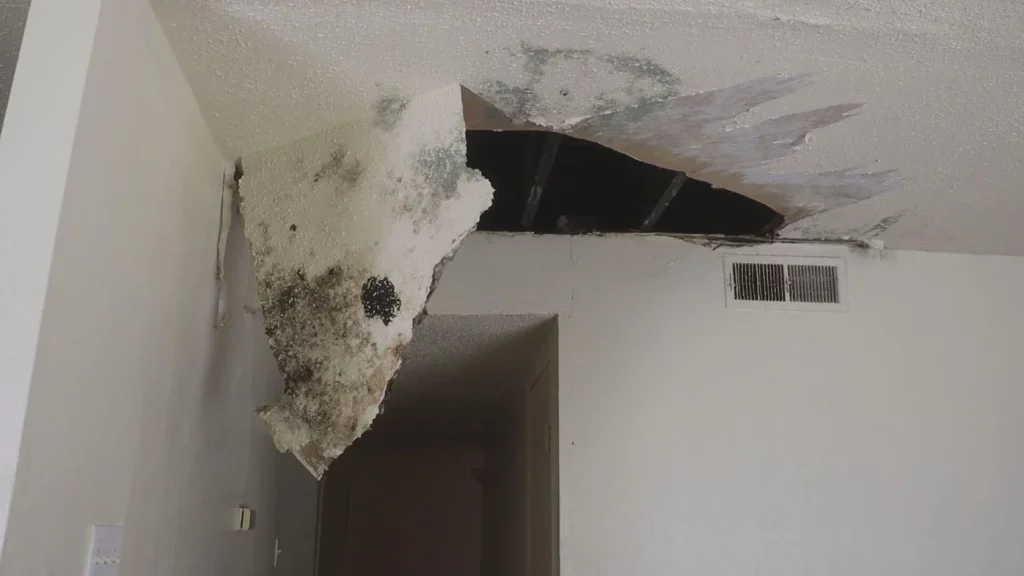
- Mold and Mildew Growth: Moisture from a toilet water leak can create the perfect environment for mold and mildew growth. These fungi thrive in damp areas and can cause health problems such as respiratory issues, skin irritation, and allergies.
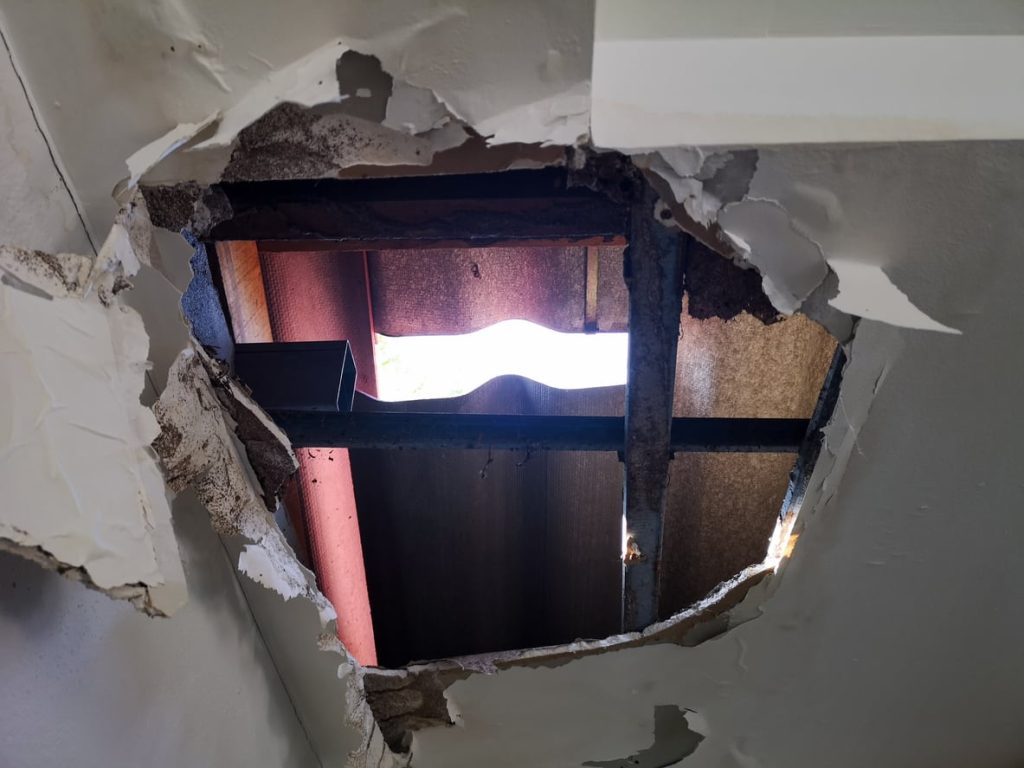
- Structural Damage: Prolonged exposure to water can weaken the structural integrity of your home. Over time, this could compromise beams, framing, and insulation, leading to more expensive repairs.
- Plumbing System Damage: If the leak is caused by a problem with the toilet’s plumbing or water supply, ignoring the issue could worsen the situation. Leaking pipes or damaged components can eventually result in the need for complete system replacements.
How to Fix Toilet Water Leaking Through Ceiling
Once you’ve identified the cause of the leak, it’s time to take action. While some problems may require professional help, others can be resolved with simple DIY fixes. Here’s what you can do to fix the problem:
1. Shut Off the Water Supply
Before doing any work, the first step is to turn off the water supply to the toilet. This will prevent additional water from leaking and causing further damage. To do this, locate the shut-off valve behind the toilet and turn it clockwise. Then, flush the toilet to drain any remaining water in the tank and bowl.
2. Inspect the Toilet’s Wax Seal
A damaged or dislodged wax seal is one of the most common causes of water leaks around the toilet base. If you suspect the wax seal is the culprit, follow these steps to inspect and replace it:
- Remove the toilet: Carefully disconnect the toilet from the floor by unscrewing the bolts holding it in place. This might require lifting the toilet off the flange and moving it aside.
- Inspect the wax seal: Once the toilet is removed, check the wax ring at the base for signs of damage or wear. If the wax seal appears cracked or worn, it’s time to replace it.
- Install a new wax seal: Place a new wax seal onto the flange and carefully reinstall the toilet. Ensure the toilet is securely positioned and reattach the bolts to hold it in place.
3. Check for Cracks in the Toilet Tank
A cracked toilet tank can slowly leak water and lead to the ceiling below. To check for cracks in the tank, inspect the sides and bottom of the tank for visible damage. If you find cracks, the tank may need to be replaced entirely.
If the tank appears fine but still leaks, inspect the flush valve and other components for any signs of wear or damage. A professional plumber can help if you’re unsure about replacing the tank yourself.
4. Examine the Pipes for Leaks
Inspect the pipes connected to the toilet for any visible leaks. This includes the water supply line, drain pipes, and any connections. Use a flashlight to check for water stains, rust, or moisture around the pipes. Tighten any loose connections and replace any damaged pipes or fittings. If you’re unable to locate the source of the leak, it’s best to call a plumber to diagnose the issue.
5. Address Clogged Drain Lines
If the leak is caused by a clogged drain line, you’ll need to clear the blockage. You can start by using a toilet plunger to dislodge any debris that may be causing the clog. If plunging doesn’t work, you may need to use a toilet auger or call a professional plumber to clear the drain.
6. Repair or Replace the Toilet Flange
If the toilet flange is faulty or corroded, it can lead to water leakage. To fix this problem:
- Remove the toilet and inspect the flange for any signs of damage.
- If the flange is cracked or broken, it will need to be replaced. You can purchase a new flange at most hardware stores.
- Install the new flange and replace the wax seal before reinstalling the toilet.
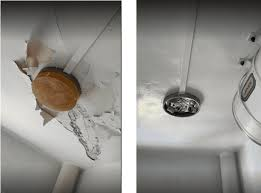
7. Inspect and Repair the Ceiling
Once the leak is fixed, it’s important to address the damage to your ceiling. If the ceiling is wet or stained, you may need to repair or replace the drywall. In some cases, you can dry out the area and patch small holes. However, if the damage is extensive, you may need to replace a section of the ceiling to restore it to its original condition.
Preventing Future Toilet Water Leaks
To avoid the headache of toilet water leaking through the ceiling in the future, it’s essential to maintain your toilet and plumbing system regularly. Here are some preventive measures:
- Inspect the toilet periodically for any signs of wear, such as cracks in the tank or base, a faulty wax seal, or rusted pipes.
- Keep an eye on water pressure: High water pressure can damage pipes and cause leaks. Install a pressure regulator if necessary.
- Check for leaks regularly by inspecting the toilet’s base, water supply lines, and drain pipes for any signs of moisture.
Toilet Water Leaking Through Ceiling: Final Thoughts
Toilet water leaking through the ceiling is a serious issue that requires prompt attention. Whether the leak is caused by a damaged wax seal, cracked tank, or faulty pipes, addressing the problem early will help prevent costly repairs and water damage. While some fixes can be handled by homeowners, more complex plumbing issues may require professional assistance.
By regularly inspecting your toilet and plumbing system, you can avoid future leaks and ensure the long-term health of your home’s plumbing.