In the pursuit of creating a luxurious and relaxing bathroom space, many homeowners are turning to the Ceiling Mounted Rain Shower System. This type of shower system offers a unique and modern solution that not only enhances the aesthetic appeal of your bathroom but also improves the overall showering experience. With its sleek design and rainfall-like water flow, the ceiling-mounted shower offers a spa-like atmosphere right at home.
Whether you’re building a new bathroom or upgrading an existing one, a ceiling-mounted rain shower system can elevate your space, providing both style and functionality. This article will explore the features, benefits, installation process, and maintenance of a Ceiling Mounted Rain Shower System, as well as design ideas to make the most out of this luxurious feature.
What is a Ceiling Mounted Rain Shower System?
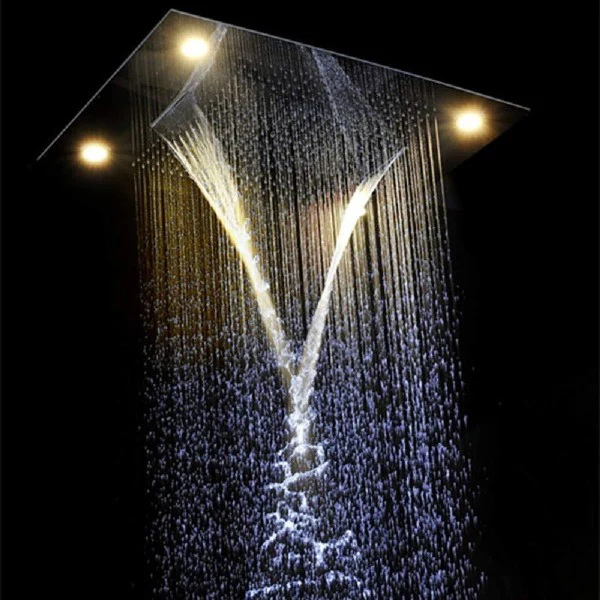
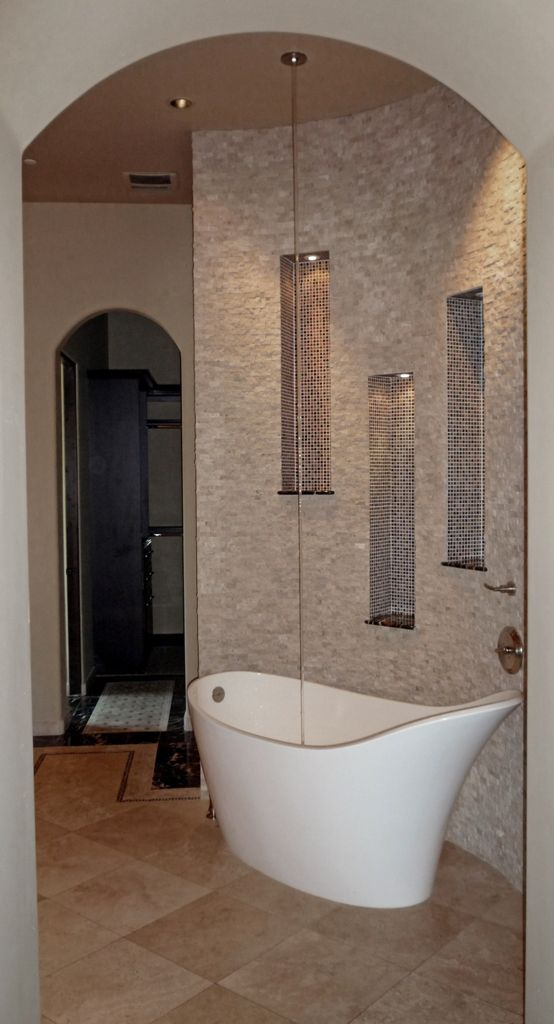
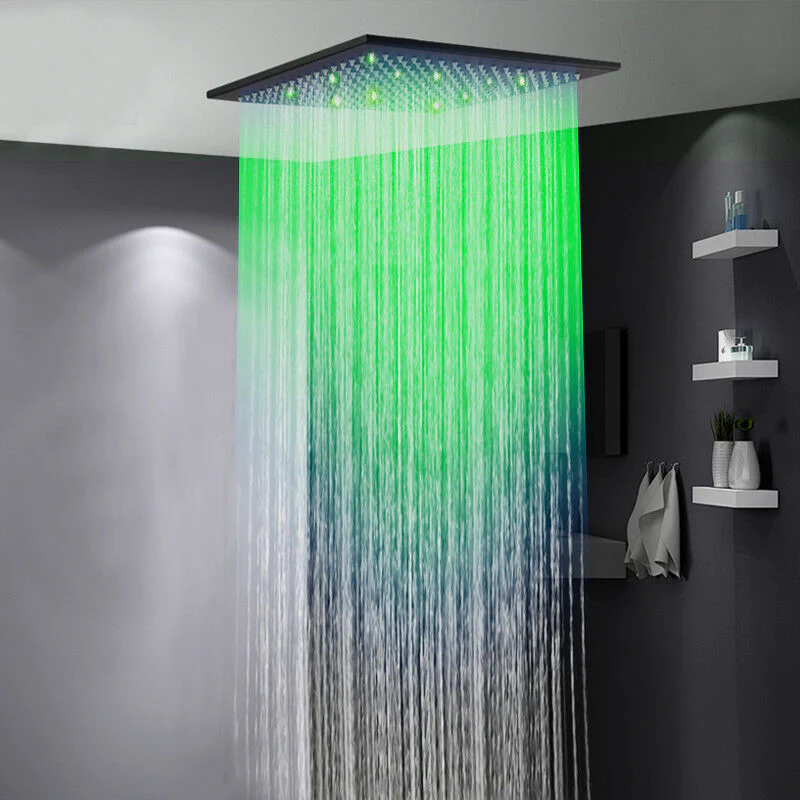
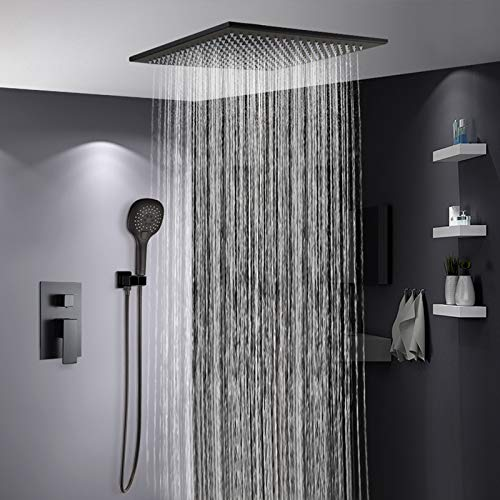
A Ceiling Mounted Rain Shower System is a type of showerhead that is installed directly into the ceiling, as opposed to the wall-mounted showerheads typically found in traditional bathrooms. These systems are designed to mimic the feeling of rainfall, with water cascading down from above in a gentle, even flow.
The ceiling-mounted rain shower system is typically connected to a shower arm or an adjustable bracket that allows the showerhead to hang from the ceiling. These systems may feature different designs, ranging from sleek and minimalist to more elaborate and decorative styles, making them suitable for a variety of bathroom designs.
One of the standout features of these rain shower systems is their ability to cover a larger area of the body, providing an immersive shower experience. The even distribution of water from above helps create a soothing, relaxing atmosphere, much like standing under a warm rain shower.
Read too: Discovering the Charm of Nautical Outdoor Ceiling Fans for Your Coastal Retreat: Sail into Style
Benefits of a Ceiling Mounted Rain Shower System
1. Spa-like Experience
Perhaps the most obvious benefit of a Ceiling Mounted Rain Shower System is the enhanced shower experience. The gentle, rainfall-style water flow offers a relaxing, soothing sensation that is hard to match with standard showerheads. The large surface area of the rain shower system allows water to flow evenly over the body, mimicking the sensation of standing under a waterfall or in a rainstorm. This makes it perfect for unwinding after a long day or starting your morning off in a refreshing way.
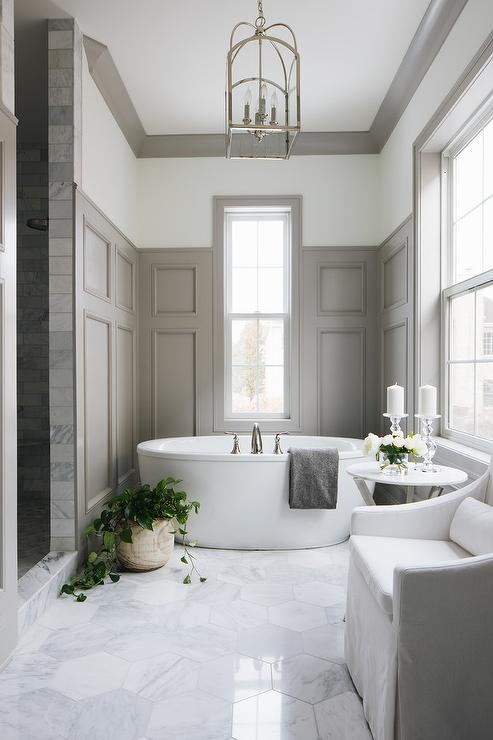
2. Aesthetically Pleasing Design
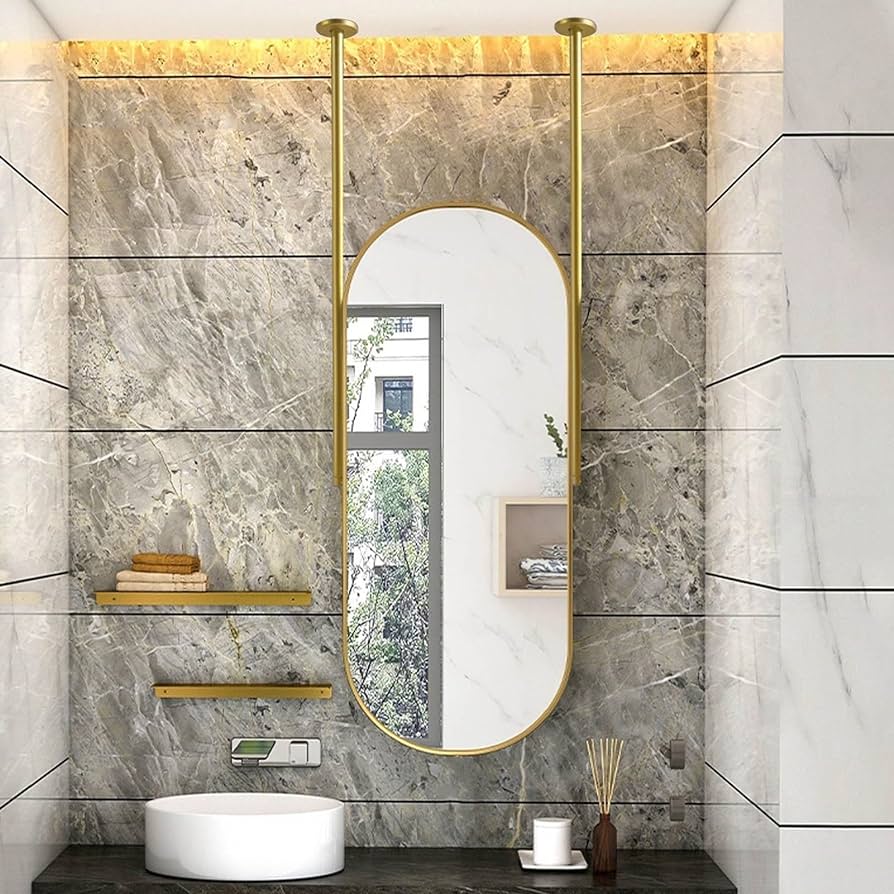
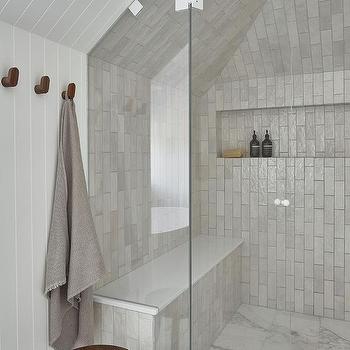
A Ceiling Mounted Rain Shower System has a sleek, modern look that can transform any bathroom into a luxurious space. The overhead installation creates a minimalist aesthetic, allowing the rest of the bathroom to feel more open and airy. The clean lines and sophisticated appearance of the rain shower add an element of elegance and luxury to the room.
Whether you have a contemporary, industrial, or even a more traditional bathroom design, a ceiling-mounted rain shower can seamlessly integrate with various styles. Many systems are available in different finishes such as chrome, matte black, brushed nickel, and gold, allowing you to customize the look to match your bathroom decor.
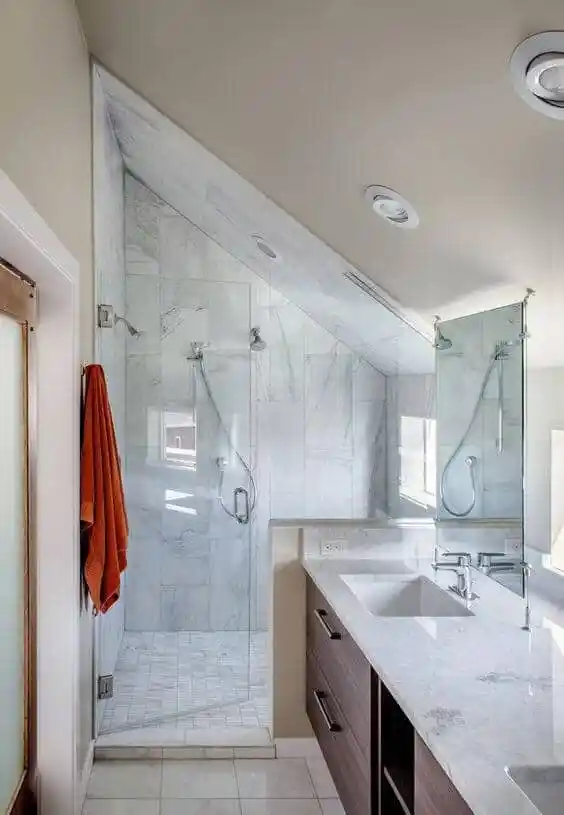
3. Increased Water Coverage
Because the Ceiling Mounted Rain Shower System is mounted above your head, the water flow is evenly distributed over your body, ensuring that you get a more thorough rinse compared to traditional handheld or wall-mounted showerheads. The larger surface area of the rain shower allows water to cascade over you in a wide, even stream, which makes the shower feel more enveloping and efficient.
This type of shower is ideal for larger shower spaces where water coverage from a traditional showerhead may be insufficient. If you’re someone who loves to have a thorough rinse, a rain shower will ensure that every part of your body is covered with water, providing a more satisfying shower.
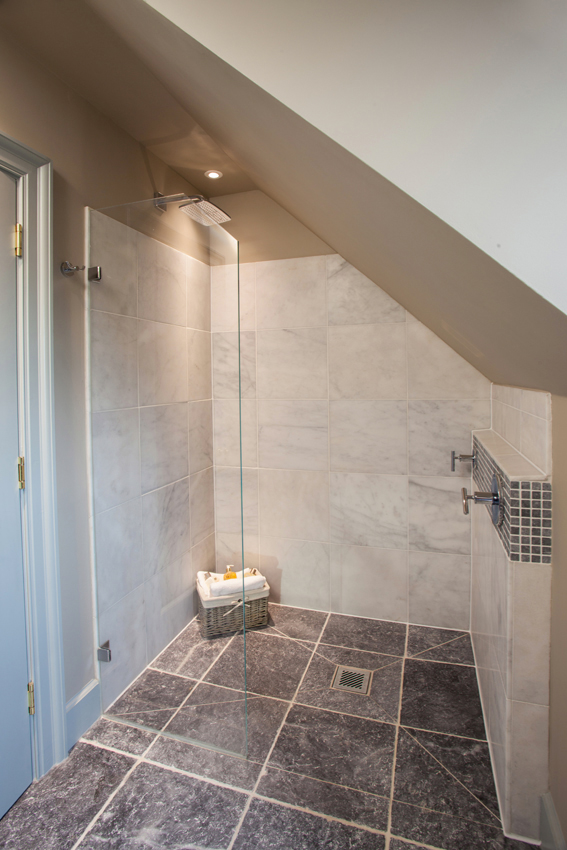
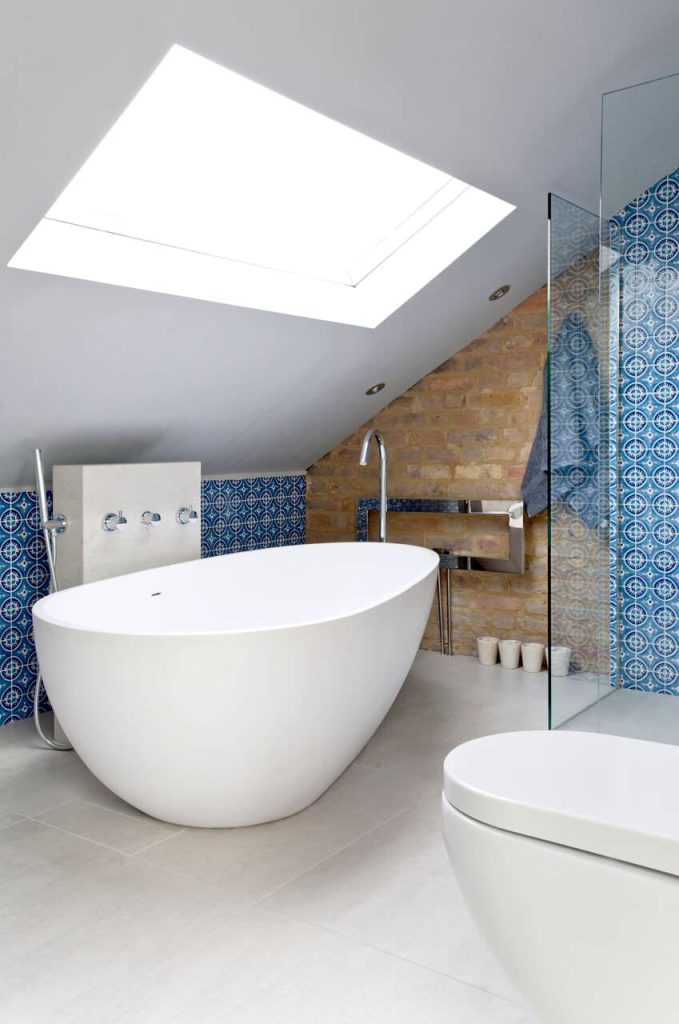
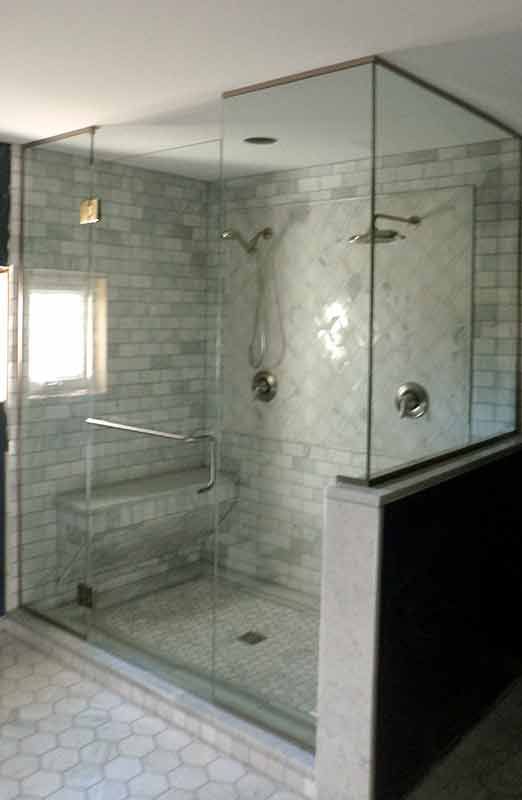
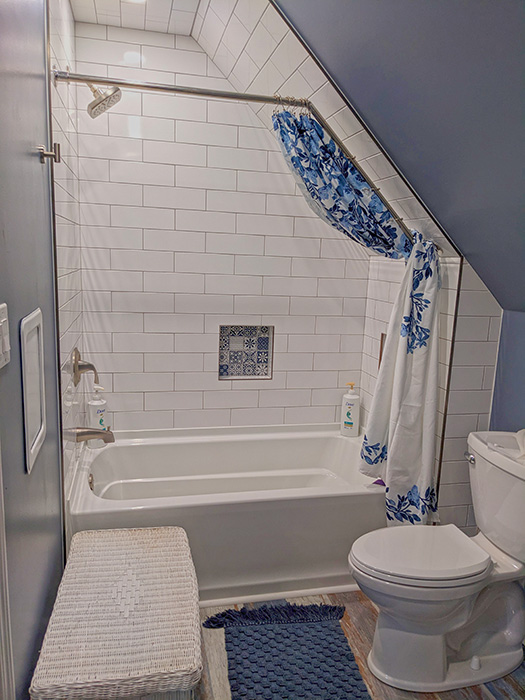
4. Saves Space in Smaller Bathrooms
For bathrooms with limited space, a Ceiling Mounted Rain Shower System can be a game-changer. The ceiling-mounted installation saves valuable wall space, making it an ideal solution for smaller bathrooms. Since the showerhead is mounted overhead, you have more flexibility in arranging your bathroom layout. It allows you to focus on maximizing the space for other essential elements, such as vanity, sink, and storage.
Additionally, these systems don’t require extra fixtures on the walls, contributing to a cleaner and less cluttered look.
5. Low Maintenance
Unlike traditional showerheads that may accumulate soap scum, hard water deposits, or grime over time, a Ceiling Mounted Rain Shower System often requires less maintenance. Since the rain showerhead is positioned high up, there is less direct contact with the water flow, which minimizes the buildup of residue. This makes it easier to keep clean and maintain over time.
Most ceiling-mounted rain showers are equipped with self-cleaning features, such as silicone nozzles or easy-to-remove parts, that help prevent clogging and maintain a smooth water flow.
How to Choose the Right Ceiling Mounted Rain Shower System
When selecting a Ceiling Mounted Rain Shower System, there are several factors to consider. Here are some key points to help guide your decision-making process:
1. Shower Size and Water Pressure
The size of your shower space and the water pressure in your home will impact the type of rain shower system you should choose. For larger showers, you may want a more powerful system with a larger showerhead to cover a wider area. You should also check the water pressure in your area to ensure that the rain shower will work efficiently. If you have low water pressure, look for rain shower systems designed to optimize water flow without sacrificing pressure.
2. Material and Finish
Rain showerheads come in various materials and finishes, from stainless steel to high-quality plastic options. Consider the overall style of your bathroom and choose a finish that complements the decor. Brushed nickel and chrome are popular choices for modern bathrooms, while matte black is ideal for a contemporary or industrial look. Gold and brass finishes can add a touch of vintage elegance to more classic bathroom designs.
3. Showerhead Size
The size of the showerhead plays a significant role in the performance and style of the rain shower. Larger showerheads provide a more enveloping experience, while smaller heads might be better for bathrooms with limited space. Choose a size that suits your personal preferences and the scale of your bathroom.
4. Adjustable Features
Some Ceiling Mounted Rain Shower Systems offer adjustable features, allowing you to control the flow of water and the direction of the spray. While a traditional rain shower offers a gentle, downward flow, adjustable systems give you more flexibility. If you want the option to switch between a rain shower and a more traditional showerhead, look for a system with multiple settings.
5. Price Range
Ceiling-mounted rain showers come in a variety of price ranges, depending on the brand, materials, and features. While high-end models with advanced features and finishes can be quite expensive, there are also more affordable options that provide excellent performance. Decide on your budget and choose a system that meets your needs while staying within your price range.
Installation of a Ceiling Mounted Rain Shower System
Installing a Ceiling Mounted Rain Showers System can be a complex task, particularly if you need to adjust the ceiling’s structure or plumbing. You should hire a professional plumber or contractor to correctly install the system.
The installation involves mounting the showerhead to the ceiling, connecting it to the water supply, and ensuring that everything is securely fastened. Proper installation is crucial to ensure the safety and efficiency of the system, as well as to prevent any water leaks or damage.
If you’re renovating your bathroom, this is a great opportunity to install a rain shower. However, keep in mind that retrofitting an existing bathroom may require adjustments to the plumbing or ceiling structure.
Maintenance Tips for a Ceiling Mounted Rain Shower System
To ensure that your Ceiling Mounted Rain Showers System performs optimally, regular maintenance is key. Here are some tips:
- Clean the showerhead regularly: Remove any mineral buildup by soaking the showerhead in vinegar or using a gentle cleaning solution.
- Check the water pressure: If the water pressure starts to drop, check for blockages or consider installing a water pressure booster.
- Replace any worn-out parts: Over time, components like seals and gaskets may wear out, so it’s important to replace them to prevent leaks.
Conclusion
A Ceiling Mounted Rain Shower System is a fantastic addition to any bathroom. It combines luxury, comfort, and practicality in one beautiful fixture, offering a spa-like experience that elevates your daily routine. From its sleek design to its superior water coverage, a rain shower system transforms the way you shower while enhancing the overall look of your bathroom. Whether you’re remodeling your current bathroom or starting from scratch, a ceiling-mounted rain shower system is sure to provide lasting benefits and comfort for years to come.