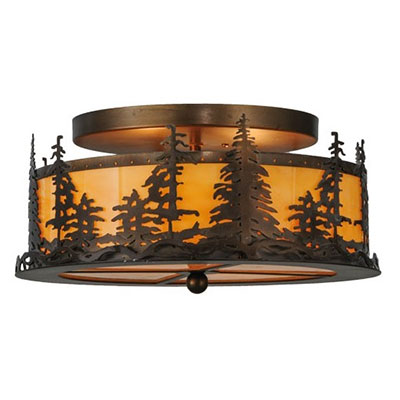
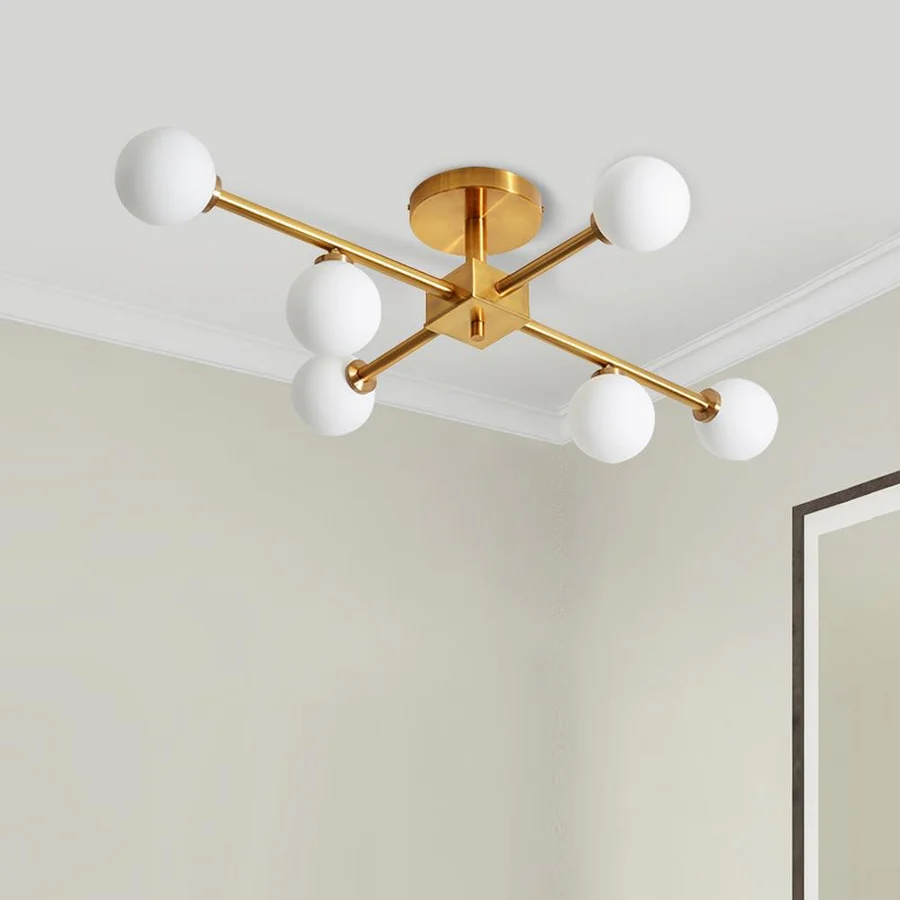
Lighting is a critical element when designing or renovating your living space, as it sets the mood and enhances the overall aesthetic of the room. One lighting fixture that has been gaining popularity for its timeless appeal and ability to complement various interior styles is the Vintage Semi Flush Mount Ceiling Light. This type of light fixture seamlessly blends vintage design with modern functionality, making it a perfect choice for those who appreciate classic beauty but require contemporary practicality.
In this article, we will explore the unique features of Vintage Semi Flush Mount Ceiling Lights, how to choose the right one for your home, and why they are a versatile and stylish addition to any room.
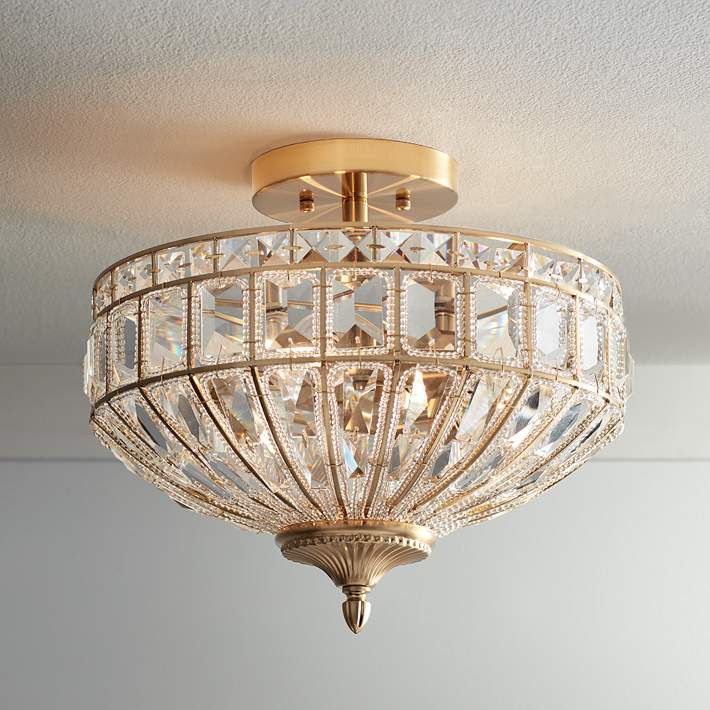
What Is a Vintage Semi Flush Mount Ceiling Light?
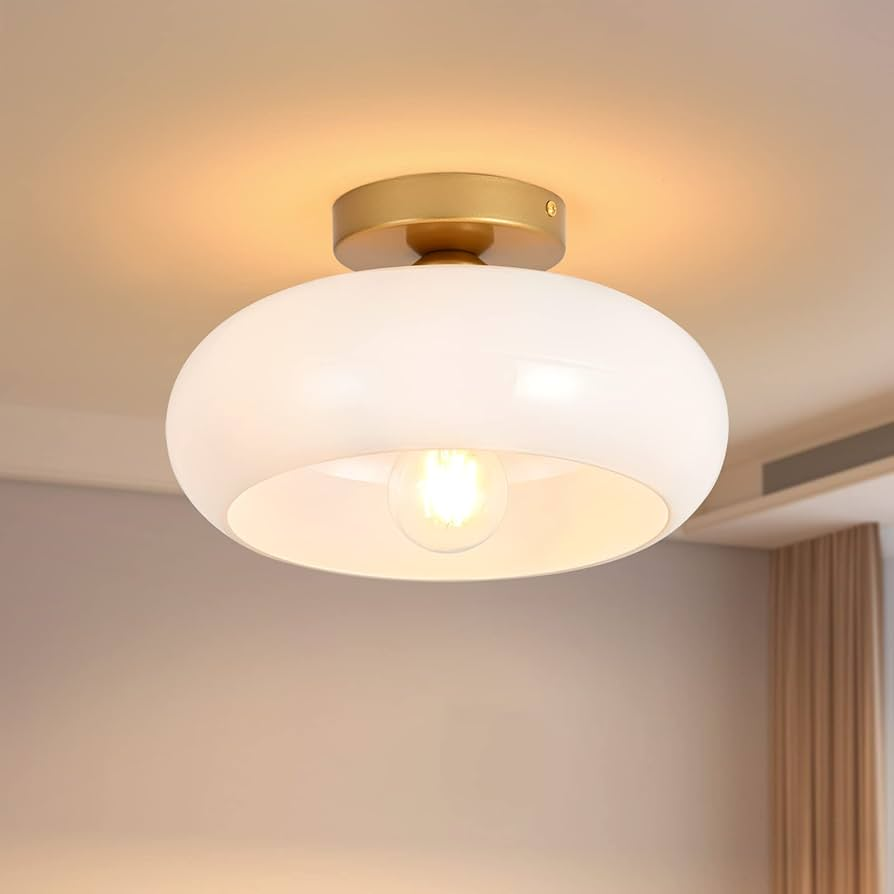
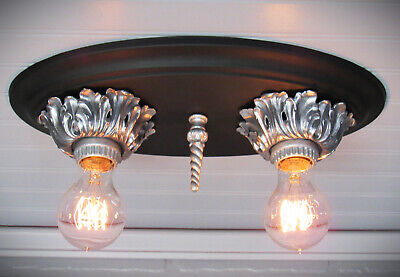
To fully appreciate the beauty and functionality of a Vintage Semi Flush Mount Ceiling Light, it’s essential to understand what it is. A semi-flush mount ceiling light is a type of lighting fixture that is installed on the ceiling, but unlike traditional flush mount lights that sit directly against the ceiling, semi-flush lights hang slightly below the ceiling by a few inches. This slight hanging effect adds dimension to the room and helps distribute light more evenly.
The “vintage” aspect of these fixtures refers to their design, which draws inspiration from classic, retro, or antique styles. Vintage lighting fixtures are typically characterized by intricate details, warm finishes, and the use of materials such as brass, copper, glass, or wrought iron. These elements evoke a sense of nostalgia and sophistication, making vintage semi flush mount lights a perfect addition to homes with traditional, rustic, or eclectic interiors.
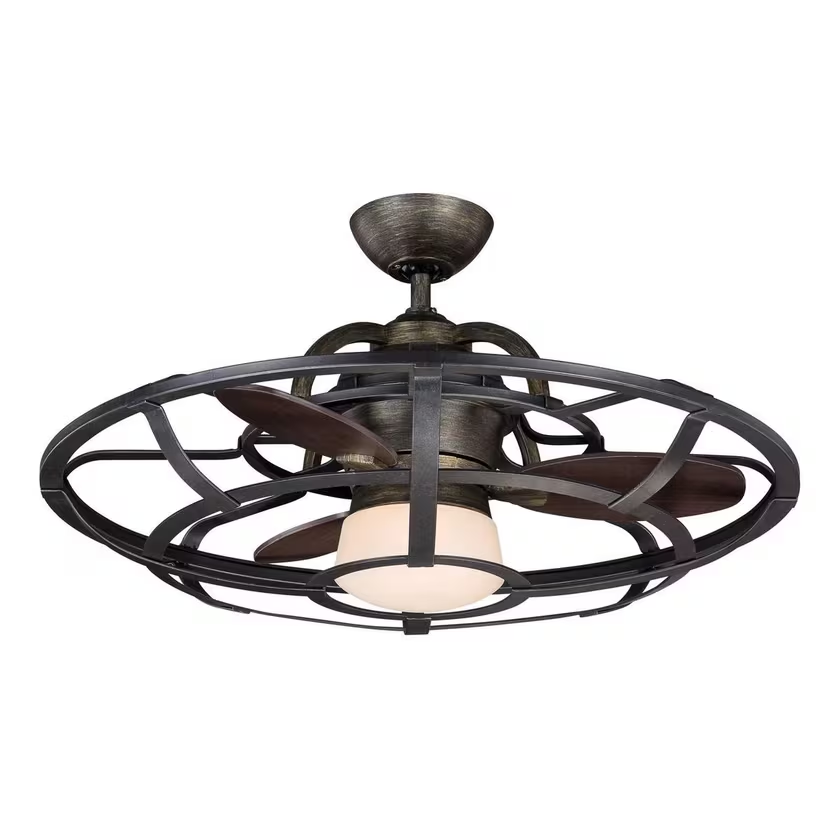
Read too: Discovering the Charm of Nautical Outdoor Ceiling Fans for Your Coastal Retreat: Sail into Style
Why Choose a Vintage Semi Flush Mount Ceiling Light?
The Vintage Semi Flush Mount Ceiling Light combines the best of both worlds: the timeless appeal of vintage design and the practical features of semi-flush mount lighting. Here are several reasons why this lighting fixture is a great choice for your home:
1. Timeless Design
Vintage lighting is known for its elegance and timeless charm. Vintage Semi Flush Mount Ceiling Lights often feature beautiful craftsmanship with intricate details, such as decorative metalwork, antique finishes, and frosted or clear glass shades. These elements give the fixture an old-world feel that complements various interior styles, from traditional to modern.
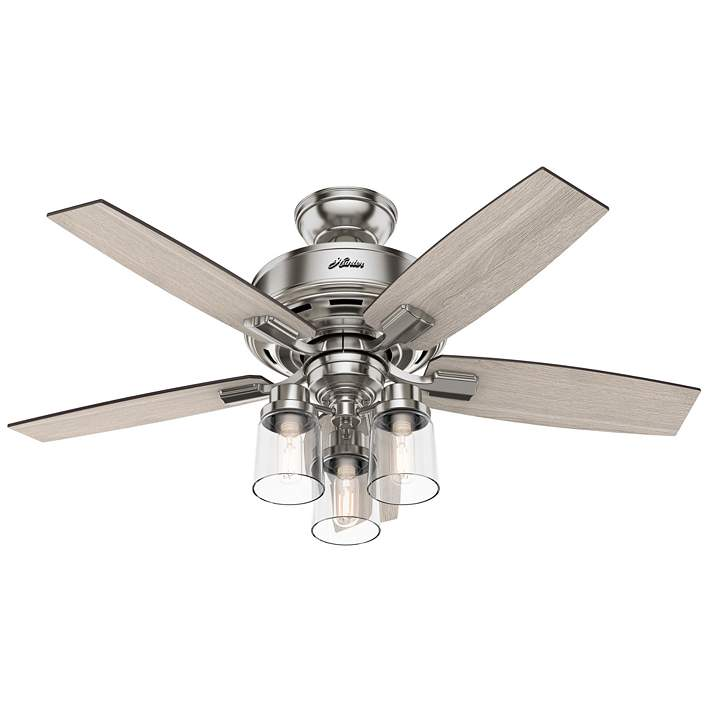
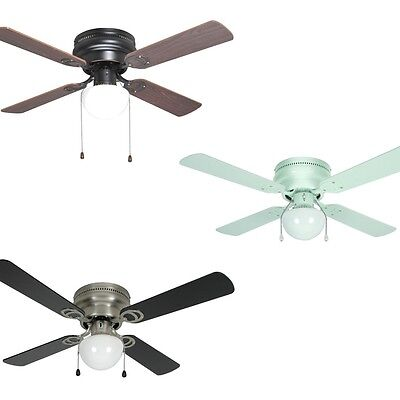
2. Versatile for Various Rooms
Whether you are decorating your living room, hallway, dining room, or bedroom, a Vintage Semi Flush Mount Ceiling Light can fit seamlessly into any space. Its subtle design allows it to blend into both large and small rooms, providing sufficient illumination without overpowering the rest of the decor. Additionally, semi-flush mount fixtures offer better light distribution compared to traditional flush mount lights, making them suitable for spaces that require balanced, ambient lighting.
3. Space-Saving Design
The semi-flush mount style is ideal for rooms with lower ceilings, as it doesn’t take up much vertical space. If you have a smaller or lower ceiling but still want to add a decorative touch, Vintage Semi Flush Mount Ceiling Lights provide the perfect solution. They are both functional and stylish without causing any obstruction or making the room feel cramped.
4. Easy Installation
Semi-flush mount lights are relatively easy to install compared to other types of ceiling lights, like chandeliers or pendant lights. If you’re looking for a lighting fixture that you can install yourself or want to avoid a complicated setup, this style of light fixture is a great choice.
Key Features
When choosing a Vintage Semi Flush Mount Ceiling Light, there are several features you should consider to ensure it complements your space perfectly. Below are the key features that define these lighting fixtures:
1. Material and Finish
Vintage lighting fixtures are known for their high-quality materials, which often include metals such as brass, bronze, or iron, as well as glass elements. The finish on the metal parts is equally important, as it can range from antique brass, polished nickel, oil-rubbed bronze, to aged copper. The choice of material and finish will affect the overall aesthetic of the light and help it coordinate with your room’s existing decor.
2. Glass Shades
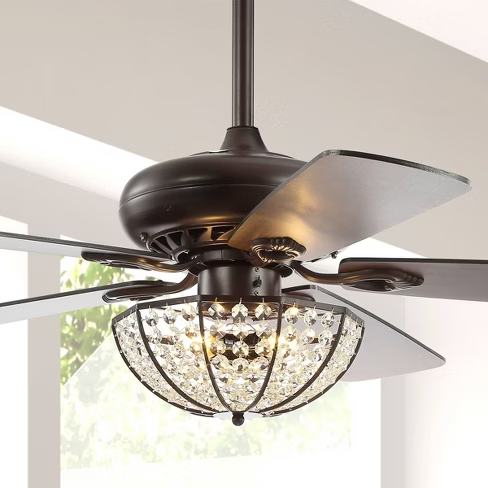
Many Vintage Semi Flush Mount Ceiling Lights feature glass shades that soften the light output and add a decorative touch. These shades can come in a variety of shapes, such as globe, bell, or drum shapes. Glass shades are also available in different finishes, including frosted, clear, or etched glass, each offering a different type of light diffusion.
3. Bulb Compatibility
When selecting a Vintage Semi Flush Mount Ceiling Light, it’s essential to consider the type of bulbs it uses. Many vintage-style lights are compatible with energy-efficient LED bulbs, incandescent bulbs, or even Edison-style bulbs. Edison bulbs are particularly popular in vintage lighting because their exposed filaments give off a warm, nostalgic glow that enhances the antique feel of the fixture.
4. Size and Proportions
Vintage semi flush mount lights come in various sizes and proportions. When choosing the right one for your room, consider the size of the space and the height of your ceiling. A larger fixture can make a statement in a spacious room, while smaller options work better in more compact spaces.
How to Choose the Right Vintage Semi Flush Mount Ceiling Light for Your Home
Selecting the perfect Vintage Semi Flush Mount Ceiling Light can be an exciting process, but it requires careful consideration of various factors to ensure it fits well with your home’s style and functional needs. Here are some tips to help you choose the right fixture:
1. Consider the Room’s Style
First, think about the overall style and ambiance of the room. A Vintage Semi Flush Mount Ceiling Light works well in a range of design themes, from rustic farmhouse to mid-century modern or even industrial chic. Consider the materials and finishes of your furniture and decor when choosing a light fixture that will complement the space. For example, a bronze or brass fixture pairs beautifully with a vintage-inspired room, while matte black or polished nickel works well in more contemporary or industrial spaces.
2. Match the Size to the Room
The size of the Vintage Semi Flush Mount Ceiling Light should be proportional to the room’s size. A large fixture may overpower a small room, while a tiny fixture may get lost in a large space. To find the right size, measure the room’s dimensions and aim for a fixture that is appropriately scaled for the area.
3. Consider the Lighting Needs
Think about the amount of light you need in the room. Vintage semi flush mount lights typically provide ambient lighting, but some are designed to offer more direct illumination. If the room requires more focused light, choose a fixture with a wider glass shade or a bulb that provides brighter illumination.
4. Look for Quality Craftsmanship
Vintage lighting is all about quality and craftsmanship. When shopping for a Vintage Semi Flush Mount Ceiling Light, choose one from a reputable manufacturer known for creating well-made, durable fixtures. Quality craftsmanship ensures the longevity of your light fixture, making it a wise investment for your home.
Maintenance and Care for Vintage Semi Flush Mount Ceiling Lights
To keep your Vintage Semi Flush Mount Ceiling Light looking its best, regular cleaning and maintenance are essential. Here are some simple tips to ensure that your vintage light stays in good condition:
- Dust Regularly: Vintage lights, especially those with intricate metalwork, can accumulate dust over time. Use a soft microfiber cloth to gently wipe the fixture and prevent dust build-up.
- Clean Glass Shades: If your fixture has glass shades, use a mild glass cleaner and a soft cloth to keep them sparkling clean. Avoid using harsh chemicals that could damage the glass or finish.
- Check the Bulbs: Regularly inspect the bulbs to ensure they are functioning correctly. If you use vintage-style Edison bulbs, replace them promptly if they burn out.
Conclusion
A Vintage Semi Flush Mount Ceiling Lights is a versatile and stylish lighting solution that can enhance the charm of any room. Whether you’re looking to add a touch of sophistication to your living room, hallway, or bedroom, this timeless fixture offers both aesthetic appeal and functional illumination. With the right material, size, and design, a vintage semi flush mount ceiling light can transform your space and create a warm, inviting atmosphere.
By following the tips outlined in this guide, you can select the perfect vintage lighting fixture for your home and enjoy its beauty for years to come.