When it comes to creating the perfect audio environment in your home, the choice of speakers can make all the difference. Polk Audio is a renowned brand known for its high-quality audio equipment, including their ceiling-mounted speakers. In this comprehensive guide, we will explore everything you need to know about Polk Audio speakers ceiling models. From their benefits and installation tips to selecting the right model for your needs, this guide will help you make an informed decision.

What Are Polk Audio Ceiling Speakers?
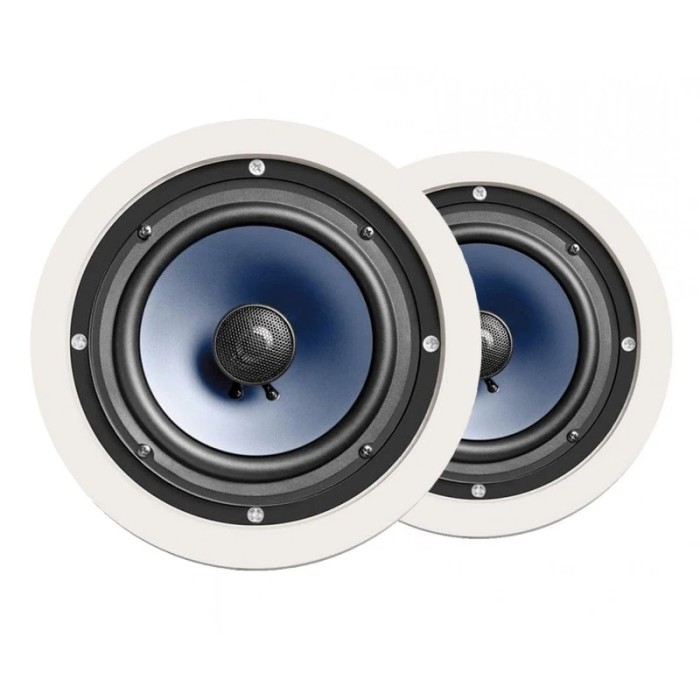
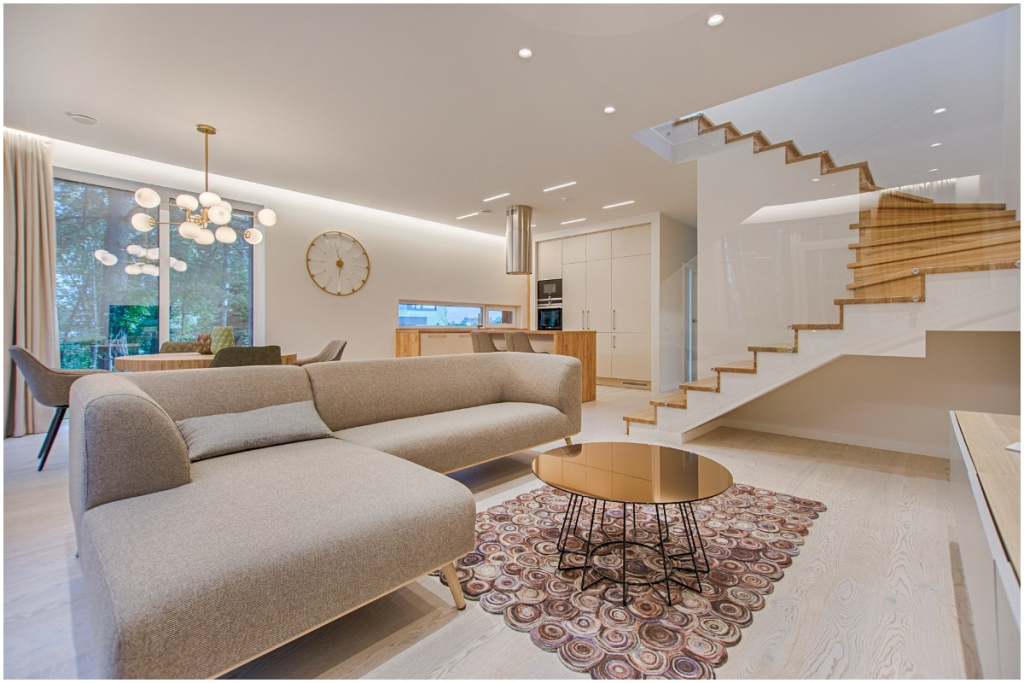
Polk Audio ceiling speakers are designed to be installed in the ceiling, providing a clean and unobtrusive audio solution. These speakers are ideal for those who want to enjoy high-quality sound without cluttering their living space with bulky equipment. Ceiling speakers are particularly useful for whole-home audio systems, home theaters, and multi-room setups.
Key Features of Polk Audio Ceiling Speakers
- High-Quality Sound
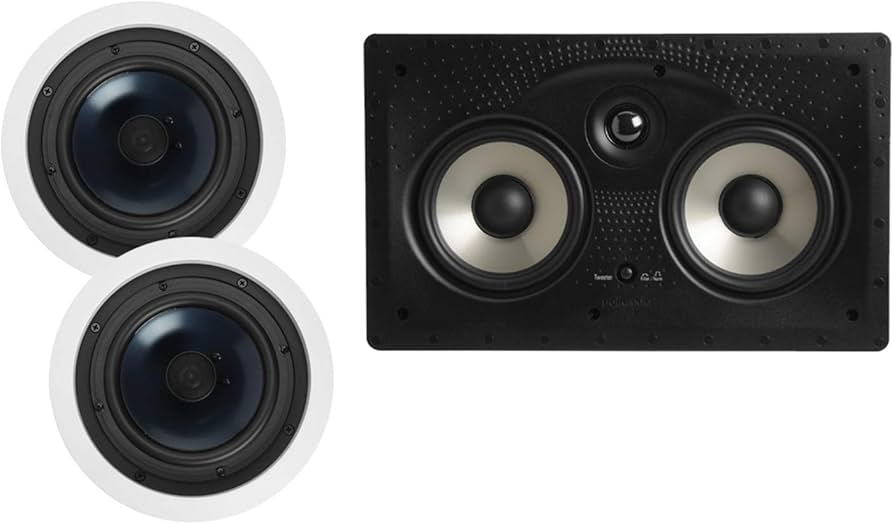
- Description: Polk Audio ceiling speakers are engineered to deliver clear and rich sound. They often feature advanced technologies such as Dynamic Balance and Polk’s proprietary drivers.
- Benefit: Ensures an immersive audio experience across various genres and audio formats.
- Discreet Design
- Description: These speakers are designed to blend seamlessly into your ceiling, with low-profile grilles that can be painted to match your décor.
- Benefit: Maintains the aesthetic of your room while providing high-quality sound.
- Wide Dispersion
- Description: Polk Audio ceiling speakers are built to offer wide sound dispersion, ensuring that audio is evenly distributed throughout the room.
- Benefit: Enhances the overall listening experience by filling the room with balanced sound.
- Easy Installation
- Description: Most Polk Audio ceiling speakers come with mounting hardware and detailed instructions for a straightforward installation process.
- Benefit: Allows for quick setup and minimizes the need for professional help.
Read too: Striped Schoolhouse Ceiling Light Fixtures: Unveiling the Timeless Charm
Benefits of Installing Polk Audio Ceiling Speakers
1. Space Efficiency
- Explanation: Ceiling-mounted speakers are ideal for rooms where floor space is limited or where traditional speakers might be too obtrusive.
- Advantage: Maximizes available space while delivering excellent sound quality.
2. Enhanced Aesthetics
- Explanation: By installing speakers in the ceiling, you avoid the clutter of visible equipment, creating a cleaner and more modern look.
- Advantage: Complements contemporary interior designs and enhances the overall visual appeal of your space.
3. Improved Sound Distribution
- Explanation: Ceiling speakers can be strategically placed to ensure sound is evenly distributed throughout the room, eliminating dead spots and providing a more immersive audio experience.
- Advantage: Ensures that every corner of the room benefits from high-quality sound.
4. Versatility
- Explanation: Polk Audio ceiling speakers can be used in various settings, including living rooms, kitchens, bathrooms, and outdoor spaces.
- Advantage: Offers flexibility in creating a seamless audio experience throughout your home.
Choosing the Right Polk Audio Ceiling Speakers
Selecting the right ceiling speakers involves considering several factors to ensure they meet your audio needs and fit your space perfectly. Here’s what to look for:
1. Speaker Size and Power Handling
- Consideration: Polk Audio offers a range of speaker sizes, from smaller models suited for background music to larger ones for more powerful sound.
- Recommendation: Choose a size that matches the room’s dimensions and your audio preferences. Ensure the speakers can handle the power output of your audio system.
2. Impedance and Sensitivity
- Consideration: Impedance affects how much power the speakers require, while sensitivity determines how efficiently they convert power into sound.
- Recommendation: Match the impedance of the speakers with your amplifier or receiver. Higher sensitivity speakers require less power to achieve the same volume.
3. Sound Quality and Frequency Response
- Consideration: Look for speakers that offer a wide frequency range and clear sound reproduction.
- Recommendation: Opt for models that provide a balanced sound with good bass, midrange, and treble performance.
4. Design and Aesthetics
- Consideration: Ceiling speakers should blend with your home’s décor. Many Polk Audio models feature paintable grilles to match your ceiling color.
- Recommendation: Choose speakers with a design that complements your interior style.
Installation Tips for Polk Audio Ceiling Speakers
Installing ceiling speakers can be a straightforward process if you follow these tips:
1. Plan Your Speaker Layout
- Tip: Determine the optimal placement for your speakers to ensure even sound distribution. Avoid placing them too close to corners or walls.
- Why: Proper placement enhances sound quality and prevents audio distortions.
2. Measure and Cut the Ceiling
- Tip: Use the template provided with the speakers to mark the cutting area on your ceiling. Ensure the cut is precise to fit the speakers snugly.
- Why: Accurate cutting ensures a clean installation and minimizes the need for adjustments.
3. Install the Mounting Brackets
- Tip: Secure the mounting brackets to the ceiling using the screws and anchors provided. Ensure they are firmly attached to support the weight of the speakers.
- Why: Properly installed brackets ensure that the speakers remain stable and secure.
4. Connect the Wires
- Tip: Follow the wiring diagram provided with the speakers to connect them to your audio system. Use high-quality speaker wire for the best performance.
- Why: Correct wiring ensures clear audio transmission and prevents potential damage to the speakers.
5. Attach the Speakers
- Tip: Carefully place the speakers into the cutouts and secure them using the mounting screws or clamps provided.
- Why: Proper attachment ensures that the speakers are securely installed and properly aligned.
6. Test and Adjust
- Tip: Once installed, test the speakers to ensure they are functioning correctly. Adjust the placement if necessary to achieve the desired sound quality.
- Why: Testing ensures that the speakers are performing optimally and that the audio experience meets your expectations.
Maintaining Your Polk Audio Ceiling Speakers
To keep your Polk Audio ceiling speakers in top condition, follow these maintenance tips:
1. Regular Cleaning
- Tip: Dust the grilles and speakers regularly using a soft, dry cloth. Avoid using harsh chemicals or abrasive materials.
- Why: Regular cleaning prevents dust buildup and maintains the appearance and performance of the speakers.
2. Check Connections
- Tip: Periodically check the wiring connections to ensure they are secure and free of corrosion.
- Why: Proper connections prevent audio issues and ensure consistent sound quality.
3. Inspect for Damage
- Tip: Regularly inspect the speakers for any signs of damage, such as cracks or dents in the grilles or housing.
- Why: Early detection of damage allows for timely repairs or replacements, ensuring continued optimal performance.
Conclusion
Polk Audio ceiling speakers offer an excellent solution for those looking to enhance their home audio experience with a discreet and high-quality option. By understanding the features, benefits, and installation tips provided in this guide, you can make an informed decision and enjoy superior sound quality throughout your home. Whether you’re setting up a home theater, a multi-room audio system, or simply upgrading your current setup, Polk Audio ceiling speakers can deliver exceptional performance and blend seamlessly into your living space.