Cracks in the ceiling of your house can be more than just unsightly; they may signify underlying issues. In this in-depth exploration, we’ll unravel the mysteries behind cracks in house ceilings, delve into potential causes, and provide effective solutions to ensure the structural integrity and aesthetics of your home.
Introduction
The presence of cracks in the ceiling can be a cause for concern among homeowners. These cracks, if left unaddressed, can lead to more significant problems affecting both the appearance and stability of the house. This comprehensive guide aims to shed light on the reasons behind cracks in the ceiling and empower homeowners with the knowledge to address and prevent them.
Cracks in Ceiling of House: Identifying the Culprits
1. Structural Settling
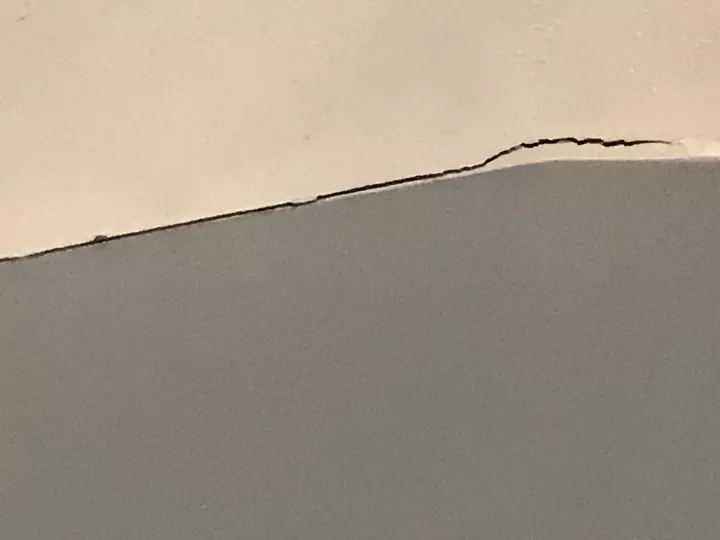
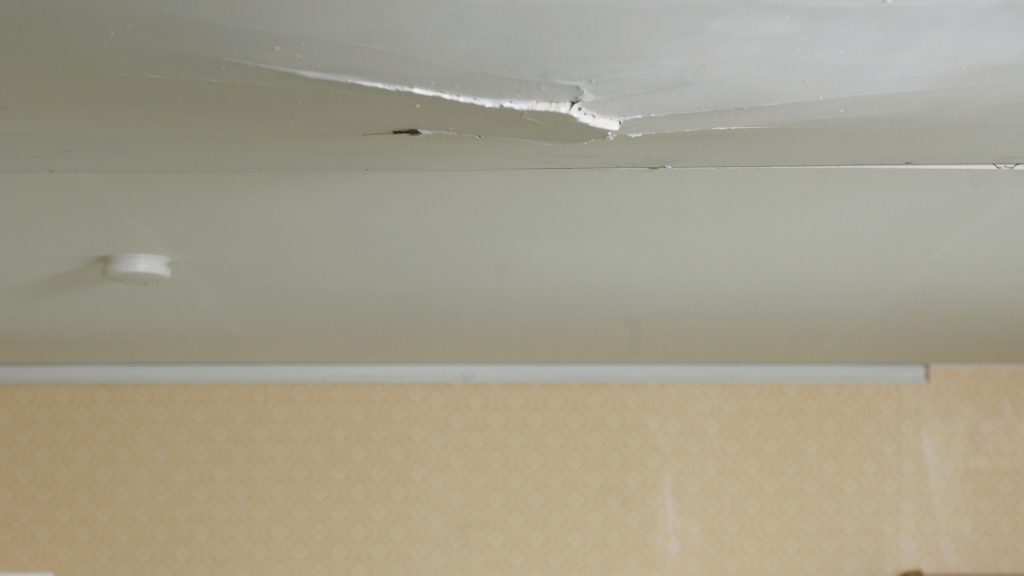
One common cause of cracks in the ceiling is the settling of the house’s structure over time. This settling can result from various factors, including the natural shifting of the soil, changes in temperature, or even inadequate foundation support.
2. Moisture and Humidity Issues
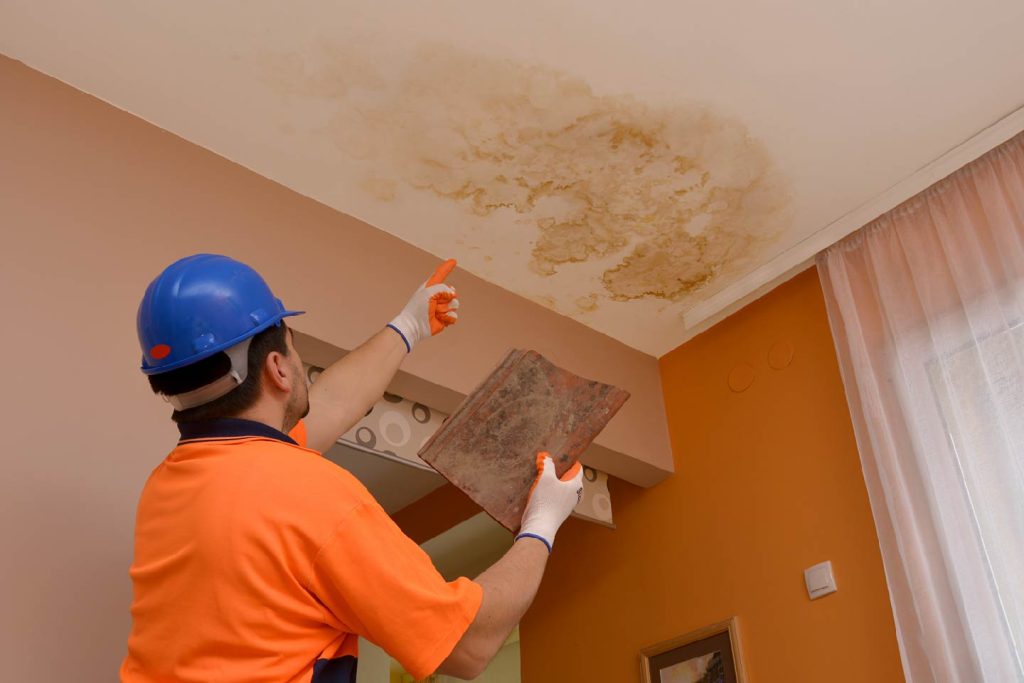
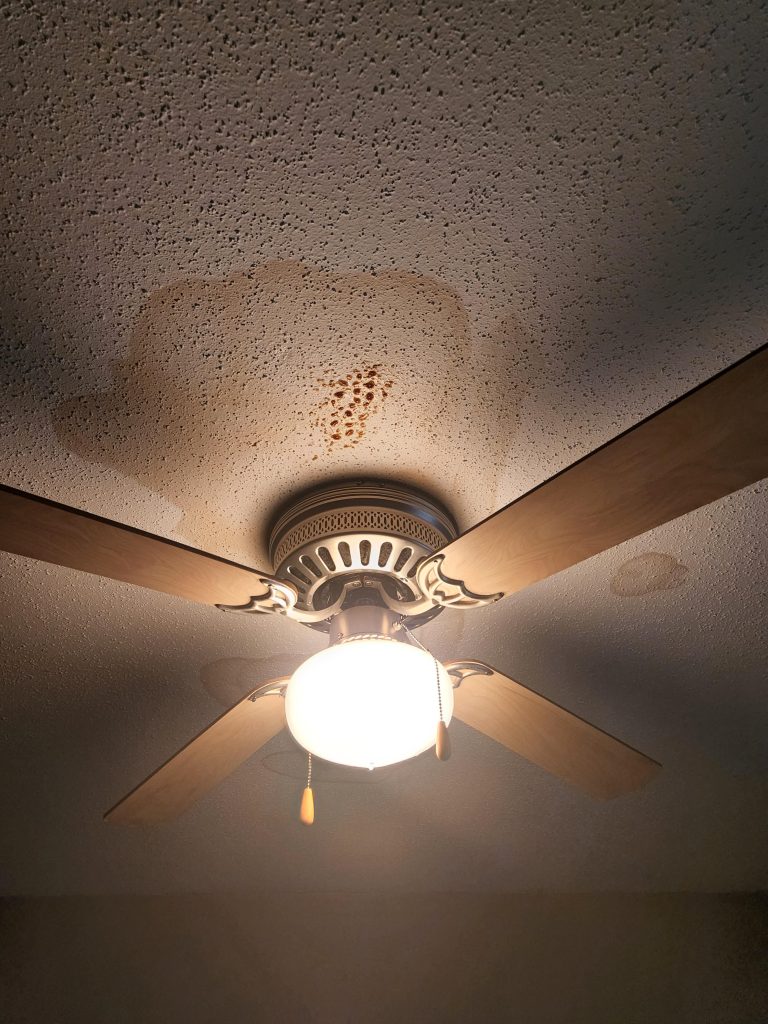
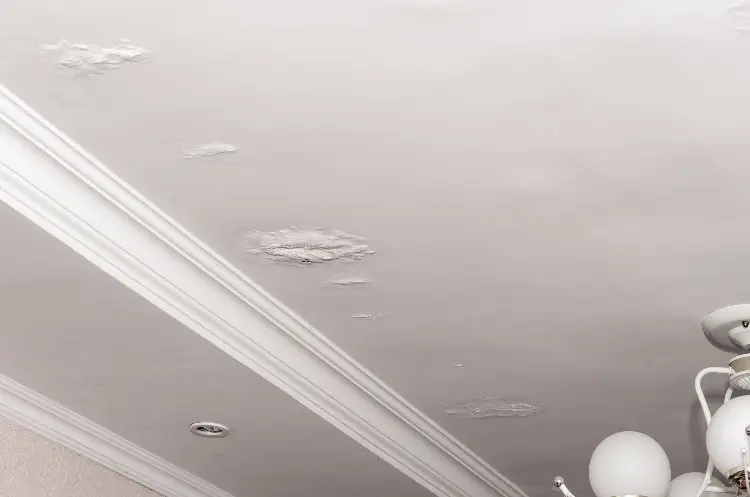
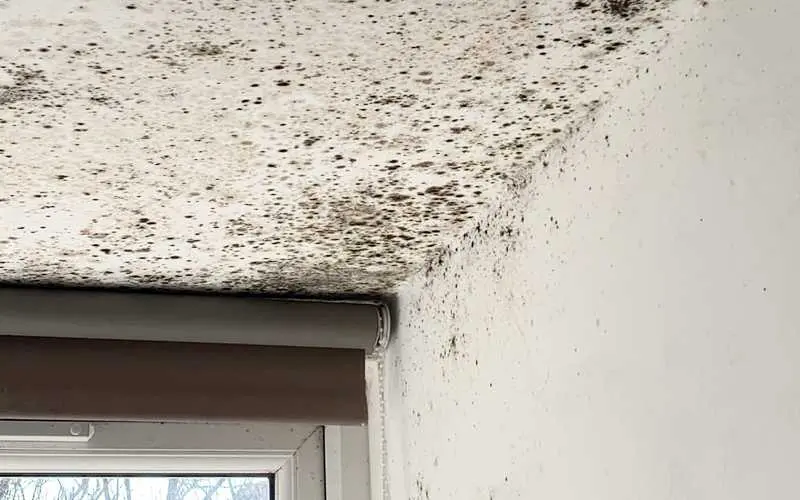
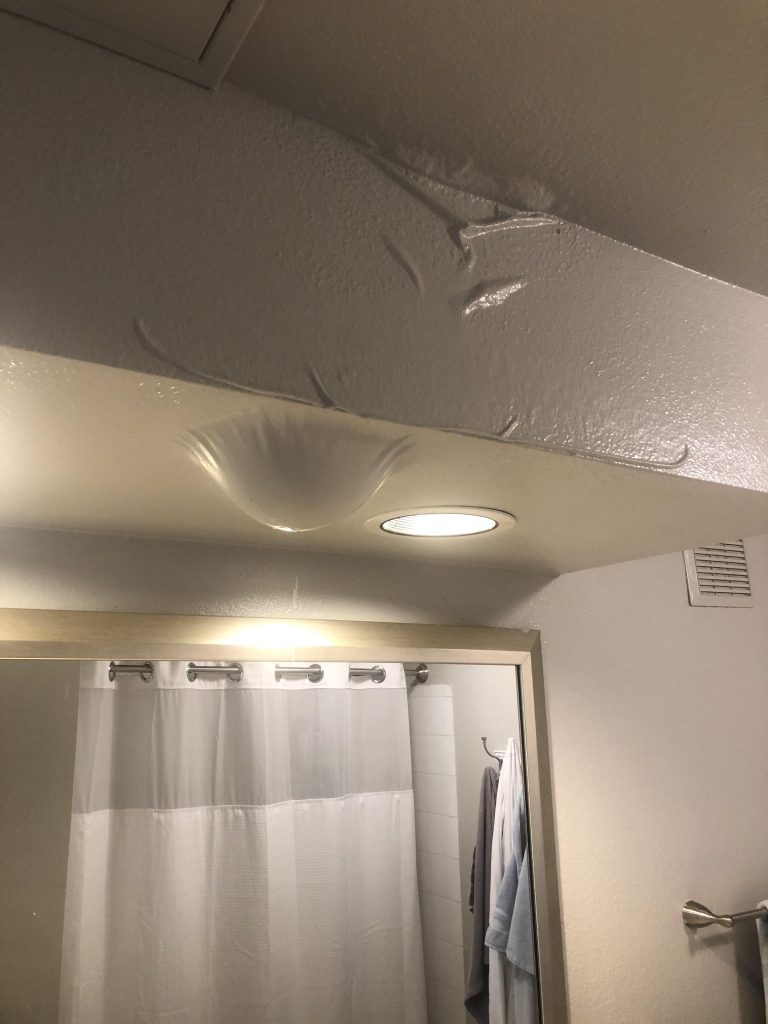
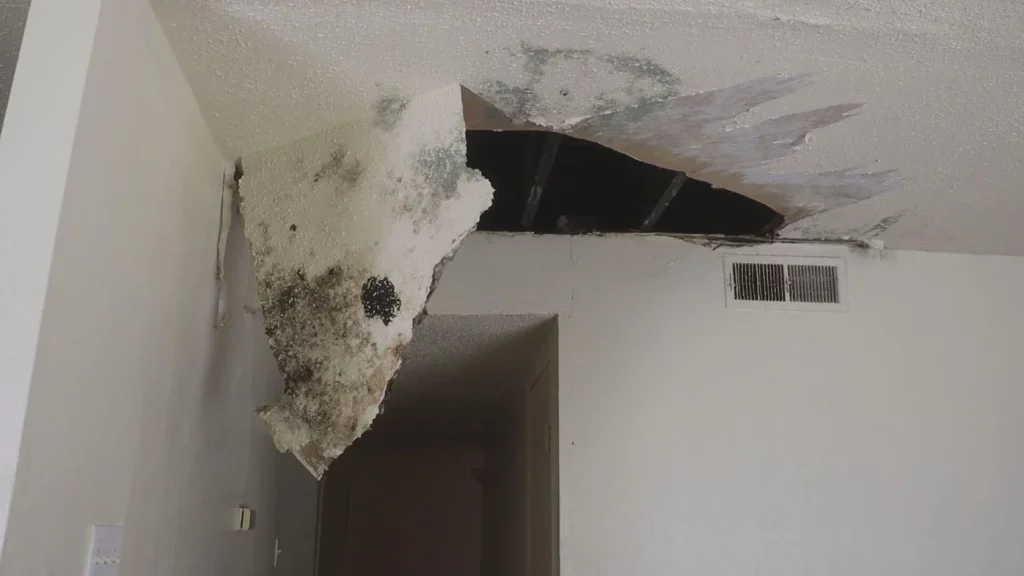
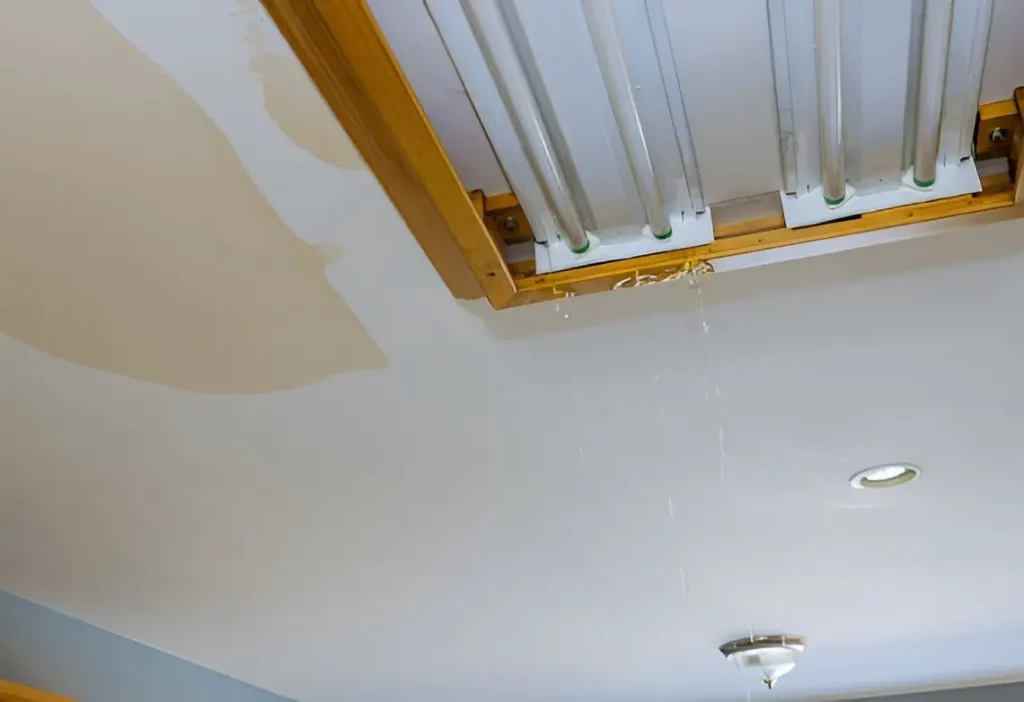
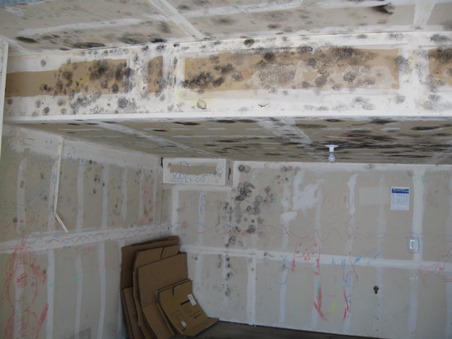
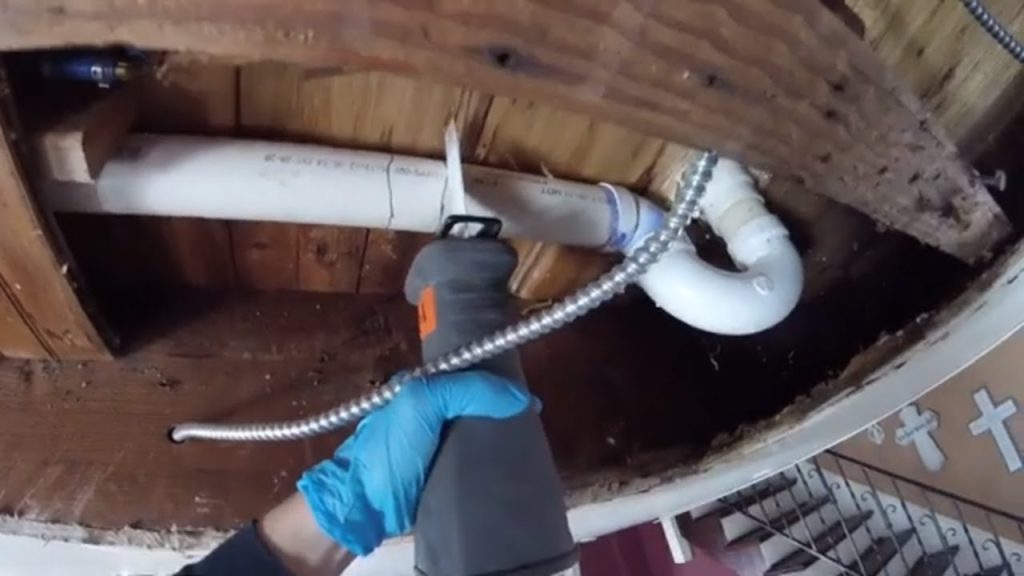
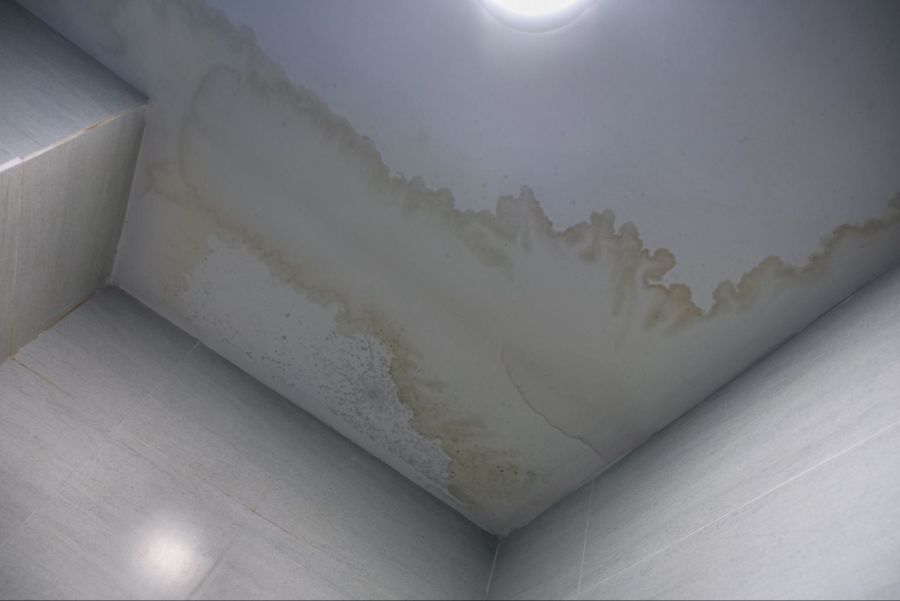
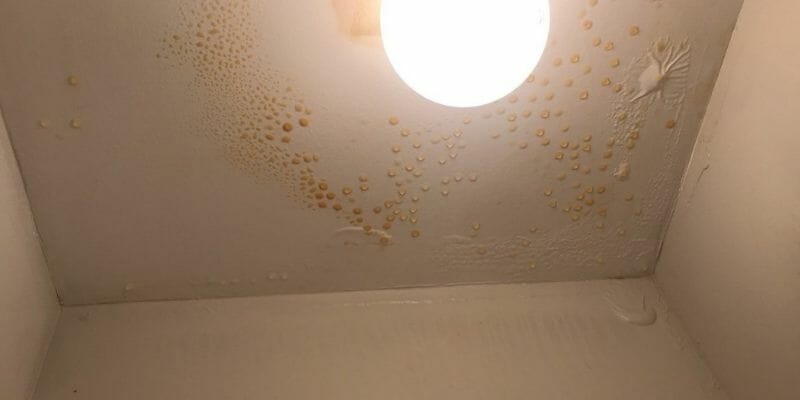
Excessive moisture and high humidity levels can weaken the materials used in constructing the ceiling, making them more prone to cracks. Leaky roofs, plumbing issues, or inadequate ventilation can contribute to this problem.
Strategies for Dealing with Cracks in Ceiling of House
Addressing cracks in the ceiling promptly is crucial to preventing further damage. Here are effective strategies for identifying, repairing, and preventing cracks in your house’s ceiling.
1. Visual Inspection
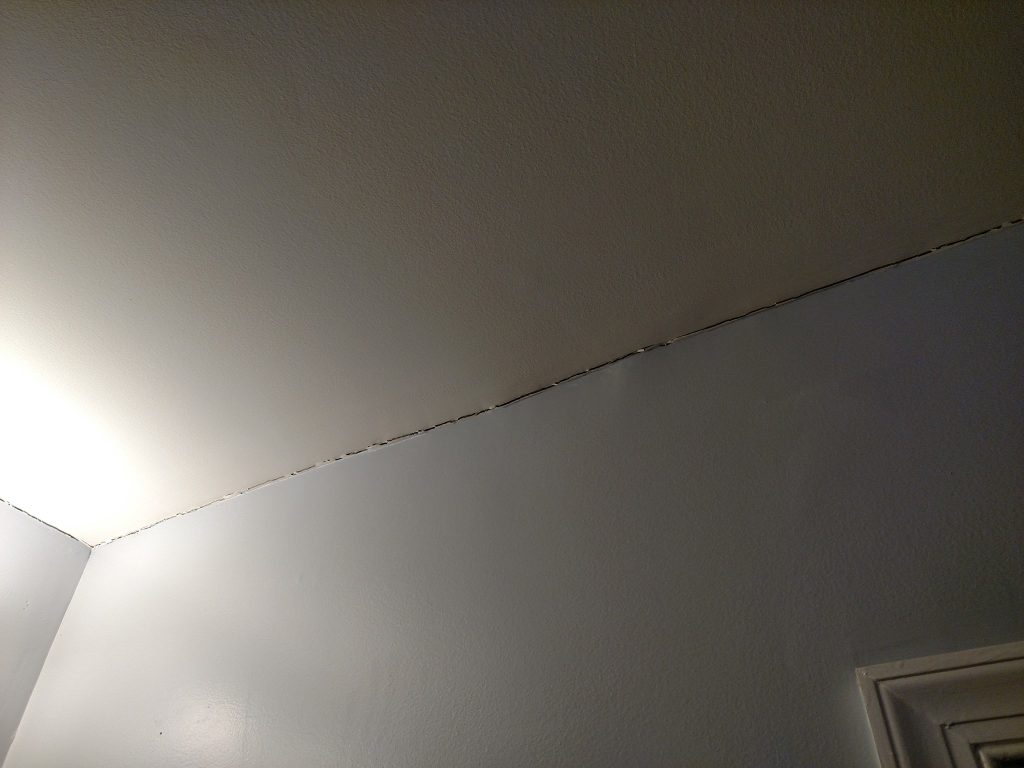
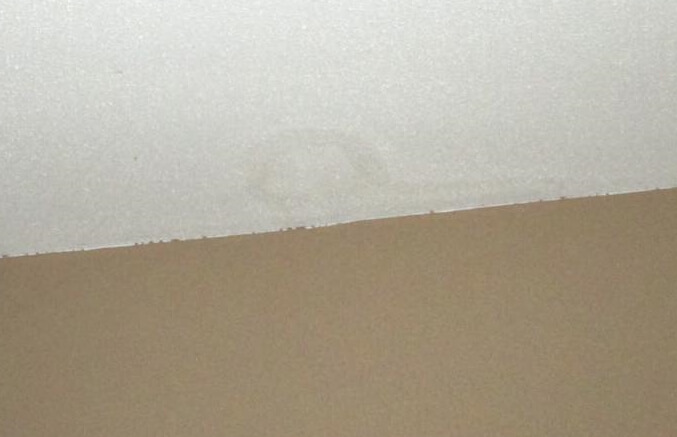
Regularly inspect your ceiling for any signs of cracks. Pay attention to the size, shape, and location of the cracks, as these factors can provide valuable clues about their underlying causes.
2. Patching and Repainting
For small, hairline cracks, patching compounds can be used to fill the gaps. Once patched, repaint the ceiling to restore its appearance. This quick fix is suitable for minor cosmetic issues.
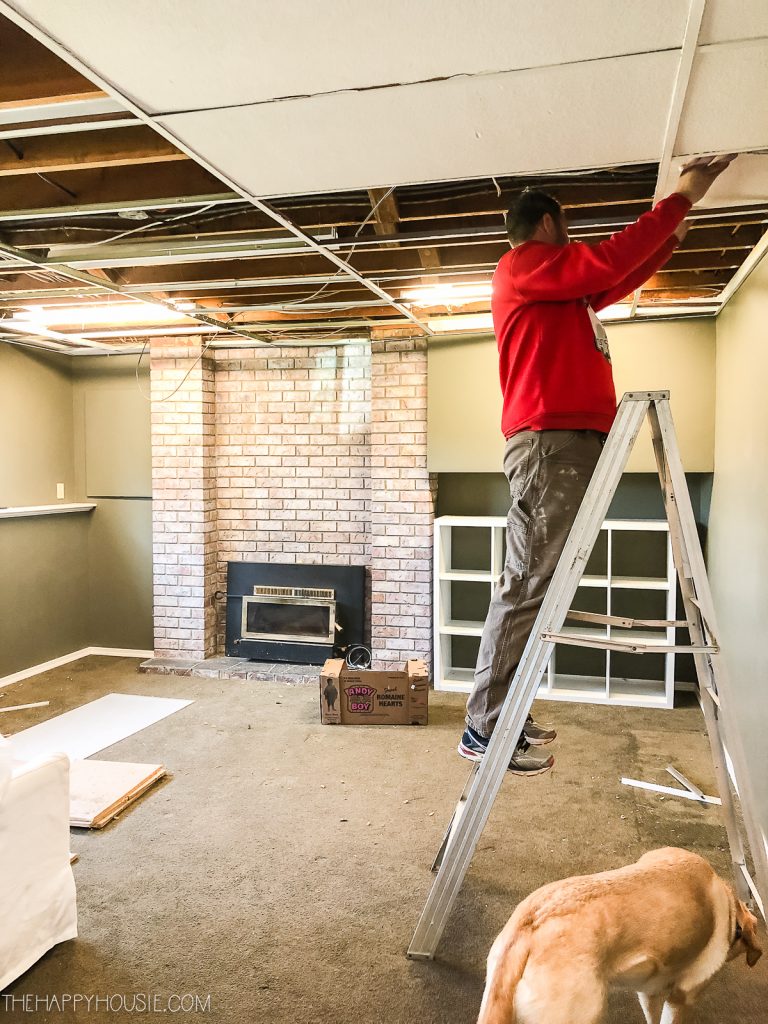
3. Addressing Structural Issues
If the cracks are indicative of more significant structural problems, it’s essential to consult with a professional. Structural engineers can assess the situation and recommend appropriate measures to address the root cause of the issue.
Preventive Measures: Safeguarding Your Ceiling from Future Cracks
Prevention is key when it comes to maintaining a crack-free ceiling. Consider implementing the following measures to minimize the risk of cracks in the future:
1. Proper Ventilation
Ensure your house has proper ventilation to prevent the buildup of moisture. Use exhaust fans in areas prone to humidity, such as bathrooms and kitchens, and consider installing a dehumidifier if needed.
2. Foundation Maintenance
Regularly inspect the foundation of your house for any signs of settling or shifting. Addressing foundation issues promptly can prevent cracks from developing in the ceiling and walls.
Read too: A Step-by-Step Guide to Installing Rockwool Insulation in Your Ceiling: Unlock Energy Efficiency
Conclusion: A Crackle-Free Haven
In conclusion, understanding the causes of cracks in the ceiling is essential for effective resolution. By following the strategies outlined in this guide and adopting preventive measures, homeowners can ensure a crackle-free haven that not only looks appealing but also stands strong against the test of time.
This comprehensive guide equips homeowners with the knowledge to identify, address, and prevent cracks in the ceiling of their houses. From common causes to effective solutions, empower yourself to safeguard the structural integrity and aesthetics of your home.