Armstrong 1912 ceiling tile are renowned for their timeless design and superior quality. In this article, we’ll delve into the history of these iconic tiles, explore their features, and provide valuable insights into their installation and maintenance. Whether you’re renovating a historic building or updating your home with classic charm, Armstrong 1912 ceiling tiles offer unmatched beauty and durability.

Unveiling Armstrong 1912 Ceiling Tiles
Armstrong 1912 ceiling tiles are inspired by the elegance and sophistication of early 20th-century design. Crafted with meticulous attention to detail, these tiles capture the essence of a bygone era while offering modern performance and durability. With their intricate patterns, textured surfaces, and rich colors, Armstrong 1912 ceiling tiles add a touch of vintage charm to any space.
Features of Armstrong 1912 Ceiling Tiles
- Timeless Design: Armstrong 1912 ceiling tiles feature classic designs inspired by architectural styles from the early 20th century, including Art Deco, Victorian, and Craftsman.
- Durable Construction: Constructed from high-quality materials, such as mineral fiber and fiberglass, Armstrong 1912 ceiling tiles are designed to withstand the test of time and maintain their beauty for years to come.
- Variety of Patterns: These tiles are available in a wide range of patterns, including geometric motifs, floral designs, and intricate textures, allowing for endless design possibilities.
- Easy Installation: Armstrong 1912 ceiling tiles are designed for easy installation, with options for direct-mount or drop-ceiling applications, making them suitable for both residential and commercial projects.
- Fire and Moisture Resistance: Many Armstrong 1912 ceiling tiles are engineered to meet stringent fire and moisture resistance standards, ensuring safety and peace of mind.
Installation Methods for Armstrong 1912 Ceiling Tiles
- Direct Mount: Direct-mount installation involves attaching the ceiling tiles directly to the ceiling substrate using adhesive or screws. This method is ideal for ceilings with minimal clearance or where a seamless look is desired.
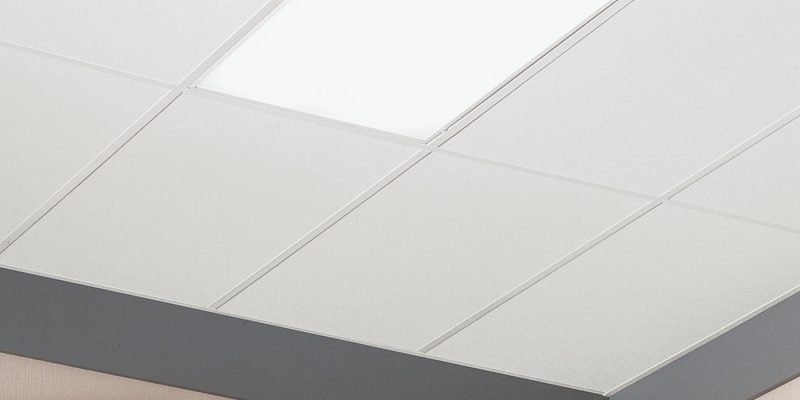
- Drop Ceiling Grid: Drop ceiling installation involves suspending the tiles from a grid system mounted to the ceiling joists. This method allows for easy access to utilities and ductwork while providing a clean and polished appearance.
Maintenance Tips for Armstrong 1912 Ceiling Tiles
- Regular Cleaning: Keep Armstrong 1912 ceiling tiles looking their best by regularly dusting or vacuuming them to remove dirt and debris.
- Avoid Moisture Exposure: Minimize exposure to moisture to prevent water damage and mold growth. Use a mild detergent and water solution for cleaning, and avoid harsh chemicals or abrasive cleaning tools.
- Inspect for Damage: Periodically inspect the tiles for signs of damage, such as cracks, stains, or warping, and replace any damaged tiles as needed to maintain the integrity of the ceiling system.
Conclusion
Armstrong 1912 ceiling tile embody the timeless elegance and exceptional craftsmanship of a bygone era, making them a perfect choice for adding classic style to any space. With their durable construction, versatile designs, and easy installation, these tiles offer both aesthetic appeal and practical functionality. Whether you’re restoring a historic building or renovating a modern home, Armstrong 1912 ceiling tiles provide a timeless solution for enhancing your space with enduring beauty.
Now that you’re familiar with the features, installation methods, and maintenance tips for Armstrong 1912 ceiling tiles, why not incorporate these classic tiles into your next design project?