In modern construction, soundproofing has become an essential aspect of creating comfortable and quiet living and working environments. One of the most effective solutions for controlling sound transmission through ceilings is the Soundbreak XP Ceilings Board. This article explores the benefits, features, and applications of Soundbreak XP Ceiling Board, providing valuable information to help you decide if this product is right for your project.
What is Soundbreak XP Ceiling Board?
Soundbreak XP Ceiling Board is a high-performance gypsum board designed specifically for soundproofing. It combines the characteristics of traditional drywall with enhanced sound-damping capabilities, making it an ideal choice for reducing noise transmission in both residential and commercial buildings.
Key Features
Soundbreak XP Ceiling Board is engineered to provide superior acoustic performance. Its key features include:
- Enhanced Sound Damping: The board incorporates a viscoelastic polymer between two dense gypsum layers, significantly reducing sound transmission.
- Moisture and Mold Resistance: The XP (eXtreme Protection) technology ensures the board is resistant to moisture and mold, making it suitable for various environments.
- Fire Resistance: Soundbreak XP Ceiling Board meets fire resistance standards, providing an added layer of safety.
- Easy Installation: The board can be installed using standard drywall techniques, making it convenient for contractors and DIY enthusiasts alike.
Applications
Soundbreak XP Ceiling Board is versatile and can be used in a variety of settings, including:
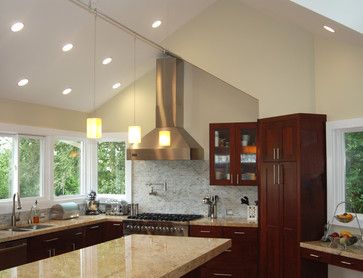
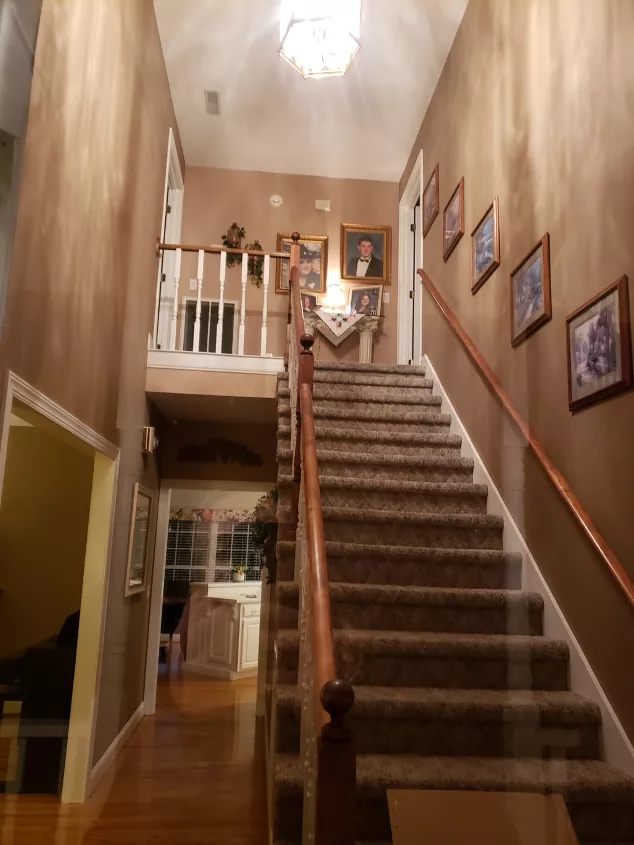
- Residential Homes: Bedrooms, home theaters, living rooms, and nurseries benefit from the reduced noise transmission.
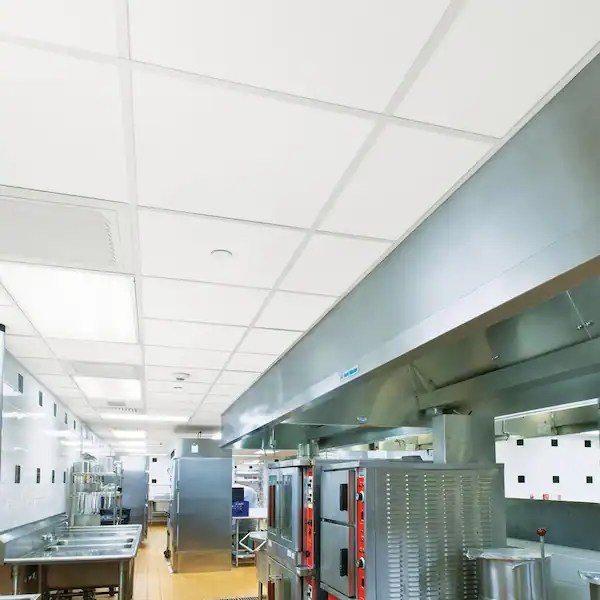
- Commercial Buildings: Offices, conference rooms, and healthcare facilities gain improved acoustic privacy.
- Multifamily Dwellings: Apartments and condos require effective soundproofing to enhance tenant satisfaction.
- Hospitality Industry: Hotels and resorts use sound-damping materials to ensure a quiet and restful environment for guests.
Benefits of Soundbreak XP Ceiling Board
Choosing Soundbreak XP Ceiling Board for your construction or renovation project offers numerous advantages, from improved acoustic comfort to enhanced safety and durability.
Superior Acoustic Performance
The primary benefit of Soundbreak XP Ceiling Board is its ability to reduce noise transmission between rooms and floors. The board’s advanced design effectively dampens sound vibrations, making it ideal for environments where noise control is crucial.
Moisture and Mold Resistance
In addition to its soundproofing capabilities, Soundbreak XP Ceiling Board is resistant to moisture and mold. This makes it suitable for areas with high humidity, such as bathrooms and kitchens, ensuring long-lasting performance and durability.
Fire Resistance
Safety is a critical consideration in any building project. Soundbreak XP Ceiling Board meets fire resistance standards, providing an added layer of protection in the event of a fire. This feature makes it an excellent choice for both residential and commercial applications.
Easy to Work With
Despite its advanced performance characteristics, Soundbreak XP Ceiling Board is easy to install. It can be cut, screwed, and finished using standard drywall techniques, making it a convenient option for contractors and DIY enthusiasts.
Cost-Effective Solution
While Soundbreak XP Ceiling Board may have a higher upfront cost compared to standard drywall, its benefits in terms of acoustic comfort, moisture resistance, and fire safety make it a cost-effective solution in the long run. The enhanced durability and performance can lead to fewer maintenance issues and improved occupant satisfaction.
How to Install Soundbreak XP Ceiling Board
Proper installation is crucial to maximize the benefits of Soundbreak XP Ceiling Board. Here is a step-by-step guide to help you through the installation process:
Tools and Materials Needed
- Soundbreak XP Ceiling Board
- Drywall screws
- Screw gun or drill
- Utility knife
- T-square or straight edge
- Joint tape and compound
- Sanding block
- Measuring tape
Step-by-Step Installation Guide
- Measure and Cut: Measure the dimensions of your ceiling and cut the Soundbreak XP Ceiling Board to fit. Use a T-square or straight edge to ensure clean, straight cuts.
- Position the Board: Position the first panel against the ceiling joists, ensuring a snug fit. It’s helpful to have an assistant to hold the board in place while you secure it.
- Secure the Board: Using a screw gun or drill, secure the Soundbreak XP Ceiling Board to the ceiling joists with drywall screws. Place screws every 12 inches along the edges and every 16 inches in the field of the board.
- Repeat the Process: Continue to measure, cut, and secure additional panels until the entire ceiling is covered. Ensure that the seams between panels are tight to prevent sound leakage.
- Tape and Mud: Apply joint tape over the seams between the panels. Then, apply a layer of joint compound over the tape, feathering the edges to blend with the board surface. Allow the compound to dry completely.
- Sand and Finish: Once the joint compound is dry, sand the seams smooth. Apply additional layers of compound as needed, sanding between each layer until the seams are seamless and smooth.
- Prime and Paint: After the final sanding, prime and paint the ceiling to your desired finish. This step not only improves the aesthetic appearance but also adds an additional layer of protection.
Tips for Successful Installation
- Use Quality Tools and Materials: Investing in high-quality tools and materials can make the installation process smoother and result in a better-finished product.
- Work with a Partner: Installing ceiling boards can be challenging alone. Working with a partner can make the process easier and safer.
- Follow Manufacturer Guidelines: Always follow the manufacturer’s guidelines for installation to ensure optimal performance and safety.
Maintenance and Care for Soundbreak XP Ceiling Board
To keep your Soundbreak XP Ceiling Board in top condition, follow these maintenance and care tips:
Regular Cleaning
Dust the ceiling regularly to prevent dirt and dust buildup. Use a soft cloth or duster to avoid scratching the surface.
Addressing Moisture Issues
Although Soundbreak XP Ceiling Board is moisture-resistant, it’s essential to address any water leaks or humidity issues promptly to prevent potential damage.
Inspect for Damage
Periodically inspect the ceiling for any signs of damage or wear. Address any issues immediately to maintain the board’s integrity and performance.
Conclusion
Soundbreak XP Ceilings Board offers a superior solution for soundproofing ceilings in both residential and commercial settings. Its advanced design provides excellent acoustic performance, moisture and mold resistance, fire safety, and ease of installation. By choosing Soundbreak XP Ceiling Board, you can enhance the comfort and functionality of your spaces, creating quieter, safer, and more enjoyable environments.
Read too: Striped Schoolhouse Ceiling Light Fixtures: Unveiling the Timeless Charm
Whether you are constructing a new building or renovating an existing space, Soundbreak XP Ceiling Board is a cost-effective and reliable choice for achieving your soundproofing goals. With proper installation and maintenance, this innovative product will provide lasting benefits, making it a valuable addition to your project.