In the quest for maximizing living space and enhancing home entertainment, the concept of a TV that comes down from the ceiling offers a blend of modern technology and practical design. This innovative solution not only saves space but also adds a touch of sophistication to your living environment. This article delves into the benefits, installation, and considerations of integrating a ceiling-mounted TV into your home.
What is a TV That Comes Down From The Ceiling?
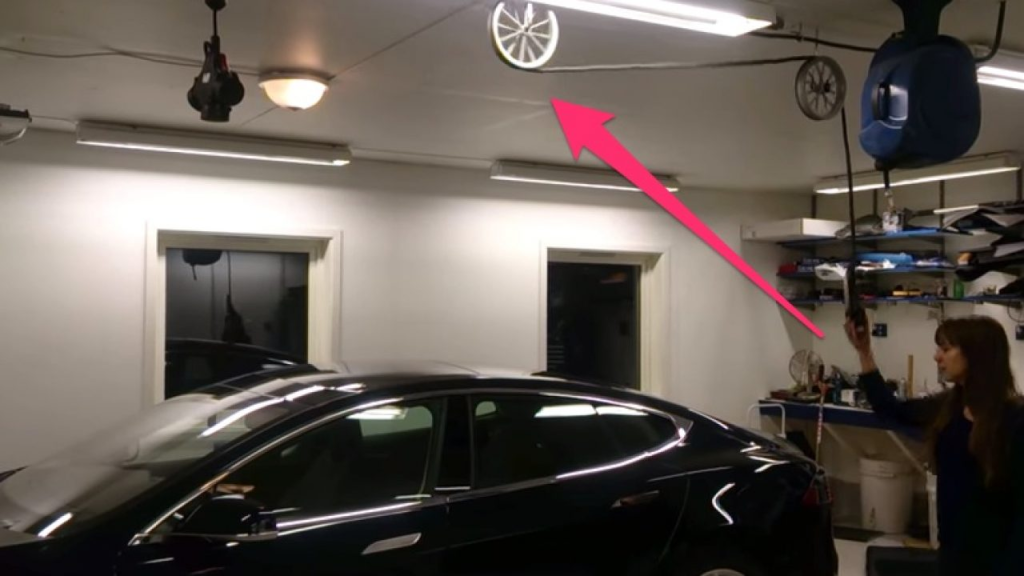
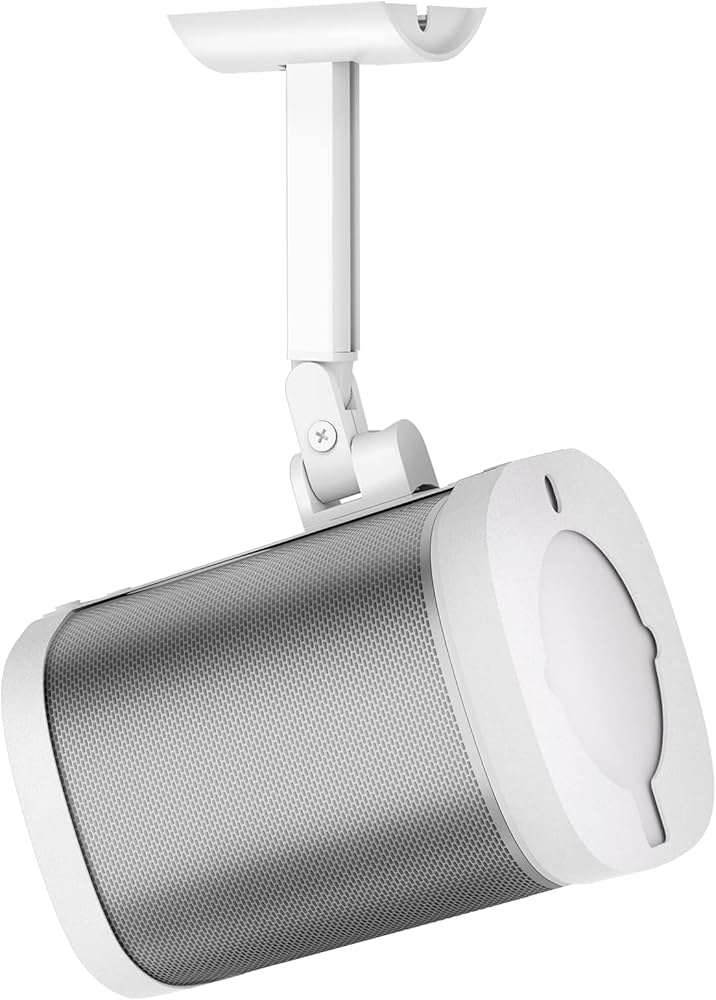
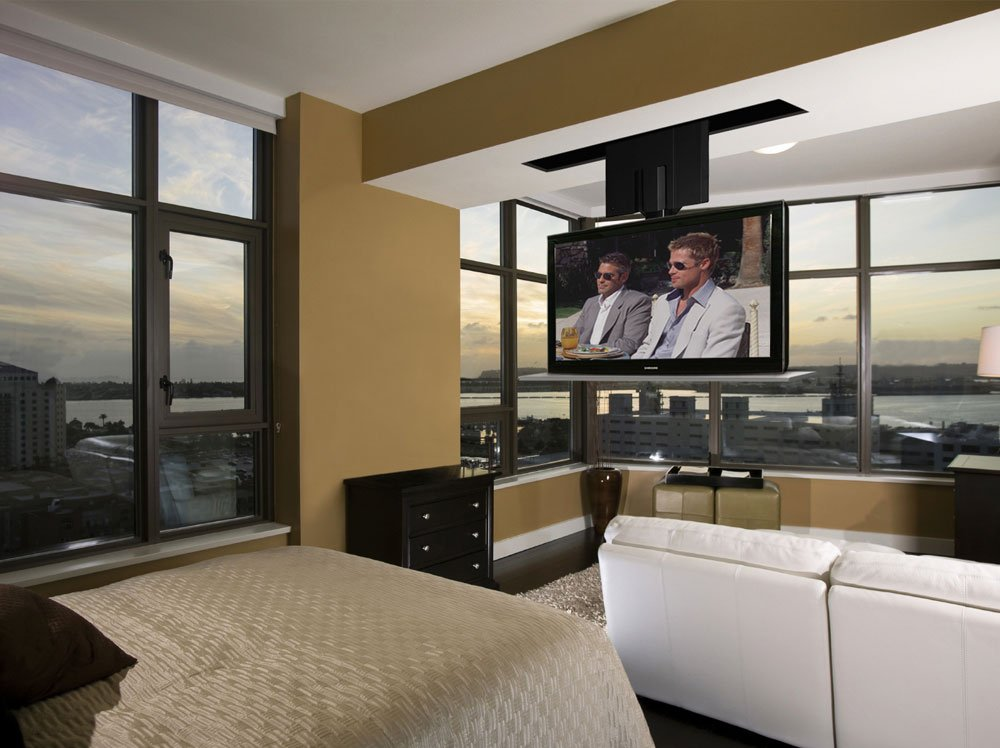
A TV that comes down from the ceiling, also known as a ceiling-mounted TV lift or drop-down TV, is a sophisticated system that allows your television to be hidden when not in use and conveniently lowered when you want to watch it. This type of setup is particularly useful in rooms where wall space is limited or where a clean, uncluttered look is desired.
How Does It Work?
These systems typically consist of a motorized lift mechanism that is mounted in the ceiling. When activated, the mechanism lowers the TV to an optimal viewing height. Once you’re finished watching, the TV can be retracted back into the ceiling, making it virtually invisible.
Read too: Bathroom Flooded Through the Ceiling: A Comprehensive Guide
Benefits of a TV That Comes Down From The Ceiling
Integrating a ceiling-mounted TV lift into your home offers several advantages:
1. Space-Saving
One of the primary benefits of a TV that comes down from the ceiling is its ability to save space. By keeping the TV concealed when not in use, you free up valuable wall and floor space. This is especially beneficial in small or multifunctional rooms where every square foot counts.
2. Clean Aesthetic
A ceiling-mounted TV provides a sleek, modern look by eliminating the need for bulky furniture or TV stands. The TV can be neatly tucked away, maintaining a clean and uncluttered room appearance.
3. Flexible Viewing Options
With a motorized lift, you can adjust the TV’s height to achieve the perfect viewing angle. This flexibility allows you to optimize your viewing experience whether you’re sitting, standing, or lying down.
4. Enhanced Safety
In households with young children or pets, a ceiling-mounted TV reduces the risk of accidents. By keeping the TV out of reach, you minimize the chances of it being knocked over or tampered with.
5. Improved Room Design
A ceiling-mounted TV can complement a variety of interior design styles. It allows for more creative and flexible room layouts, as the TV is not a permanent fixture that dictates where furniture should be placed.
Installation Process for a Ceiling-Mounted TV
Installing a TV that comes down from the ceiling involves several steps and may require professional assistance. Here’s an overview of the typical installation process:
1. Planning and Measurement
Before installation, you need to carefully plan the placement of the TV and the ceiling lift mechanism. Measure the ceiling height and determine the optimal location for the lift to ensure that the TV will be at a comfortable viewing height.
2. Choosing the Right System
There are various ceiling lift systems available, each with different features and weight capacities. Choose a system that suits the size and weight of your TV. Additionally, consider features like remote control operation, programmable presets, and quiet operation.
3. Ceiling Preparation
The installation area must be prepared to support the weight of the TV and the lift mechanism. This may involve reinforcing the ceiling structure and ensuring that electrical wiring is properly routed.
4. Mounting the Lift Mechanism
The lift mechanism is typically mounted into the ceiling structure. This step requires precision to ensure that the system is securely installed and aligned correctly.
5. Installing the TV
Once the lift mechanism is in place, the TV is attached to the lift system. Proper installation ensures that the TV operates smoothly and remains securely in place.
6. Testing and Calibration
After installation, the system is tested to ensure proper functionality. This includes checking the lift mechanism’s operation, adjusting the TV’s height, and ensuring that remote controls and other features work correctly.
Design Considerations for Ceiling-Mounted TVs
When incorporating a ceiling-mounted TV into your home, several design considerations should be taken into account:
1. Room Layout
Consider how the TV’s location will impact the room layout. Ensure that the drop-down TV does not obstruct lighting fixtures or other essential elements in the room.
2. Viewing Distance
Maintain an appropriate viewing distance between the TV and seating area. This will ensure that the TV is at a comfortable height and angle for optimal viewing.
3. Integration with Existing Decor
Choose a lift system and TV mount that blend seamlessly with your existing decor. The system should complement the room’s design without drawing unnecessary attention.
4. Electrical and Cable Management
Plan for the management of electrical wiring and cables. Ensure that the installation allows for clean and organized cable routing to avoid clutter and maintain a polished look.
Cost and Maintenance of Ceiling-Mounted TVs
1. Cost Considerations
The cost of a ceiling-mounted TV system can vary widely depending on the size of the TV, the complexity of the lift mechanism, and installation costs. While the initial investment may be higher than traditional TV mounting options, the benefits of space-saving and aesthetic appeal often justify the expense.
2. Maintenance
Regular maintenance is essential to ensure the longevity and optimal performance of your ceiling-mounted TV system. This includes checking the lift mechanism for proper operation, cleaning the TV screen, and inspecting cables and connections.
Popular Brands and Models
Several brands offer high-quality ceiling-mounted TV systems. Some popular options include:
- Vantage Point: Known for its durable and reliable lift mechanisms.
- Future Automation: Offers customizable solutions and advanced features.
- Sanus: Provides a range of ceiling mounts and lift systems with user-friendly designs.
Conclusion
A TV that comes down from the ceiling represents an innovative and stylish solution for modern living spaces. By offering space-saving benefits, a clean aesthetic, and flexible viewing options, this type of system enhances both functionality and design. Whether you’re looking to optimize a small room or simply elevate your home entertainment experience, a ceiling-mounted TV lift could be the perfect addition to your home.