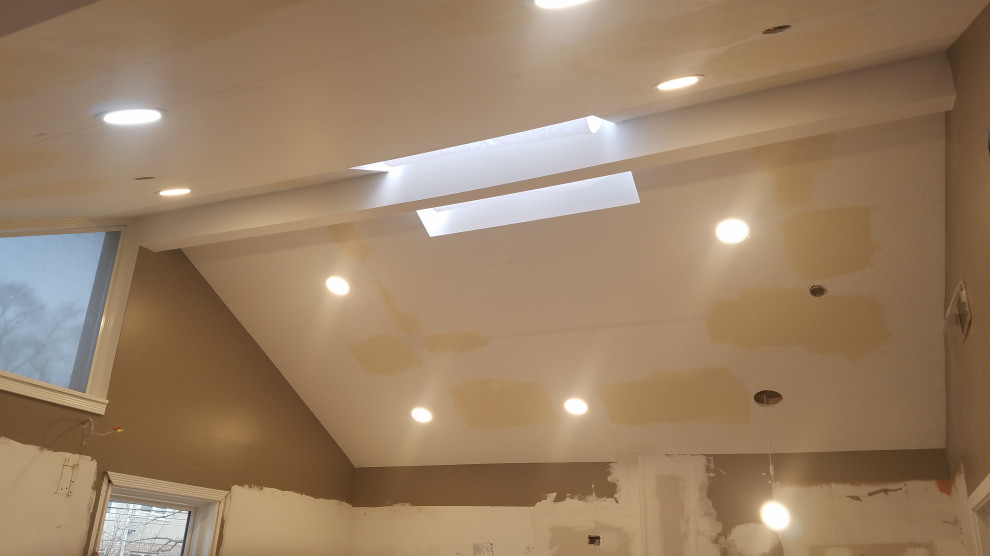
Recessed Light Drop Ceiling. Lighting plays a crucial role in shaping the atmosphere and functionality of any space, and one of the most popular and aesthetically pleasing lighting options is recessed lighting. Recessed lighting offers a sleek, minimalist design, providing excellent illumination without cluttering your ceiling with bulky fixtures. When combined with a drop ceiling, it creates a clean, contemporary look that can enhance the overall ambiance of your home or office.
In this article, we’ll explore everything you need to know about installing recessed light drop ceilings, from the benefits to step-by-step installation and design tips. Whether you’re renovating your home or working on a new construction project, understanding how to incorporate recessed lights into a drop ceiling will help you create a well-lit, visually appealing space.
What is a Recessed Light Drop Ceiling?
Before diving into the installation process, it’s important to understand what a recessed light drop ceiling is.
Recessed Lighting Overview
Recessed lighting, also known as can lighting or downlighting, involves installing light fixtures directly into the ceiling, so they sit flush with the surface. This type of lighting provides focused, downward illumination, often used to create a clean, modern appearance while offering versatile lighting options.
Drop Ceiling Overview
A drop ceiling, or suspended ceiling, is a secondary ceiling that hangs below the main structural ceiling. Drop ceilings are commonly used in offices, basements, and commercial spaces, but they are also becoming popular in residential settings. Drop ceilings consist of a metal grid that holds lightweight ceiling tiles, and the space between the drop ceiling and the structural ceiling can be used for wiring, ductwork, and other utilities.
Read too: Bathroom Flooded Through the Ceiling: A Comprehensive Guide
Combining Recessed Lighting with Drop Ceilings
When recessed lights are installed in a drop ceiling, the fixtures are embedded into the ceiling tiles, allowing the lights to blend seamlessly with the surface. This combination offers a sleek, modern design that maximizes overhead space while providing effective lighting.
Why Choose a Recessed Light Drop Ceiling?
There are several benefits to incorporating recessed lighting into a drop ceiling, making it an ideal choice for both residential and commercial spaces.
1. Clean and Minimalistic Aesthetic
Recessed lighting in a drop ceiling creates a smooth, uncluttered look. Unlike traditional light fixtures that hang down, recessed lights sit flush with the ceiling, creating a streamlined appearance. This is particularly important in modern and minimalist interior designs, where simplicity and elegance are key.
2. Maximizes Overhead Space
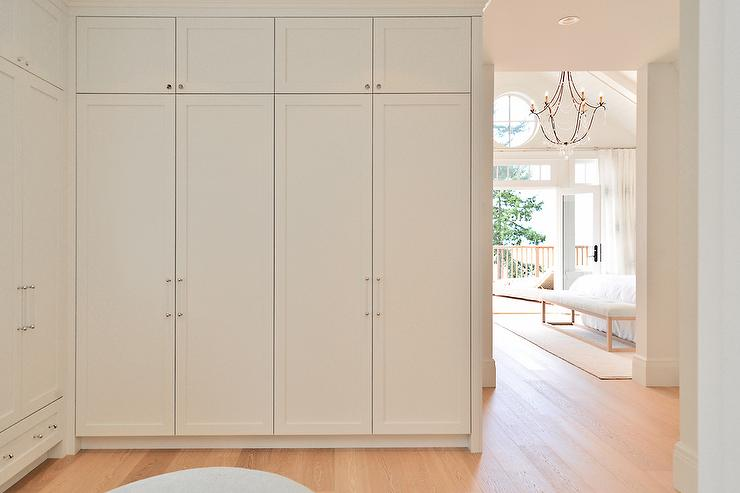
Drop ceilings naturally reduce the height of a room, so choosing recessed lighting ensures you won’t lose any more vertical space to bulky light fixtures. By recessing the lights into the ceiling tiles, you create the illusion of more space, which is especially beneficial in rooms with lower ceilings.
3. Versatile Lighting Options
Recessed lighting is highly versatile and can be used for various lighting purposes, such as general illumination, accent lighting, or task lighting. When integrated into a drop ceiling, recessed lights can be positioned strategically to highlight specific areas of the room, create mood lighting, or improve visibility for tasks.
4. Energy Efficiency
Many modern recessed lights use LED bulbs, which are more energy-efficient than traditional incandescent bulbs. LED recessed lights consume less electricity, produce less heat, and last much longer. When combined with a drop ceiling, this can help reduce energy costs, especially in large commercial spaces.
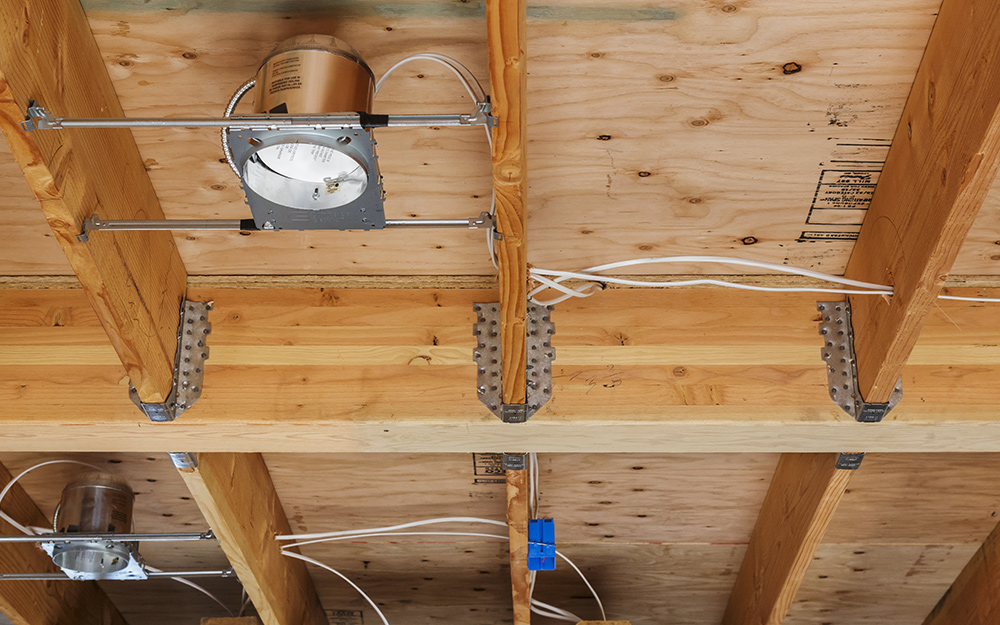
5. Concealed Wiring and Utilities
One of the main advantages of drop ceilings is the ability to conceal wiring, plumbing, and ductwork between the structural ceiling and the drop ceiling. Recessed lights can easily be integrated into this space without disrupting the clean appearance of the ceiling.
How to Install Recessed Lighting in a Drop Ceiling
Installing recessed lights in a drop ceiling may seem intimidating, but with the right tools and guidance, it can be a straightforward DIY project. Below is a step-by-step guide to help you through the installation process.
Step 1: Plan the Lighting Layout
Before beginning the installation, plan the layout of your recessed lights. Consider factors such as the size of the room, the placement of furniture, and the purpose of the lighting (general, task, or accent lighting). Mark the locations where you want to install each recessed light on the drop ceiling tiles.
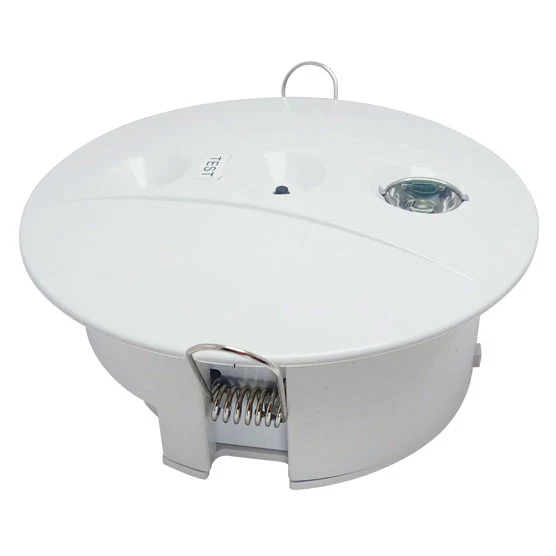
Step 2: Select the Right Fixtures
Not all recessed light fixtures are suitable for drop ceilings, so it’s important to choose the right ones. Look for recessed light fixtures that are specifically designed for installation in suspended or drop ceilings. These fixtures typically have adjustable mounting brackets to secure them to the metal grid of the ceiling.
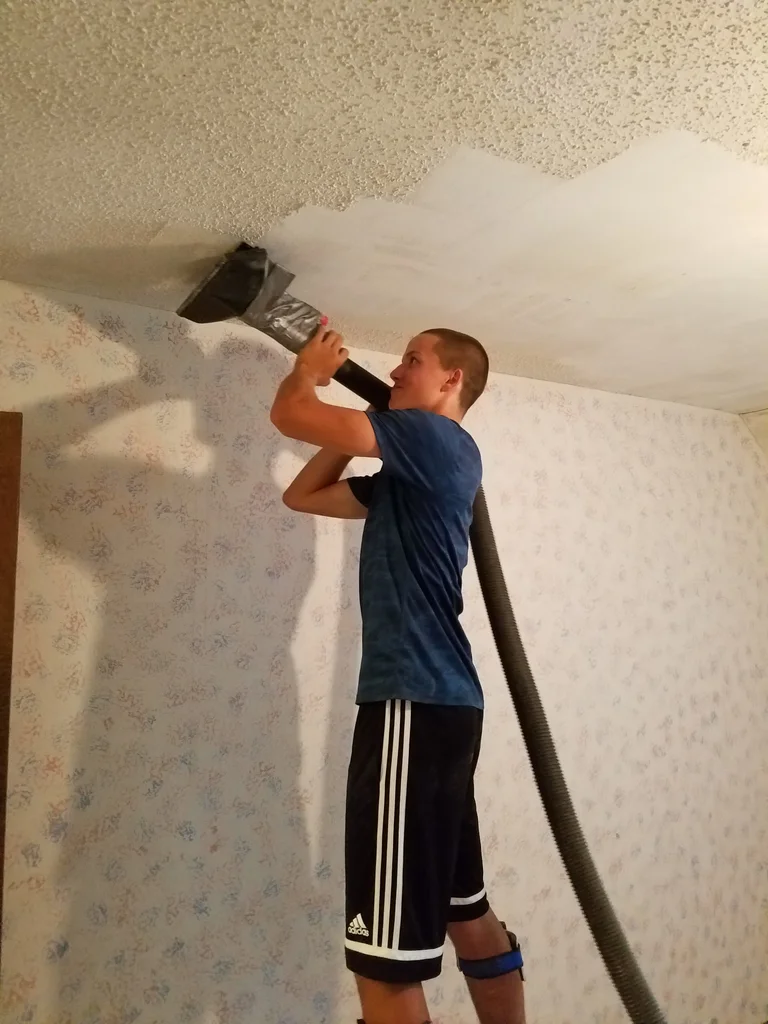
Step 3: Prepare the Ceiling Tiles
Remove the ceiling tiles where you plan to install the recessed lights. Use a template (usually included with the light fixture) to trace the outline of the fixture on the tile. Carefully cut out the hole for the light using a utility knife or a hole saw.
Step 4: Run Electrical Wiring
With the ceiling tiles removed, you can run the electrical wiring for the lights. If you’re not comfortable working with electricity, it’s best to hire a licensed electrician. If you’re confident in your skills, follow the instructions provided with the light fixture to connect the wiring properly. Be sure to turn off the power to the room before working on any electrical connections.
Step 5: Install the Recessed Light Fixtures
Once the wiring is in place, secure the recessed light fixtures to the metal grid of the drop ceiling using the mounting brackets. Ensure the fixtures are level and aligned with the grid.
Step 6: Replace the Ceiling Tiles
Carefully place the cut ceiling tiles back into the grid, ensuring the recessed lights fit snugly into the holes you cut. Once all the tiles are in place, turn the power back on and test the lights to make sure everything is working correctly.
Design Tips for Recessed Lighting in Drop Ceilings
In addition to installation, there are several design considerations to keep in mind when incorporating recessed lights in a drop ceiling. Here are a few tips to enhance the overall look and functionality of your lighting setup:
1. Use Dimmers for Versatility
Installing dimmer switches allows you to adjust the brightness of your recessed lights, giving you greater control over the ambiance of the room. Dimmers are especially useful in rooms with drop ceilings, where you may want to create different lighting moods for various activities.
2. Mix Recessed Lighting with Other Light Sources
While recessed lighting provides excellent general illumination, it can sometimes create shadows or uneven lighting if used alone. Consider combining recessed lights with other types of lighting, such as pendant lights, under-cabinet lights, or wall sconces, to create a more layered and dynamic lighting design.
3. Choose LED Recessed Lights
LED bulbs are an excellent choice for recessed lighting in drop ceilings due to their energy efficiency and long lifespan. LED lights also produce less heat, which is important for maintaining a comfortable temperature in the room.
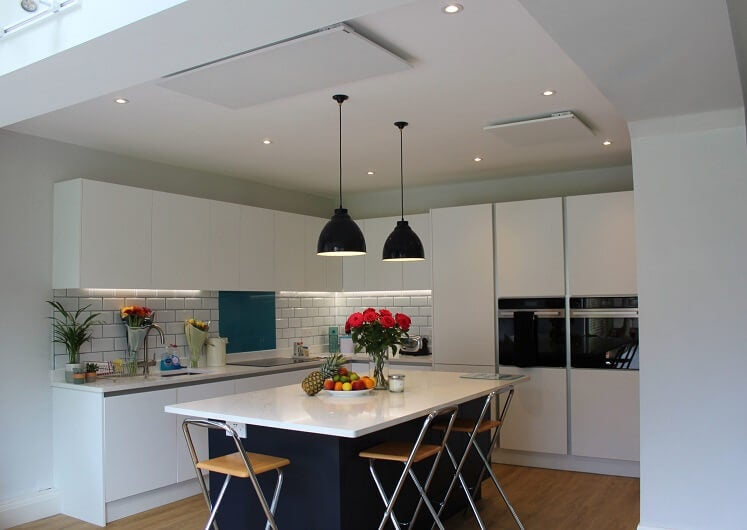
4. Focus on Task Lighting
Recessed lighting can be used to create task-specific lighting in areas such as kitchens, offices, or bathrooms. In a kitchen with a drop ceiling, for example, you can position recessed lights directly over countertops and workspaces to ensure proper illumination while cooking or preparing food.
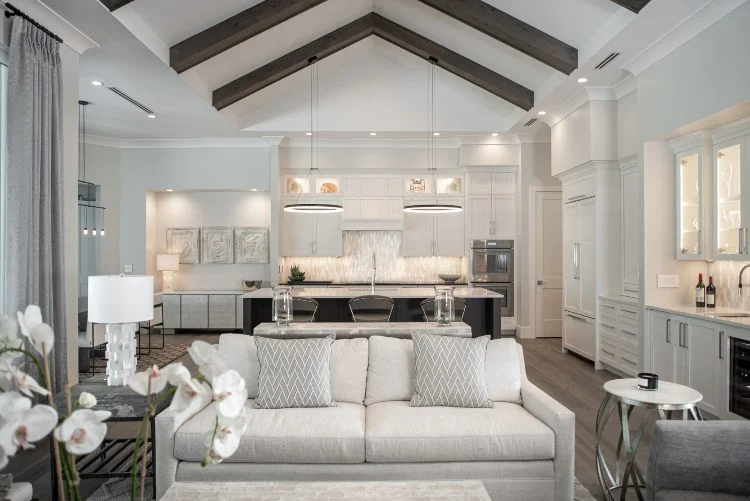
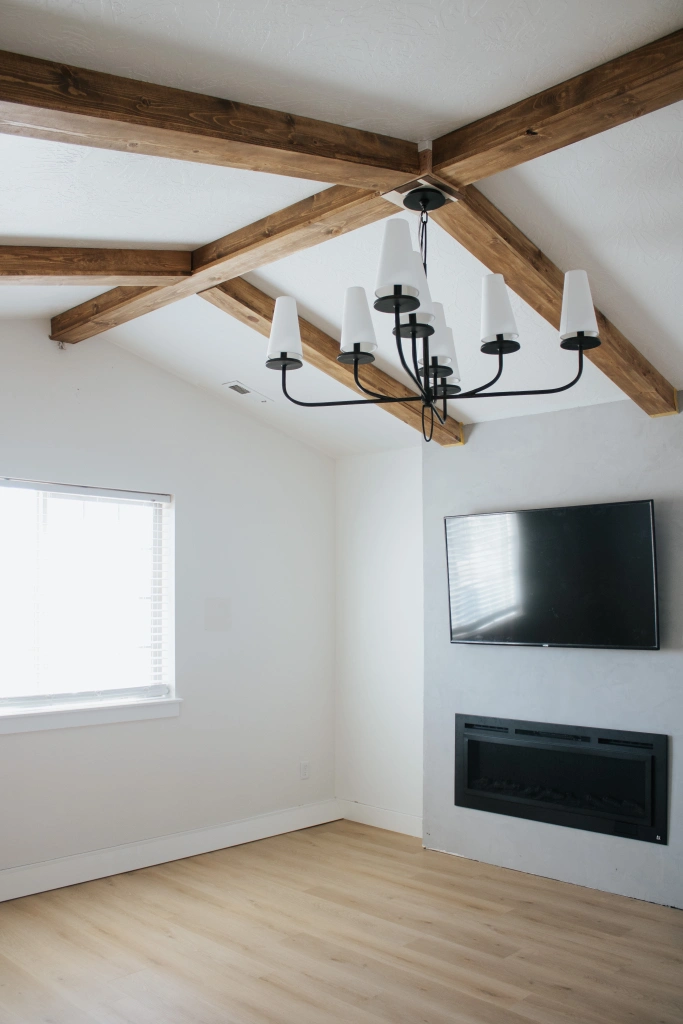
5. Highlight Architectural Features
If your room has unique architectural features, such as beams or an accent wall, use recessed lighting to highlight these elements. Strategically placing recessed lights in the drop ceiling can draw attention to specific areas of the room and add visual interest.
Maintenance and Troubleshooting for Recessed Light Drop Ceilings
Once you’ve installed your recessed lights in a drop ceiling, it’s important to maintain them properly to ensure they last for years to come. Here are some maintenance tips and troubleshooting advice:
1. Regular Cleaning
Recessed light fixtures can accumulate dust and grime over time, which can reduce their efficiency and brightness. Regularly dust the fixtures and wipe them down with a damp cloth to keep them clean.
2. Replace Bulbs as Needed
If one of your recessed lights stops working, it may be time to replace the bulb. LED bulbs typically last much longer than traditional incandescent bulbs, but they will eventually need to be replaced.
3. Check for Loose Fixtures
Over time, the recessed light fixtures in a drop ceiling may become loose due to vibrations or shifts in the ceiling tiles. Periodically check the fixtures to ensure they are securely fastened to the ceiling grid.
4. Troubleshoot Flickering Lights
If your recessed lights are flickering or dimming unexpectedly, there may be an issue with the wiring or the light switch. In some cases, flickering can be caused by a loose bulb or a faulty dimmer switch. If you’re unable to identify the cause, it may be best to consult an electrician.
Conclusion: Enhancing Your Space with Recessed Light Drop Ceilings
Installing recessed lighting in a drop ceiling is a great way to enhance the aesthetic and functionality of any room. This combination offers a modern, streamlined appearance while providing versatile and effective lighting options. Whether you’re upgrading a residential space or designing a commercial environment, recessed lights in a drop ceiling can transform the look and feel of the room.
By following the steps outlined in this guide, you can successfully install recessed lights in your drop ceiling and create a well-lit, stylish space that meets your needs. With proper planning, installation, and maintenance, your recessed light drop ceiling will provide years of efficient, beautiful illumination.