Vintage style ceiling fans have made a significant comeback in home decor, combining functionality with a nostalgic aesthetic that adds character to any room. These fans not only provide comfort and airflow but also serve as statement pieces that reflect your personal style. In this comprehensive guide, we’ll explore the allure of vintage style ceiling fans, their benefits, types, installation tips, and maintenance advice to help you choose the perfect fan for your space.
Why Choose Vintage Style Ceiling Fans?
The Aesthetic Appeal
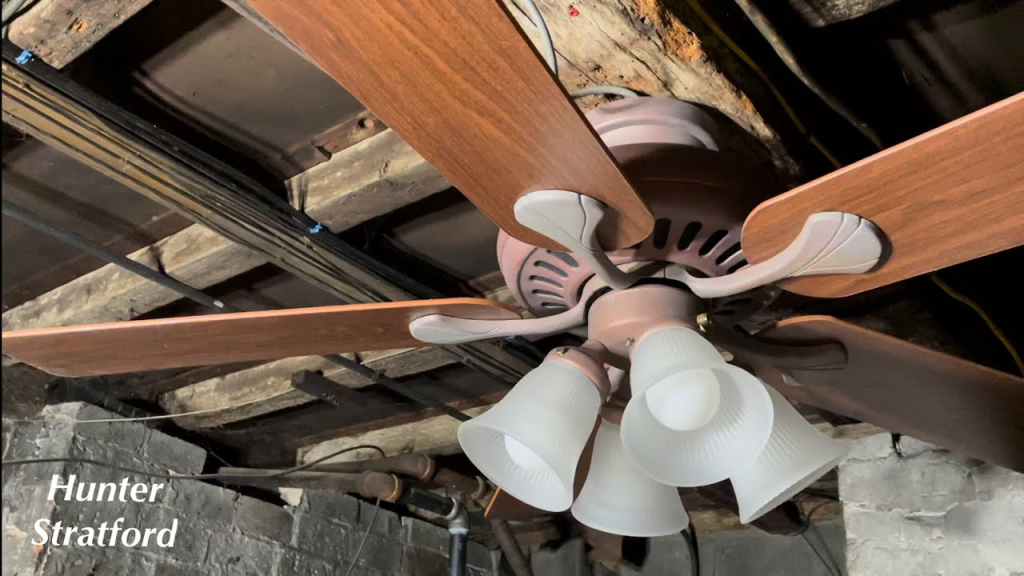
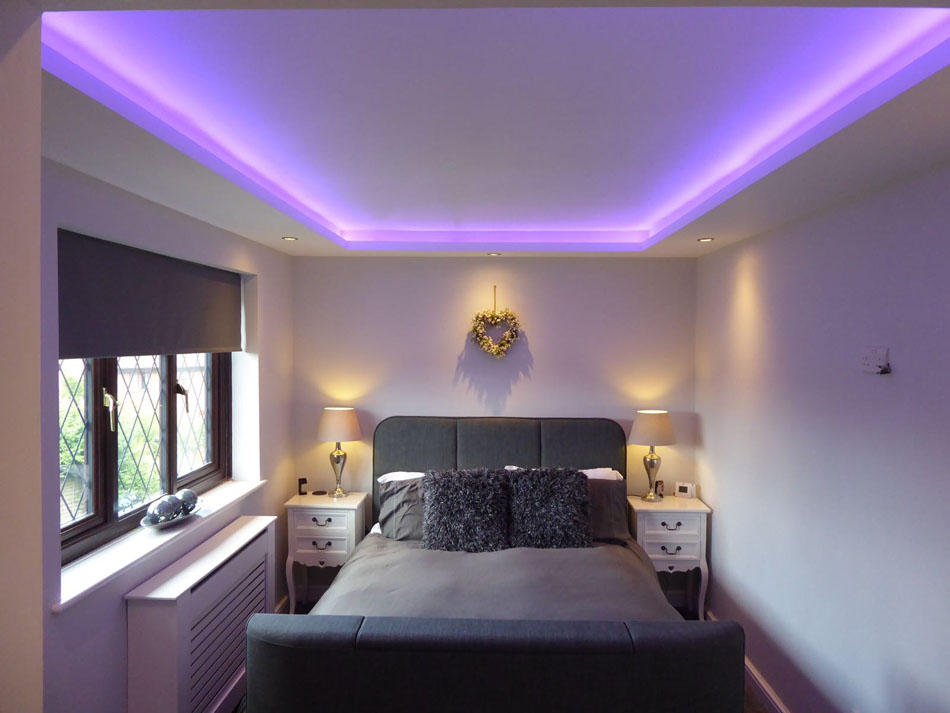
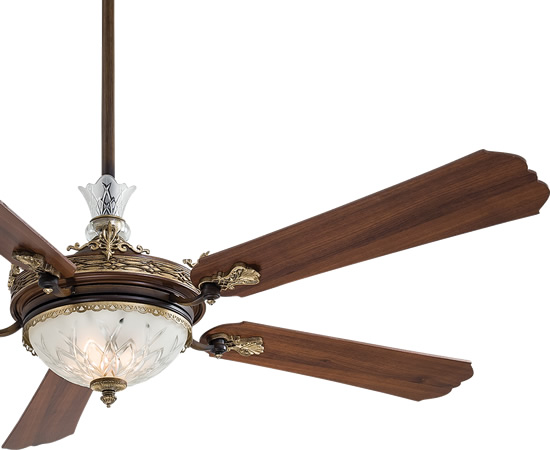
Vintage style ceiling fans evoke a sense of nostalgia and charm, reminiscent of bygone eras. Their intricate designs, often featuring ornate details, brass finishes, and wooden blades, can enhance the decor of traditional, rustic, or eclectic interiors. These fans serve as more than just functional pieces; they are also artful additions that can elevate the entire atmosphere of a room.
Versatility in Design
One of the primary advantages of vintage style ceiling fans is their versatility. They can complement a wide range of interior styles, from farmhouse chic to mid-century modern. Whether you’re looking to add a classic touch to your living room or enhance the cozy ambiance of a bedroom, there’s a vintage fan that can fit seamlessly into your decor.
Improved Air Circulation
In addition to their aesthetic benefits, vintage style ceiling fans offer practical advantages. They help improve air circulation, making your home feel cooler during warm months and distributing heat more evenly in winter. This can lead to reduced reliance on air conditioning and heating, ultimately saving you money on energy bills.
Read too: Bathroom Flooded Through the Ceiling: A Comprehensive Guide
Types of Vintage Style Ceiling Fans
Exploring Different Vintage Style Ceiling Fans
When it comes to vintage style ceiling fans, there are several types to consider:
1. Traditional Fans
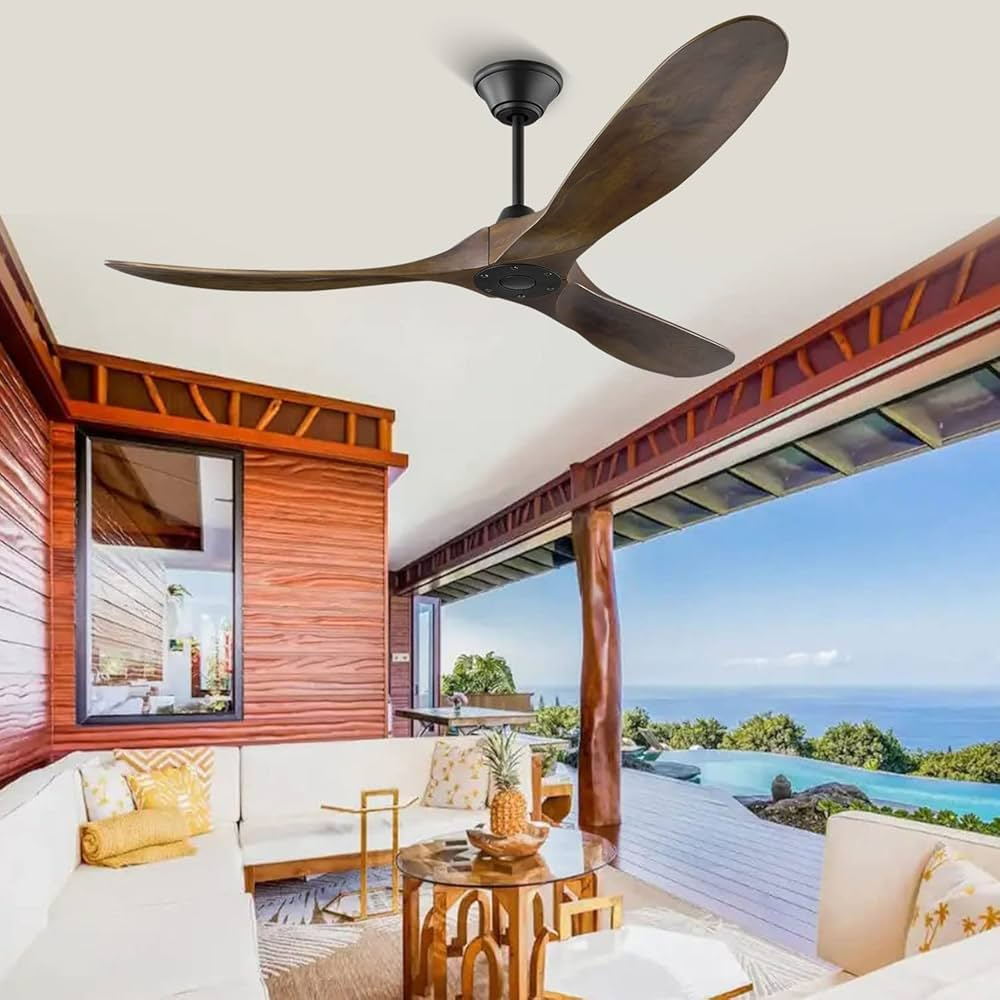
Traditional vintage ceiling fans typically feature ornate designs with wood or metal finishes. These fans often have multiple blades, usually made from wood, and come in various colors. Their classic look makes them suitable for both modern and vintage-themed interiors.
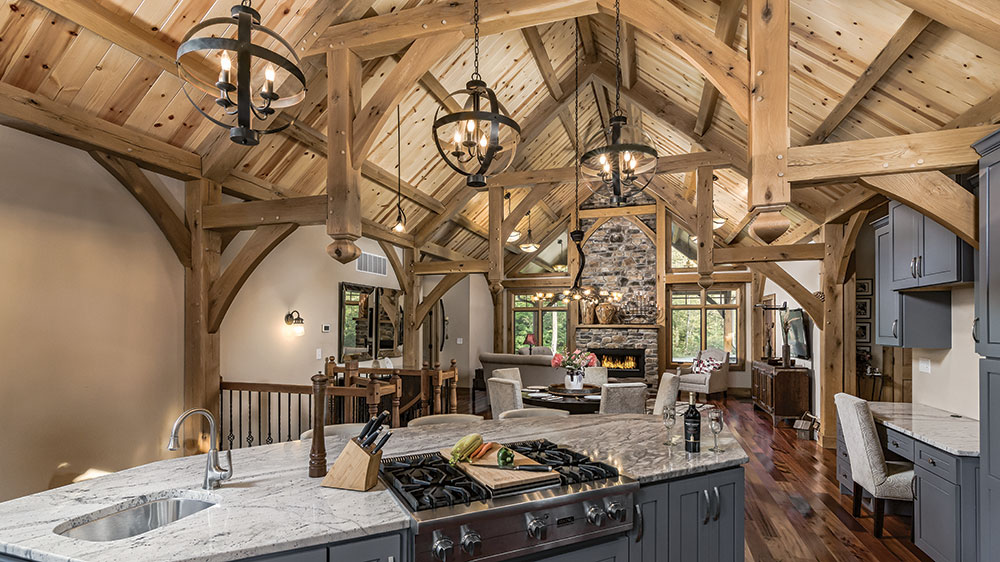
2. Industrial Style Fans
Industrial vintage ceiling fans embrace a more rugged aesthetic, often incorporating materials like wrought iron and exposed light bulbs. These fans are perfect for lofts or spaces that feature industrial design elements, blending functionality with a bold, utilitarian look.
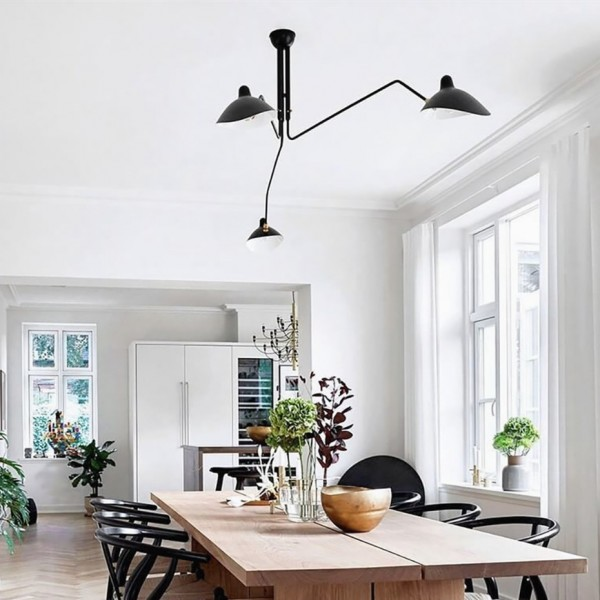
3. Retro Mid-Century Fans
Mid-century modern vintage fans capture the essence of the 1950s and 60s with sleek lines and vibrant colors. These fans often feature a minimalist design with a focus on form and function, making them ideal for contemporary spaces that still want to evoke a retro vibe.
4. Outdoor Vintage Fans
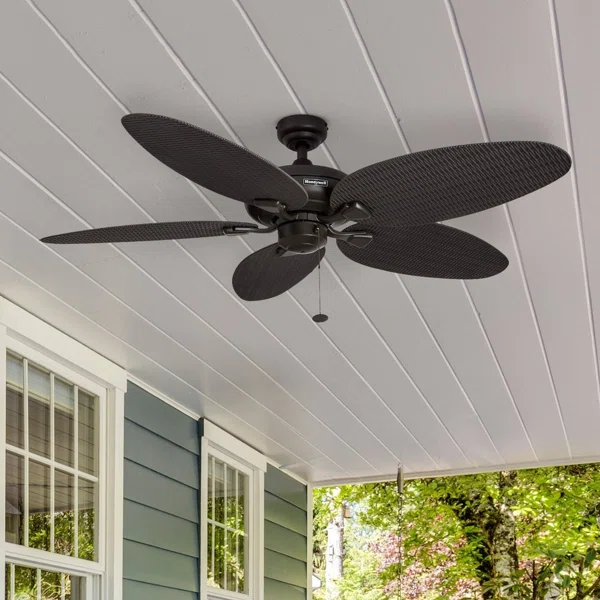
For those looking to add a touch of vintage style to outdoor spaces, outdoor-rated vintage ceiling fans are available. These fans are designed to withstand the elements while providing the same charm and style as indoor options.
Choosing the Right Vintage Style Ceiling Fan
Consider Your Space
Before purchasing a vintage style ceiling fan, consider the size of the room. Larger rooms may require a fan with a bigger blade span, while smaller rooms can benefit from compact designs. Measure your space to determine the appropriate fan size for optimal airflow and aesthetics.
Style and Color
Choose a fan that complements your existing decor. Vintage style ceiling fans come in various colors and finishes, from distressed wood to polished brass. Ensure that the style you select harmonizes with your interior design theme.
Features
Modern vintage style ceiling fans often come equipped with features like remote controls, integrated lighting, and energy-efficient motors. Consider which features are important to you and how they can enhance your comfort and convenience.
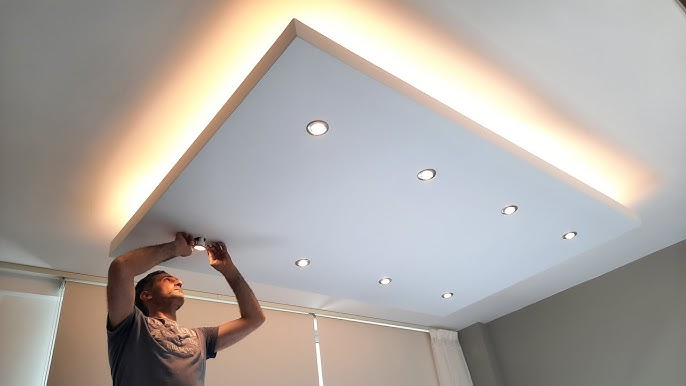
Installation Tips for Vintage Style Ceiling Fans
1. Safety First
Before installation, ensure that you turn off the power to the ceiling fixture where you plan to install the fan. Safety should always be your top priority.
2. Gather Necessary Tools
Prepare the necessary tools, which may include a screwdriver, ladder, wire connectors, and a voltage tester. Having everything ready will make the installation process smoother.
3. Follow the Instructions
Most vintage style ceiling fan come with detailed installation instructions. Follow these guidelines carefully to ensure that the fan is installed correctly and securely. If you’re unsure or uncomfortable with electrical work, it’s best to hire a licensed electrician.
4. Check the Balance
After installation, check the fan for balance. An unbalanced fan can create noise and wobbling. Many fans come with balancing kits to help you achieve a smooth, stable operation.
Maintenance of Vintage Style Ceiling Fans
1. Regular Cleaning
Dust and debris can accumulate on the blades and motor of your vintage ceiling fan, affecting its performance and appearance. Clean the blades regularly with a soft cloth or a microfiber duster to keep them looking pristine.
2. Inspect the Wiring
Periodically check the wiring and connections to ensure everything is secure and in good condition. If you notice any frayed wires or loose connections, consult a professional for repairs.
3. Lubricate Moving Parts
To maintain optimal performance, periodically lubricate the fan’s moving parts according to the manufacturer’s recommendations. This will help prevent wear and tear, ensuring that your fan operates smoothly for years to come.
4. Replace Bulbs as Needed
If your vintage fan includes integrated lighting, replace bulbs as needed to maintain proper illumination. Consider using energy-efficient LED bulbs for longer-lasting performance.
Conclusion
Vintage style ceiling fan are a perfect blend of charm, functionality, and nostalgia. With various designs available, you can find the ideal fan to complement your home’s decor while providing effective air circulation. By considering the type, size, and features of your fan, you can make a well-informed choice that enhances both comfort and aesthetic appeal in your living space.